
Sooner or later, everyone’s bound to delete one of precious videofiles by accident. If this sounds familiar, don’t worry—your files aren’t gone forever. You can in fact recover deleted videos on Mac. You just need to know how to do it.
This guide takes you through three proven methods for restoring your lost videos. Best of all, they don’t take a lot of technical know-how, so anyone can do it.
Table of Contents
What Types of Videos & Video Tools Are There on Mac?
Whether you’re doing in-depth edits on cinematic-quality clips or simply stitching together homemade recordings, there are plenty of tools that allow you to work with videos on a MacBook.
| Tool | Description |
| QuickTime | Originally developed by Apple, this media player offers elementary editing capabilities and file conversion features. Its default file type is MOV and MP4. |
| iMovie | A more advanced editing tool than QuickTime, iMovie lets users easily create professional-looking videos on their home system. It supports a wide range of file types, including MP4, AVI, and MOV. |
| Adobe Premiere Pro | Used by professional editors, videographers, and cinematographers, Adobe Premiere Pro offers highly advanced editing software for a premium price. It supports an incredibly wide range of file formats like MP4, AVI, MOV, MPEG, M2V, MXF, and many more. |
But even the best video editing tools don’t prevent human error. And there is always a chance that you may lose files during the editing process.
Luckily, there are a few ways to recover those lost video files on your Mac.
How to Find Videos on a MacBook
Before you go trying to recover deleted videos, it’s important to make sure they aren’t still on your Mac in the first place. After all, why go through all the trouble when your files aren’t even missing?
There are two main ways to find video files on Mac computers: using Photos (formerly iPhoto) and through Finder.
Method 1: Find Videos in Photos app
If you took a video using your phone or tablet, it’s likely going to end up within Photos itself.
To find videos in Photos:
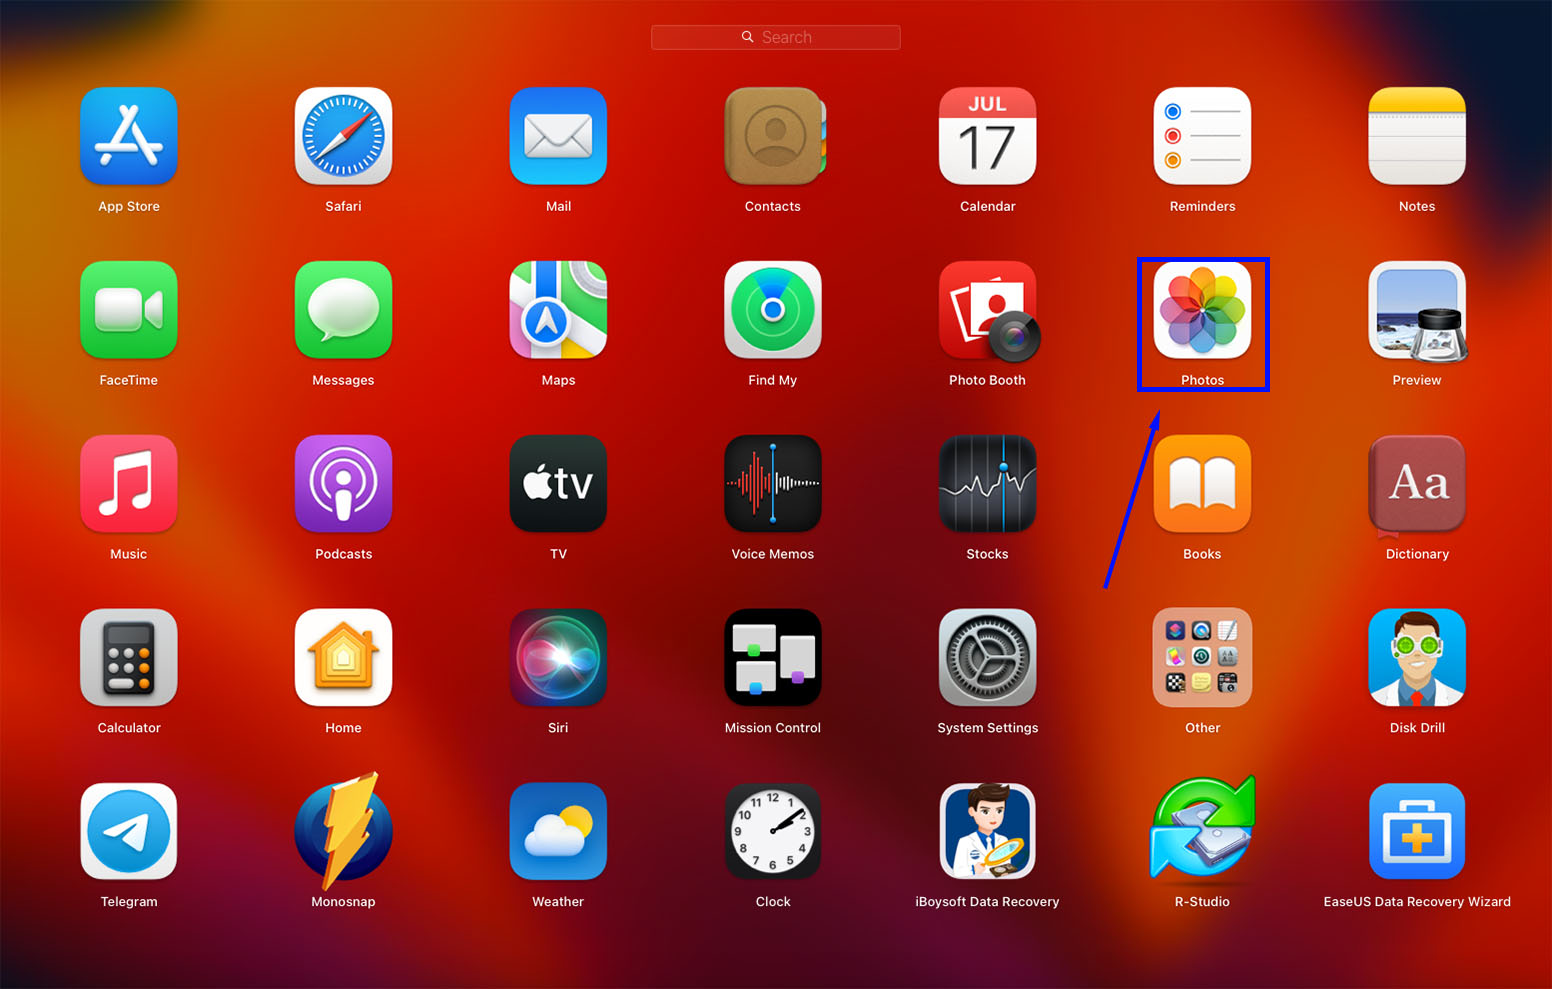
- Open Photos using Spotlight (Command + Space), Finder, or Launchpad.
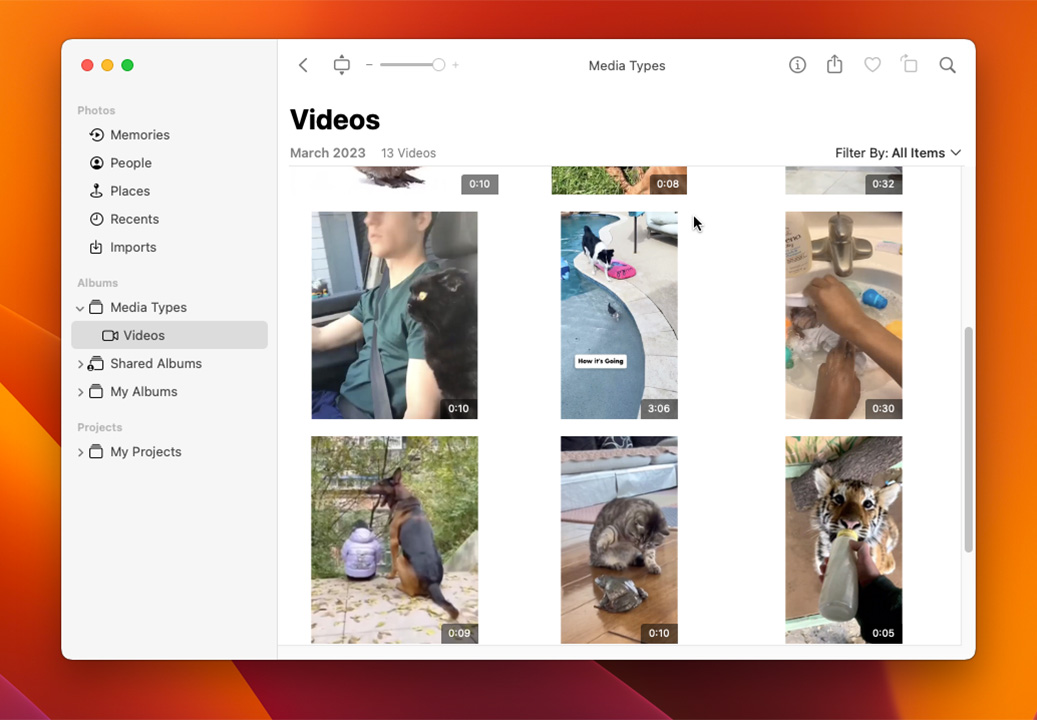
- Select “Media Types” from the sidebar.

- Search through your undeleted video files.
Method 2: Find Other Videos With Finder
For all other video types, you’ll need to do some sleuthing using Finder.
To find other videos on your Mac:
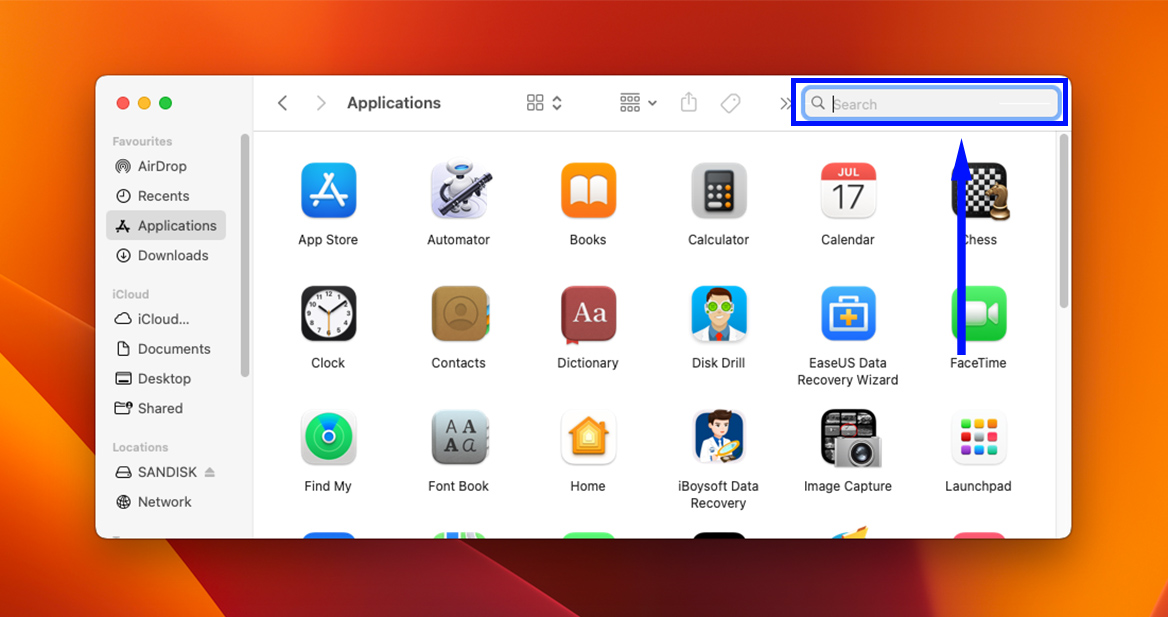
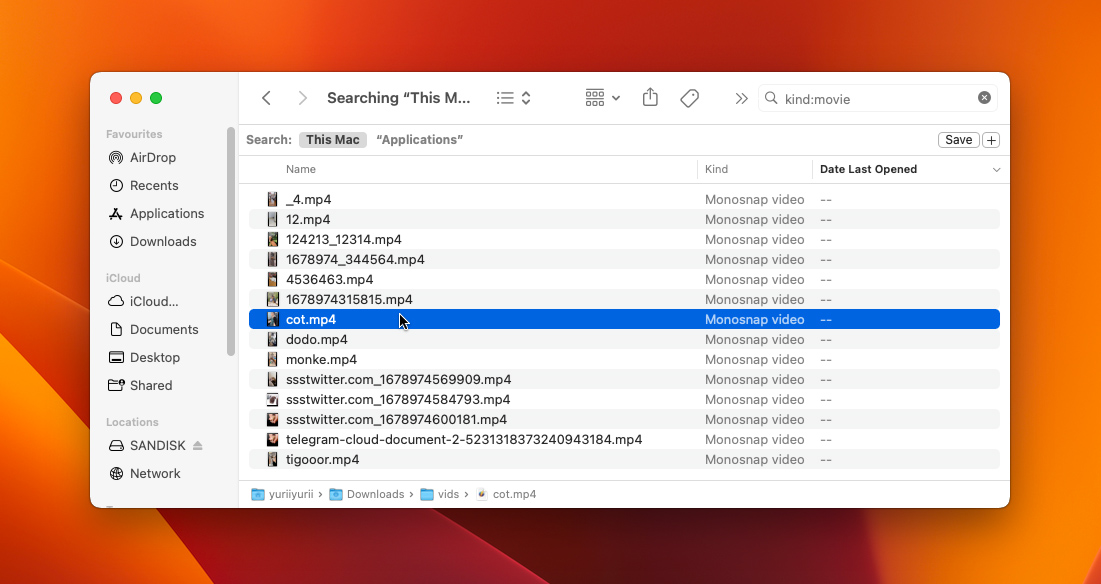
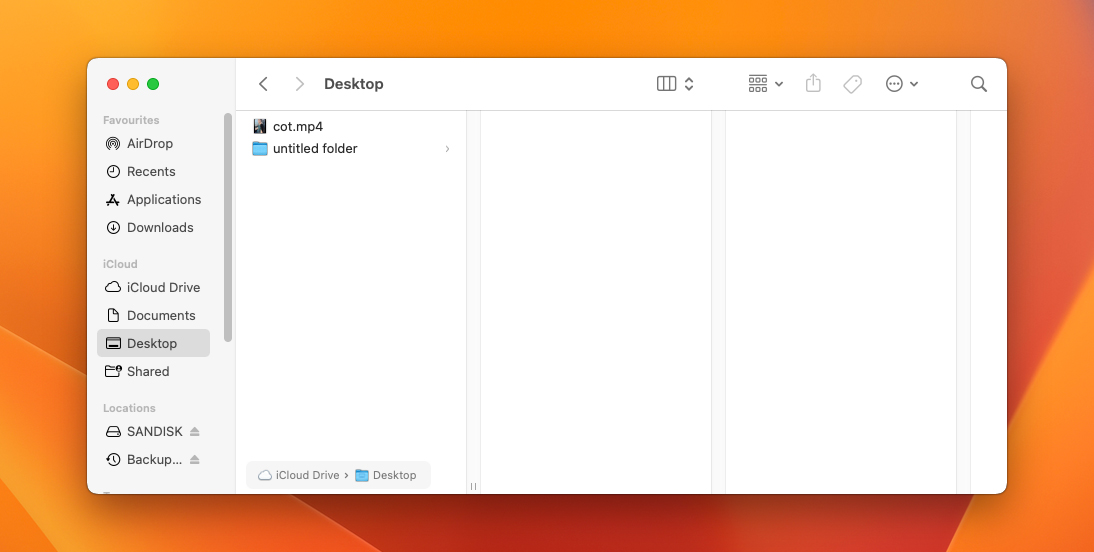
- Open Finder.
- Click the search icon to open the search field.
- Type “kind:movie” and click the results that populate below. Make sure your selected location is your Mac, and you’re searching on “This Mac” rather than other options.
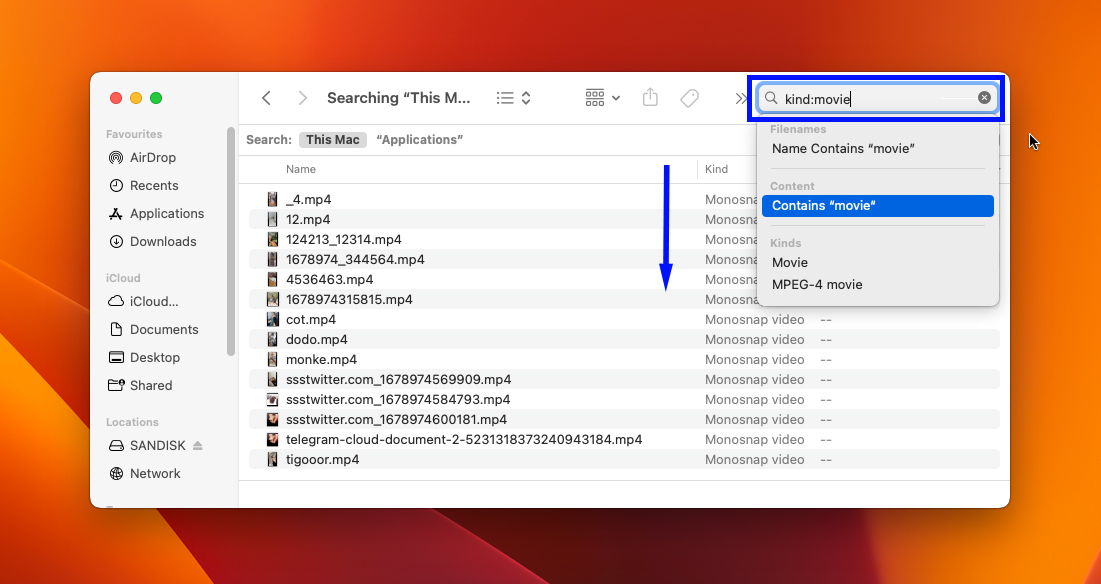
- Find your video file.
Can I Recover Deleted Videos?
Yes. You can get back your videos, even if they seem gone for good. Whenever a file is deleted, it’s not technically wiped from the drive. Depending on how you deleted it, it’s either moved to the macOS Bin, or the space it occupied is marked as available for use (in case of “permanent” deletion). This means the file is still there (hidden from view), until a new one overwrites it.
But, to maximize your chances of data recovery, it’s important to act quickly, because of two main reasons:
- New files, even system created ones, can overwrite the deleted video. Hesitating before data recovery only increases the chances of this happening.
- If the file was stored on an SSD, the OS could clear up the data blocks occupied by the deleted video, even if no new files are written to the drive. This is because of the TRIM feature. You Should turn off your PC immediately after you’ve noticed your videos are deleted to avoid running TRIM command and turn it back on only after you’ve prepared to disable it.
How to Recover Deleted Videos on Mac
If you find you’ve accidentally deleted video, there is still hope your files aren’t gone forever. To recover deleted MP4 files (or any other Mac compatible file format), try following the techniques below to restore your files.
Method 1: Restore from Trash Folder
Deleted files are typically moved to the macOS Bin or Trash. By default, any videos you deleted using the Move to Bin option, or the Delete key, will stay in the Mac Bin until they’re restored or the Bin is emptied. It’s best to first check the macOS Trash/Bin for your deleted videos before moving on to more complicated data recovery methods.
Here’s how to restore deleted videos from the Mac Trash/Bin:
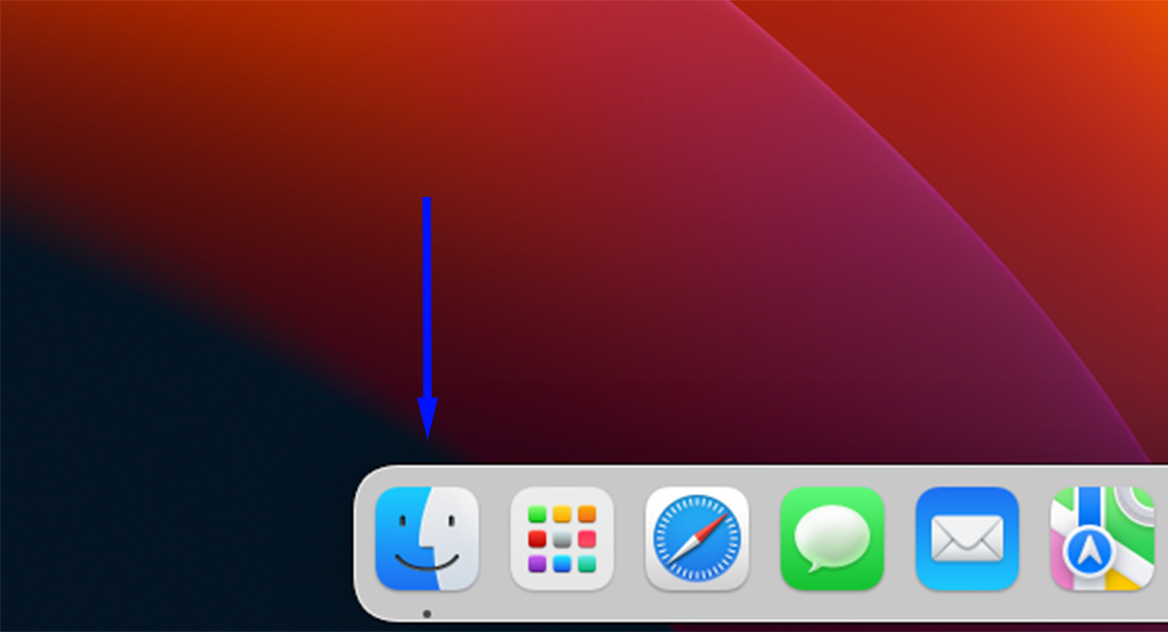
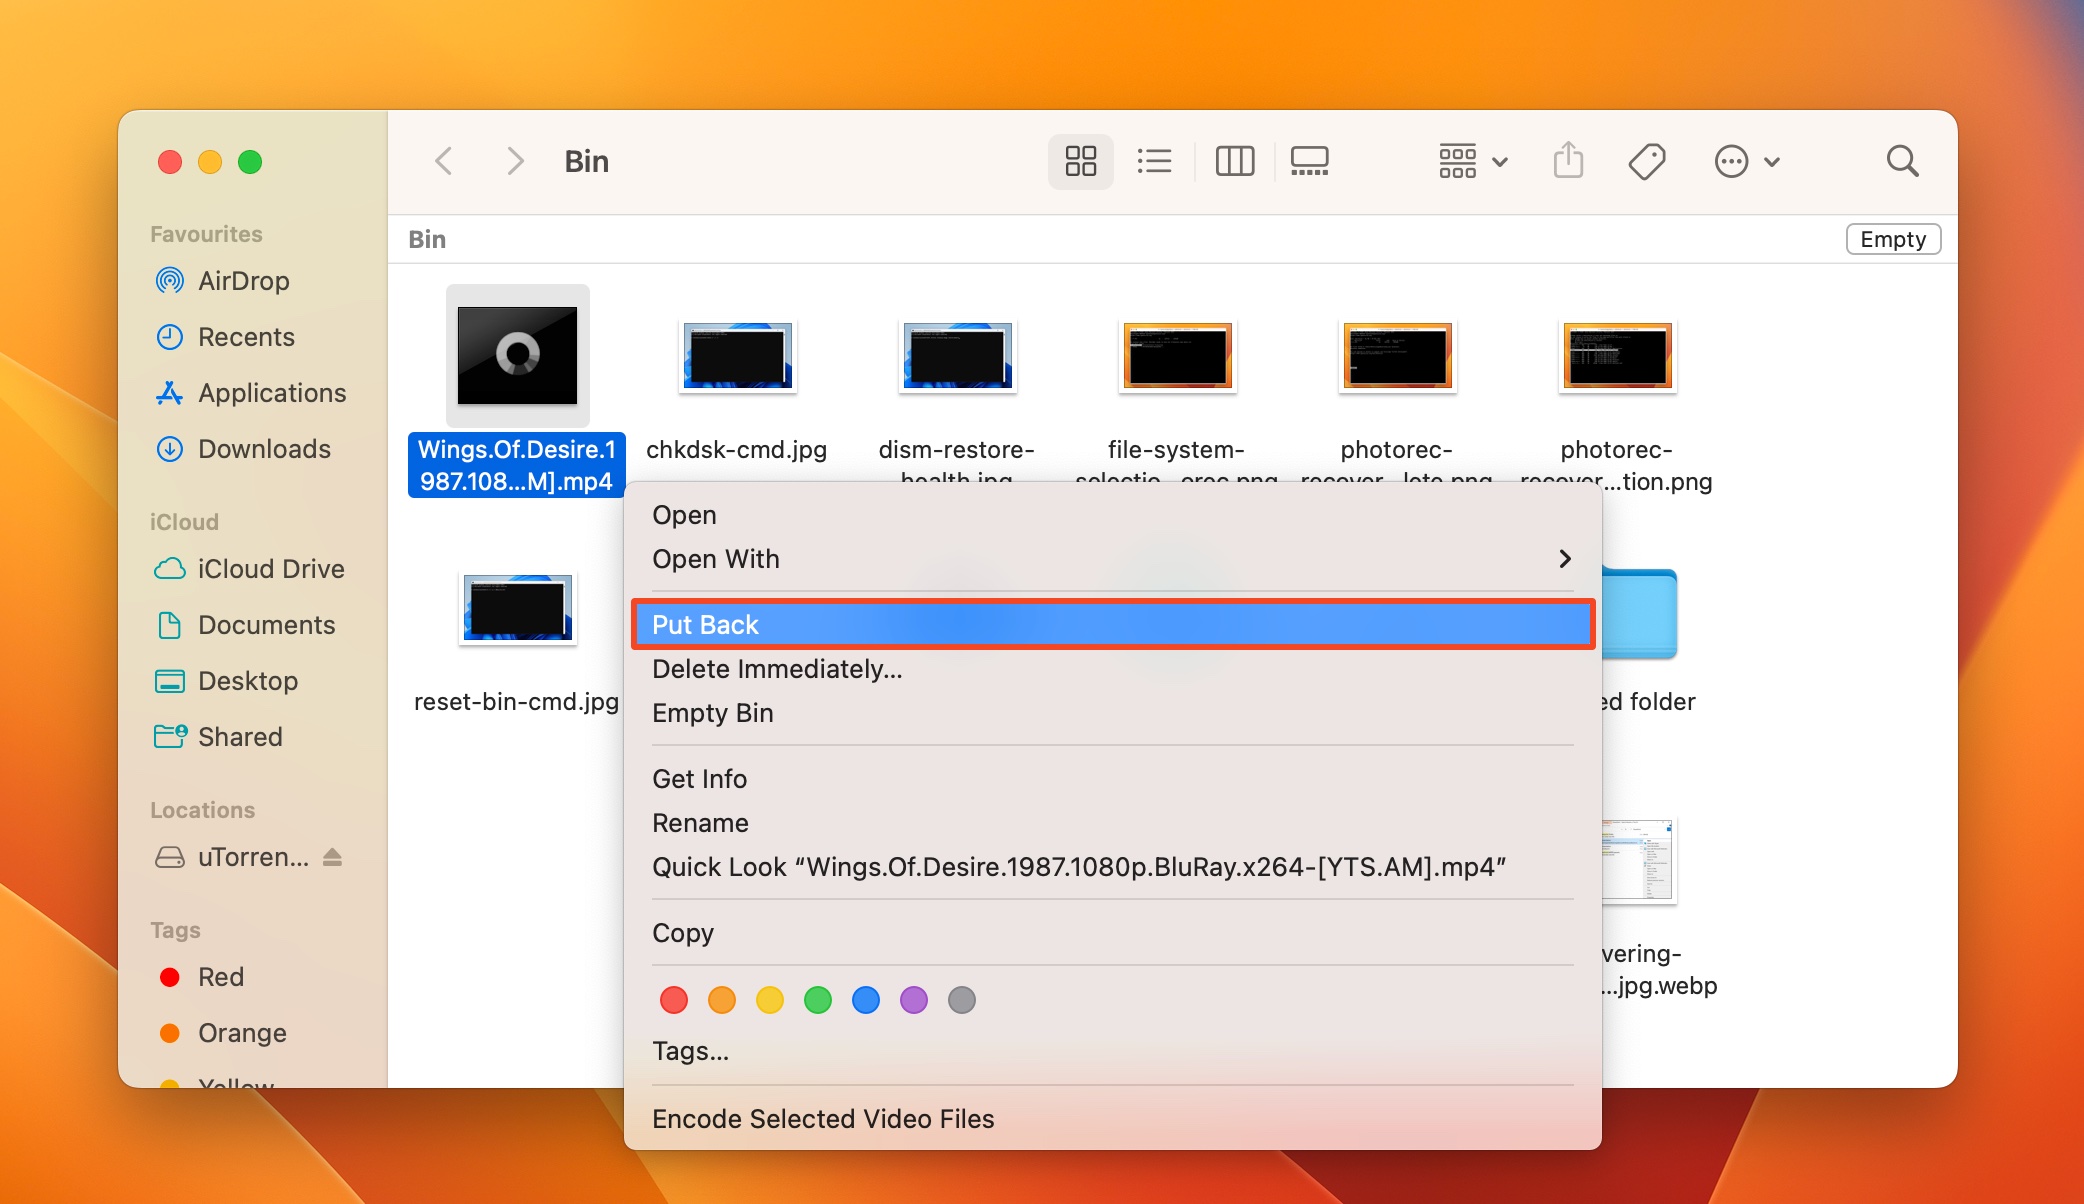
- Click on the Bin icon on the Dock. It looks like a trashcan.
- Look for your deleted videos, right-click on them and choose Put Back.
Method 2: Use Data Recovery Software
One of the best ways to recover deleted video on Mac is to use data recovery software. As long as you don’t overwrite the “deleted” files with new information, they should still be on your machine.
NOTE: Stop using the affected disk drive as soon as you realize you’ve accidentally deleted video to prevent overwriting.
Data recovery software lets you undelete those files before you lose them forever. There are plenty of recovery apps out there to choose from. But we’ve found the best on the market to be Disk Drill. Disk Drill’s user-friendly interface, powerful features, and superior data recovery ability make it a clear winner here.
To use Disk Drill for deleted video recovery on Mac:
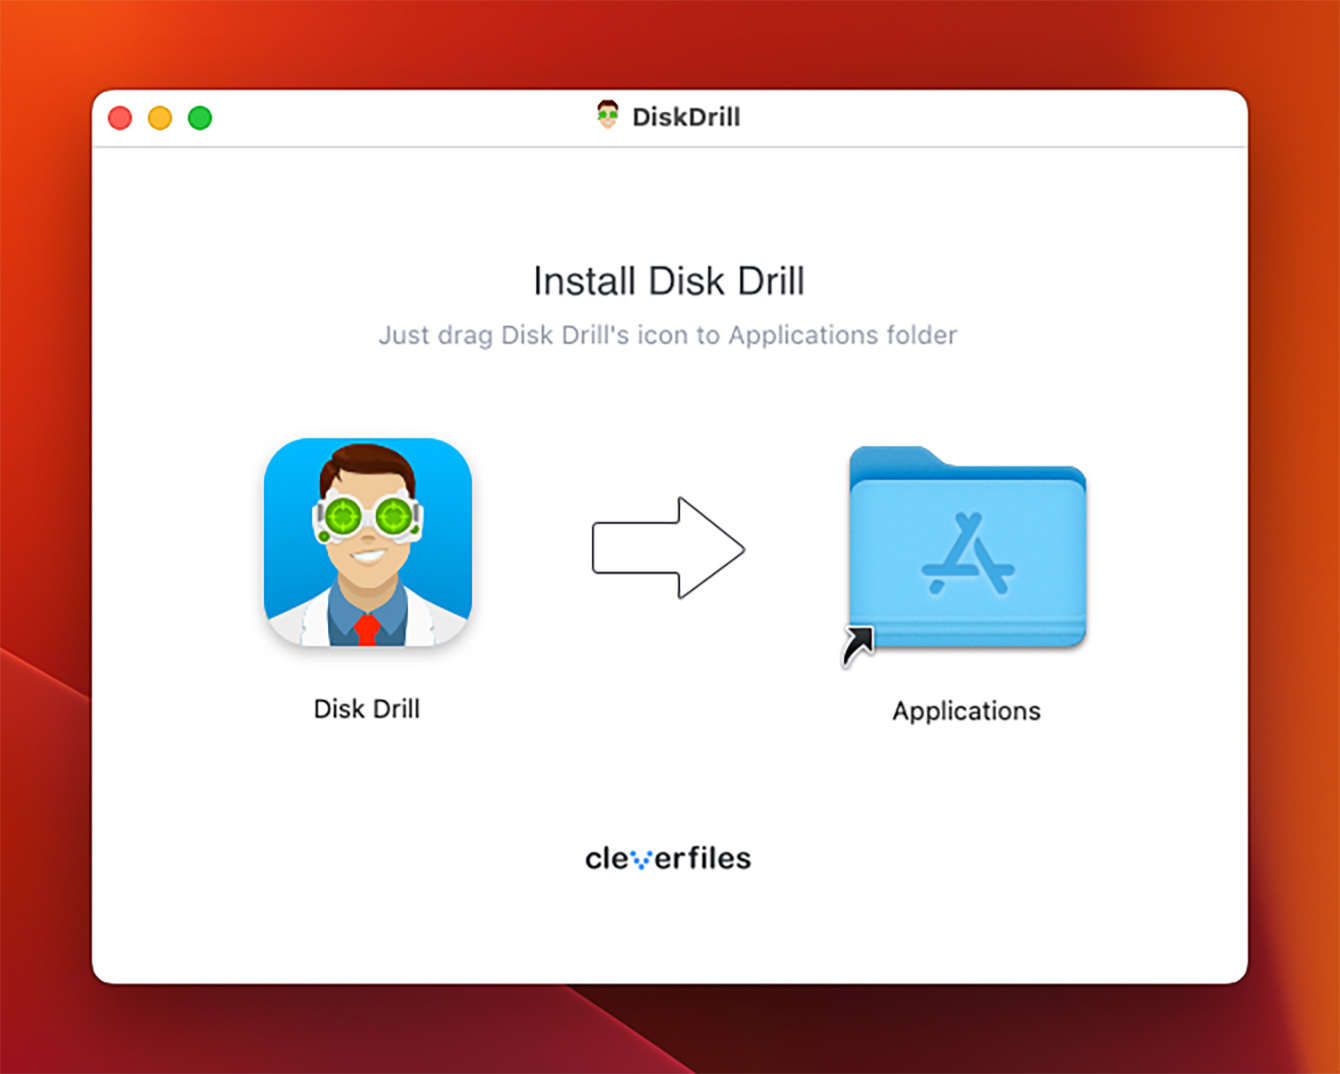
- First, download Disk Drill and install the application.
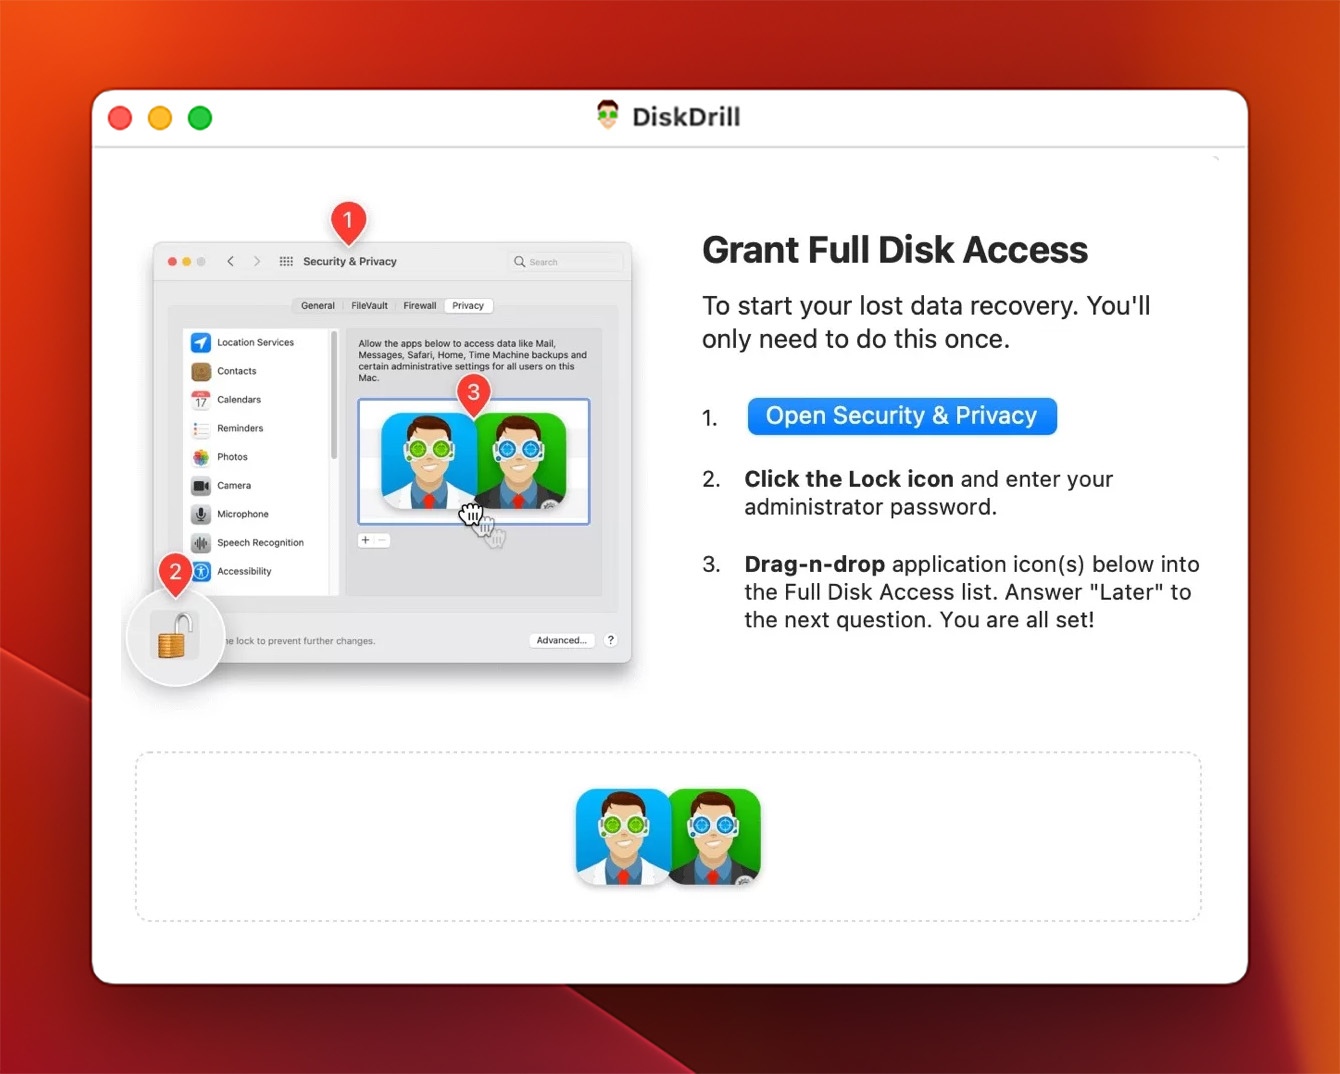
- Grant Disk Drill full disk access.
- Select the disk drive that held your missing video files. Then click “Search for lost data”.

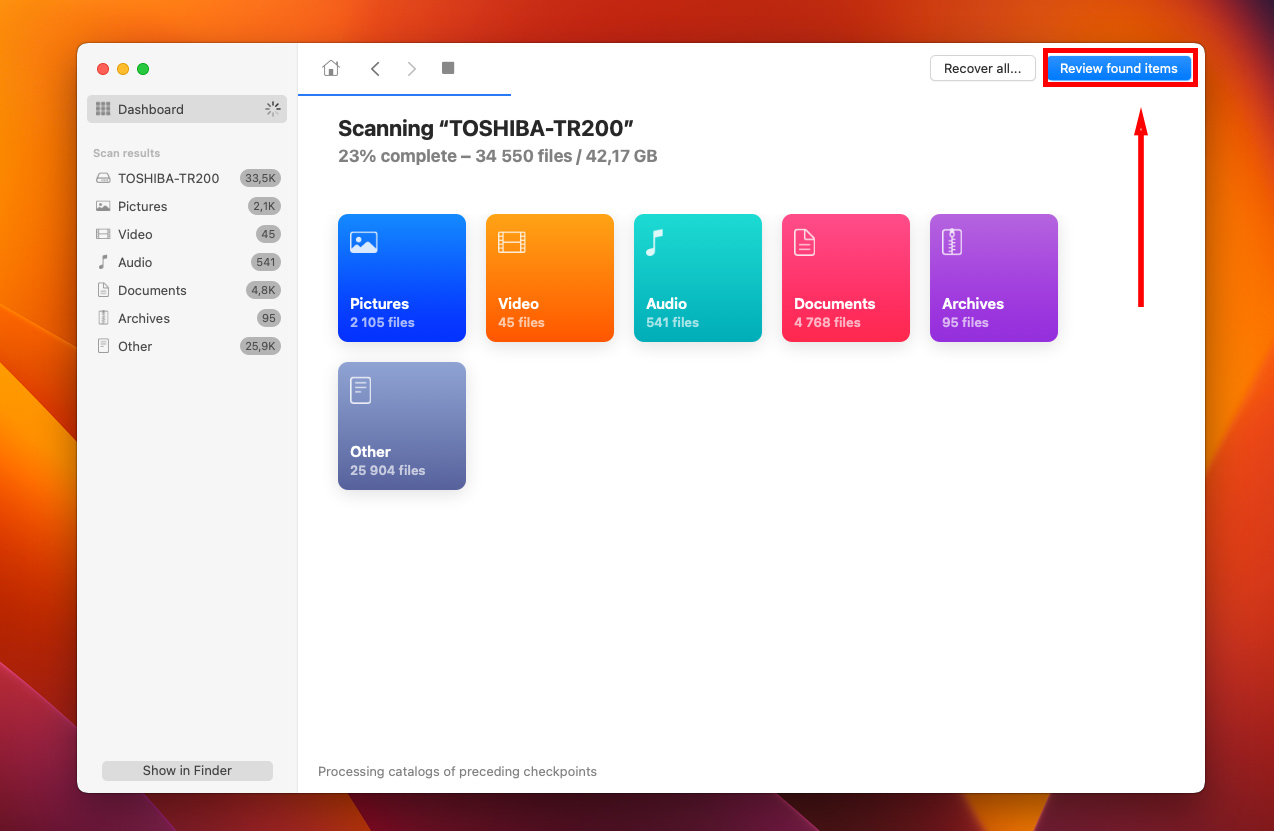
- Wait for Disk Drill to scan your drive (it may take several minutes).
- Once the scan finishes, click “Review found items.”
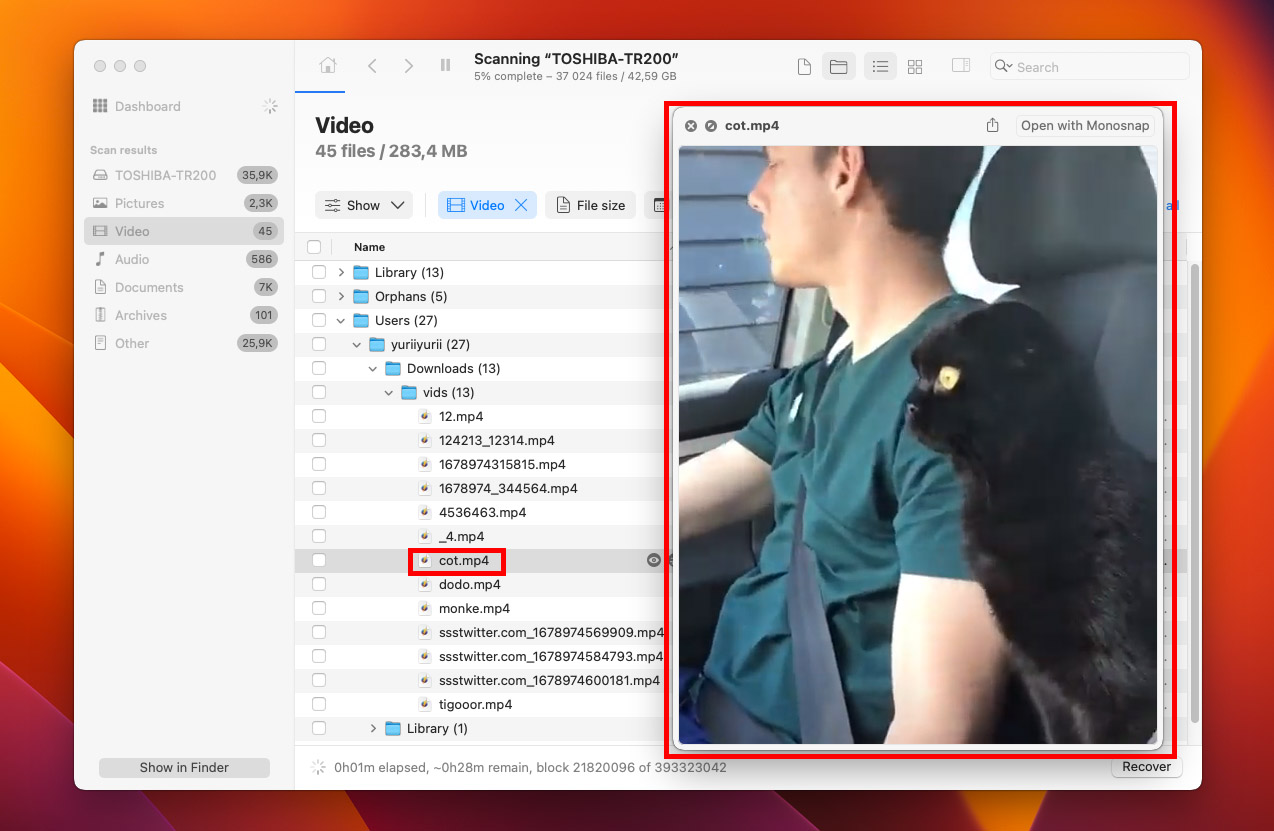
- Drill down to your file location. Click the eye icon to preview the file to ensure it can be restored.
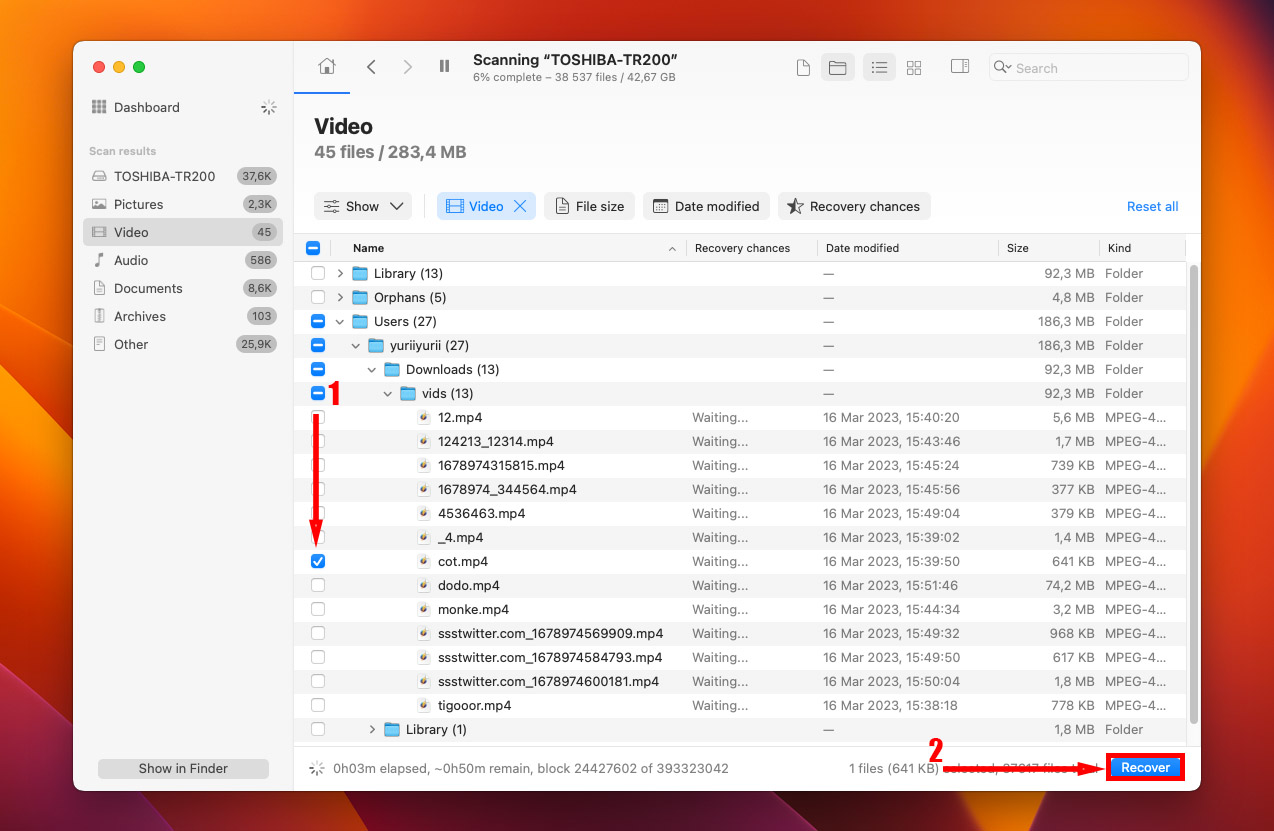
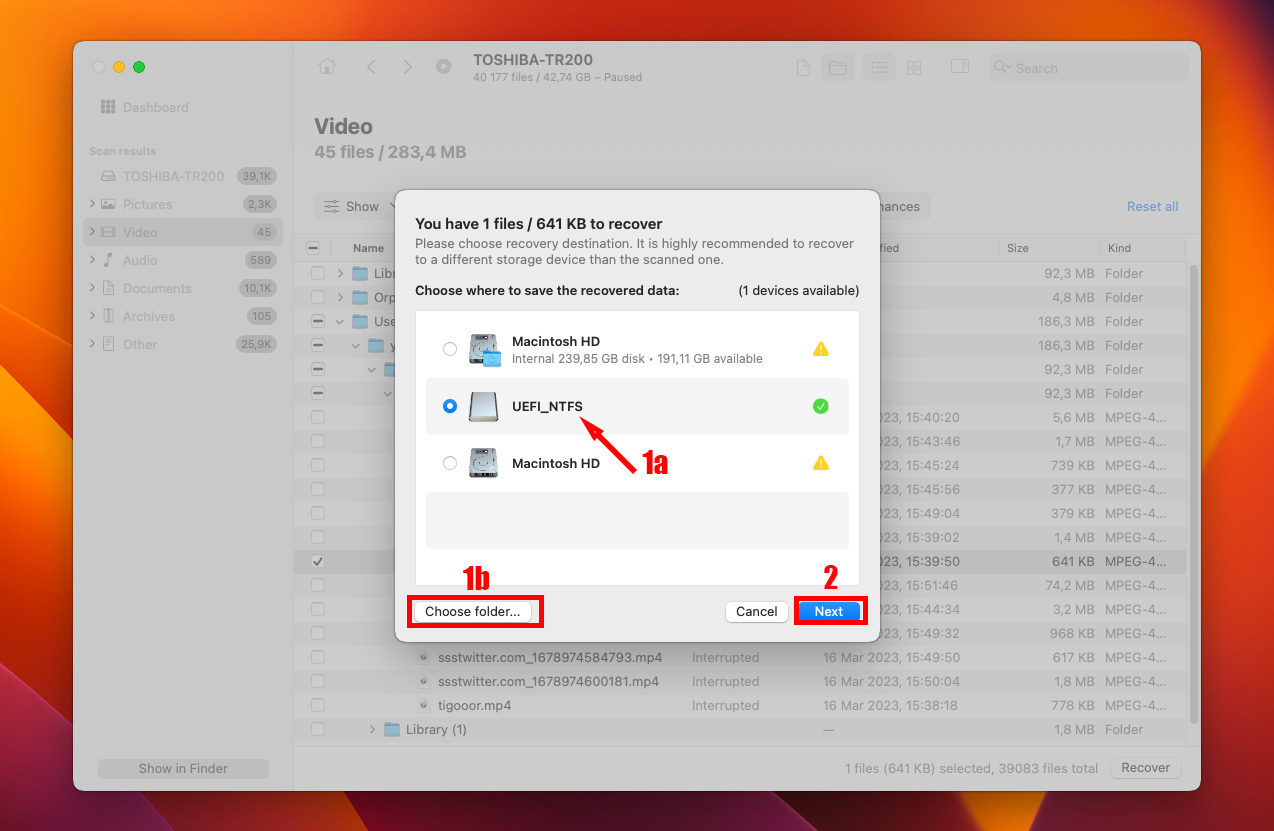
- Select the files you want to restore and click “Recover.”
- Choose where you’d like to restore your files and click “Next.”
Method 3: Use Photos (Formerly iPhoto)
If you’re wondering how to recover deleted videos from a Mac without external software, Photos is the first place to look for videos captured from your phone. Luckily, there’s a “Recently Deleted” category that stores recently deleted items for up to 40 days (sometimes less).
To use Photos to retrieve deleted videos:
- Open Photos from Finder, Spotlight (Command + Space), or Launchpad.
- Click on “Recently Deleted” in the sidebar.
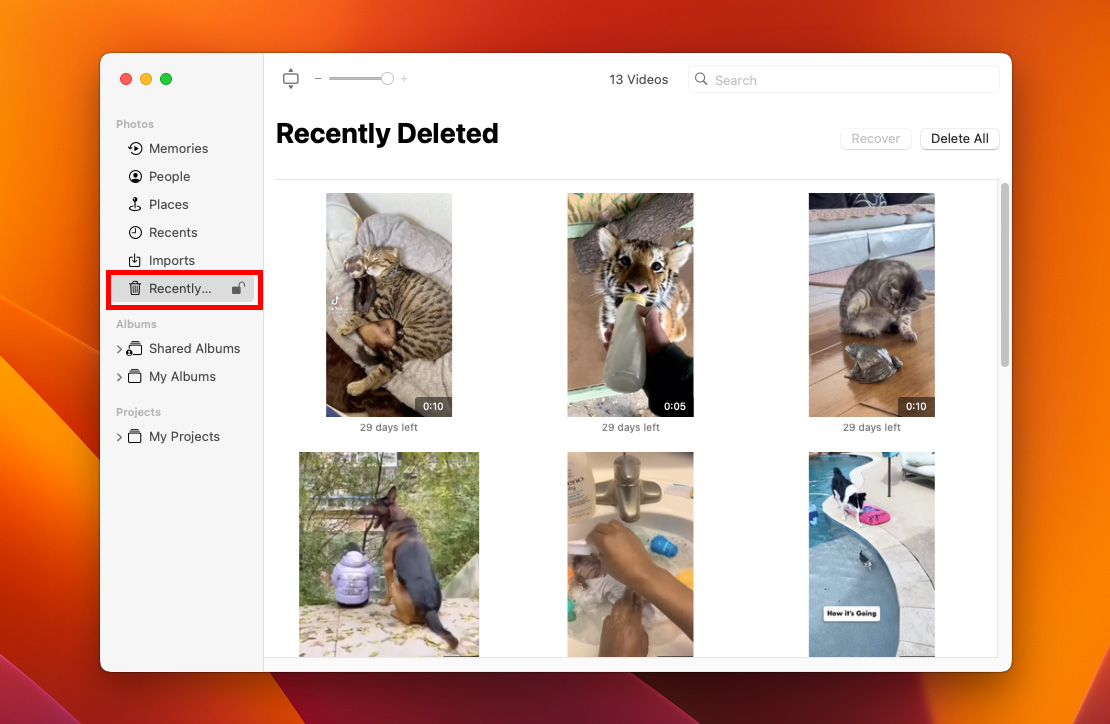
- Select your video file and then click “Recover.”

Method 4: Use Time Machine
You can also use Apple’s built-in backup application Time Machine to restore deleted videos.
Time Machine takes the hassle out of regularly backing up your data in case of an emergency. As long as your backup disk is connected and you have the “Back Up Automatically” option selected, Time Machine will keep:
- Hourly backups for the past 24 hours.
- Daily backups for the past month.
- Weekly backups for all previous months.
With Time Machine, you can go to a previous backup and pluck out the lost or deleted video file and restore it to your current system.
NOTE: This method only works if you’ve been keeping regular backups and if your backup drive is currently connected.
To use Time Machine backups to recover deleted video on Mac:
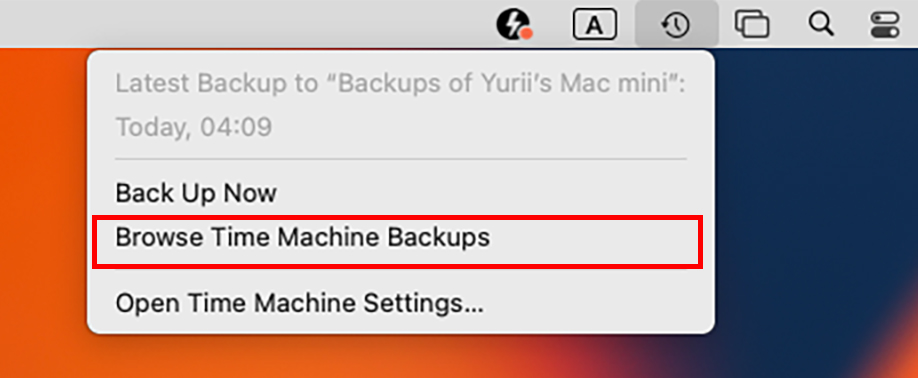
- Open Time Machine. It should be in your toolbar at the top of your screen.

- Click “Browse Time Machine Backups”
- Navigate to where your video file used to be using the sidebar.
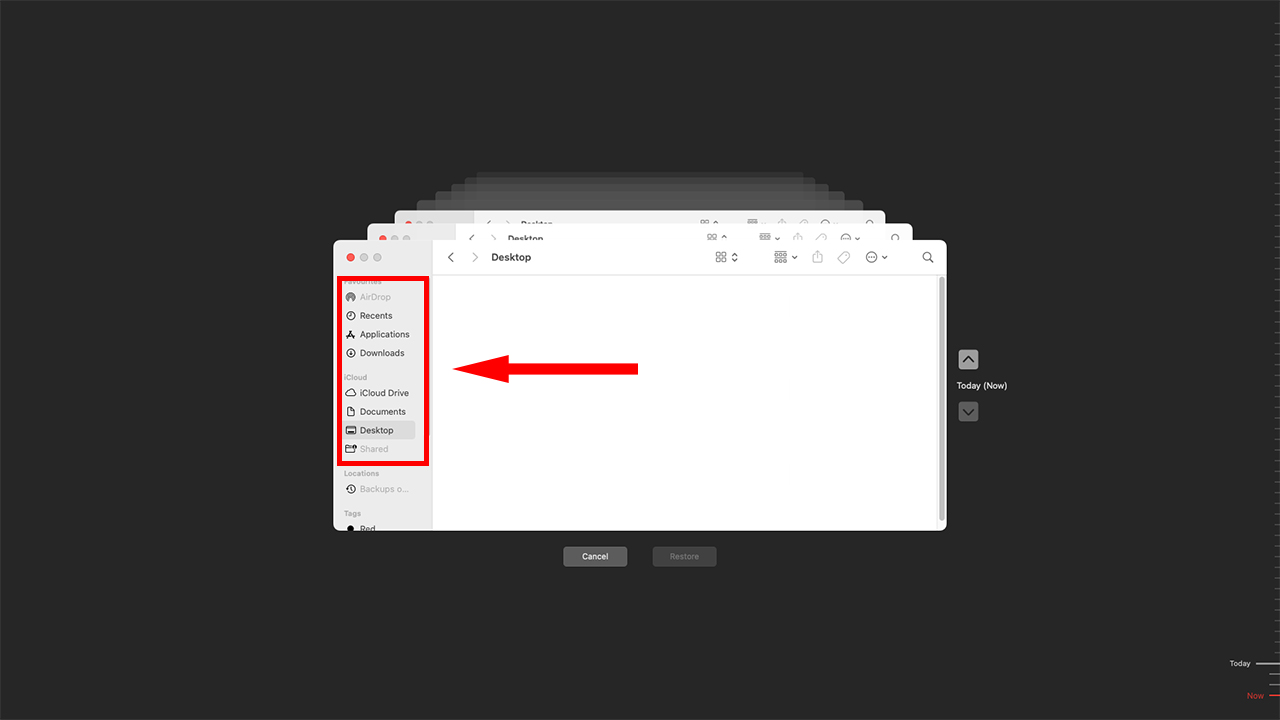
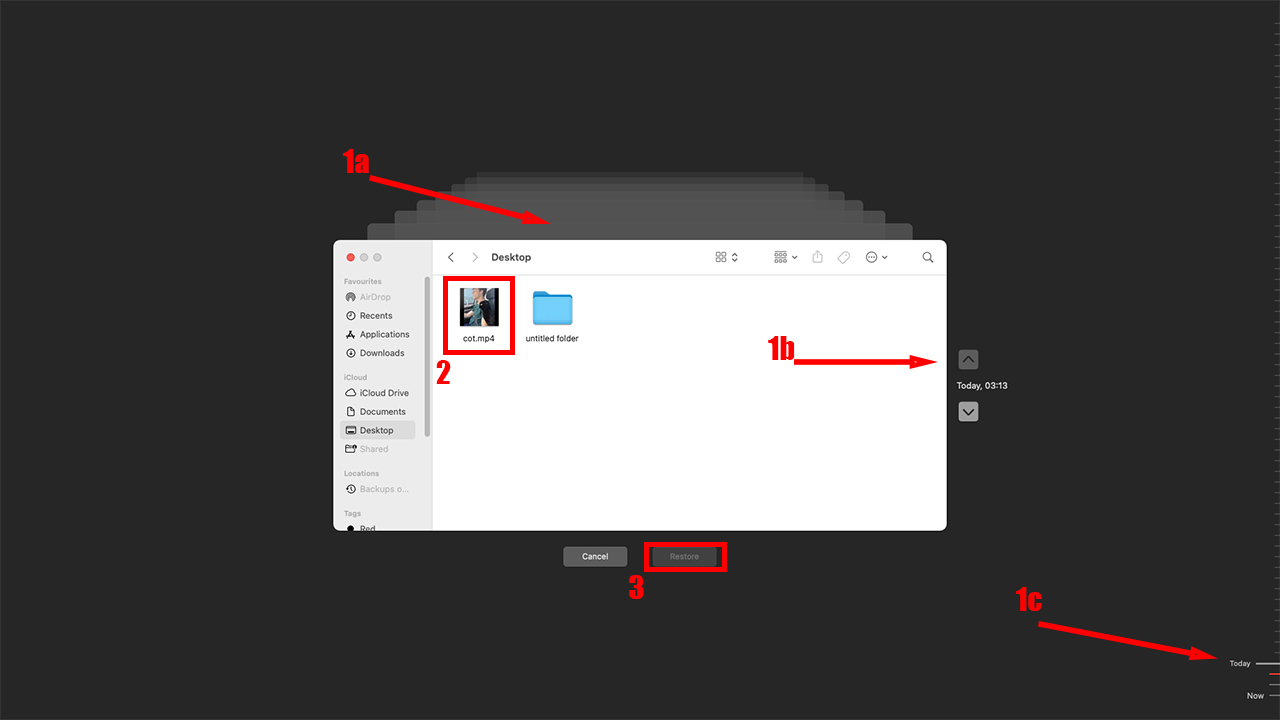
- Find the backup you’d like to restore from using the background windows, up arrow, or timeline to the right. Then select your video file and click “Restore.”
- You can then find your newly restored video file right where you left it.
Method 5: Seek Professional Assistance
If the deleted videos are too valuable to chance a DIY data recovery procedure, it’s better to contact a professional data recovery service. In case of physical damage too, contact a professional. Chancing DIY data recovery when your Mac or its storage drive is physically damaged is a recipe for disaster.
Here’s what to expect when using a professional data recovery service:
- Call up the data recovery service or submit a data recovery request via the company’s website.
- Explain your data loss situation in detail.
- Ship the storage drive or drop it off at a drop-off point.
- The experts will analyze the drive, ascertain the amount of data that can be recovered, and get back to you with a quote.
- Decide whether you wish to proceed to data recovery or not.
What to do If You Retrieve a Deleted Video That Won’t Play
If your video won’t play, it means your file is likely corrupted. There are two ways to deal with this situation.
First, you can attempt to fix the problem yourself. To do this, you’ll need to:
- Sort the list of recovered files alphabetically.
- If a file ending in .mov is immediately followed by a smaller file that ends in _ftyp.mov, you may be able to fix the file.
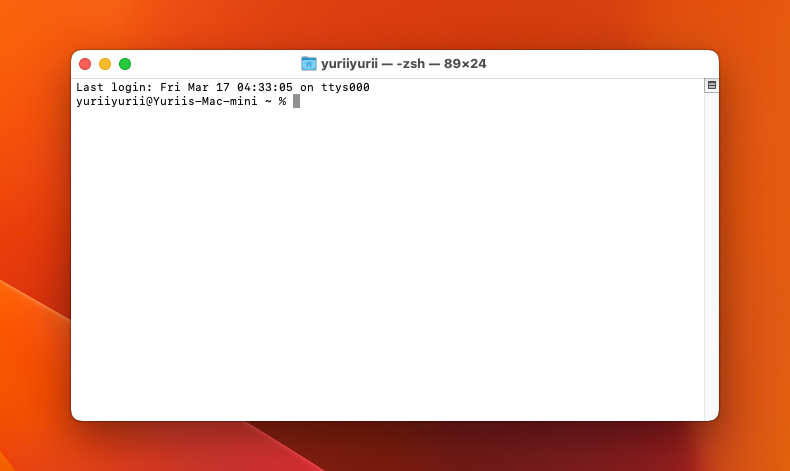
- To fix the video file, open Terminal (Command + Space, type “Terminal”).
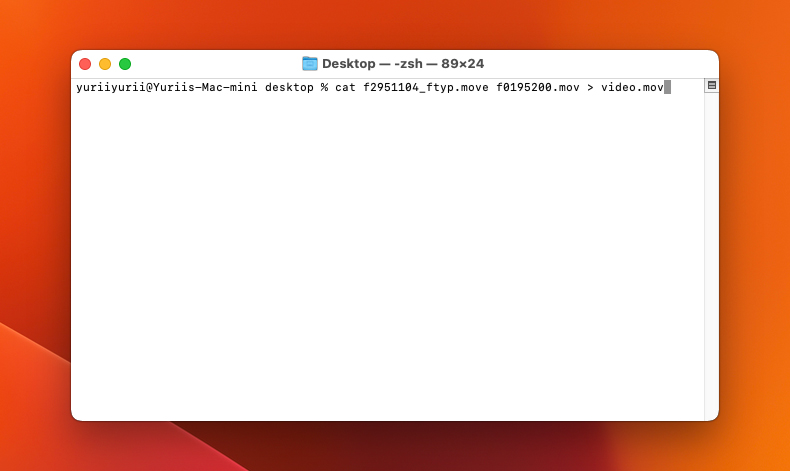
- Use “cd directory_name” to go where your files are.
- Combine both files into one, placing the “_ftyp.mov” file first followed by the second and > video.mov. Your command line should be something like this: cat f2951104_ftyp.mov f0195200.mov > video.mov
If the newly created video.mov file does not work, you’ll have to use external software meant for repairing corrupted videos.
Conclusion
More often than not, deleted videos can be recovered on a Mac. Before attempting full-fledged data recovery, confirm that the videos are actually missing by searching for them in the Photos app, and Finder. If they aren’t there, the next step is to check the macOS Bin. No luck? You can still use a professional data recovery tool like Disk Drill, or hire an expert to get back your deleted videos.
FAQ:
- Open Photos.
- Select “Media Types” from the sidebar.
- Click “Videos” to only show videos within the Photos app.
- Open Finder.
- Click the search icon to open the search field.
- Type “kind:movie” and click the results that populate below.
- Scroll through all the video files on your Mac stored outside of Photos.
- Open Photos.
- Select “Media Types” from the sidebar.
- Click “Videos” to only show videos within the Photos app.
- Locate your video in Finder (type “kind:movie” in the search bar to reveal all movie files) or Photos (select “Media Types” from the sidebar and then “Videos” to show all videos).
- Right-click the file and choose “Move to Trash” or “Delete Video” to delete the video.
- The video will then need to be deleted from the Trash or the Recently Deleted section of Photos to remove them entirely.
- Open Finder.
- Click the search icon to open the search field.
- Type “kind:movie” and click the results that populate below.
- Scroll through all the video files on your Mac stored outside of Photos.
- Use a data recovery tool like Disk Drill.
- Check the Temporary Folder.
- Recover files using a Time Machine backup.
- Use free software like TestDisk and PhotoRec.


