
You’re transferring files from your SD card to your computer when you accidentally delete some valuable footage. Whether it’s a simple photo or a professional video clip, we can recover deleted files from your SD card through your Mac.
Before anything, you should immediately stop using the SD card to increase the chances of recovering your deleted files. In this article, we’ll go through a step-by-step guide to recovering the deleted files and we’ll talk about the common reasons for data loss and how to avoid them.
Table of Contents
Types of SD Cards Explained
SD or Secure Digital cards are portable memory cards used to store data in electronic devices.
Here are the different types of SD cards you’ll encounter.
- SDHC – These are the most common type, with high capacity storage that can hold up to 32GB of data, so they are usually used for digital cameras.
- Micro SD – These cards are smaller in size and are designed for mobile phones.
- CF Cards – Compact Flash cards are known to be faster and more durable than SDHC, and are mostly used in high-end cameras.
- xD Pictures – Extreme Digital picture cards were commonly used with Fujifilm and Olympus cameras, though they were discontinued in 2009.
Even though there are several types, the ways to recover deleted files from SD cards are similar, if not exactly the same. So without further ado, here’s how!
How to Recover Deleted Files from an SD Card on Mac
Here are the most effective data recovery methods for restoring deleted files from an SD card on Mac. For best results, either choose one method that suits your situation the most or try these data recovery methods one after the other.
Method 1:Recover Data from Trash on SD Card
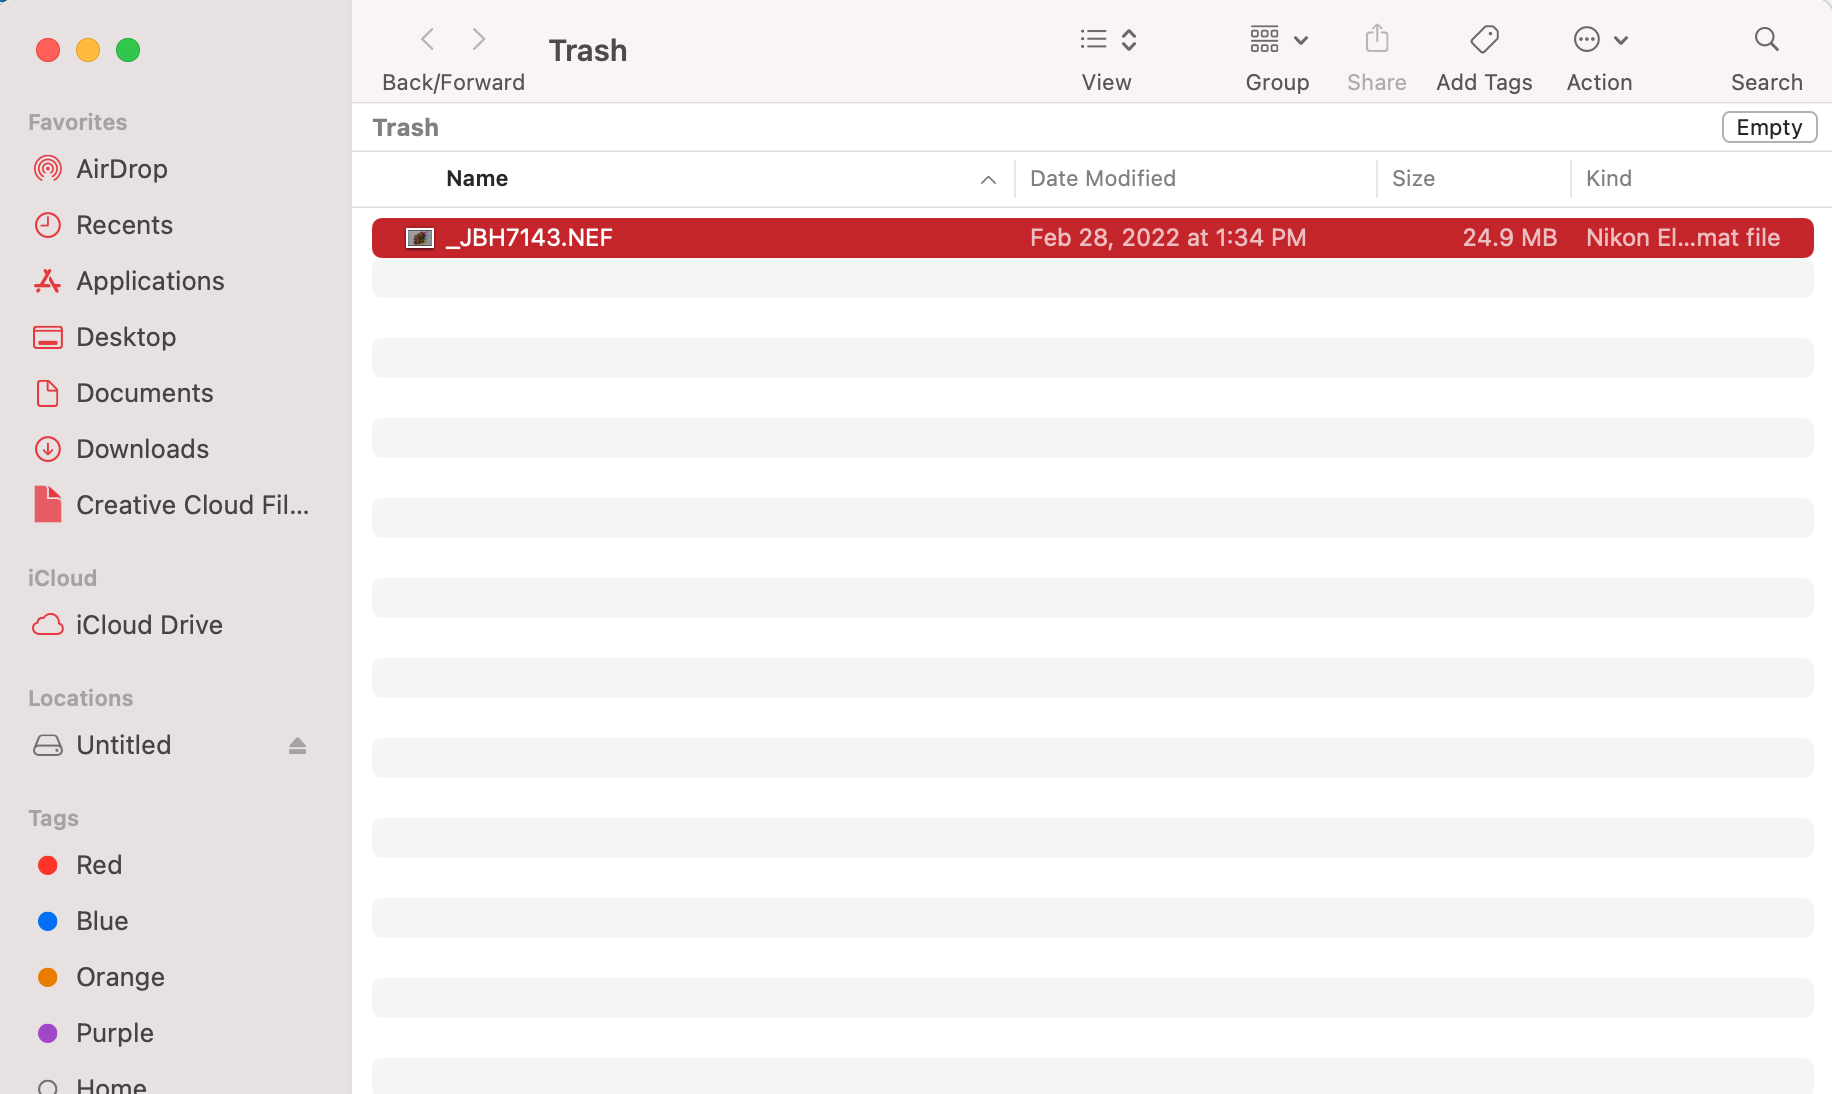
The files you delete from the SD card on your Mac don’t get permanently deleted right away — they first get moved to Trash. So if you haven’t emptied Trash on your Mac after you’ve deleted the file from the SD card, you should be able to still find it there.
Note: The deleted files from the SD card will be visible in the Trash folder on your Mac only when the SD card is connected to it. When you disconnect the memory card from your computer, the deleted files will become invisible.
Follow these steps to recover the deleted files from your SD card in Trash on your Mac:
- Connect the SD card to your Mac.
- Launch Trash (click the last icon on your Dock).

- Scroll through the files located there to find the one you need.
- Drag and drop the file to a different folder, or right-click it and choose Put Back from the drop-down menu to return it back to its original location.
You can also access the deleted SD card files with the help of a special keyboard shortcut. Here’s how to do that:
- Connect the card to your Mac.
- Launch Finder.
- Click the SD card name in the sidebar on the left.
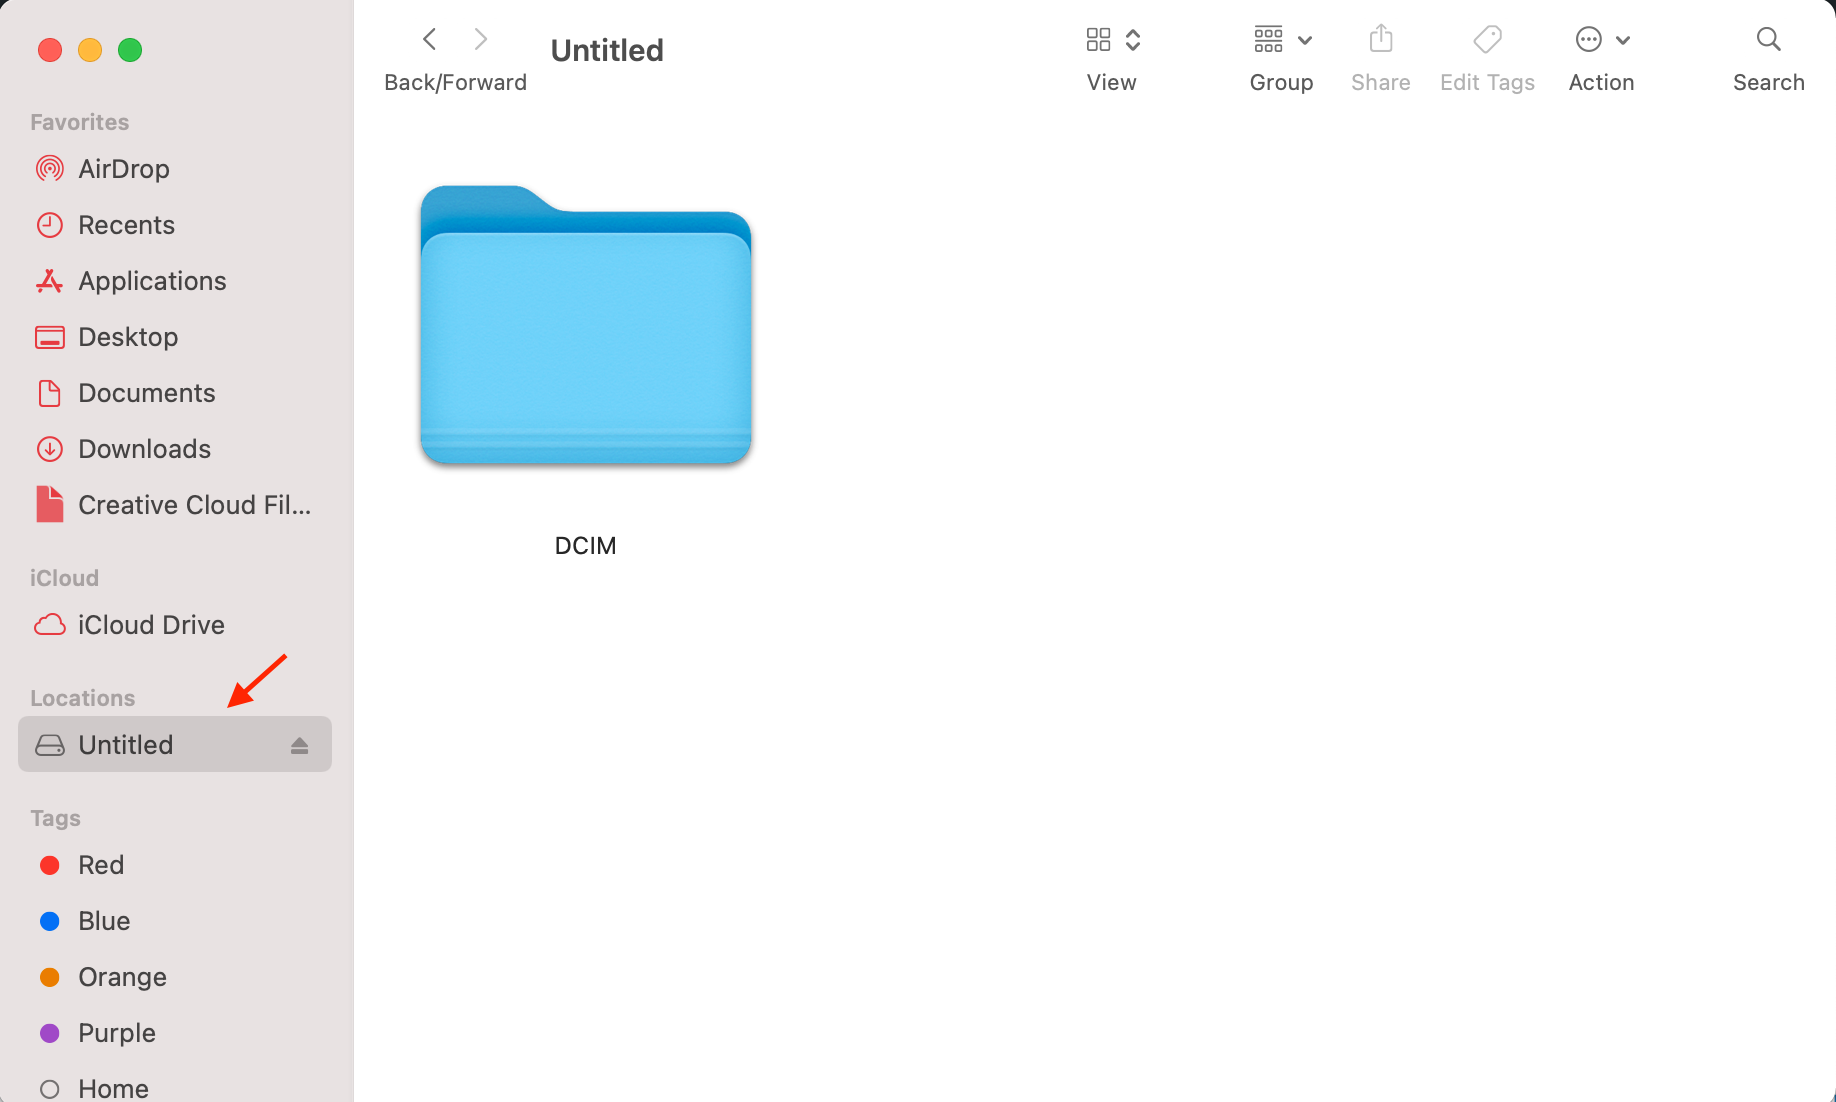
- Press Shift + Command + . to view hidden files.
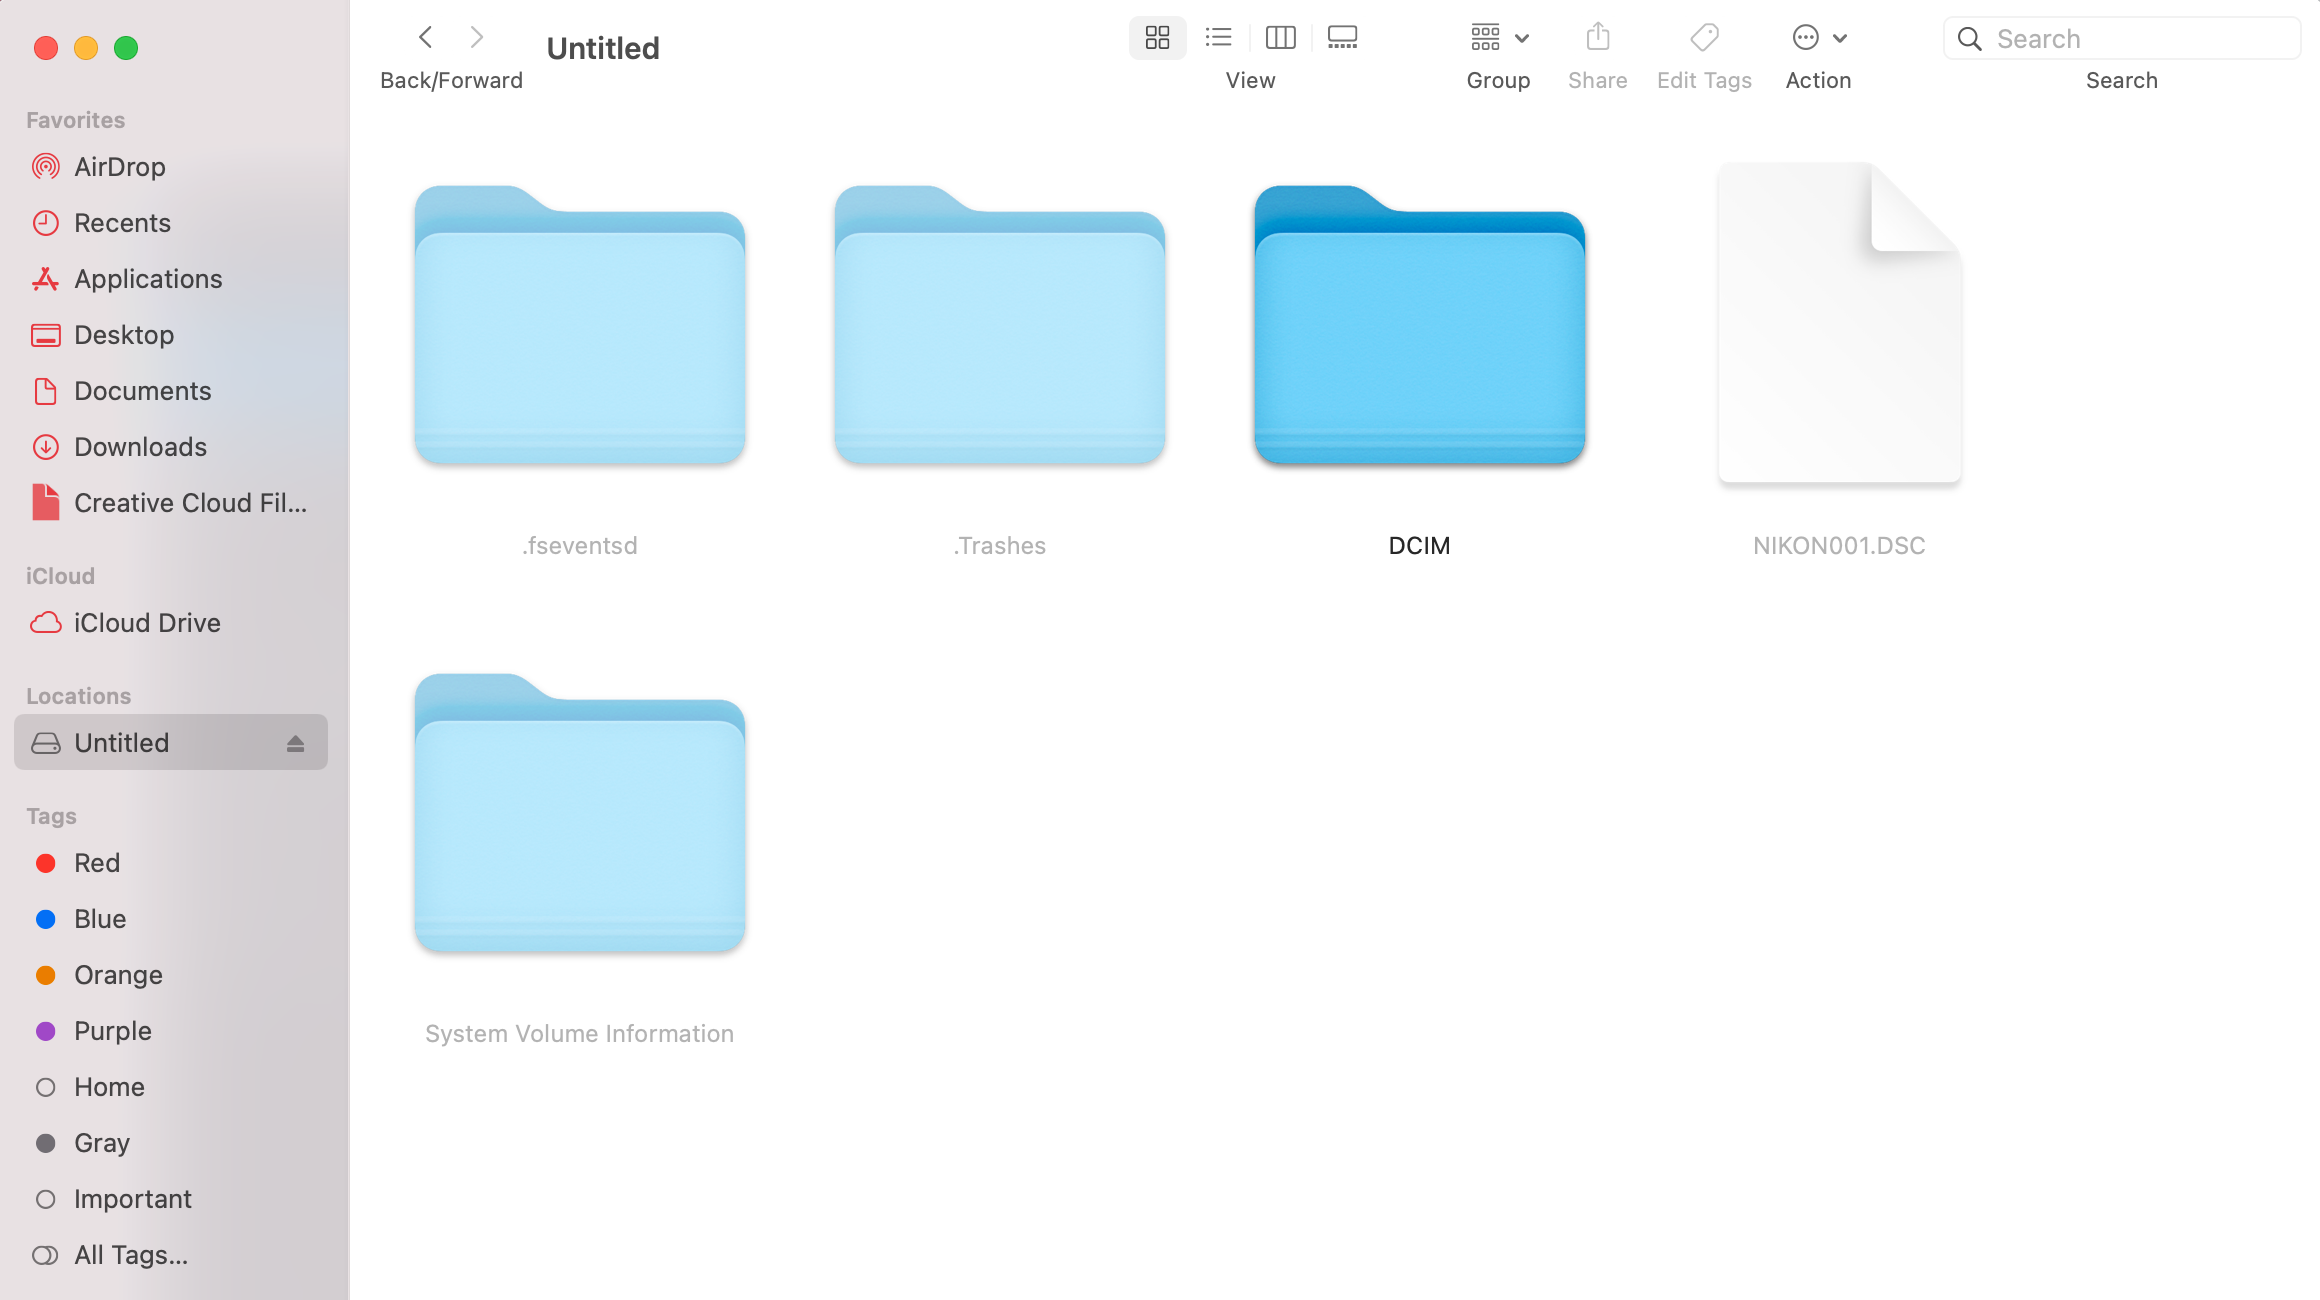
- Go to the .Trashes > Trash (the deleted files should be located in this folder).
Method 2:Use Specialized Data Recovery Software
Disk Drill is a data recovery software for Mac that can retrieve over 400 file types on different storage devices like iPhones and iPads, Android devices, USB flash drives, and SD cards.
You can download the app, scan, and preview any deleted files from your SD card for free. However, if you found your lost files and want to recover them, then you’ll need to purchase the PRO version for unlimited data recovery for just $89.
To recover your data from an SD card using Disk Drill, follow the steps below:
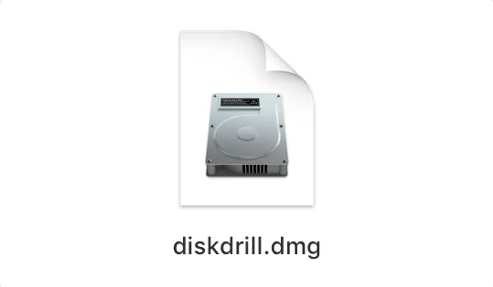
- First, download Disk Drill for Mac from the official website.
- Next, open diskdrill.dmg from your Downloads folder.
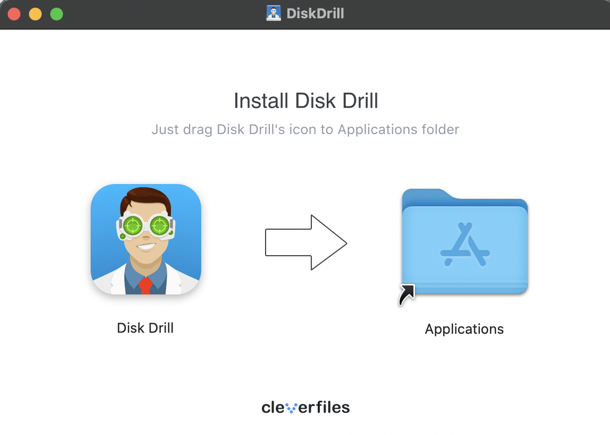
- Then, drag the Disk Drill icon to the Applications folder.
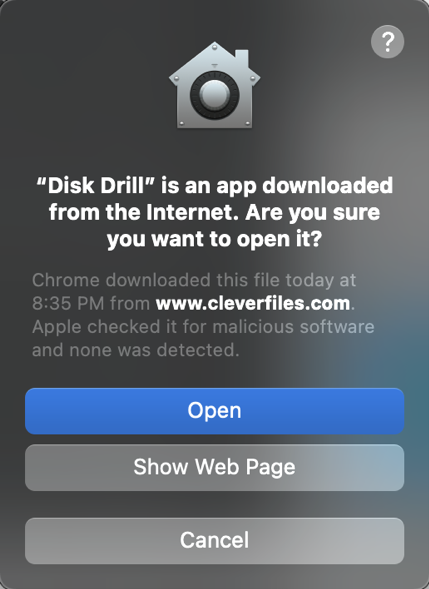
- Open Disk Drill from the Applications folder. If this is your first time to open the app, there will be a prompt asking you if you are sure you want to open Disk Drill. Click Open.
- Disk Drill will now be launched. All the available drives for scanning will be displayed on the Disk Drill homepage, so make sure that your SD card is plugged into your Mac for it to be detected.
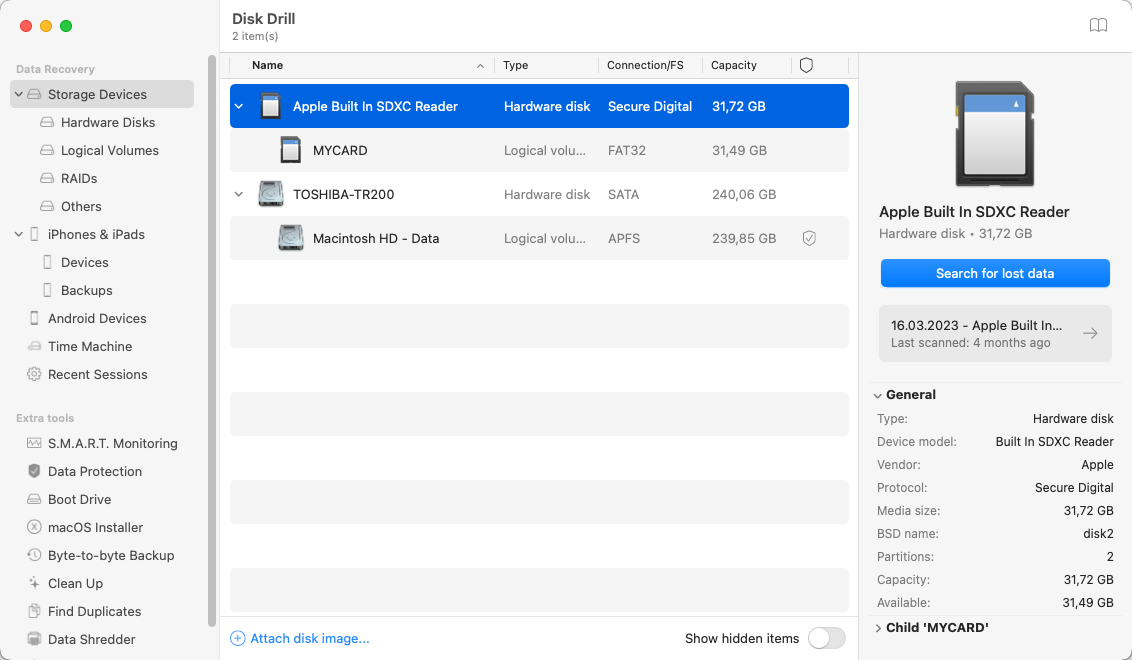
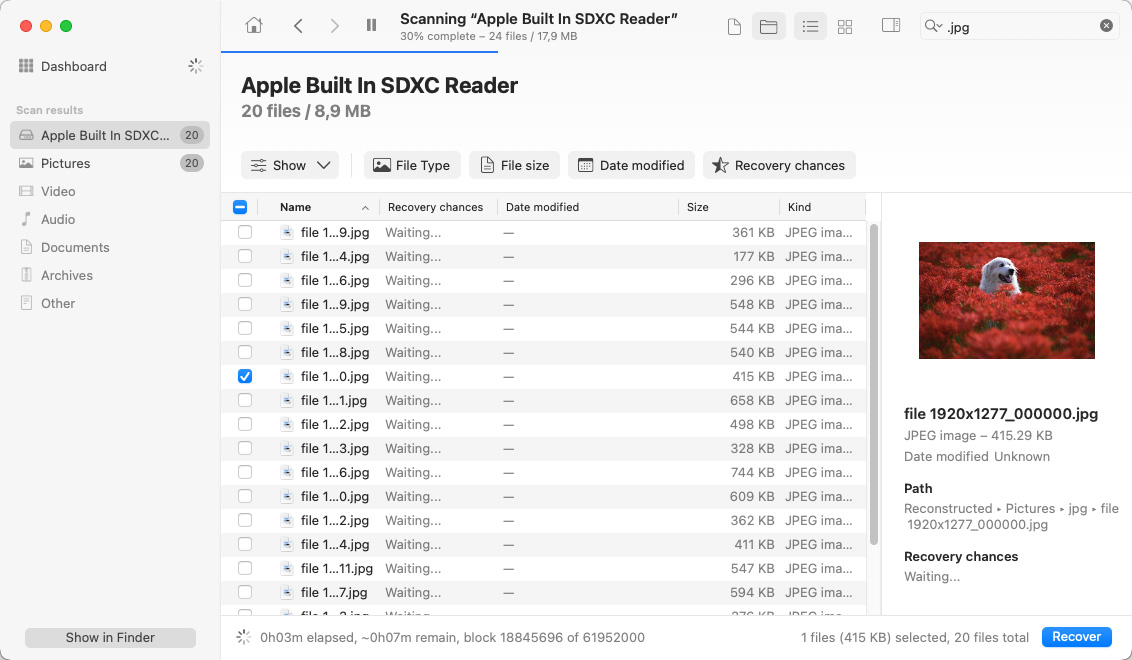
- Click on the SD card that you want to scan for lost data, and click Search for lost data on the right side of the screen.
- Wait for the scan to finish. This will probably take a while depending on the size of the drive being scanned. When the scan is over, Disk Drill will show the items that you can retrieve. They will be separated according to file type.
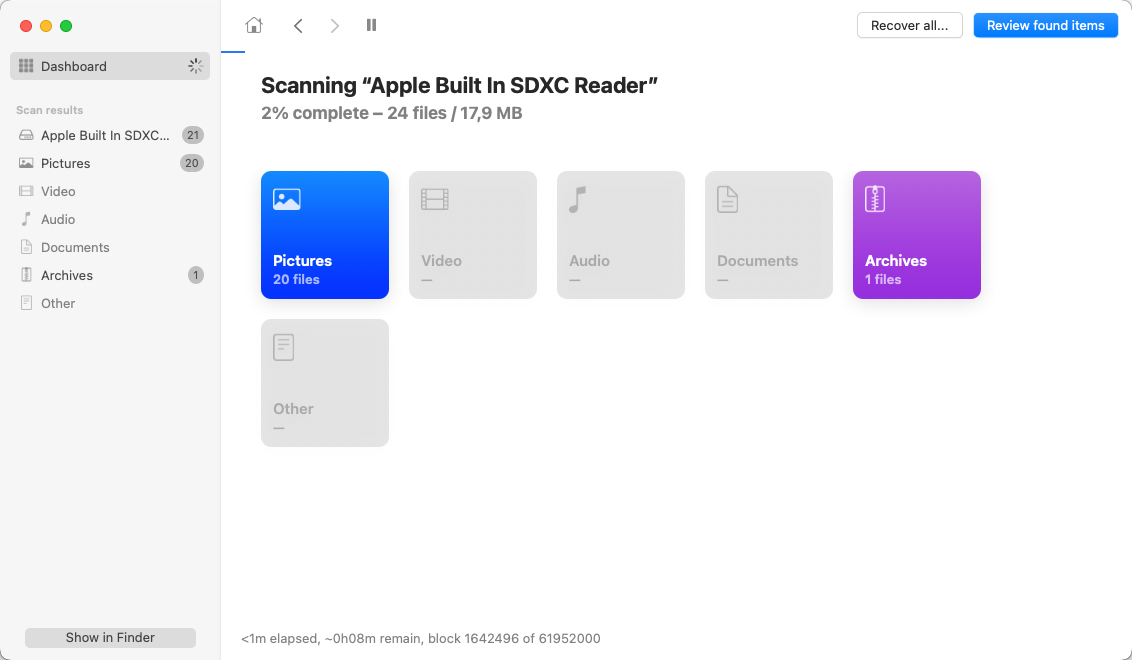
- Suppose you are looking to recover photos from your SD card, click the Pictures category. There will be subfolders. Filter them by file size, date modified, or directly search for the file name.

- Once you’ve found the file, click on it to see a preview of the image.
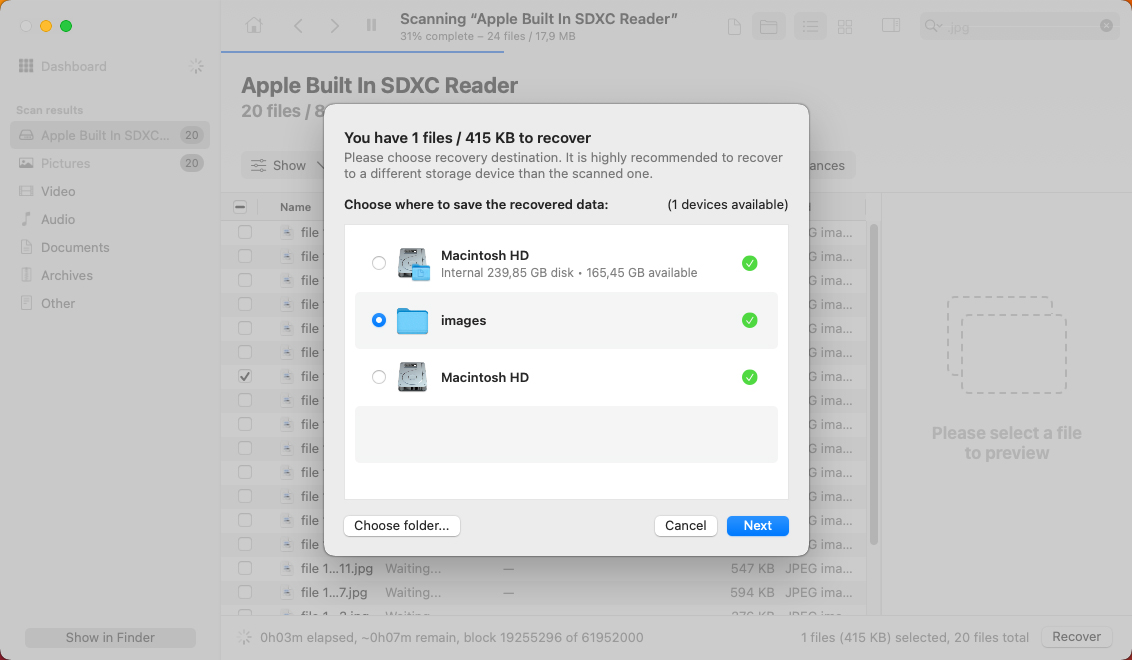
- Finally, click the Recover button located on the lower-right part of the screen and choose a new destination for the file that you want to recover.
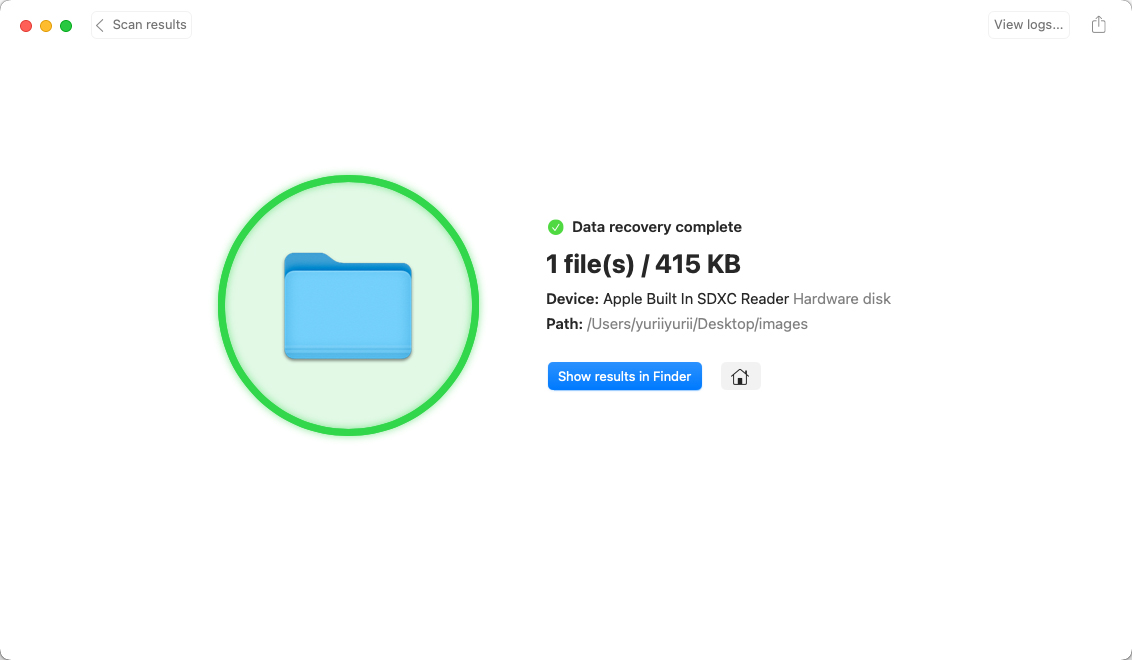
- A message will show up on your screen to confirm that the file has been recovered.
Method 3:Recover Data From Your SD Card with PhotoRec
Another tool that can help you recover deleted files from an SD card is PhotoRec. It’s an entirely free, open-source data recovery software that does an excellent job of restoring deleted images, videos, and other files of various sizes.
While PhotoRec is an effective data recovery solution, not all users are comfortable using it since it doesn’t have a command-driven interface which makes it more complex to use compared to applications that have a graphical user interface.
Follow these steps to recover the deleted files from your SD card using PhotoRec:
- Download PhotoRec on your Mac (you’ll have to download both TestDisk and PhotoRec since these utilities come together).
- To install the utility, launch Terminal (go to Launchpad > Terminal) and copy-paste the following command:
sudo photorec.
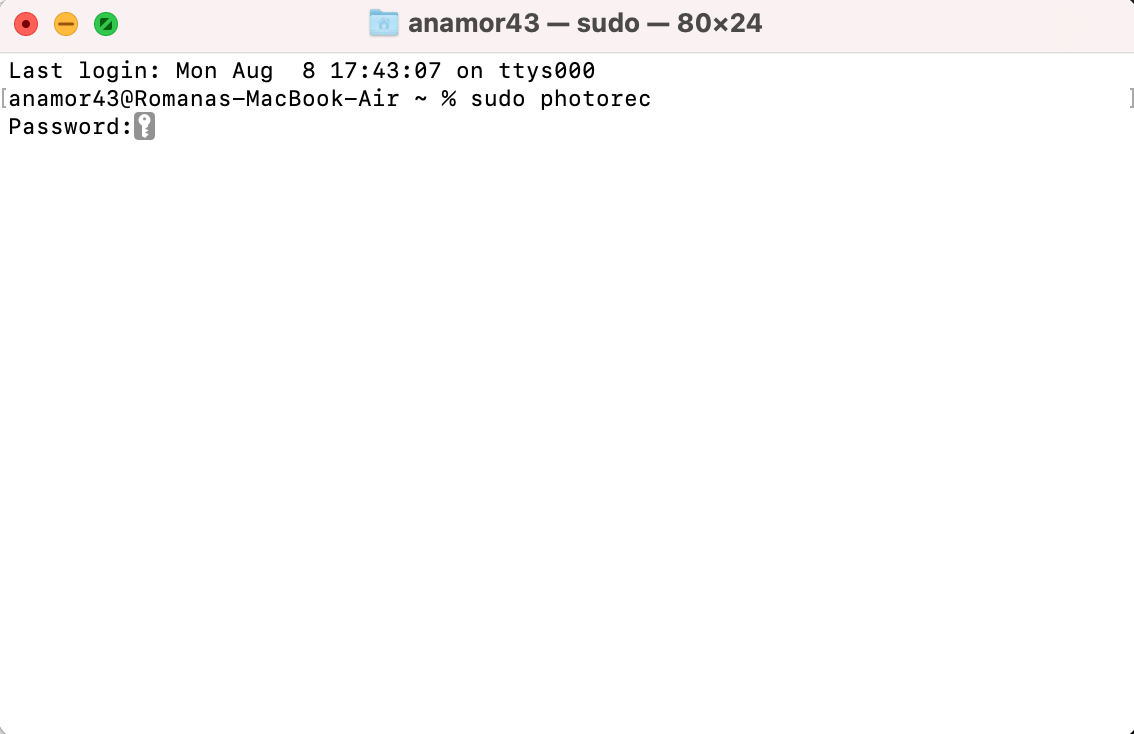
- Hit Return and enter your admin password if needed.
- Choose your SD card from the list of devices by using the arrow keys and hit Return to confirm your choice.
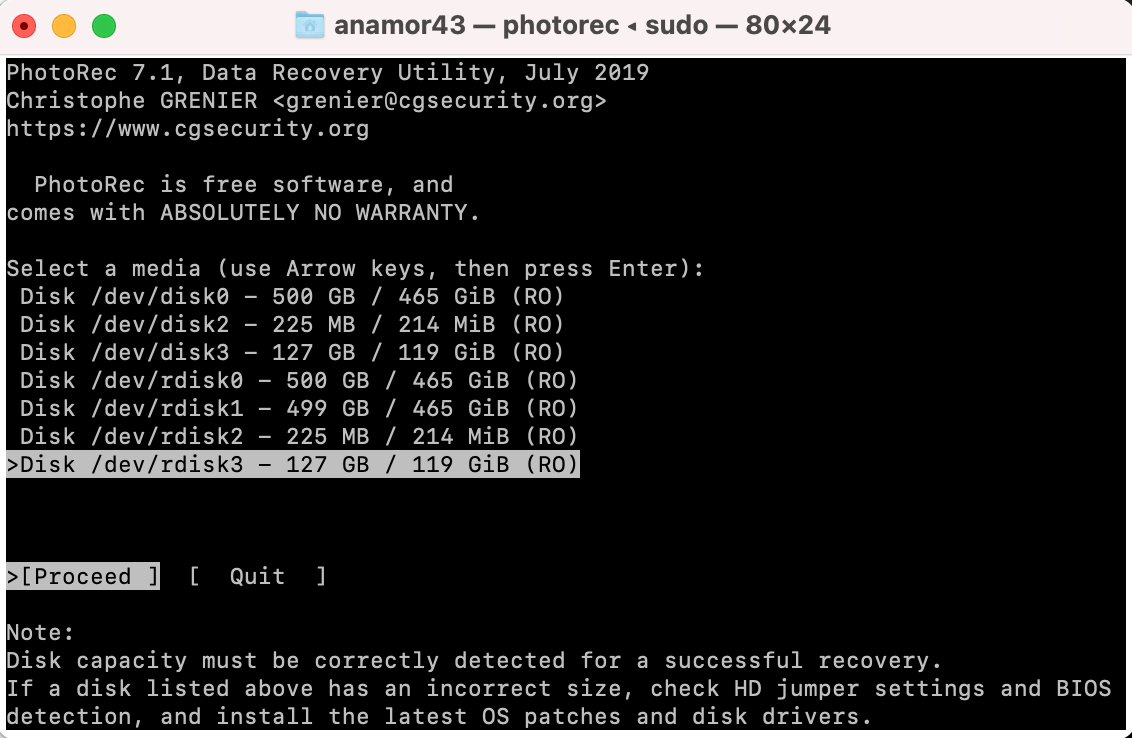
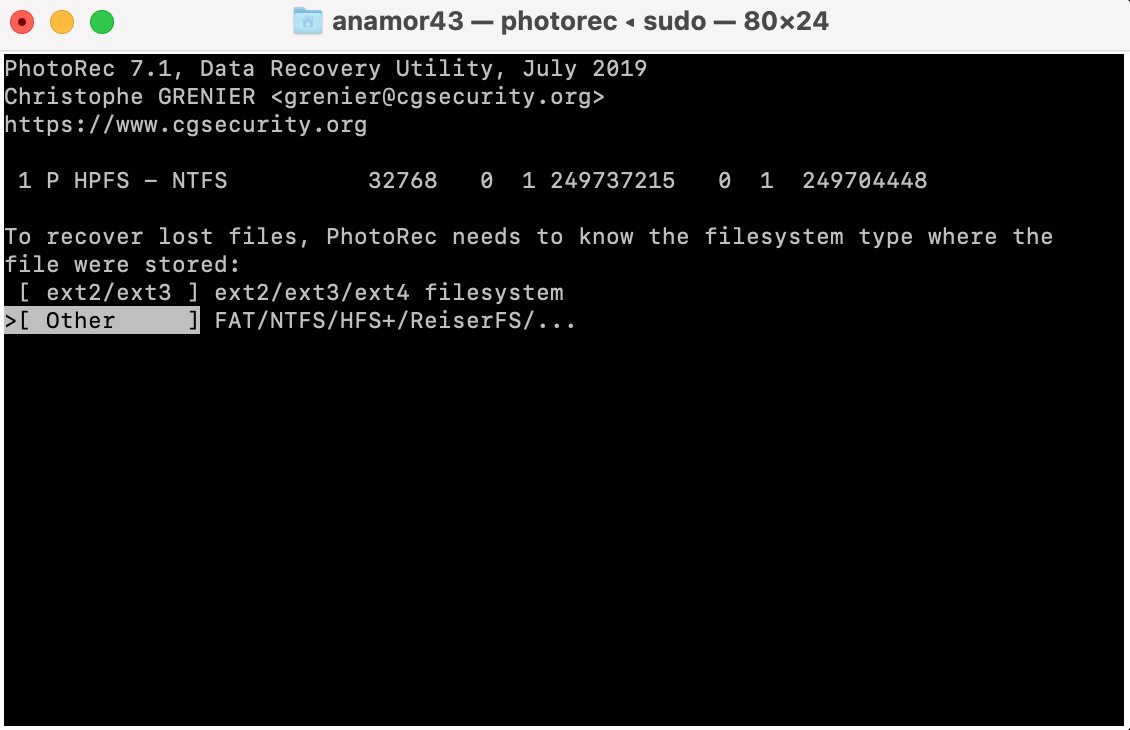
- Select the SD card partition with your data and hit Return to start the search. Make sure that you’ve selected Other and hit the Return key.
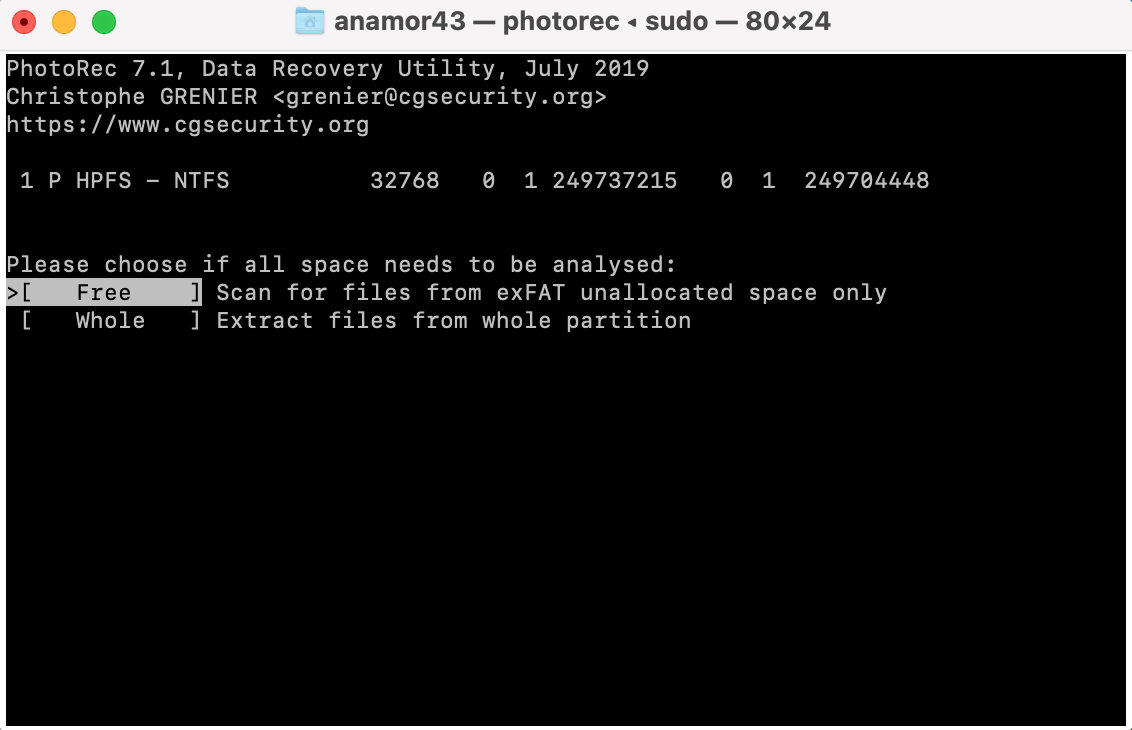
- Choose Free to search for deleted files or Whole for a more comprehensive search that would recover the entire SD drive and hit Return.
- Select the destination for the recovered data and hit C on your keyboard to confirm.

Once the utility finishes the recovery process, quit Terminal and go to the previously chosen destination to find the folder with recovered data.
Reasons for Data Loss from SD Cards
There are several possible reasons as to why you’ve lost files from your SD card. The most common reasons are:
- 🛠️ Corruption. Improper physical handling of an SD card can result in a corrupted card. When your SD card cannot be recognized or cannot show files saved on it, then it may be corrupted. Aside from improper handling or exposure to heat and unsuitable environments, age can also degrade and slowly corrupt an SD card. An SD card typically has a 10-year lifespan, but it’s a great rule of thumb to prepare backups and think about buying one after 5 to 7 years of use.
- 🦠 Virus or Malware. If your device accidentally downloaded a malware or virus, then that will also affect the memory card installed. Data stored may become unreadable or inaccessible.
- 💿 Formatting. Formatting a memory card on Mac, whether intentionally or accidentally, deletes all the data that was stored in it. Unless you are sure that you no longer need the files stored in your SD card, or you have them all backed up, do not format your memory card.
How to Prevent Data Loss on an SD Card
Knowing all that, here are a few tips for you to prevent data loss:
| Tip | Description |
| ⏏️ Properly Eject the SD Card | Never disconnect your SD card from your Mac by simply pulling it out of the computer. Whenever you do that, the risk of losing some or even all of the data from the memory card increases. To do it the right way, launch Finder, right-click the SD card on the sidebar, and choose Eject from the drop-down menu. |
| ♨️ Avoid High Temperatures | If you expose your SD card to high temperature often, there is a chance that it may get physically damaged. Once that happens, retrieving the data from such a card becomes incredibly difficult and, in some cases, even impossible. |
| 💽 Use Multiple Memory Cards | It’s best to use a few SD cards rather than just one. This will prolong their lifespan, and therefore the chances of unexpected data loss will decrease. |
| ✍🏻 Don’t Interrupt Read/Write Operations | Make sure that all read or write processes are finished before ejecting the SD card from your Mac. For example, if you’re trying to upload data to your SD card, don’t disconnect it from your computer until the operation is complete. |
| 💻 Regularly Backup Data | Better safe than sorry. It’s a good idea to make it a habit of regularly creating backups of your SD card so in case you lose some important data, you’ll have a simple and effective way of bringing it back. |
FAQ
- First, download TestDisk.
- After downloading, click on the testdisk-7.1-WIP file to uncompress it.
- Run the testdisk executable file and enter your admin password if prompted.
- Choose the SD you want to recover from. Typically, SD cards will not have any partitions, so just select None when asked for the partition type.
- Next, select Analyze to begin searching for your lost files.
- You can start with a Quick Search and if that doesn’t find your files, follow it up with a Deeper Search.
- Once you’ve found your lost partition, simply select that partition and press Write to begin the recovery process.
- Connect the SD card to your Mac.
- Download and install Disk Drill for Mac.
- Launch the application and select the SD card from the list of available devices.
- Initiate the scan by clicking the Search for lost data button.
- Wait for the scan to finish and click Review found items.
- Click Pictures in the sidebar on the left to narrow down your search.
- Click the eye icon near a photo to preview it and select the photos you wish to recover.
- Click the Recover button and select a preferred destination from the restored data.


