
The best way to keep your Mac organized is by regularly decluttering it from unnecessary files. However, it is so easy to mistakenly delete an important one during this process. Luckily, recovering a file in this case is a breeze. But if you delete a file and empty the Trash folder after that, and only then you realize that you actually need that file, the situation gets a little bit more complicated.
Even if that’s what you’re going through right now, don’t lose hope just yet. Read on to find out the best solution for this issue.
Table of Contents
How to Find Trash on a Mac
By default, Trash is located at the end of the Dock on all Macs. The folder’s icon looks like a garbage can and might be a bit different depending on what macOS version your computer is using.
![]()
Trash can’t be removed from the Dock, but in some cases, when there are issues with your Mac, it might temporarily disappear. If you can’t find Trash on the Dock, try the following options.
Option #1: Finder
Here’s how to find Trash on your Mac via Finder:
- Launch Finder.
- Using the menu at the top, click “Go > Go to Folder” (or press Command + Shift + G).
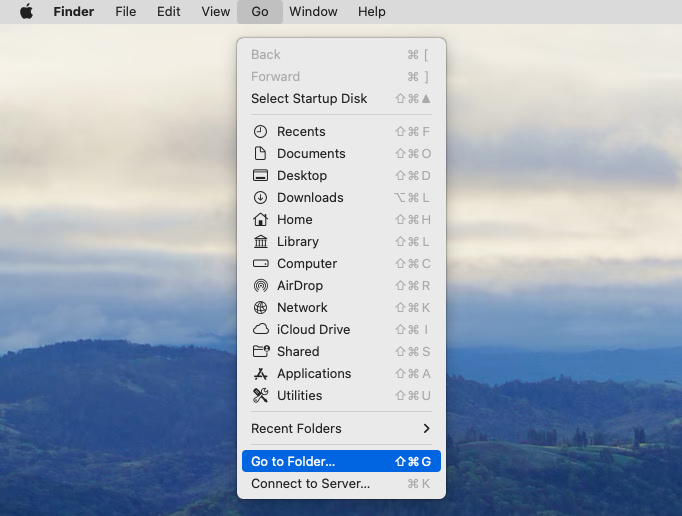
- Type ~/.Trash in the search field and click “Go”.
Option #2: Terminal
If you’re comfortable using applications with a text-based interface, then you can access the Trash folder on your Mac via Terminal. Here’s how to do it:
- Open Terminal (go to Launchpad and type Terminal in the search field).
- Copy-paste the following command into the Terminal window and hit the Return key:
cd .Trash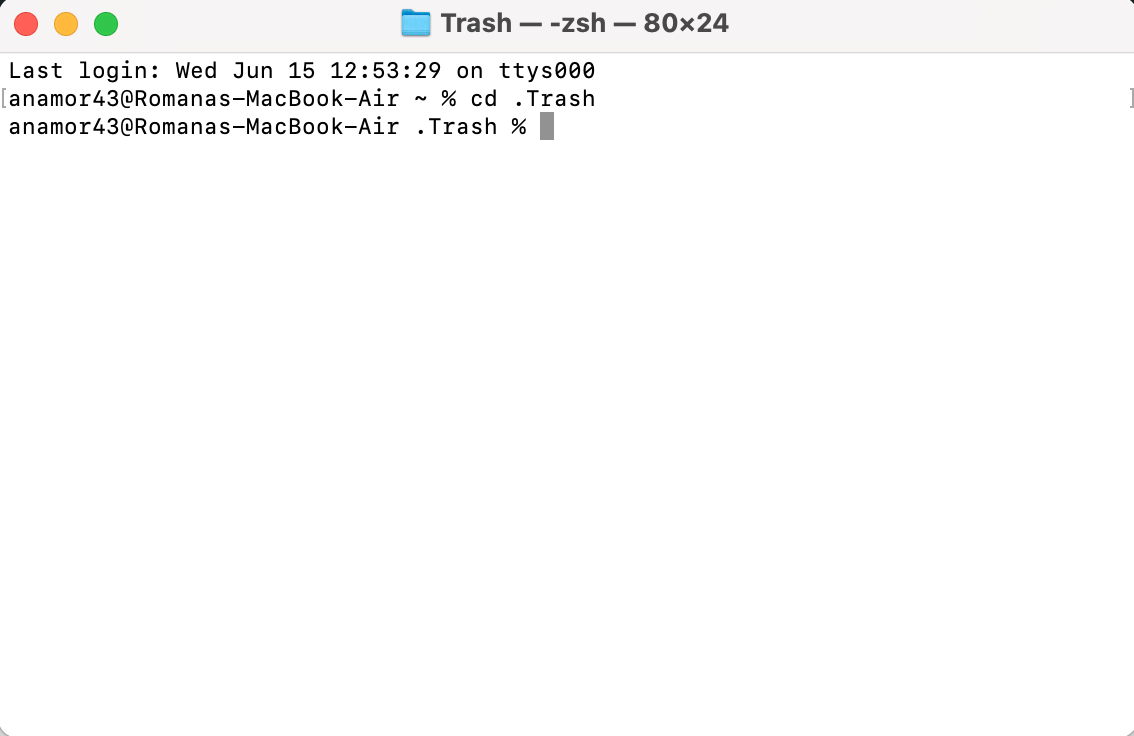
- Then copy-paste this command and hit Return:
ls -al ~/.Trash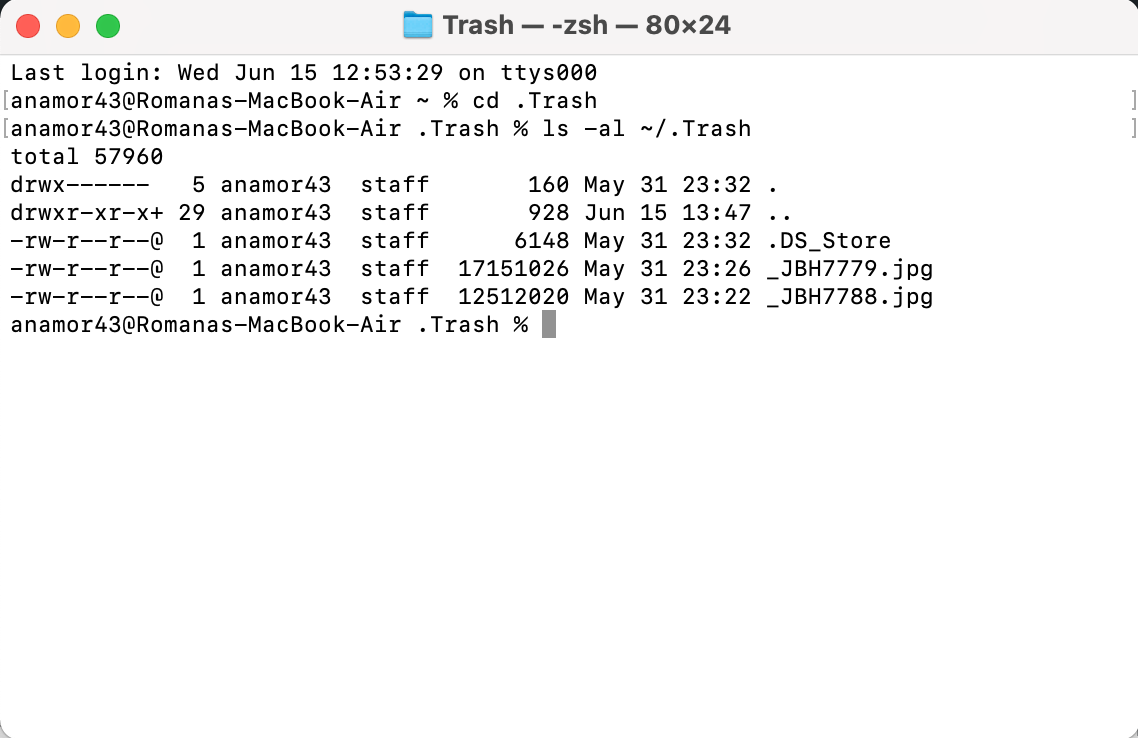
You’ll see a list of the files that are currently located in Trash.
Option #3: Desktop Icon
Another way to access Trash on your Mac is to add a Trash folder to the desktop. Here’s how to do it:
- Open Terminal (go to Launchpad and type Terminal in the search field).
- Copy-paste the following command into the Terminal window and hit the Return key:
ln -s ~/.Trash ~/Desktop/Trash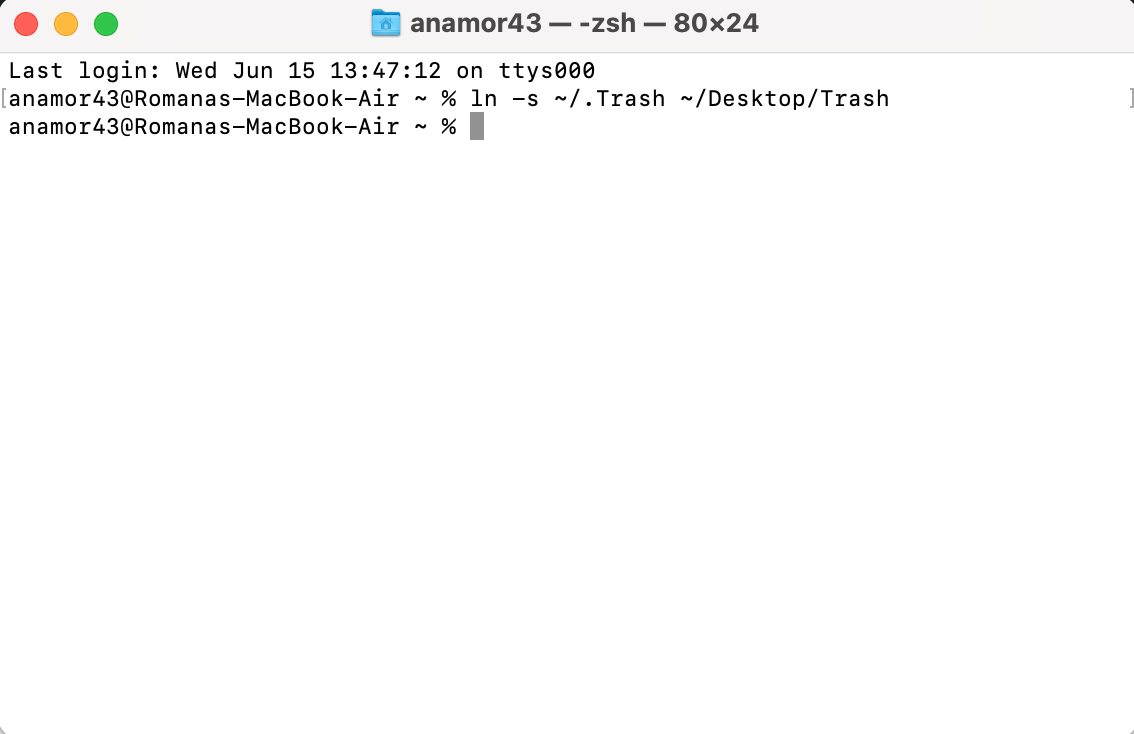
- Go to your Mac’s desktop and look for a folder called “Trash” (it’ll look like a regular folder).
Is It Possible to Recover Emptied Trash?
In short – yes, it is possible to recover an emptied Trash on your Mac. But, of course, the data recovery results will vary depending on your specific situation. Many factors can influence this process: time, size of the deleted file, drive errors (such as corruption and malfunctions), available backups, etc.
Whenever you empty the Trash on your Mac, the files from there don’t immediately get removed. Even though you can’t visually see them, physically, they are still present on your drive until the Mac overwrites them with new data. So, to increase your chances of recovering those files, you should stop using your Mac as soon as you notice that the files are missing. Moreover, you must act quickly since the sooner you start the recovery process, the higher the chances you’ll have of recovering them.
If you’re not sure whether the Trash was actually emptied after the deletion of those files, it’s a good idea to locate the folder and check whether the files are gone before moving forward with the data recovery.
How to Recover Emptied Trash on Mac
Ready to bring back those deleted files from your emptied Trash on the Mac? Basically, there are three options that offer optimal results: use specialized data recovery software, Time Machine backup, or iCloud backup.
If you’ve been backing up your Mac regularly with either Time Machine or iCloud, the chances are that those deleted files are on one of those backups, and you’ll be able to retrieve them from there. But if you don’t have any backups available or aren’t sure whether the needed files are located there, your best option is to use a data recovery tool for that. This method is secure, and thanks to the advanced scanning feature, you’ll be able to quickly restore the files from the emptied Trash folder.
Method 1: Recover Emptied Trash on Mac with Software
There are quite a few tools available on the market that can be used for data recovery purposes on a Mac. However, not all of them can be applied when recovering files from an emptied Trash.
Disk Drill is one of the best Mac data recovery software out there that, thanks to its user-friendly design and easy-to-use navigation system, can be used by anyone regardless of their knowledgeability. And it has a high success rate of recovering deleted files from an empty Trash, which makes it the perfect option. Moreover, it supports almost any file type and format (video, audio, archive, images, documents, etc.), so you can be sure that whatever file you’re trying to recover, you’ll be covered with this tool.
- Download Disk Drill for Mac and follow the onscreen instructions to install it.
- Launch the application.
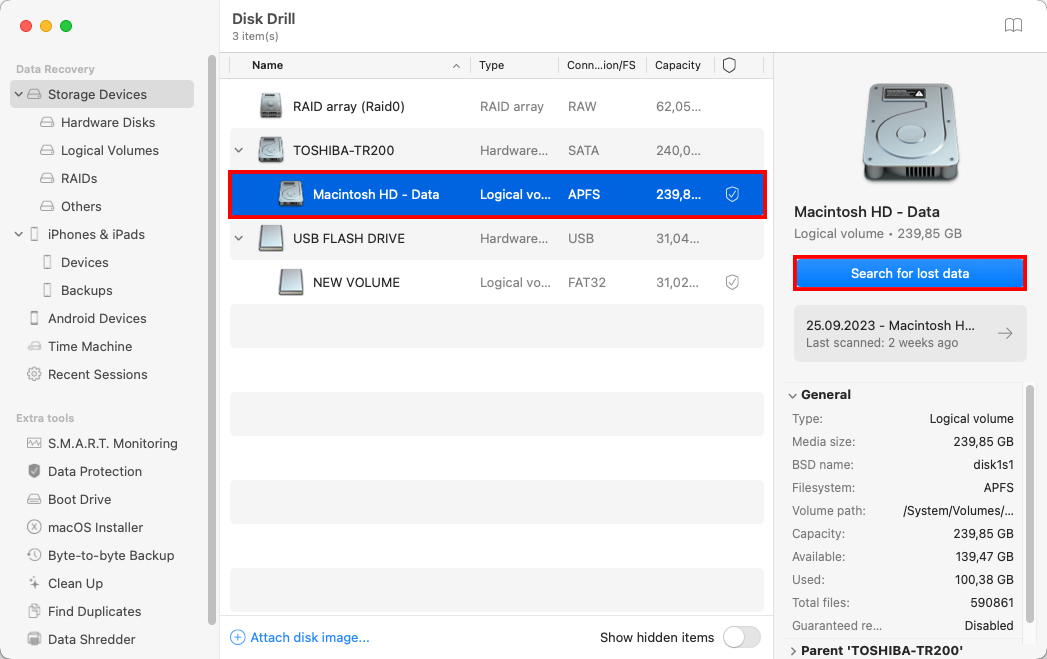
- Choose the hard drive which contained the deleted files from the list of available devices. Then click Search for lost data button to initiate the scan.
 Wait for the scan to finish and click Review found items.
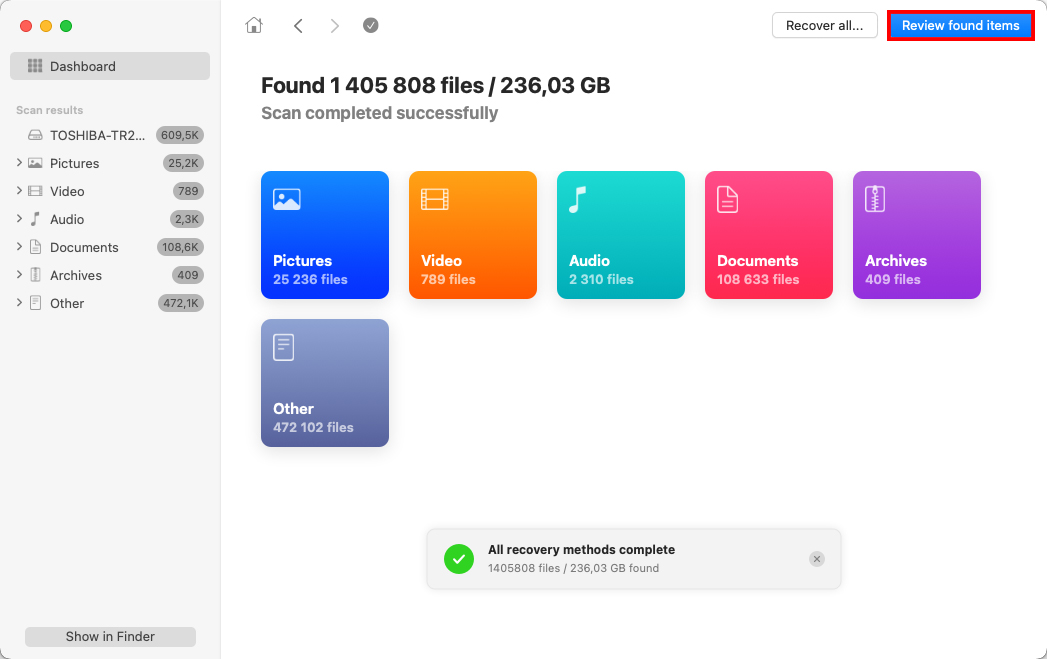
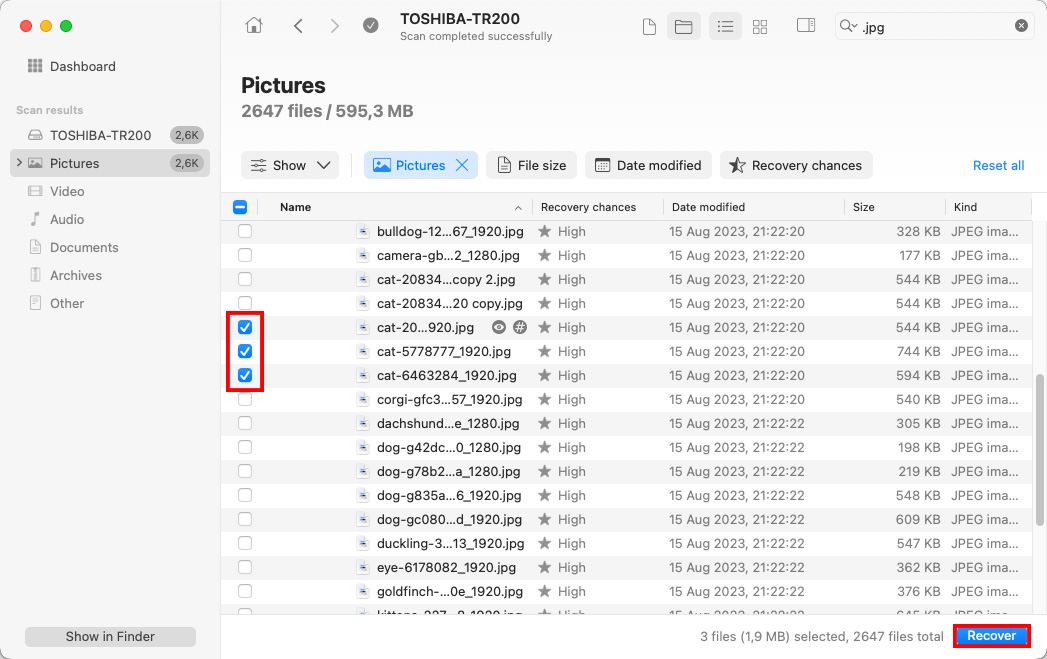
- Use the menu on top of the scan results to narrow down your search according to the file type, file size, or date. If you remember the name of the deleted file or its format, use the search field at the top-right.

- Click a file to preview it to see whether that’s the needed one.
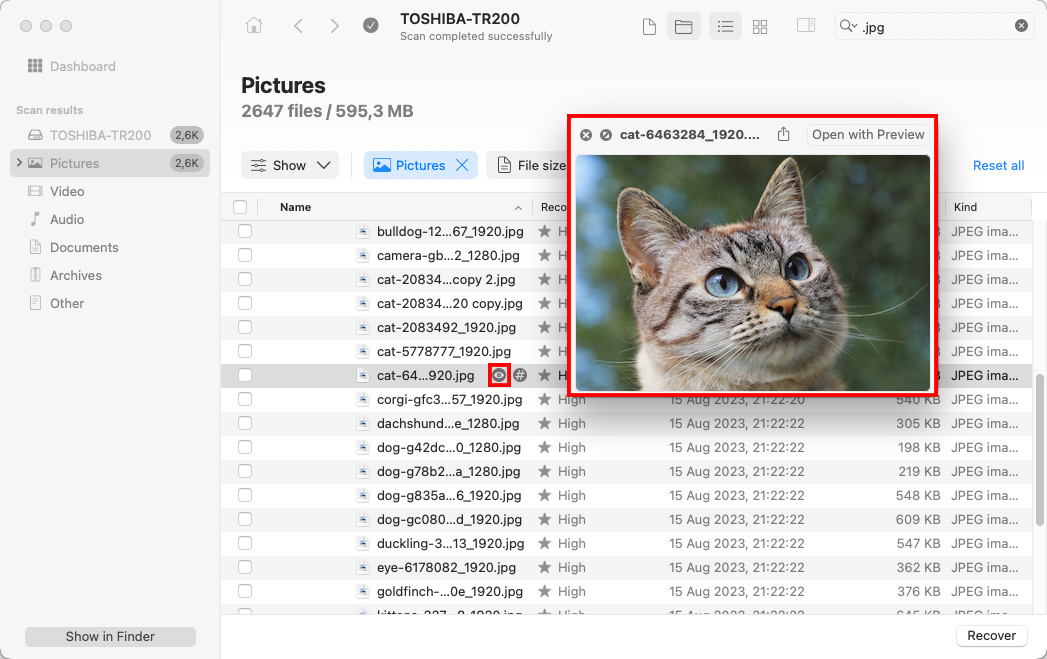
- Choose the files you wish to restore and click the Recover button.
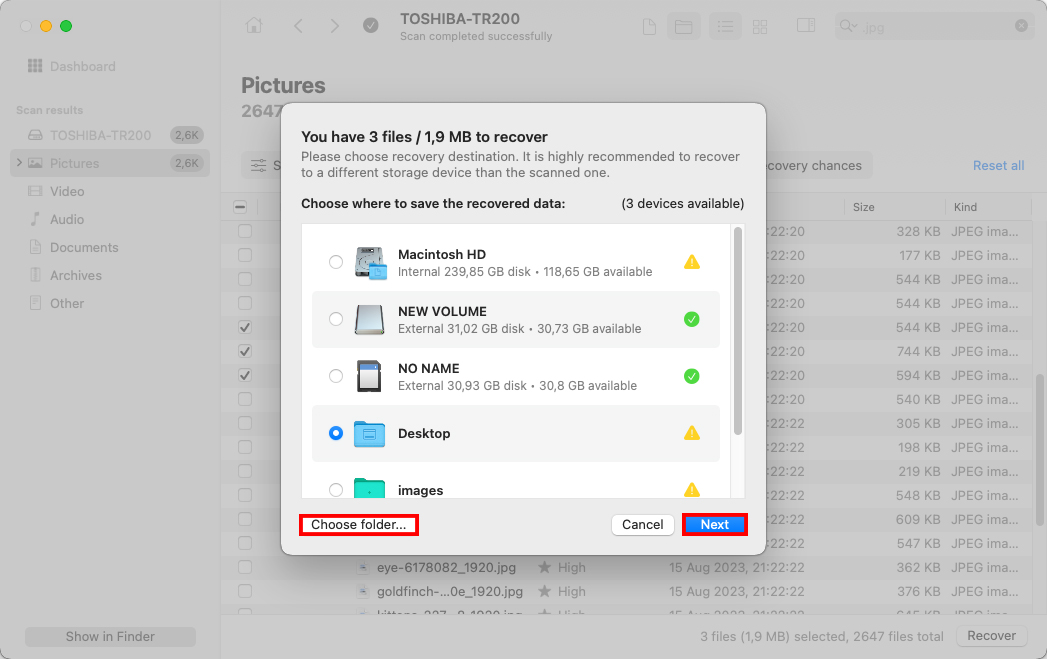
- Select a preferred location for the recovered data (to avoid data overwriting choose a folder located on a drive different from the one they were previously stored at) and click Next to confirm.
Method 2: Recover Emptied Trash From a Time Machine Backup
If you have Time Machine enabled on your Mac, you should be able to retrieve the deleted files from one of the backups or system snapshots that were made by the tool. This process is fairly easy and quite safe. All you need is the external hard drive with the Time Machine backups (if you were using one to backup your Mac) and your computer.
- Connect the drive containing your Time Machine backups to your Mac (if you used an internal drive for the backups, skip this step).
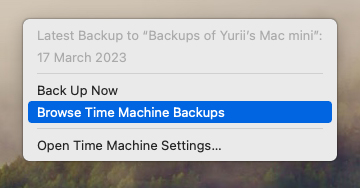
- Using the menu bar at the top, click the Time Machine icon and choose “Browse Time Machine Backups” from the drop-down menu.
- Go to the folder where the needed files were located before deletion.
- Use the arrows or the timeline on the right to go to the backup version containing the files that you’re searching for.
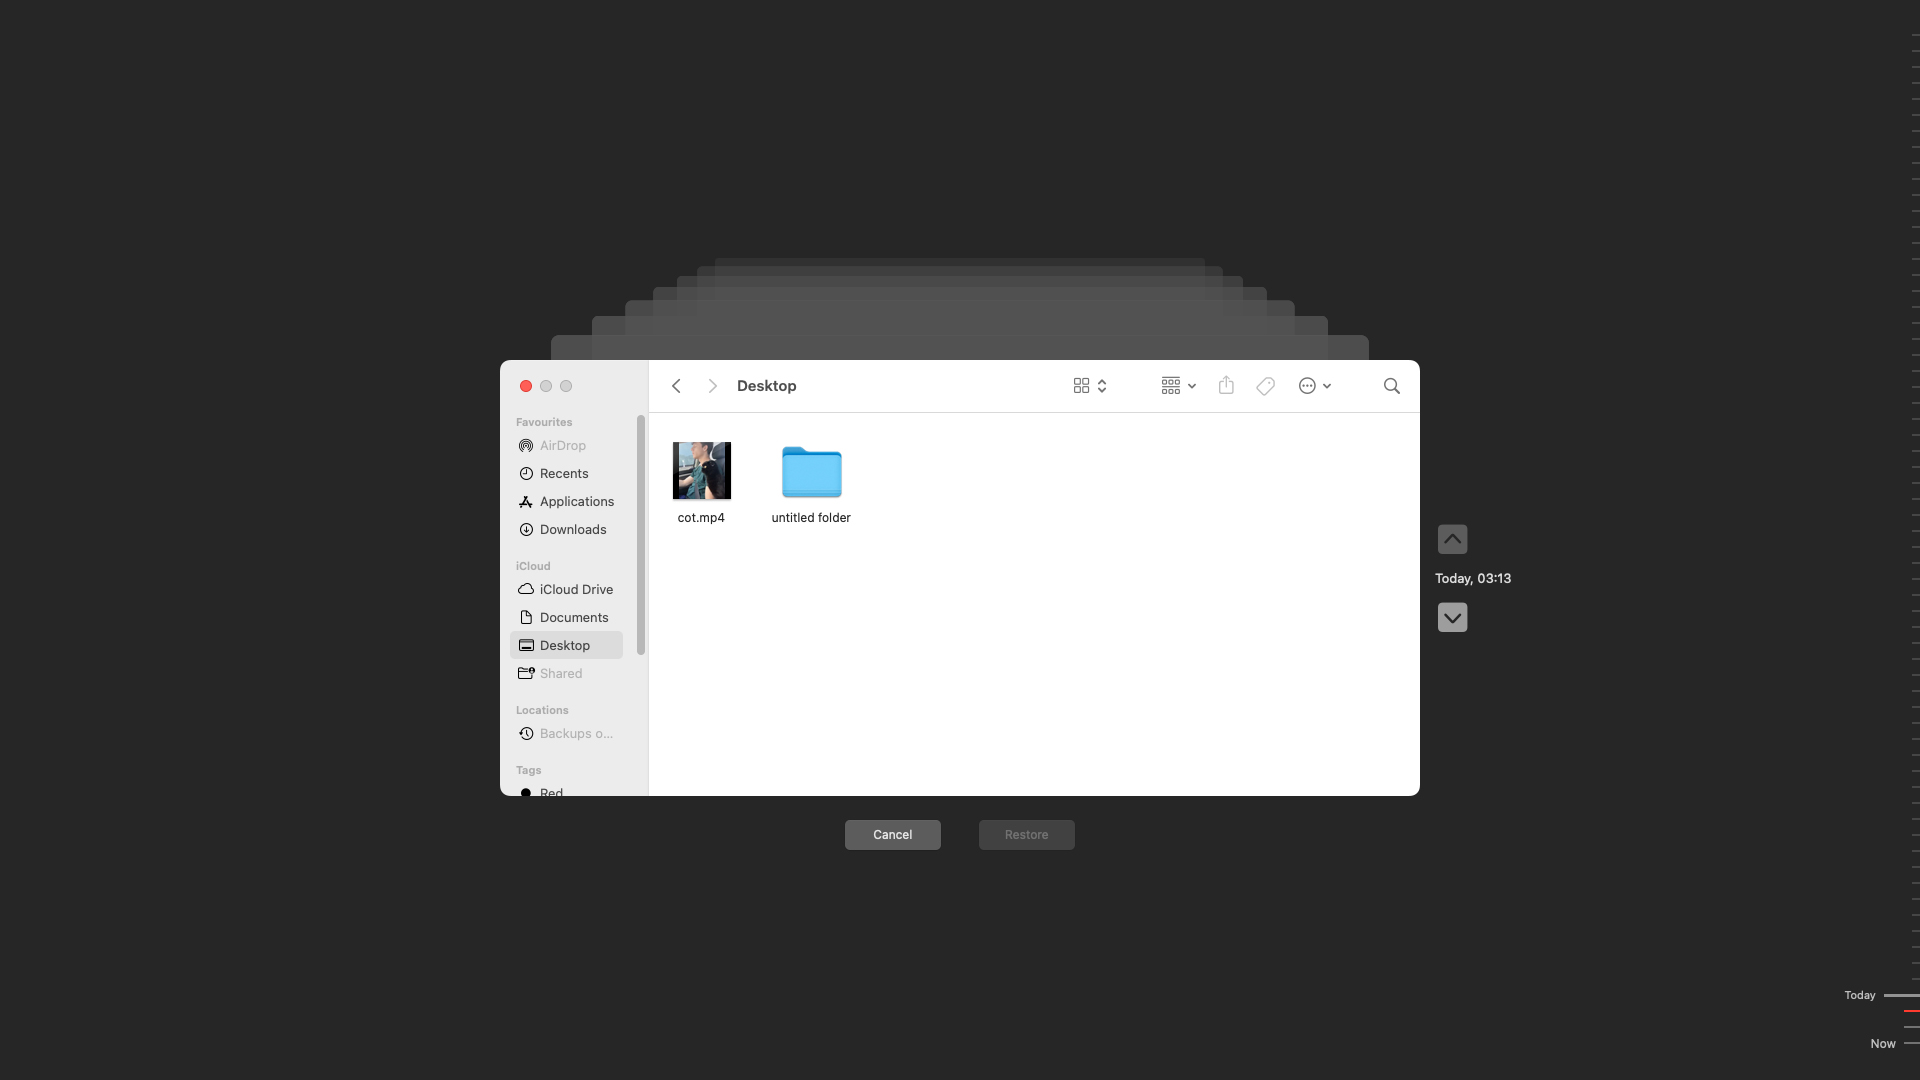
- To preview a specific file, click it and press the Spacebar on your keyboard.
- Choose the files which you wish to recover and click the “Restore” button.
Method 3: Recover Emptied Trash From an iCloud Backup
Another option that you can try is to recover the files from the emptied Trash on your Mac from your iCloud account. If you’ve been using iCloud to sync files from your Mac, this method is suitable for a quick and safe recovery of your deleted files. But keep in mind that iCloud keeps file versions in its own trash for up to 30 days. So, if more time has passed after you’ve emptied the Trash folder directly on your Mac, this method might be of no use for you.
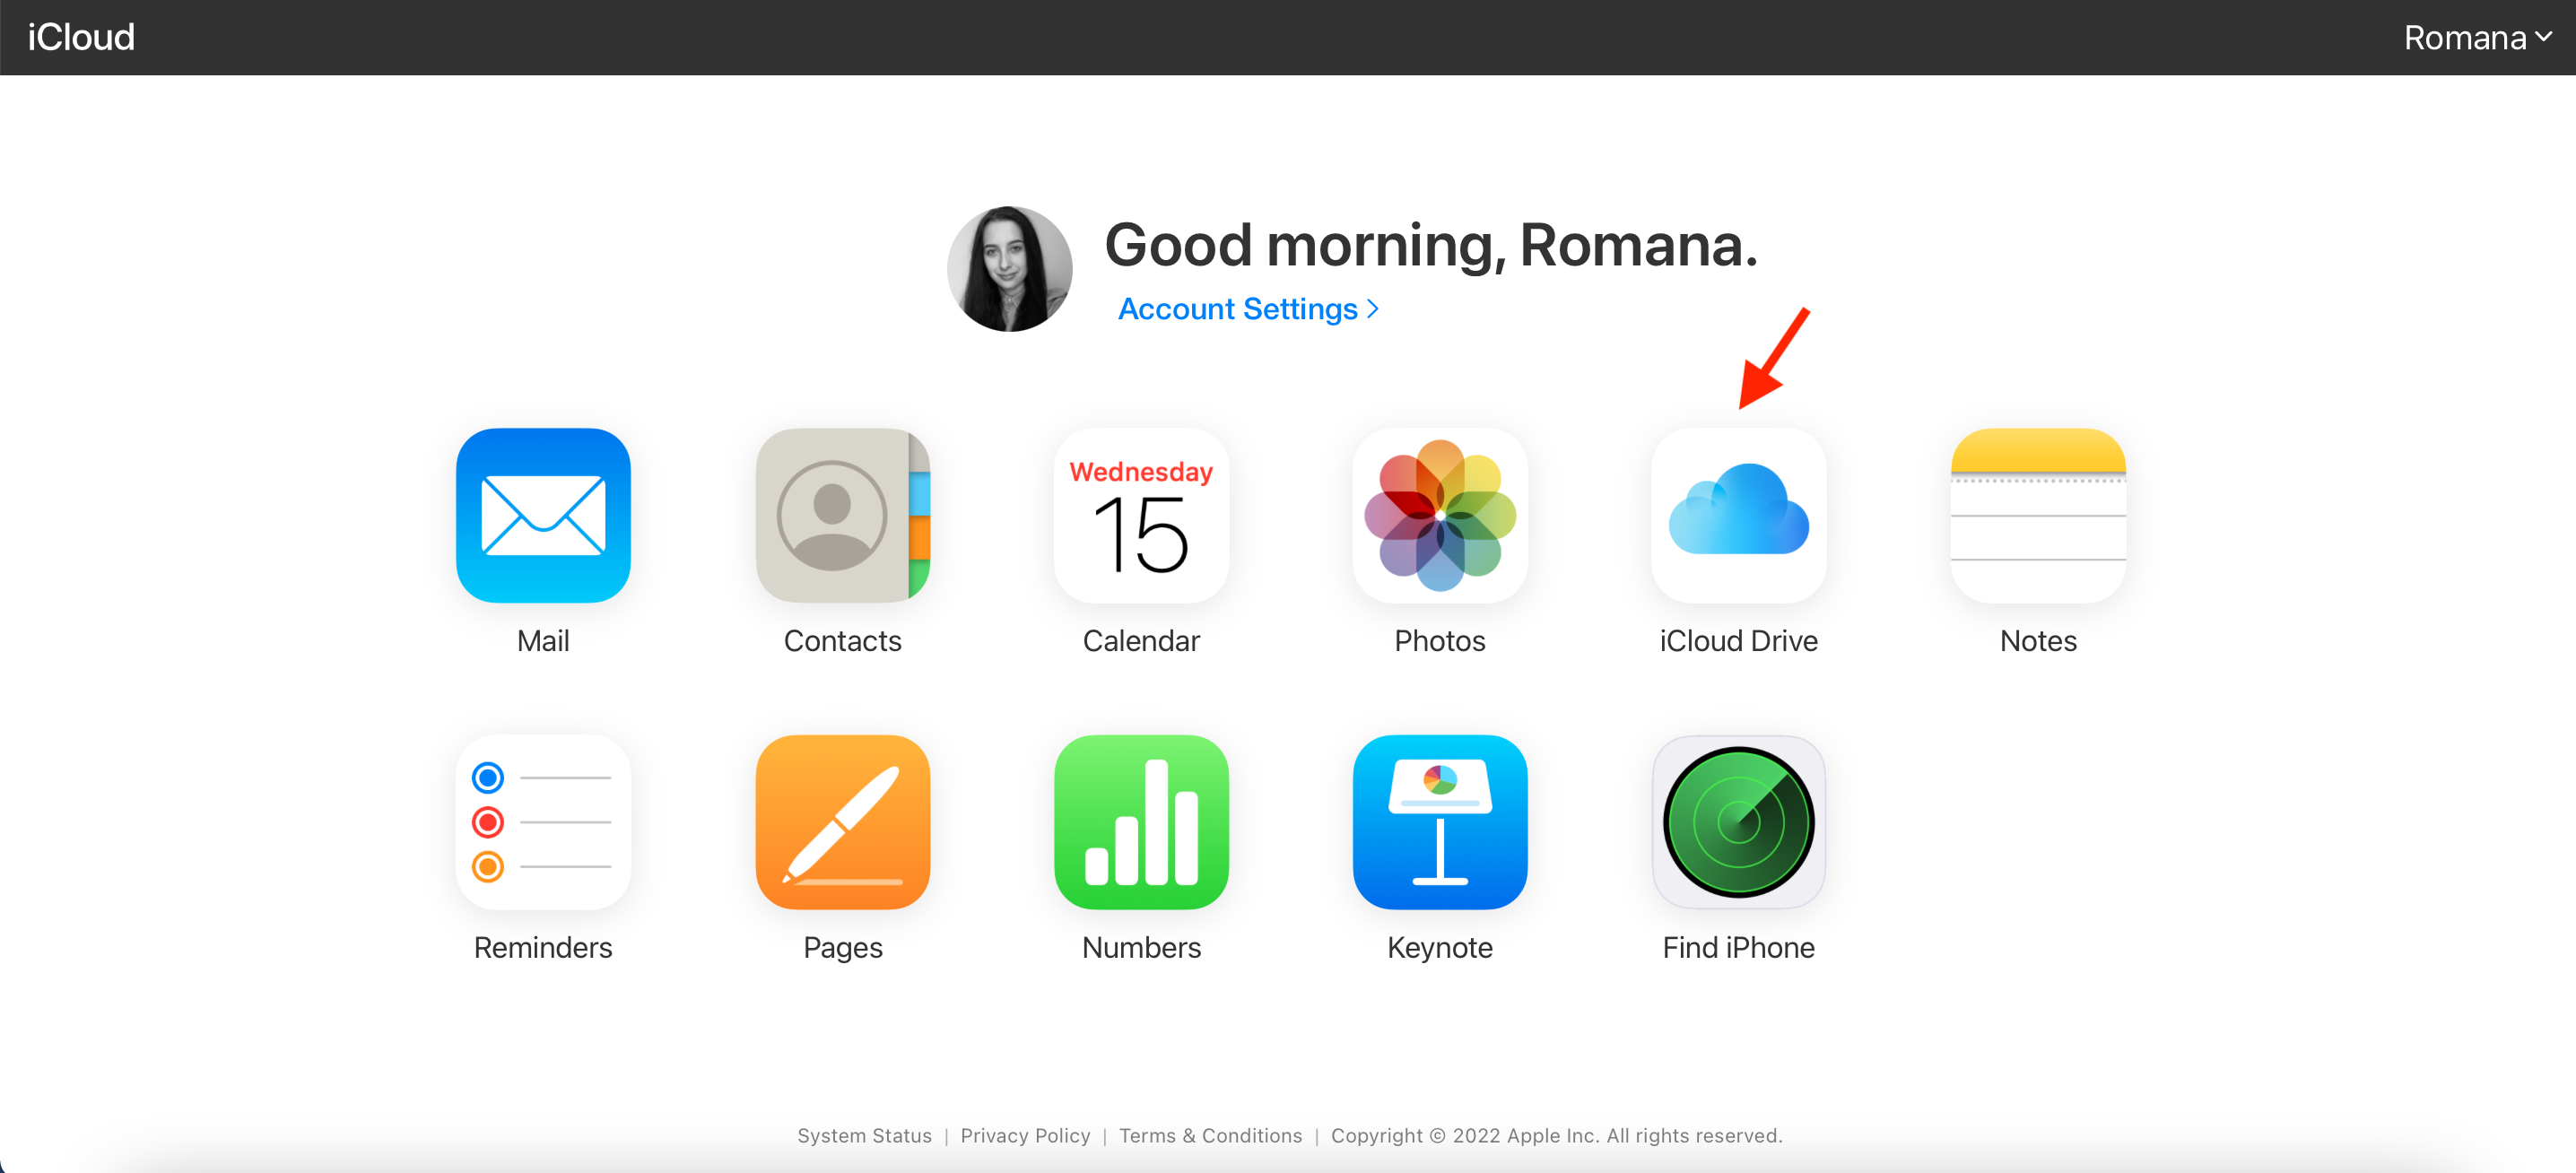
- Open a preferred browser and go to icloud.com.
- Log into your iCloud account using your Apple ID username and password.
- Click iCloud Drive.
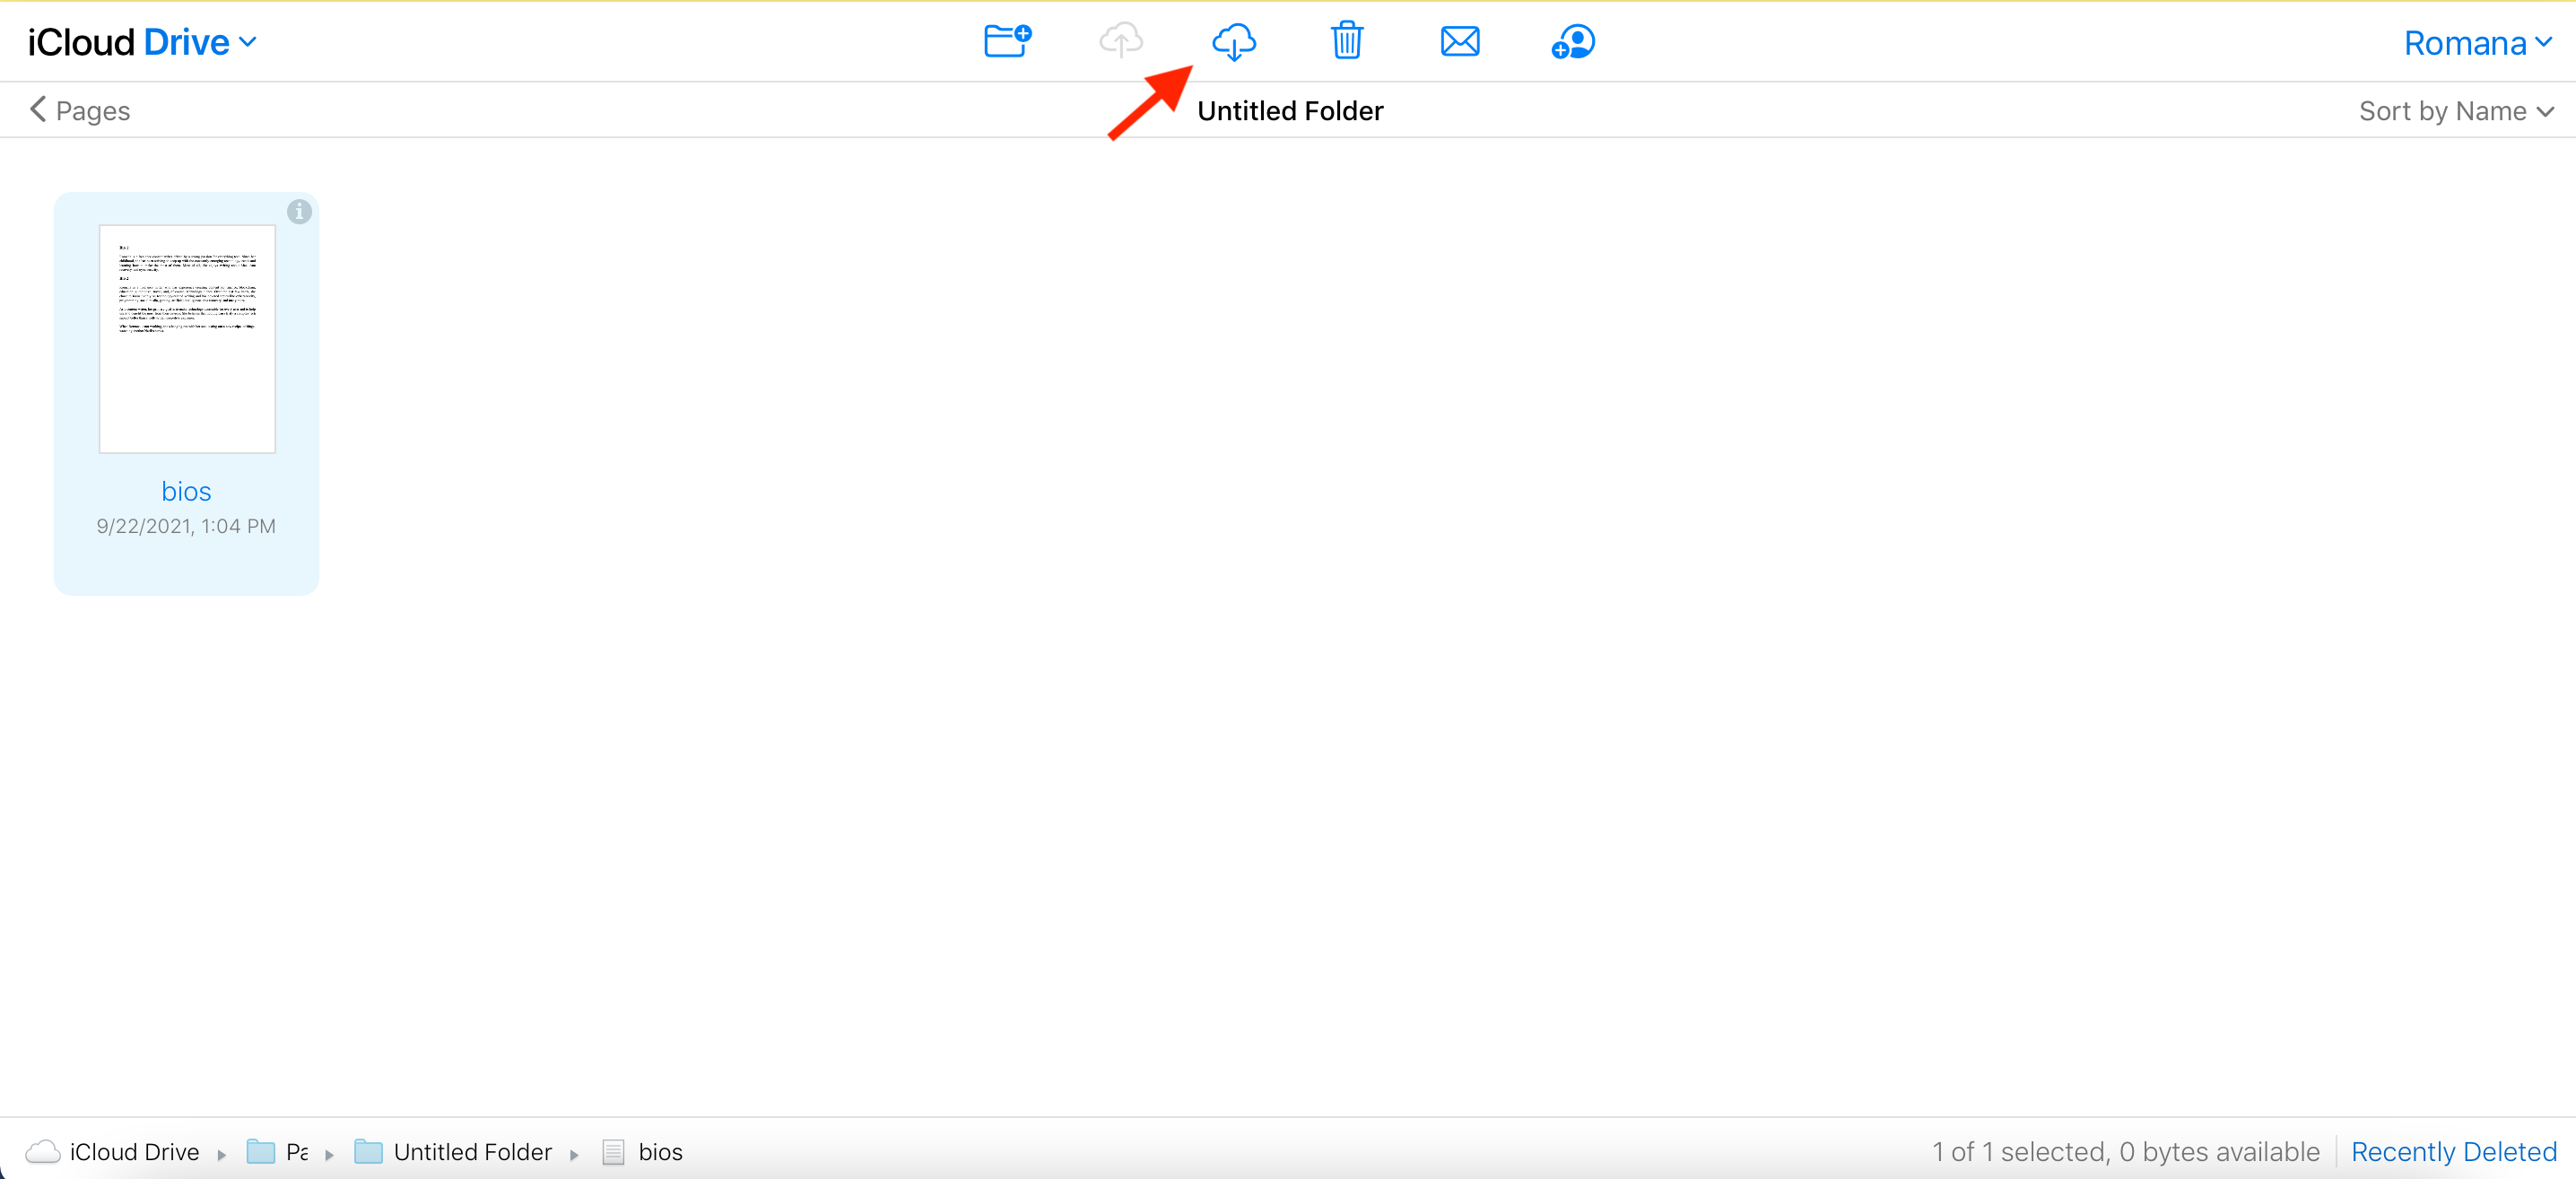
- Choose the files you wish to recover.
- Click the Download button at the top.
The Bottom Line
Accidentally deleting important files and realizing that only after you’ve emptied the Trash on your Mac is a stressful situation to be in. Even though it might seem like it’s impossible to bring back that data, there are a few easy solutions to try: data recovery software, Time Machine backups, or iCloud. With the right approach, you’ll recover the deleted files in no time.


