 It’s frustrating to deal with deleted data – especially if it’s from an external SSD. An accidental format can wipe out all your precious data. However, you just might have a second chance.
This article walks you through simple steps to recover files from a formatted external SSD.
Table of Contents
Is It Possible to Recover Data after Formatting an SSD?
It is absolutely possible to recover data from a formatted external SSD. But you must follow some recommendations to increase your chances of data recovery, detailed in the next section.
It’s critical to analyze the format type on your external SSD before beginning the data recovery process. In cases of a quick format, the actual partitions containing your data are left untouched. Thus, you can use data recovery software or recovery services to retrieve files. However, a full format permanently deletes files and rewrites sectors on your drive. In such cases, recovering files from the external SSD is impossible.
If you’re planning to perform SSD data recovery, here are some tips we recommend to maximize the chances of a successful retrieval:
- Stop using your SSD. File transfers or background processes might write data to your drive, overwriting the old one.
- If possible, attempt data recovery as soon as you can.
- You can enable read-only mode from your data recovery tool if the setting is available.
- You can create a disk image of your external SSD before initiating data recovery to reduce the risk of further data loss.
- Always choose a different location from your formatted drive to store your recovered files safely.
💡 While internal SSDs allow you to enable the TRIM command, which can influence the data recovery process, it doesn’t matter with external SSDs. Thus, TRIM wouldn’t impact data recovery in our case. However, If you’re dealing with an internal SSD, you might want to refer to this article on SSD recovery.
How to Recover Data from Formatted SSD
When it comes to recovering data from your formatted external SSD, we recommend two approaches: using data recovery software or seeking assistance from professional data recovery services.
In the following section, we’ll explore each method in detail, providing a step-by-step guide to help you maximize your chances of successful data recovery.
Method 1: Use Professional Data Recovery Software
The most efficient way to recover data from a formatted external SSD is to use data recovery software.
Cleverfiles’ Disk Drill is an efficient recovery solution with an intuitive interface that supports all major Windows file systems and file formats. Moreover, the software boasts of an advanced algorithm and additional features like S.M.A.R.T. Disk Monitoring, which updates you about your drive’s health and byte-to-byte level backups. Thus, Disk Drill is a reliable and efficient data recovery tool that works great for all storage systems, including external SSDs.
Here’s how to use Disk Drill to recover data from your formatted external SSD:
- Download and Install Disk Drill on your computer.
- Connect your external SSD to the computer.
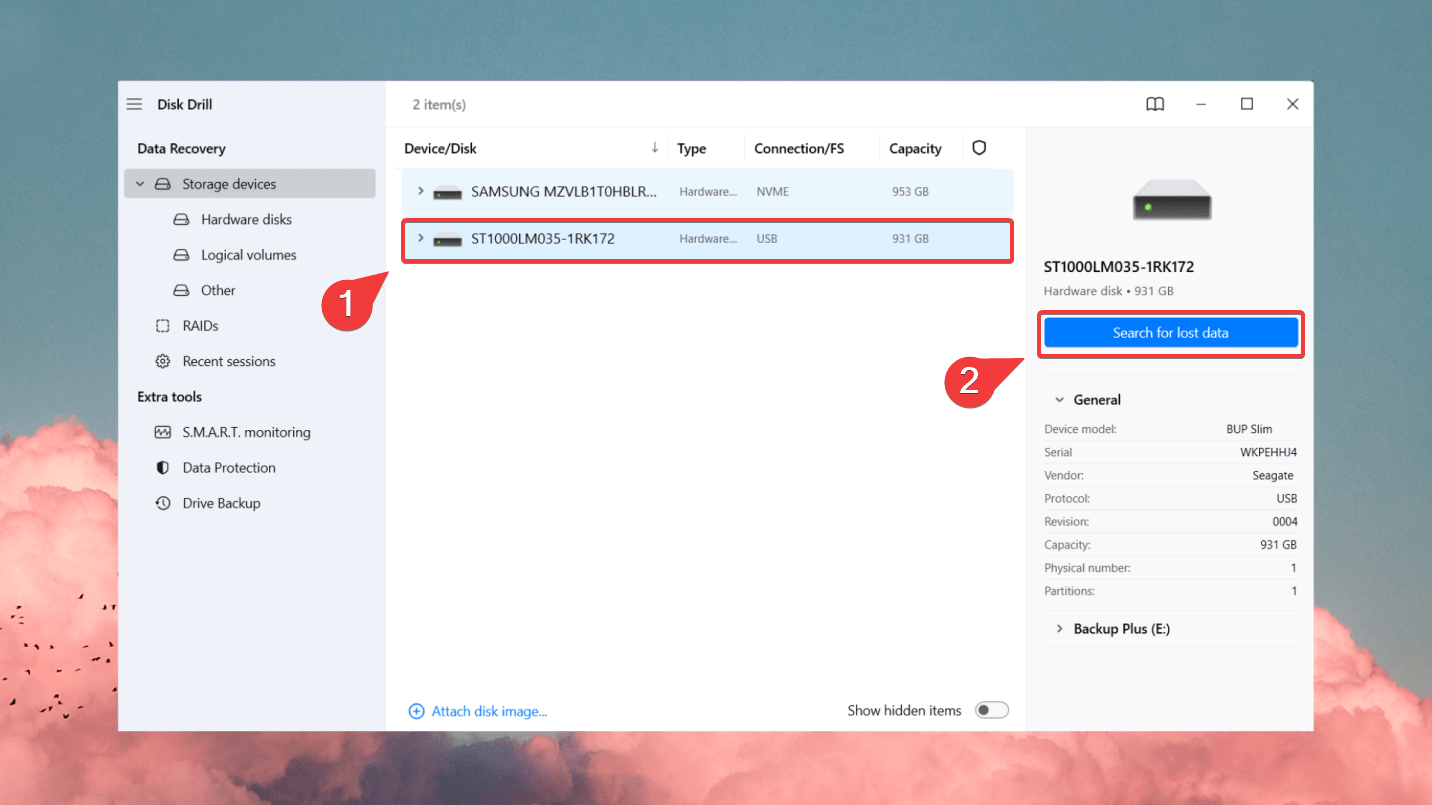
- Launch Disk Drill and select your external SSD from the list of drives. Then, click Search for lost data.
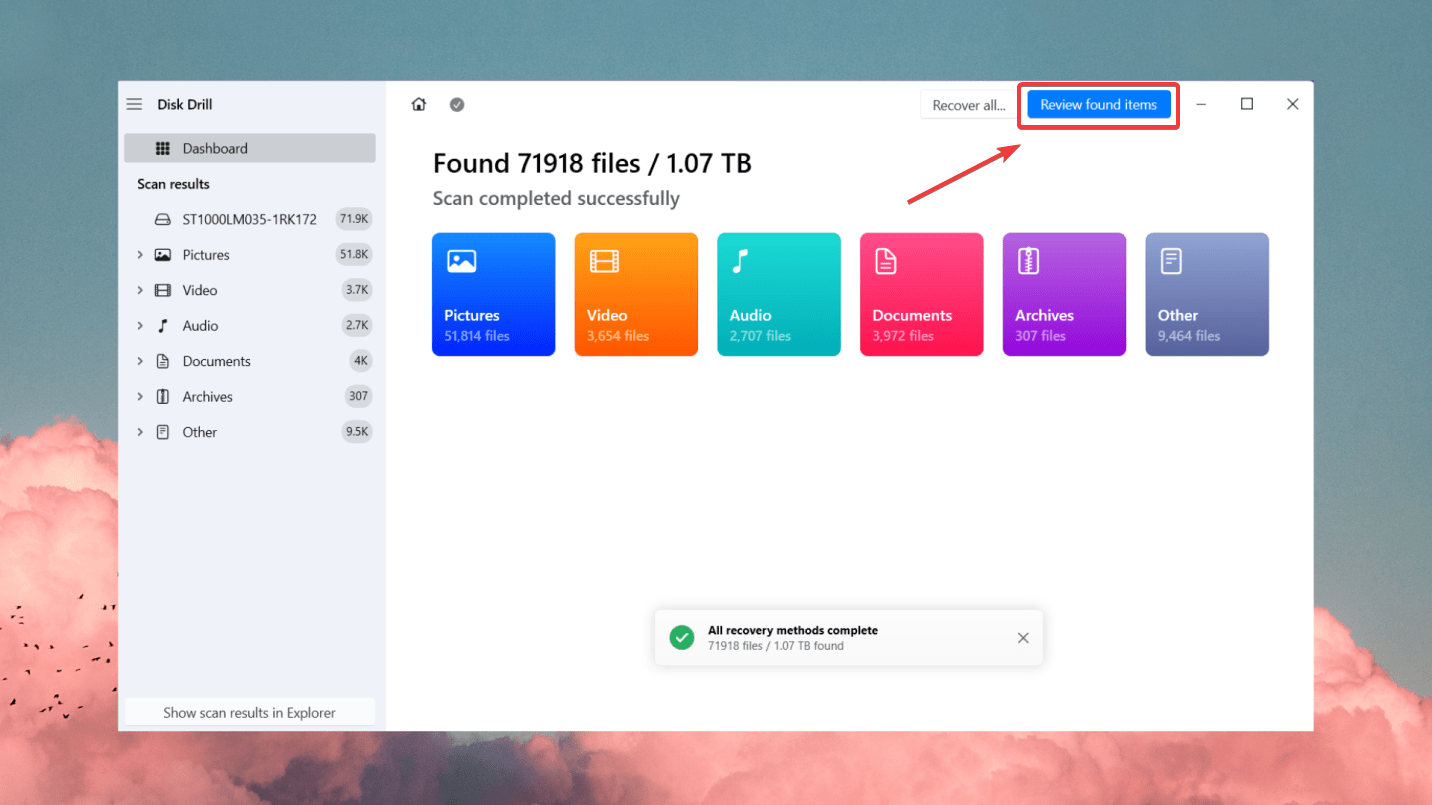
- Disk Drill will now scan your external SSD for recoverable data. The entire scanning process can take some time, depending on the SSD’s size. Once the scan is complete, click Review found items.
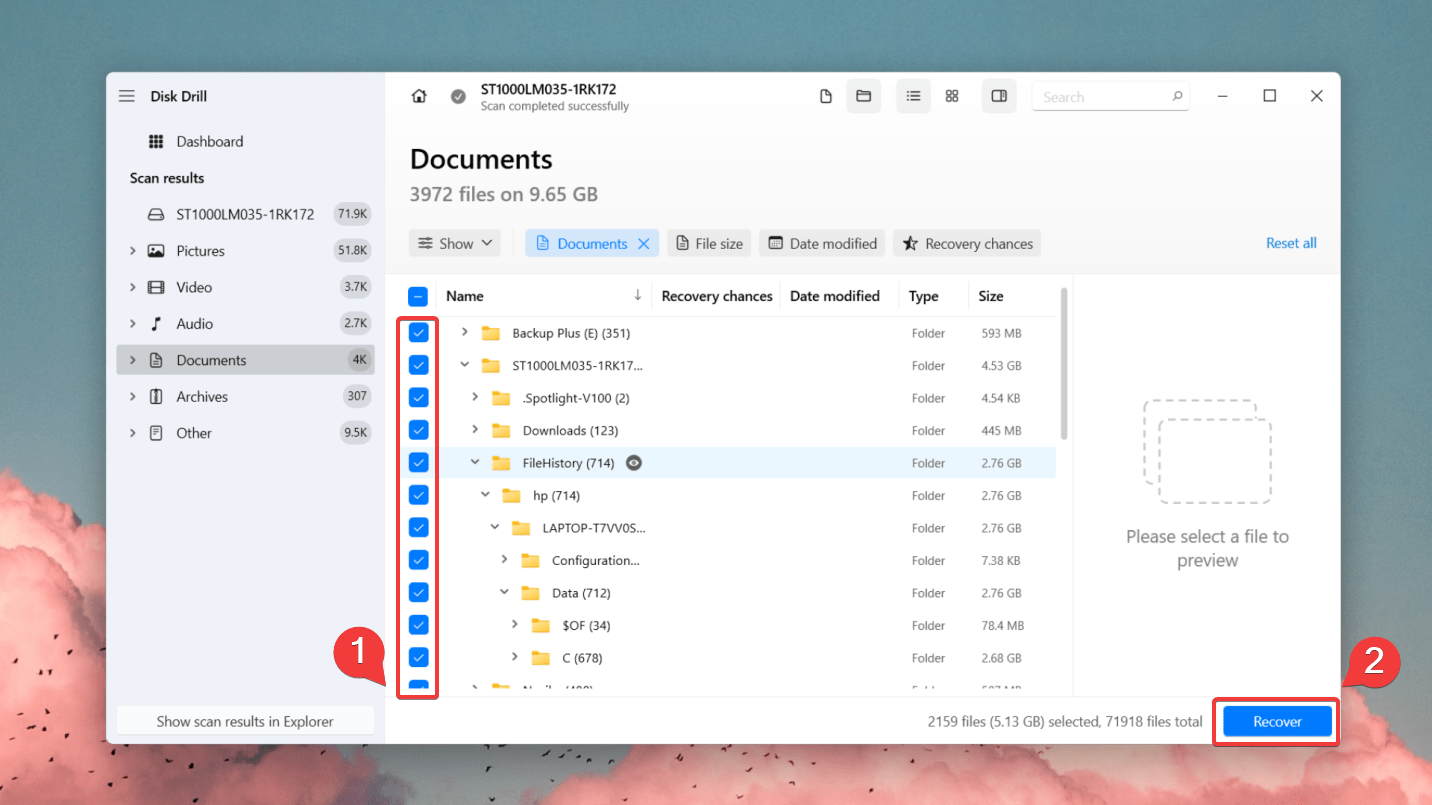
- Preview the files you want to recover. You can filter through the results for specific files or choose an entire partition from the formatted SSD.

- Select the files you wish to retrieve and click Recover.
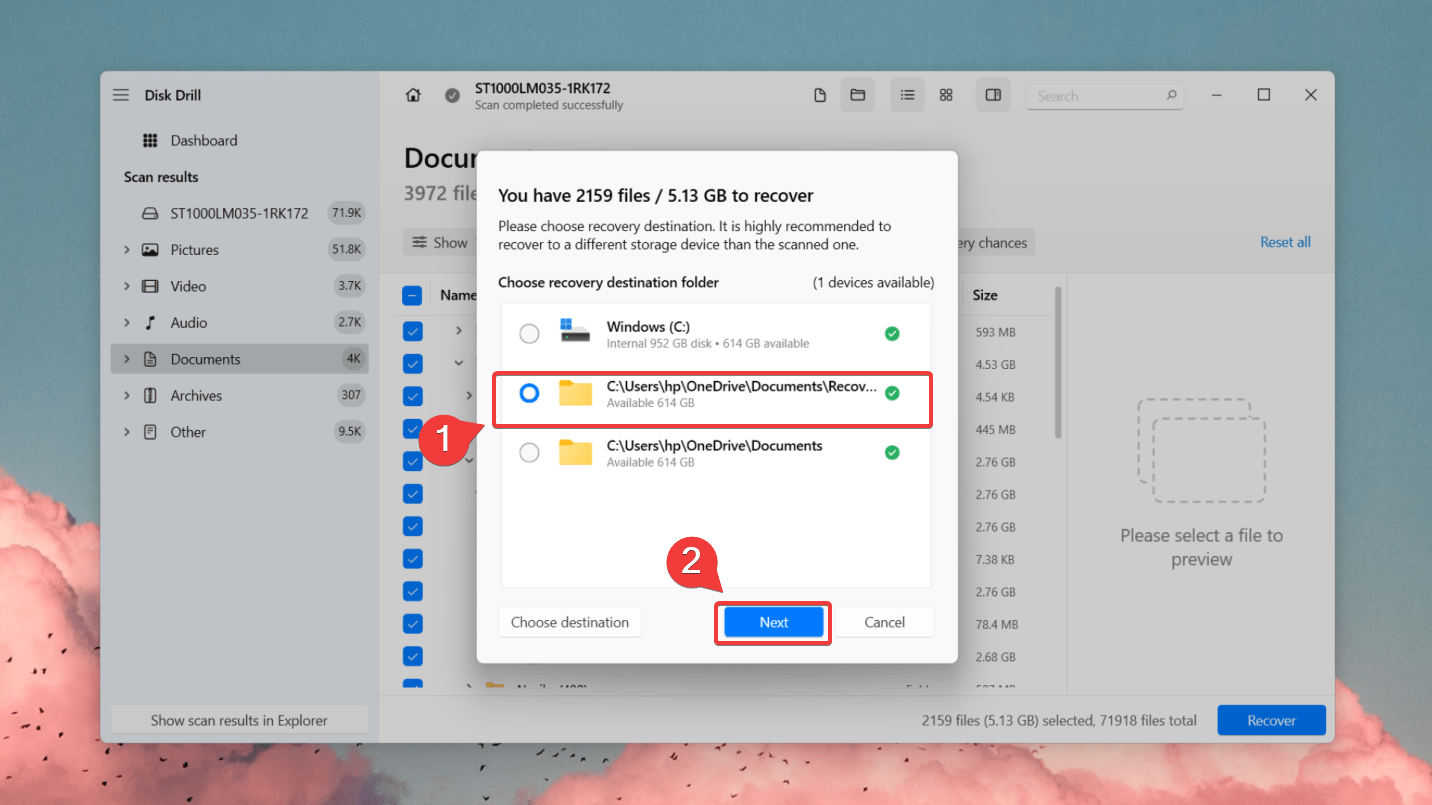
- Then select a storage location for the restored data, and ensure that you don’t choose the same SSD as the target destination. Press Next to complete data recovery.
Method 2: Use a Freeware Data Recovery Software
If you want to recover your data with zero cost, freeware data recovery software is the way to go. A freemium data recovery tool like Recuva is a promising alternative to Disk Drill, offering unlimited data recovery for free. It can scan and recover photos, videos, audio, documents, zip files, and more.
For advanced file recovery, automatic software updates, and priority support, consider upgrading to Recuva Professional. However, both the paid and free versions of Recuva lack more advanced functionalities, such as previewing files before recovery, storage device health monitoring, and SSD disk image creation features.
Despite these limitations, Recuva serves well as a freeware alternative to premium data recovery tools. With its four-step recovery process, you can attempt data recovery within minutes. Scanning an external SSD can take a few minutes to an hour or so, depending on the size of your storage device. You can download Recuva from CCleaner to start data recovery
You can download Recuva from CCleaner and start data recovery with the following steps:
- After downloading Recuva, open the installer and click Install.
- Next, connect your external SSD and open Recuva.
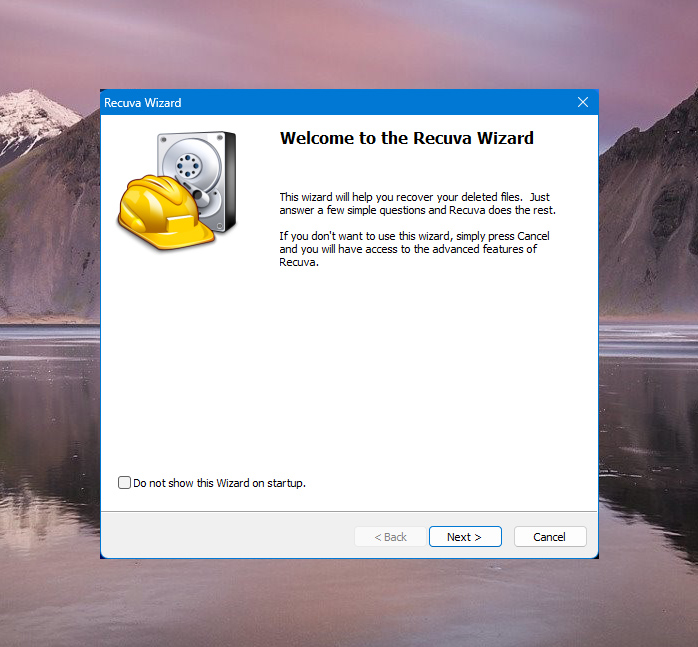
- We will use Recuva in Wizard (basic) mode for this guide. In the welcome screen, click Next.
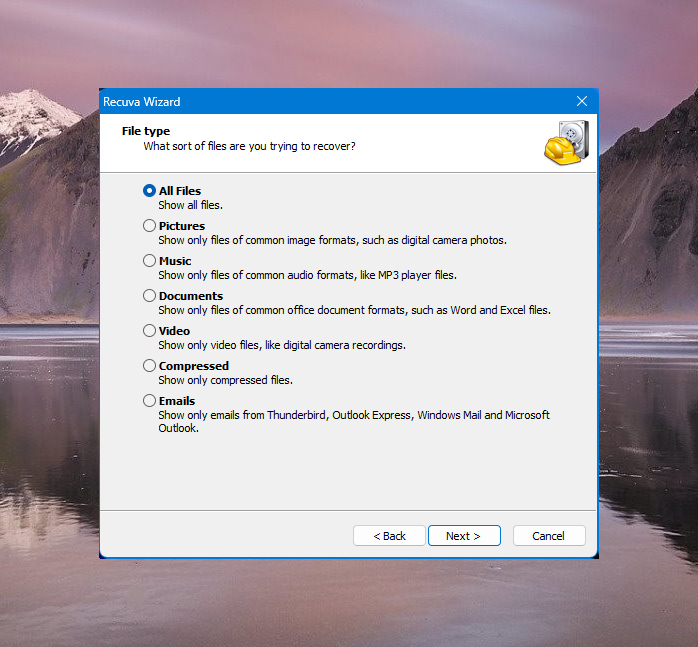
- Now, choose which file types you want Recuva to search for. Then, click Next.
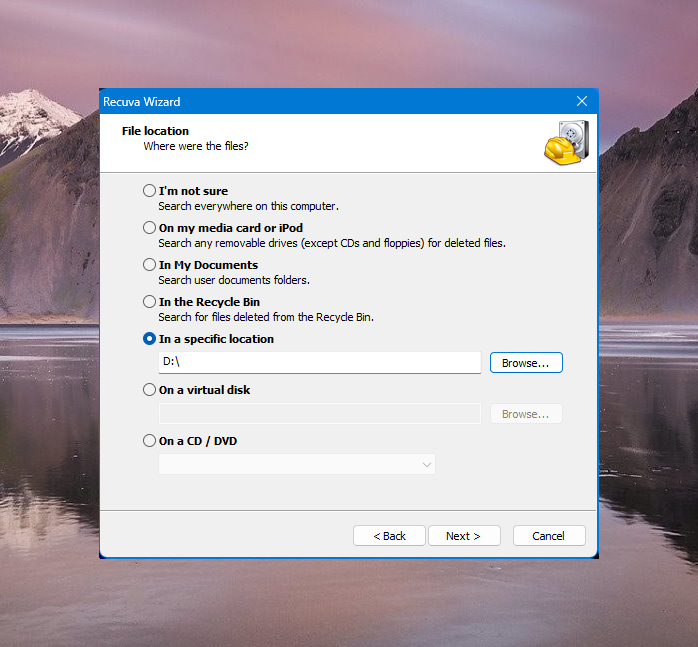
- In the File location section, select In a specific location and browse for the location of your external drive. Click Next afterward.
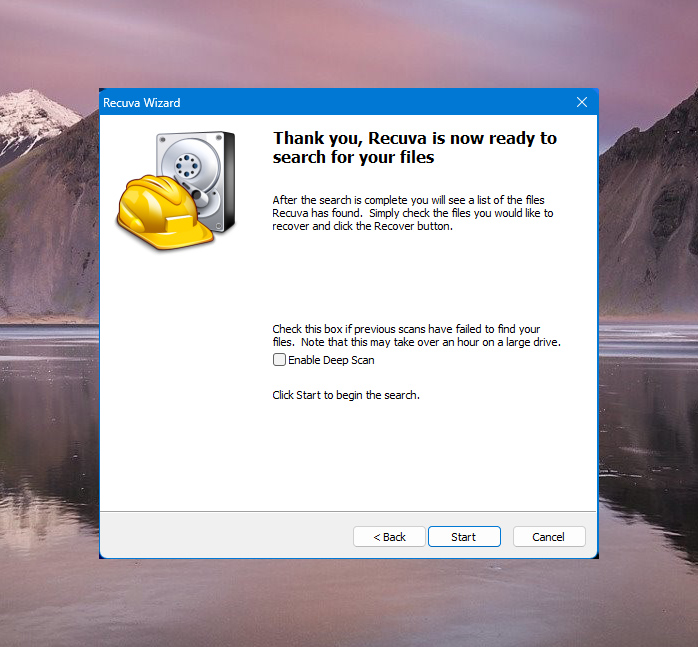
- Click Start to begin scanning your drive. You can tick the Enable Deep Scan to perform a more advanced scan. This option will make the scan take longer to finish.
- Once Recuva shows the scan results, tick the checkboxes next to the files you want to recover. Then, click Recover on the bottom right corner of the window.
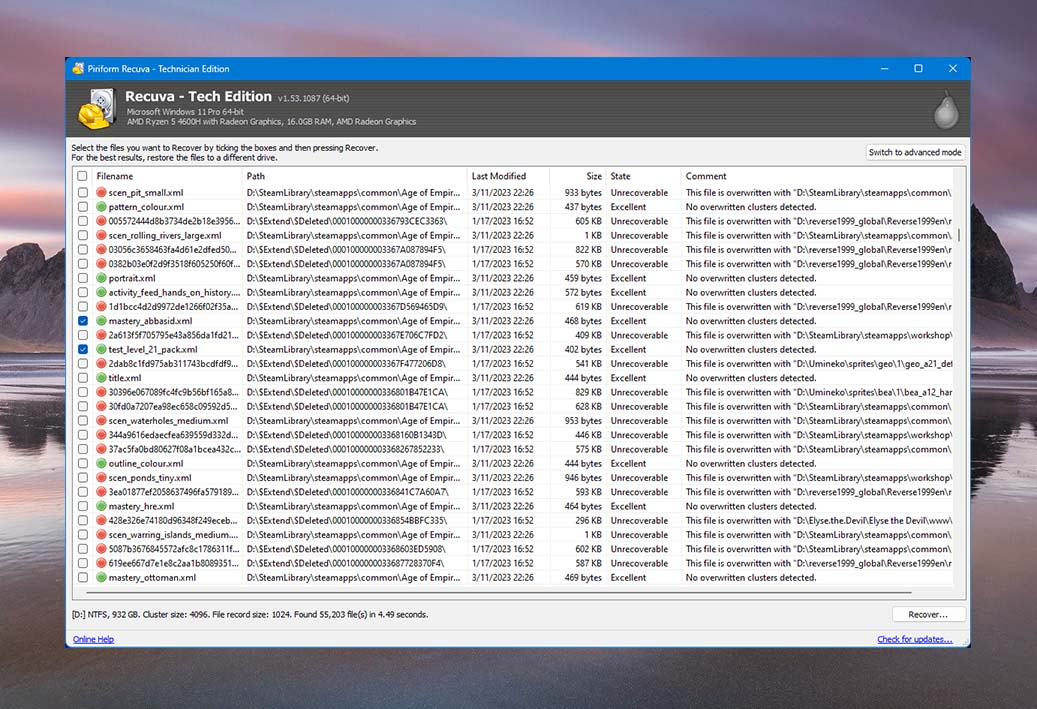
- Browse the location where you want to put your recovered files. After that, click OK to begin data recovery.
Method 3: Use Data Recovery Services
External SSDs can often hold valuable and irreplaceable information. If you cannot recover data from your formatted external SSD via data recovery software, it’s best to consult a professional data recovery service provider.
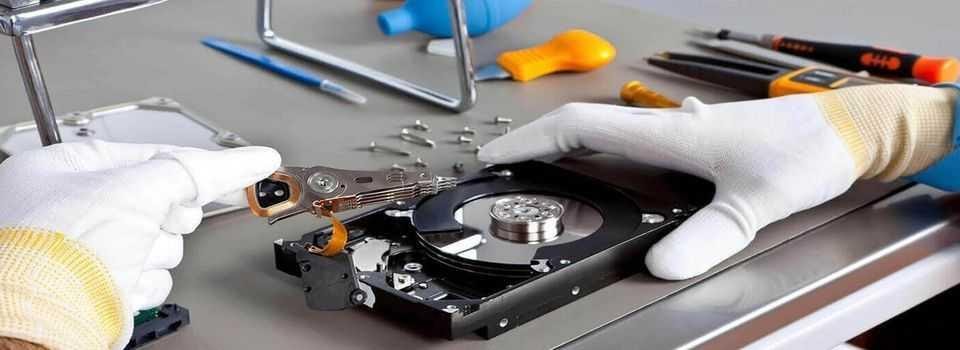
While data recovery services can often seem expensive, they have teams of highly skilled professionals and resources that can be incredibly helpful in rectifying data loss situations, especially if you’ve performed a full format on your external SSD.
✅To find and select a reliable recovery service, ensure that you schedule a free consultation and get your price quotes in advance. After that, you can visit them in person or ship the SSD drive to them. If you approach a trusted data recovery service, they will try their best to recover your data. But in the rare case that they can’t, most services have a “no data/no charge” policy.
Conclusion
Performing data recovery on an external SSD is very much possible. However, to increase the chances of successful data recovery, you must remember to stop using your device immediately.
In most cases, reliable data recovery software like Disk Drill will assist you in retrieving your files. However, if that doesn’t happen, you can contact a data recovery service to get your lost files back safely.
FAQs
- Download, Install and Launch Disk Drill.
- Select your Samsung SSD from the list of drives, and click on Search for Lost Data.
- Once the scan is complete, click on Review Found Items.
- Select the required files and click Recover.


