Solid-state drives have some clear benefits over traditional hard disk drives, such as improved performance and energy efficiency. As SSD technology gets better and the price gap between HDDs and SSDs gets smaller, it’s no surprise that SSDs are quickly becoming the preferred storage option for computers.
Even so, SSDs are still prone to data loss issues you’d encounter with a normal hard drive, like drive corruption, power outages, user error, and more. We’re going to discuss what unique factors you must consider with SSD data recovery, as well as how to recover data from an SSD.
Table of Contents
Why Is It Difficult to Recover Data From an SSD?
What makes SSD data recovery a bit different in comparison to HDD recovery is the presence of TRIM. Unlike HDDs, SSDs have a limited number of write cycles that its NAND flash memory cells (where data is stored) can endure. To make matters worse, SSDs also handle data overwriting a little differently.
Instead of physically overwriting data like an HDD, SSDs can only erase data in larger blocks, typically referred to as erase blocks or pages. If the block where your data resides isn’t big enough, it needs to be relocated first and then erased, requiring additional write cycles. This inefficient process results in write amplification, which reduces the lifespan of your SSD. Although Modern SSD controllers employ sophisticated algorithms to minimize write amplification TRIM was developed to combat this problem entirely.
When you delete a file with TRIM enabled, a TRIM command will be issued by your operating system to the SSD controller. This tells your SSD what blocks are no longer in use and can be proactively marked for deletion. But, while TRIM can be great for extending the lifespan of your SSD, it can be detrimental to the recovery of your data. Once data has been deleted after a TRIM command has been issued, it cannot be recovered.
Note: If you disconnect the SSD quickly enough after deleting the files, you may be able to save the data before the TRIM command is issued.
How to Turn Off TRIM
If you’d prefer having TRIM off to give yourself a better chance of recovery in the future, you can easily do this using Command Prompt on your computer.
While Disabling TRIM might improve data recovery chances after accidental deletion, it significantly reduces the lifespan and performance of your SSD. Thus it’s important to weigh the risks and benefits before disabling TRIM.
Follow these steps to disable TRIM:
- Open the Start menu, type “command prompt,” and select the Run as Administrator option.
- Type the following command and hit Enter:
fsutil behavior set DisableDeleteNotify 1
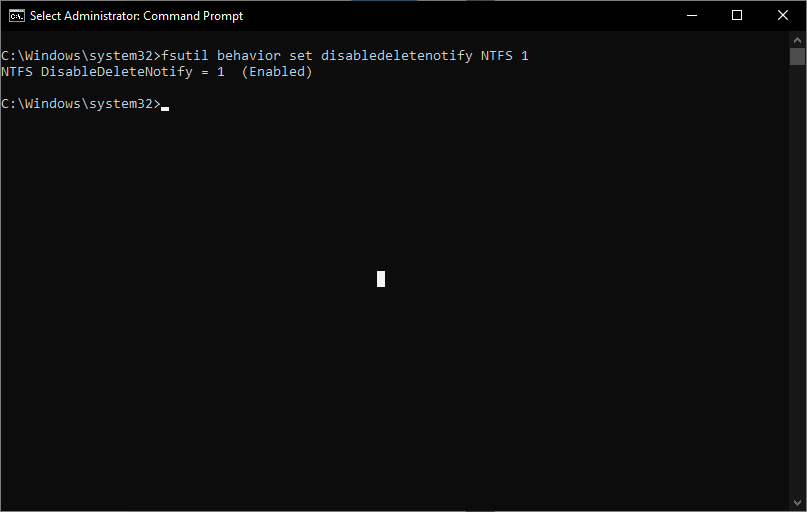
If you see the “NTFS DisableDeleteNotify = 1 (Enabled)” messages, then it means (rather confusingly) that TRIM is disabled.
- You can always check the current TRIM status by entering the following command:
fsutil behavior query DisableDeleteNotify
If you want to enable TRIM, replace 1 with 0 in the command fsutil behavior set DisableDeleteNotify.
How to Recover Data from SSD Drive
The best defense against data loss is a backup – regularly updated backups will allow you to restore your data quickly and easily in most situations. But if you’re here, it means that simply recovering from a backup is not possible now and you need other recovery option. While SSD data recovery is slightly tricky, it’s very much possible. We’re focusing on two recovery methods today. The first is data recovery software, which is a DIY approach that’s typically more than enough to recover data in most data loss situations, like a formatted or corrupted SSD. The second is a data recovery service, which should be considered the last resort if you’re unable to recover the data yourself or the recovery situation is too advanced.
Note: Bear in mind that this article focuses on SSD recovery. If you’re dealing with a conventional hard drive, you might need to know some things beforehand.
We’re going to walk you through the best ways to recover data from an SSD.
Solution 1:Use Data Recovery Software
Data recovery software is specialized software that can scan your SSD for recoverable data and copy it to a safe storage location. Not all recovery software is created equal, though.
Our preferred choice of recovery software is Disk Drill, a well-known recovery tool that’s a popular choice for its quick scan times, wide support for a number of file systems, and ease of use. New users can trial the software by recovering up to 500 MB of data for free to see what the program is capable of.
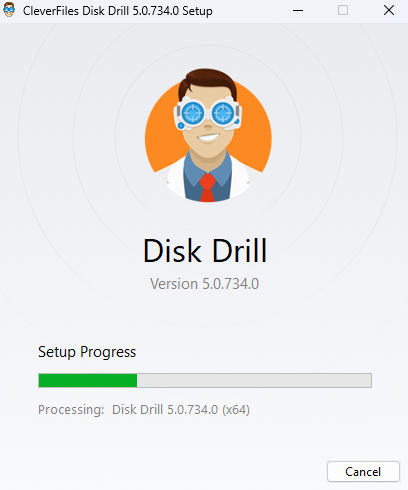
Here’s how to use Disk Drill to recover data from your corrupted SSD:
- Download and install Disk Drill on your computer following the installer directions.
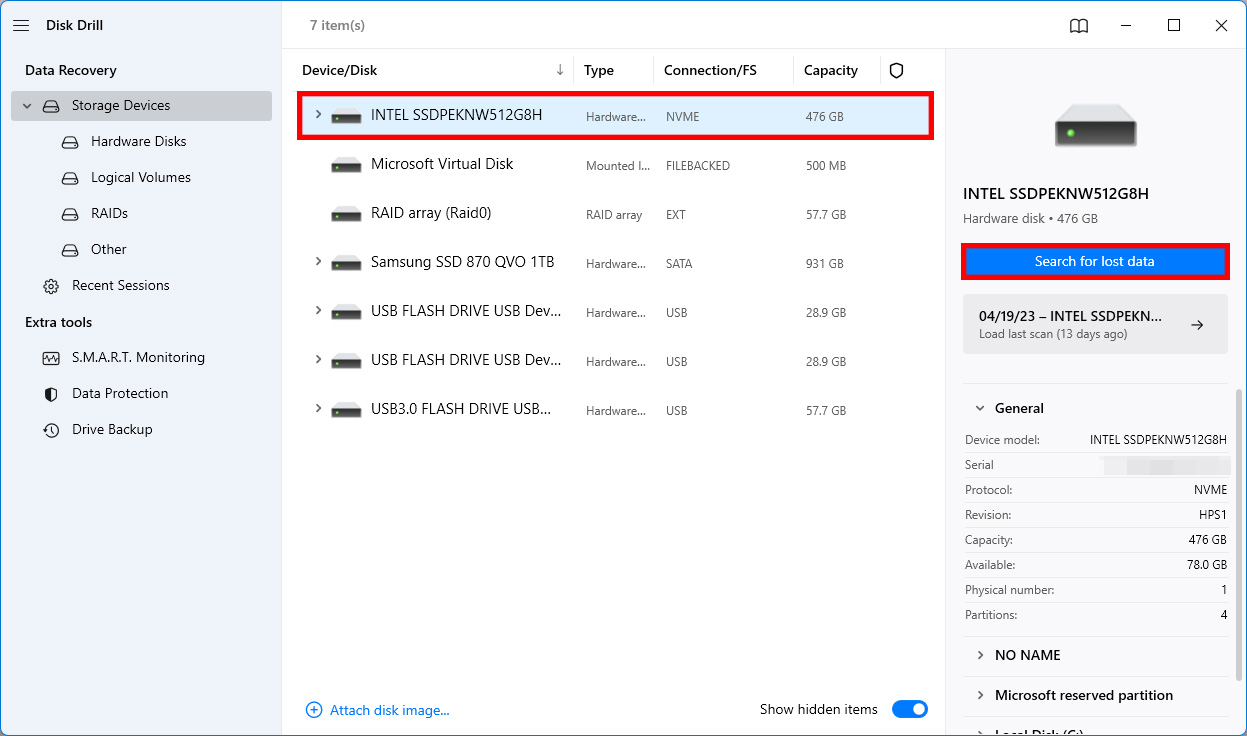
- Connect your SSD to the computer and launch Disk Drill.
- Select the disk or partition for recovery from the list presented by Disk Drill.
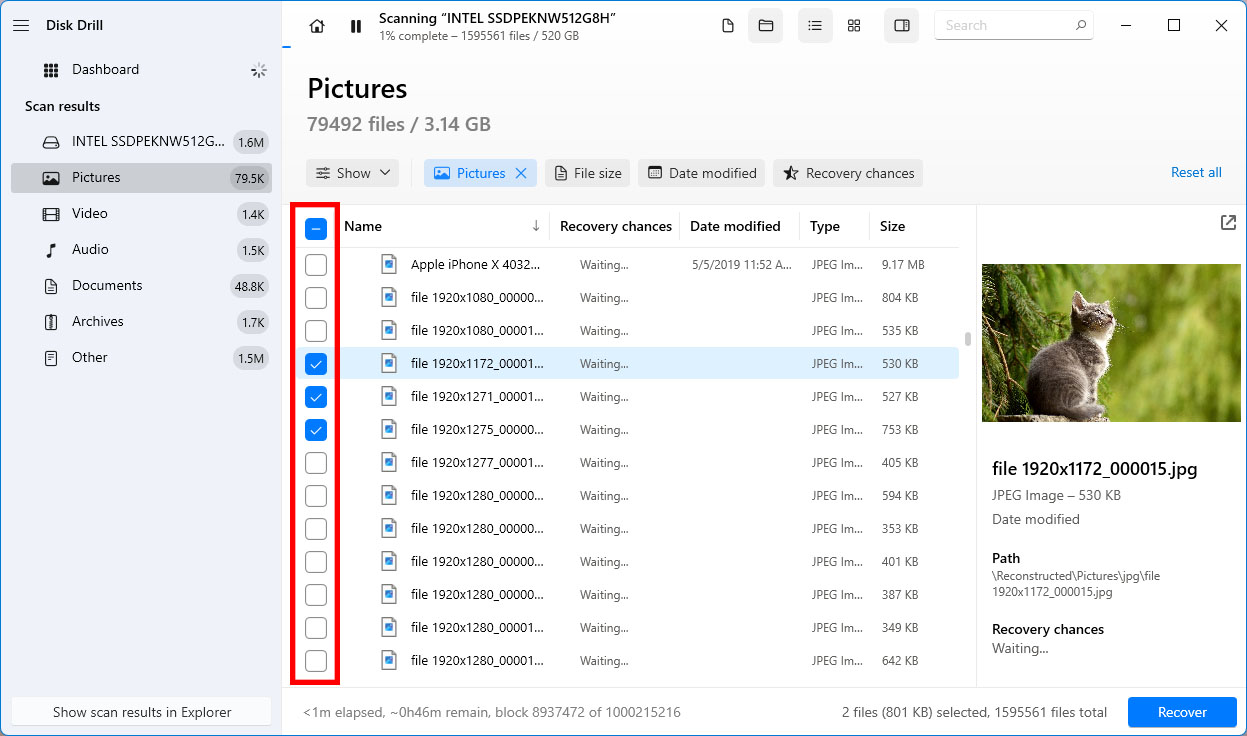
- Click the Search for lost data button to initiate Disk Drill’s scanning algorithms to identify recoverable files.
- Choose the files for recovery.
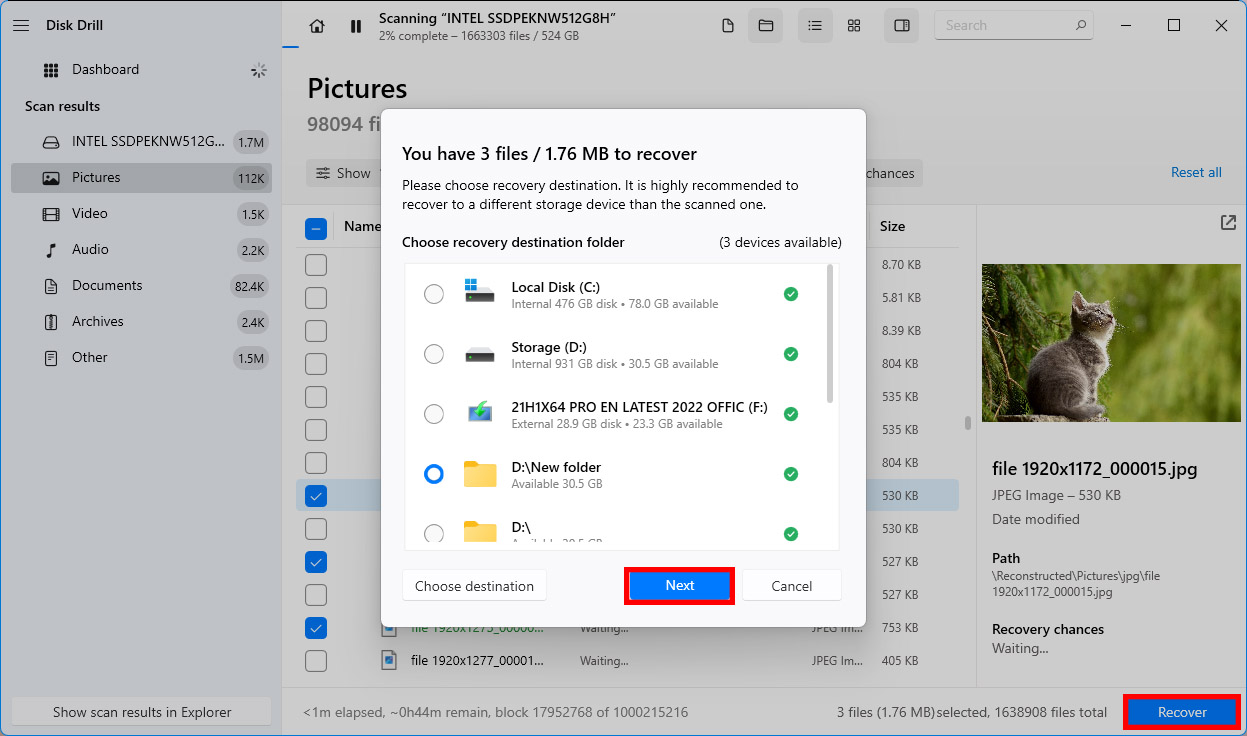
- Click the Recover button. Then, select a storage location for the restored data. Do not select the same SSD as the target destination. Press Next to trigger the data recovery.
Solution 2:Approach a Data Recovery Service
SSDs are not just extra storage these days, often acting as the primary storage in many modern computers, storing vital data: personal and professional. Unlike flash drives which store data that can be moved quickly, SSDs hold essential and irreplaceable information.
If an SSD failure stops your computer from booting, consult a professional recovery service.
Data recovery services can seem expensive, but they have teams of highly skilled professionals who work with data loss all the time. The best ones are the teams that help make data recovery software, such as Cleverfiles, the team behind Disk Drill.
All you need to do is get in touch with a service provider, who then schedules a free consultation with you and quotes a price. After this, you can ship your drive to them. The experts at the recovery service first clone your drive and then begin the recovery process.
If you approach a reliable service, they will try their best to recover your data. But in the rare case that they can’t, they will return the drive to you at no charge whatsoever.
If you are dealing with the conventional HDD, here’s a great article to get started on external hard drive data recovery.
Common SSD Issues and How to Fix Them
There are a few common issues that your SSD may run into during its lifetime. Some of these problems may have been the cause behind your data loss. We’ve created a table that includes some of the most common issues an SSD faces, as well as their solutions.
| Problem | Solution |
| 🔌 SSD not being recognized | If your SSD is not showing up on Windows, it may be because it’s unrecognizable. You can fix it by updating your drivers and making sure the drive’s SATA port is enabled in BIOS. |
| 🚫 SSD fails to boot | An SSD that refuses to boot may not be receiving enough power. Check the power settings in BIOS and make sure you’re using a trusted power supply and connecting external SSDs to an appropriate USB port (like USB 3). |
| 🐢 SSD works slowly | TRIM may not be enabled, which can improve performance. If the SSD is overheating, this can also impact speed. Make sure your SSD is properly cooled, free of viruses, and not nearing full capacity |
| 🔥 SSD overheating | Performing resource-intensive tasks can make your computer overheat if it’s not properly ventilated. Clean your computer fans and case to improve airflow, and try to keep your room cool. |
| ❓ SSD capacity is incorrect | If the size of your SSD isn’t matching up with what’s listed on the box, it’s possible you’ve been sold a counterfeit drive. Or, if you know the SSD is the correct size and it only recently started showing differently, avoid data recovery as it could be indicative of a worse problem. In these cases, refer to a data recovery professional. |
| 💥 SSD corruption | Corruption can appear in the form of regular drive crashes (like Blue Screen of Death), severely degraded performance, and missing files or folders. If your SSD is corrupted, the best course of action is to back everything up and replace the drive. It may be fixable with a format, but this is often a temporarily solution and won’t address any long-term problems. |
Let us remind you that the best way to protect your data going forward is by backing it up regularly. Maintaining an all-encompassing backup schedule ensures a healthy copy of your data is always available. If you’re looking for an effective strategy, consider the 3-2-1 backup rule, which involves creating 3 backups of your data on 2 different storage mediums and storing 1 off-site.
Conclusion
To sum it up, SSD data recovery is challenging but not impossible. The most important thing to remember is to stop using your device, which houses the affected SSD. After that, the only concern is whether your SSD has TRIM enabled and the type of data loss you have experienced. In most cases, data recovery software will be able to restore your lost files.


