
Losing your NEF photos to SD card corruption, accidental deletion, or formatting can be a huge problem, especially if you’re a professional photographer or take a lot of important photos. Fortunately, it’s not the end of the world since there are certain methods you can use to recover NEF photos.
In this article, we’ll take a quick look at what NEF photos are, how to recover them if they’re accidentally deleted or lost, and how to view them once they’ve been successfully restored.
Table of Contents
What Is a NEF Photo?
Nikon Electronic Format (NEF) is Nikon’s RAW file format that is used exclusively by Nikon cameras. A RAW image file contains various information, including camera ID, device settings, the lens utilized, and more, along with all the image info caught by the device’s sensor. NEF consists of the RAW photo itself and a JPG preview in a smaller size.
The advantage of the NEF format over run-of-the-mill image file types like JPEG or TIFF is that the images are captured as NEF RAW files and include no changes to sharpening, tone, hue, or white balance made by the camera. Instead, this file type will save those edits as instructions, allowing you to make as many edits as you want without disturbing the original image.
NEF images can be lost due to different reasons, including accidental deletion, SD card corruption, formatting storage devices, and Nikon camera software glitches, among others.
The Nikon NEF format is also 12-bit or 14-bit, which makes for superior tone depth compared to other image file types.
How To Recover Deleted NEF Photos
NEF photo files are commonly saved in memory cards by Nikon cameras, so it’s not out of the ordinary for these files to be corrupted, lost, or accidentally deleted. That being said, it’s certainly possible to retrieve those files, especially if you enlist the help of the right recovery software, like Disk Drill Data Recovery.
Whether it’s from an SD card, flash drive, external hard drive, or any other storage medium, Disk Drill can easily help you get your lost NEF photos back. All you have to do is follow the simple steps below:
Step 1. Start by downloading Disk Drill from the official website. Once the setup file has been downloaded, launch the file and follow the on-screen instructions until the program is successfully installed.
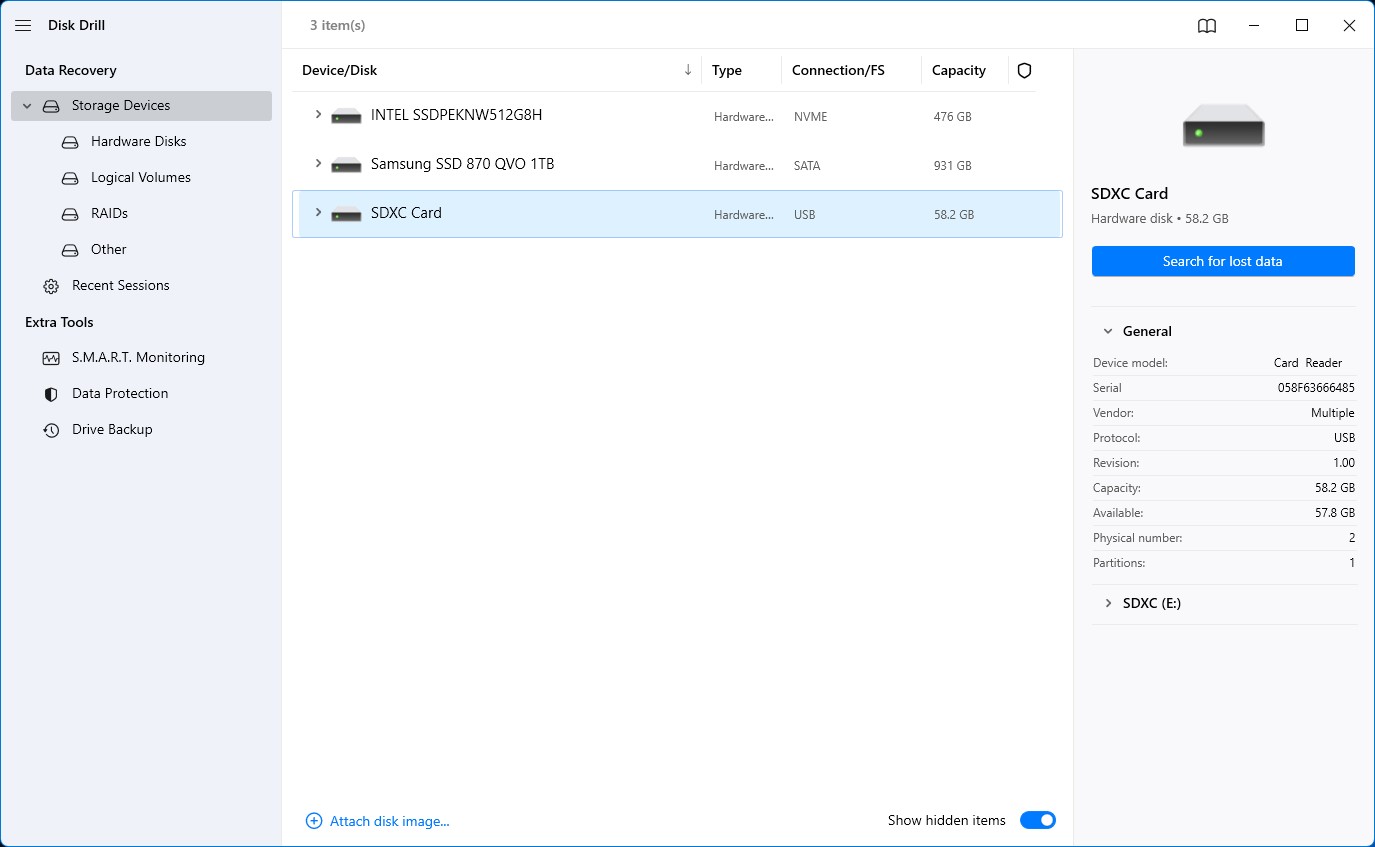
Step 2. Run the Disk Drill app, select the storage medium you’d like to recover the NEF photos from, and press the Search for lost data button.
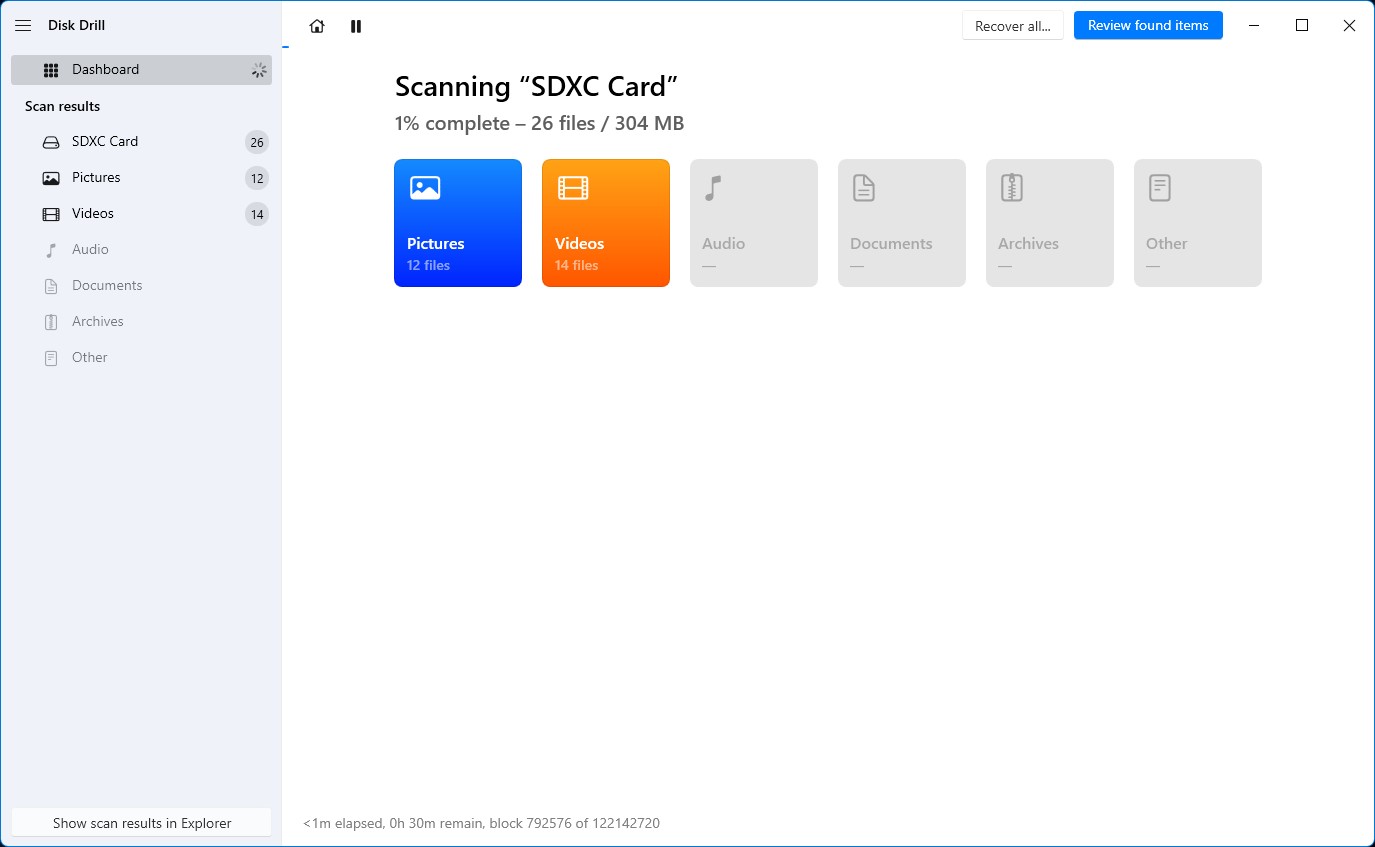
Step 3. The recovery tool will begin searching for all retrievable files in that storage medium. The length of time this process takes depends on the speed of the storage medium you’re scanning, as well as the overall size.
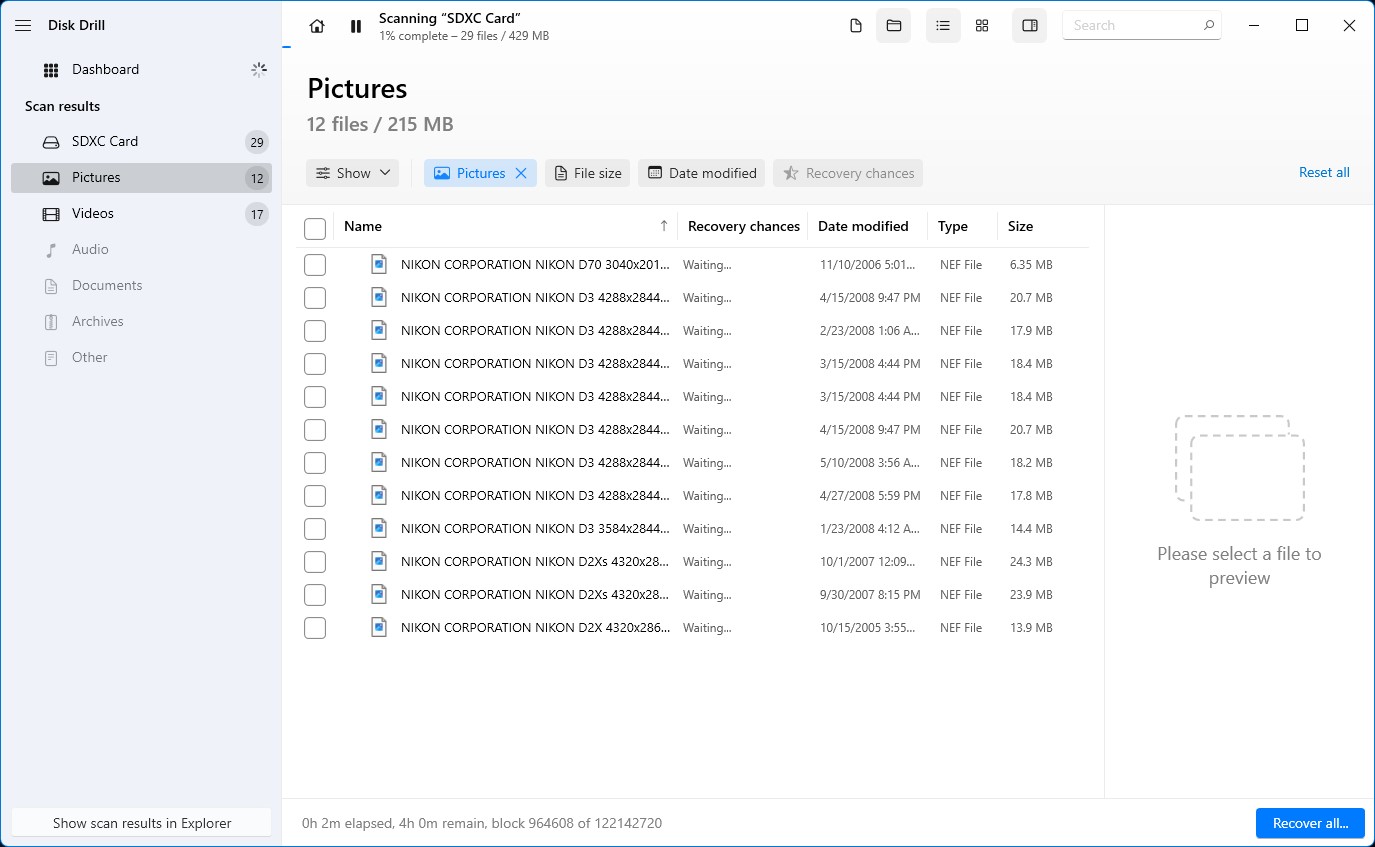
Step 4. Once the scan is complete, you can browse all the potentially recoverable picture files by selecting Pictures from the left side of the screen. From there, you can arrange the results by Type, and then scroll down until you find all the retrievable NEF photos.
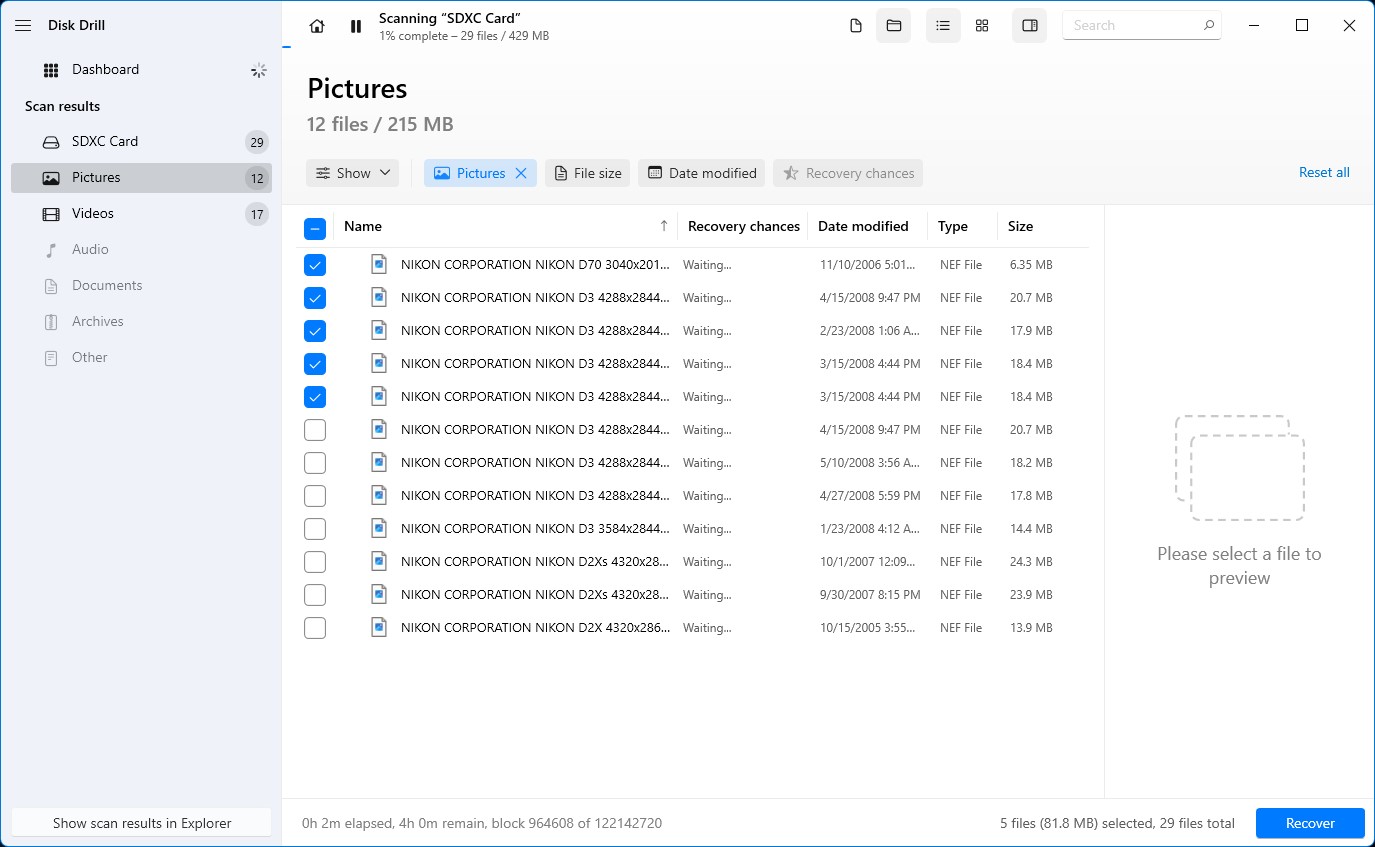
Step 5. Select the NEF photos you’d like to recover by ticking the checkbox beside the file names and then hit the Recover button near the bottom of the window.
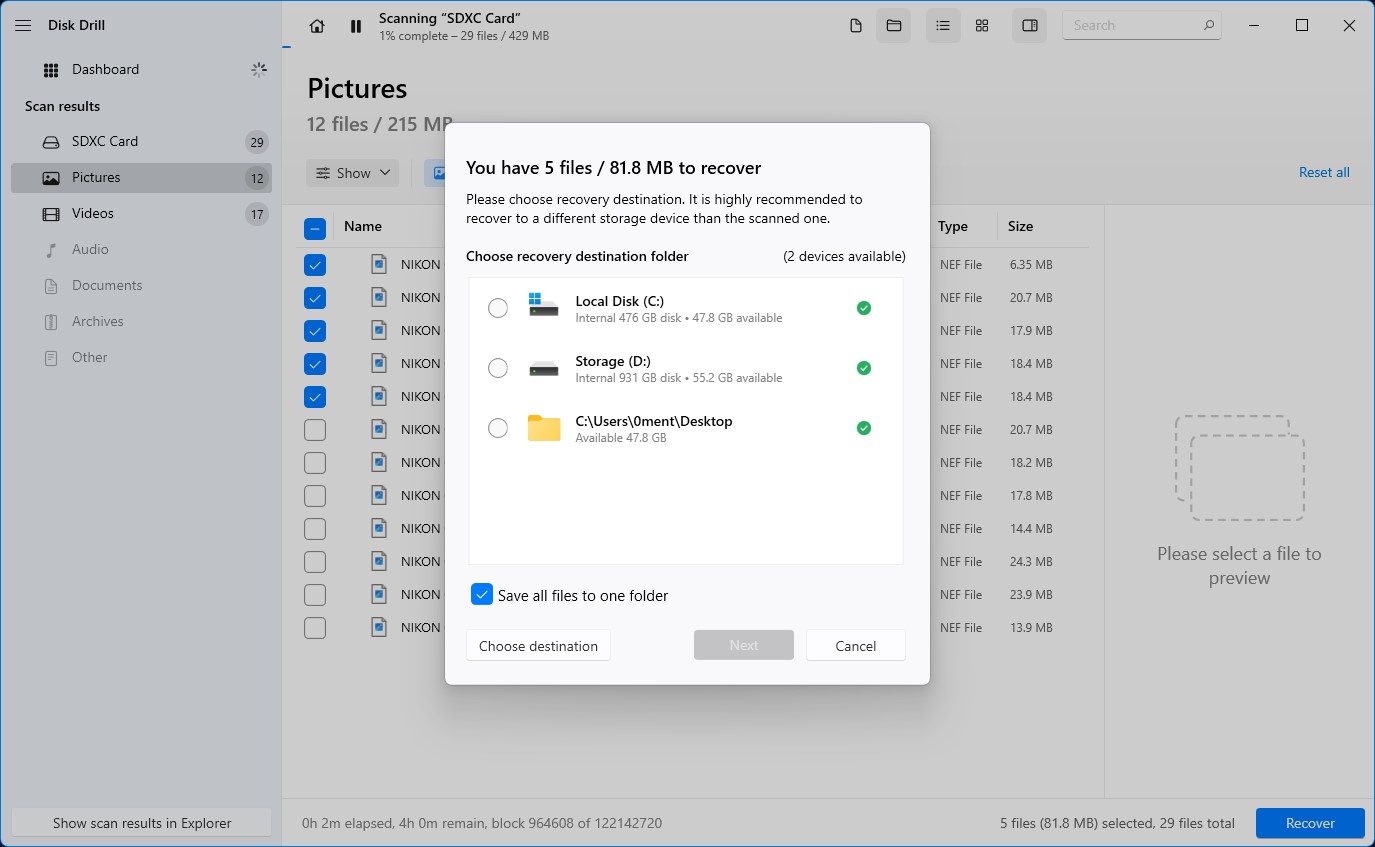
Step 6. You’ll be prompted with a pop-up that asks you to select a storage medium to save the recovered files. Bear in mind that this must be a different medium than the one you’re recovering from. Once you’ve selected a destination, hit the Next button to start recovering.
Step 7. The recovery process could take anywhere from seconds to minutes, or longer depending on the overall size of the files you’re trying to recover. Once the process is complete, you can browse the retrieved files by clicking on the Show recovered data in Explorer button.
How To View Recovered NEF Photos
Windows is normally capable of viewing NEF photos using its default Photos app, but if you’re encountering certain files that just won’t open, you can install the official Nikon codec that will help Windows identify these files.
If you’re wondering how to view NEF photos on Mac, the Apple Preview app is included with all Mac machines and fully supports NEF images. Alternatively, you can download and install the free Nikon ViewNX2 .NEF photo viewer that allows you to open NEF photos and edit them. This tool is available for both Windows and Mac operating systems.
How To Repair Corrupted NEF Photos
There are numerous methods you can try to repair corrupted NEF photos. Downloading the Microsoft Nikon codec pack or installing the official ViewNX2 are both valid ways to potentially resolve corrupted NEF images that won’t open using the default programs on your chosen operating system. You can also employ the services of dedicated software, such as the Stellar Photo Repair tool.
We listed other good solutions you can use to repair corrupted NEF photos in this section, along with easy step-by-step guides you can follow.
Method 1: Convert NEF photos to another format
Converting NEF photos to another format might make them accessible again. For example, you can convert your corrupted NEF photo to DNG (Digital Negative) format, which offers more support and compatibility across different devices.
You can use reputed apps like Adobe DNG Converter to save your corrupted files as DNG. Then, check if your files are viewable again.
Additionally, NEF photos can be converted to other image formats like PNG, JPG, GIF, PSD, TIFF, or other image formats to see if this repairs your file issue.
Method 2: Use a Repair Tool
Some repair tools, like Exiftool, specialize in fixing corrupted NEF photos. Exiftool can repair NEF photos from specific cameras like the D4, Df, D600, D610, D750, D800, and more. However, it does not repair images that got corrupted because of memory card issues, disk errors, or other software errors.
Method 3: Extract JPEG preview file
We know that extracting a JPEG preview file from your corrupted NEF photo is not really repairing your files. However, if our previous methods were unsuccessful in repairing your corrupted files, getting a preview might be better than having no image at all.
Luckily, there are tools like IrFanView that allow you to get the JPEG preview from your corrupted images. You can use IrFanView for free by downloading it from their website. While it can extract JPEG previews from your NEF photos, it can also serve as an image editing tool with extra features like filters, effects, drawing tools, and more.
Conclusion
Recovering deleted Nikon Electronic Format (NEF) files and viewing them is critical, especially for photographers who work with these files on a day-to-day basis. If you lose NEF photos, data recovery software like Disk Drill can be a trustworthy tool to recover your files.
If you simply want to access or view your NEF photos, you can open them using ViewNX2 on Mac and Windows. For Windows, you can open NEF photos via the Photos app or the Nikon Codec. For Mac, you can open NEF photos with Apple Preview.
If your NEF photos got corrupted, on the other hand, try converting them to another format to see if this fixes your problem. If not, you can use repair tools like the Stellar Photo Repair tool and Exiftool. If these methods don’t work, you can extract JPEG preview files from your NEF photos using extraction utilities like IrFanView.


")
