 Chinese tech juggernaut Lenovo has quickly made its mark in the computer space, offering a wide range of laptops and mobile devices, both premium and budget-friendly. While their gadgets are often well-received and fairly easy to use, that doesn’t prevent the occasional accidental file deletion.
In this guide, we’ll tackle the different ways you can perform Lenovo data recovery from the brand’s line of laptops and Android devices.
Table of Contents
How to Recover Data from Lenovo Laptops
There are multiple methods you can use to recover deleted files from a Lenovo laptop, ranging from swift checks in Windows Explorer to using tools or utilities to get the missing files back.
However, it’s worth noting that SSD recovery is often more difficult than its HDD counterpart. This is due to how SSDs utilize the TRIM process to efficiently get rid of files that are deemed unnecessary.
Method 1: Perform Quick Checks
Before you jump to third-party tools or Windows utilities, you should start by doing a quick sweep of your device in Windows Explorer to ensure that the files aren’t still accessible. Make sure to check your Recycle Bin to see if you can restore your deleted files from there and verify that they’re not simply hidden in the location they were last stored in.
Method 2: Use a Professional Data Recovery Tool
Once you’re sure that your files were actually deleted and can’t be located on your laptop, the next step is to decide on a competent Lenovo data recovery software.
Disk Drill is an exceedingly effective data recovery app that boasts top-notch recovery rates, a streamlined user interface, and quick scanning speeds.
It also supports all sorts of file types and is compatible with the majority of storage devices. If you’re not entirely convinced, you can try out all of the program’s features through the free trial that lets you recover up to 500MB of data.
For those who are dealing with a dead Lenovo laptop, you can always connect its SSD or HDD to another computer and scan it with Disk Drill there.
Here’s a simple step-by-step guide on how to recover data from your Lenovo laptop using Disk Drill:
- To get started, download the latest version of Disk Drill and install it on your device. While the program is compatible with Windows 7/10/11, people using Windows 7 will require an older version of the program.
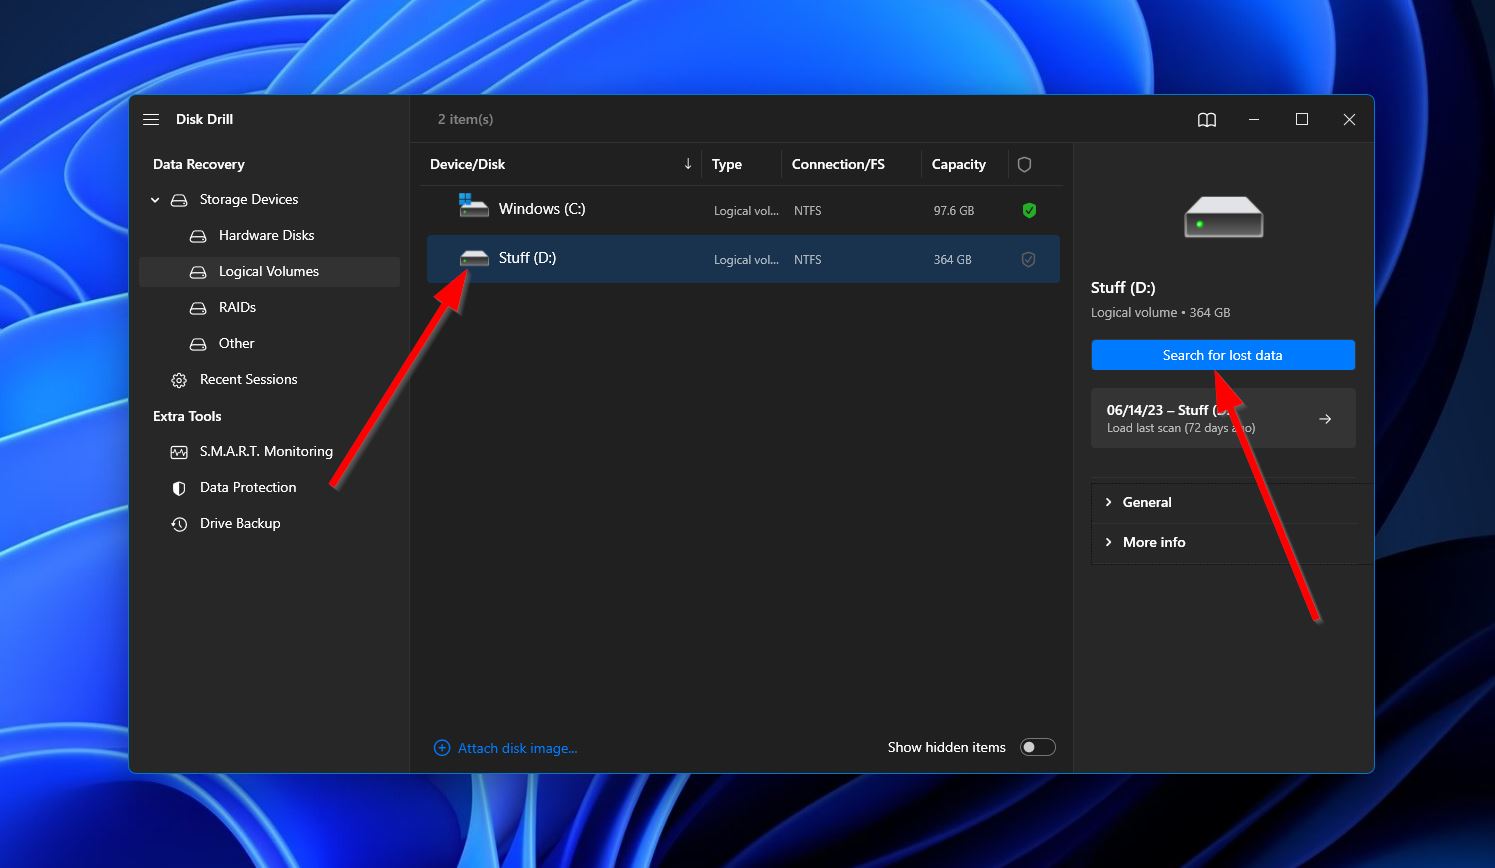
- Launch Disk Drill, then select the drive where your deleted files were located and click the “Search for lost data” button.
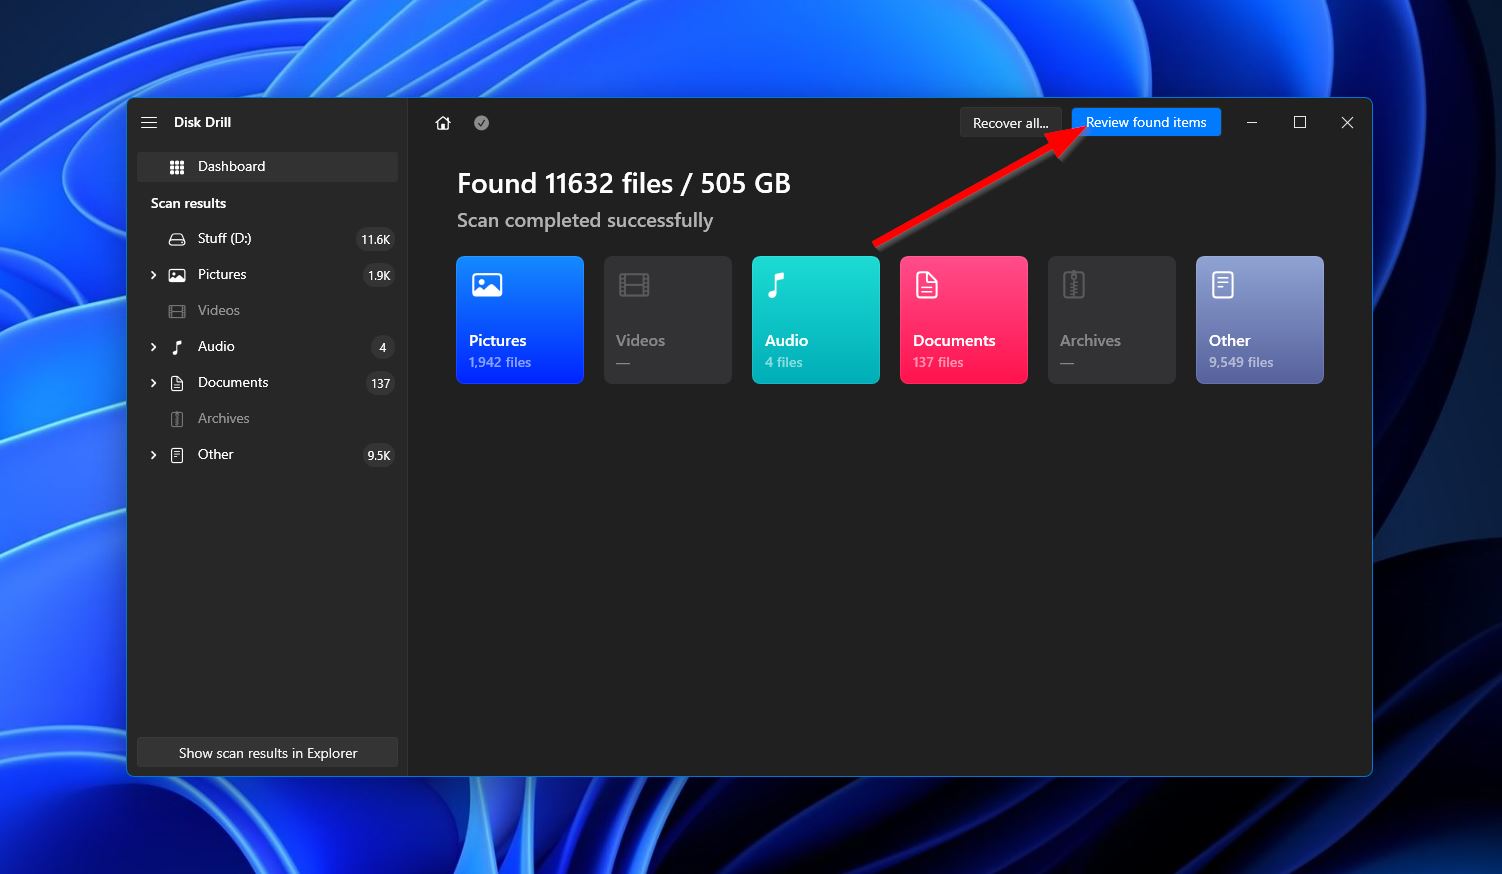
- Next, the app will begin scanning your Lenovo laptop drive for any files it can potentially retrieve. Click the “Review found items” button at the top-right corner to proceed to the next step.
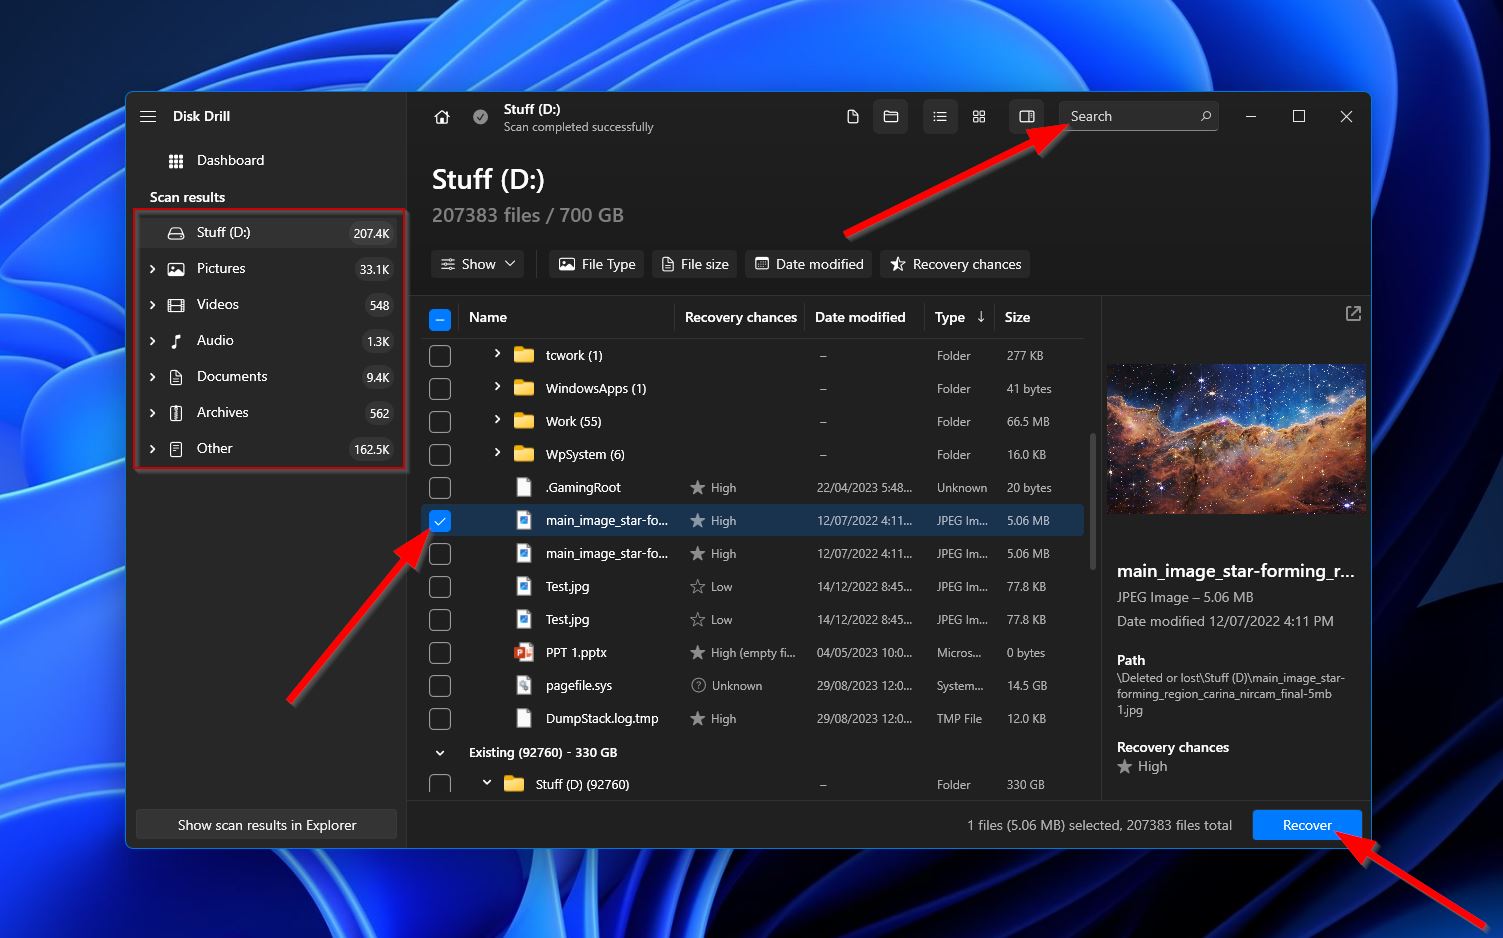
- When you get to the results screen, you’ll see a list of all the files uncovered by Disk Drill. It’s not uncommon for there to be an overwhelming number of files, but you can narrow them down using the categories on the left and the search bar in the top-right corner. Once you find the deleted files you want to restore, click the checkbox next to their names to select them, then hit “Recover” to move to the next section.
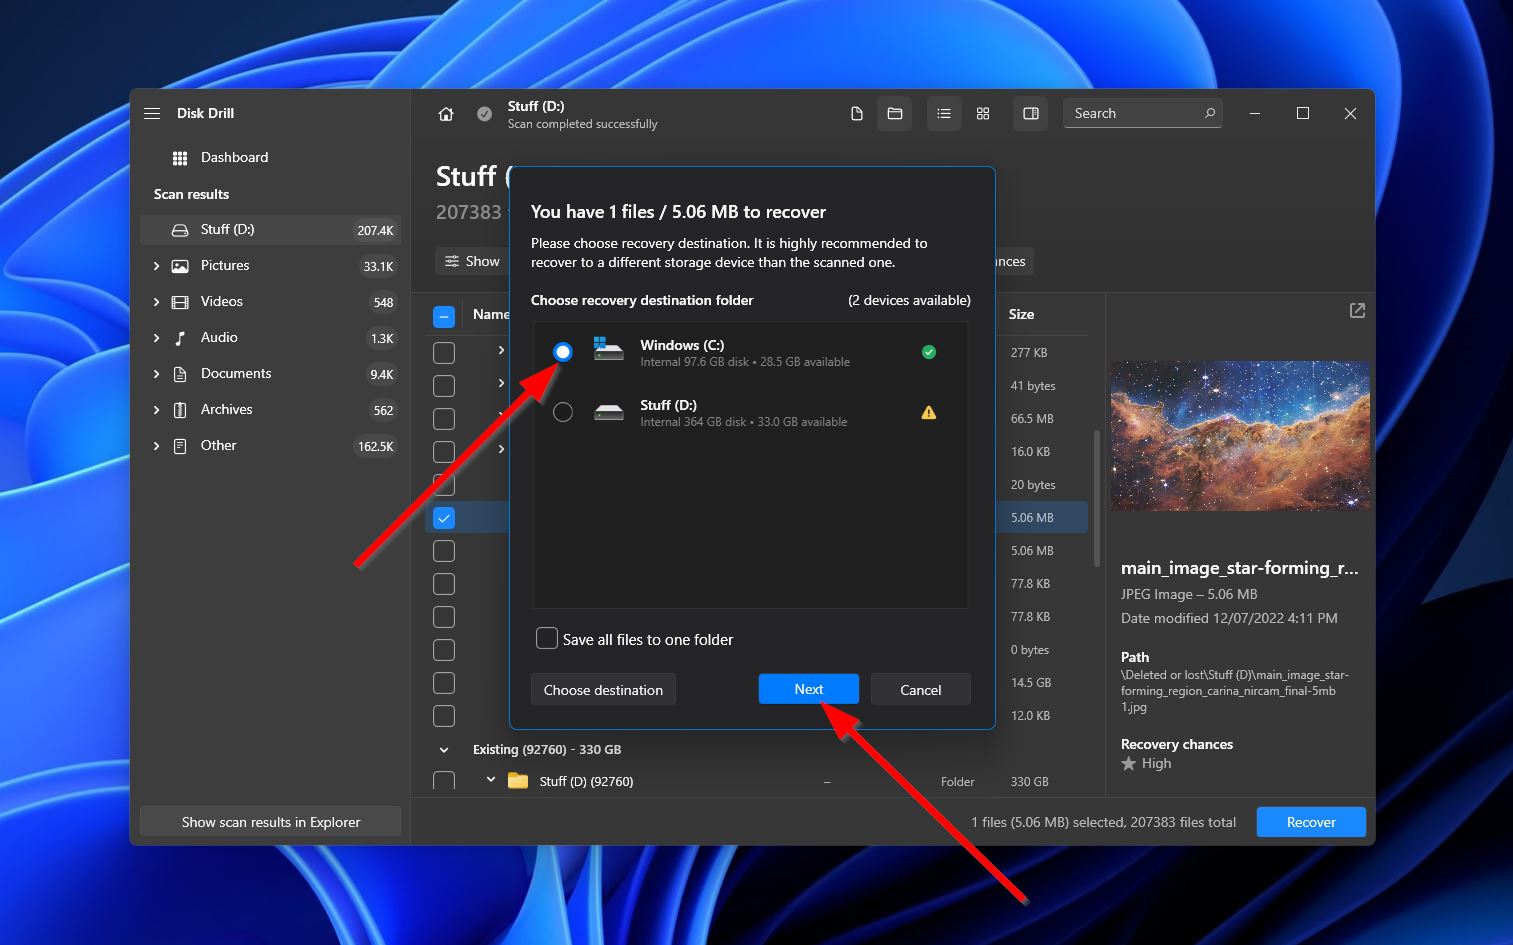
- After that, you’ll see a pop-up asking you to select a destination in which to save your recovered files. Click “Next” once you’ve decided.
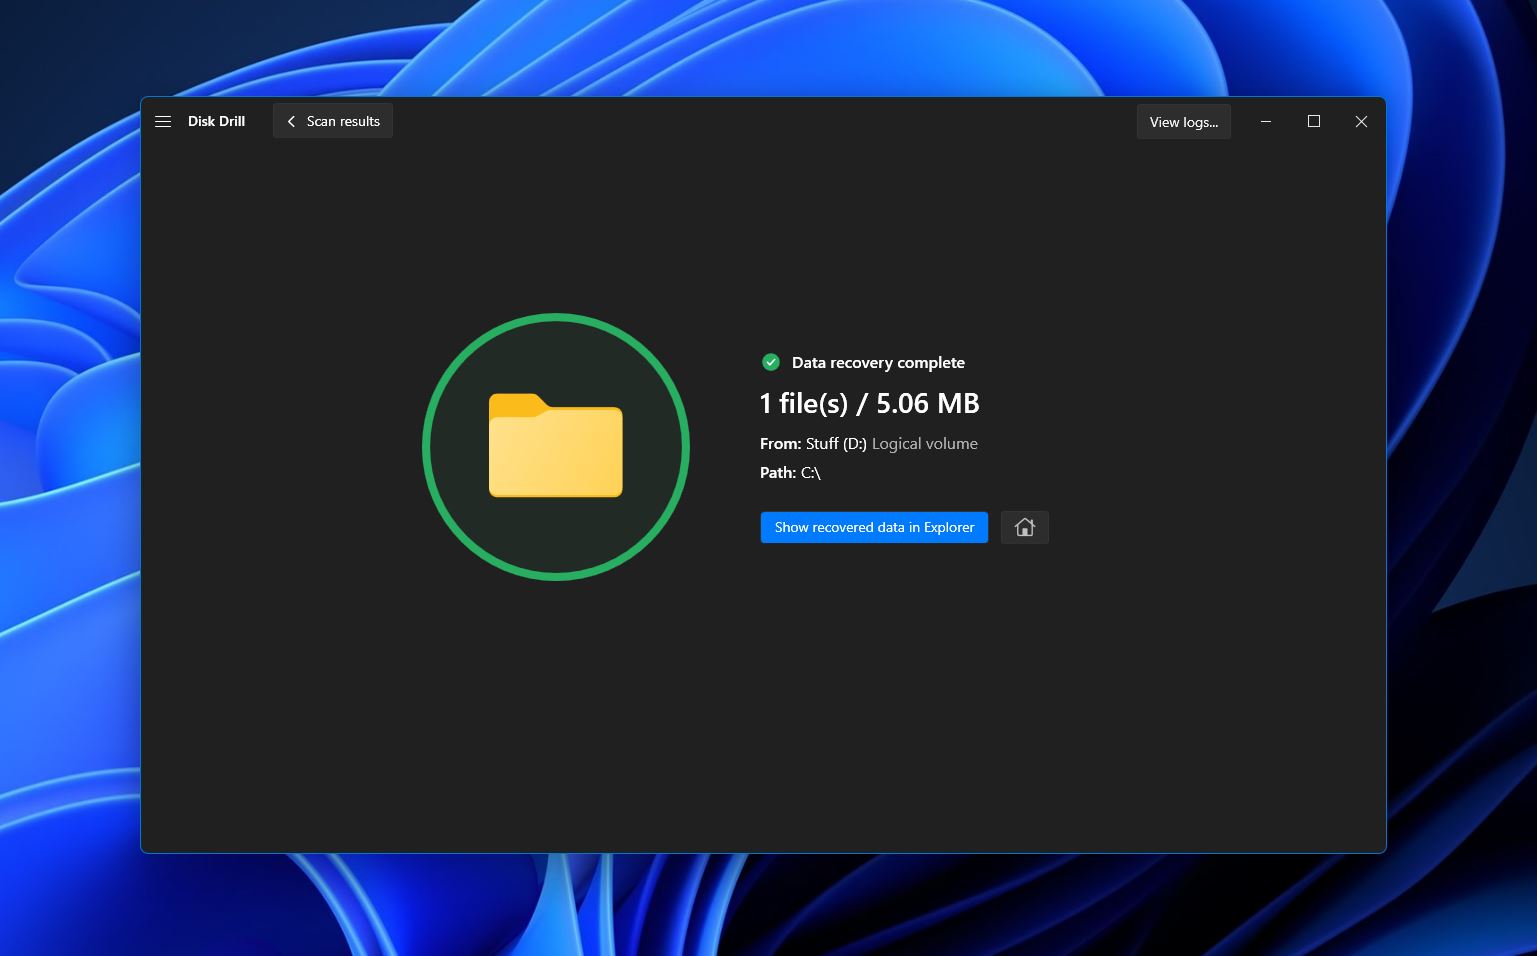
- Upon clicking, Disk Drill will now try to recover the files you’ve selected. When it’s done, you’ll see a completion screen and a “Show recovered data in Explorer” button. Clicking it will open the folder where your rescued files are located.
Method 3: Use Existing Backups
One of the most sure-fire methods to recover permanently deleted files is to use an available backup to restore from. The caveat here, of course, is that you’ll need to have created a backup before the deletion took place.
There are multiple options you can use to create file backups on your computer, including Windows tools such as File History and System Restore, as well as other third-party programs.
For the purposes of this guide, we’ll be discussing restoring deleted files from your Lenovo laptop through File History:
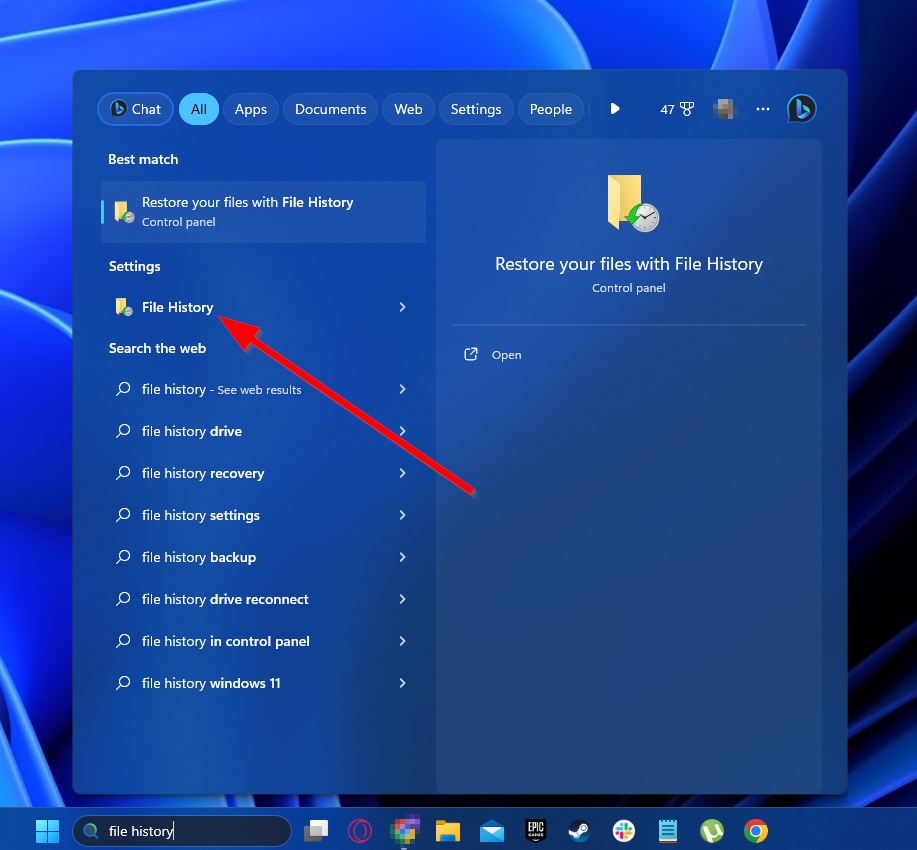
- First, type “file history” into the Windows taskbar search tool and choose “file history” from the results.
- Next, click “Restore personal files” from the options on the left.

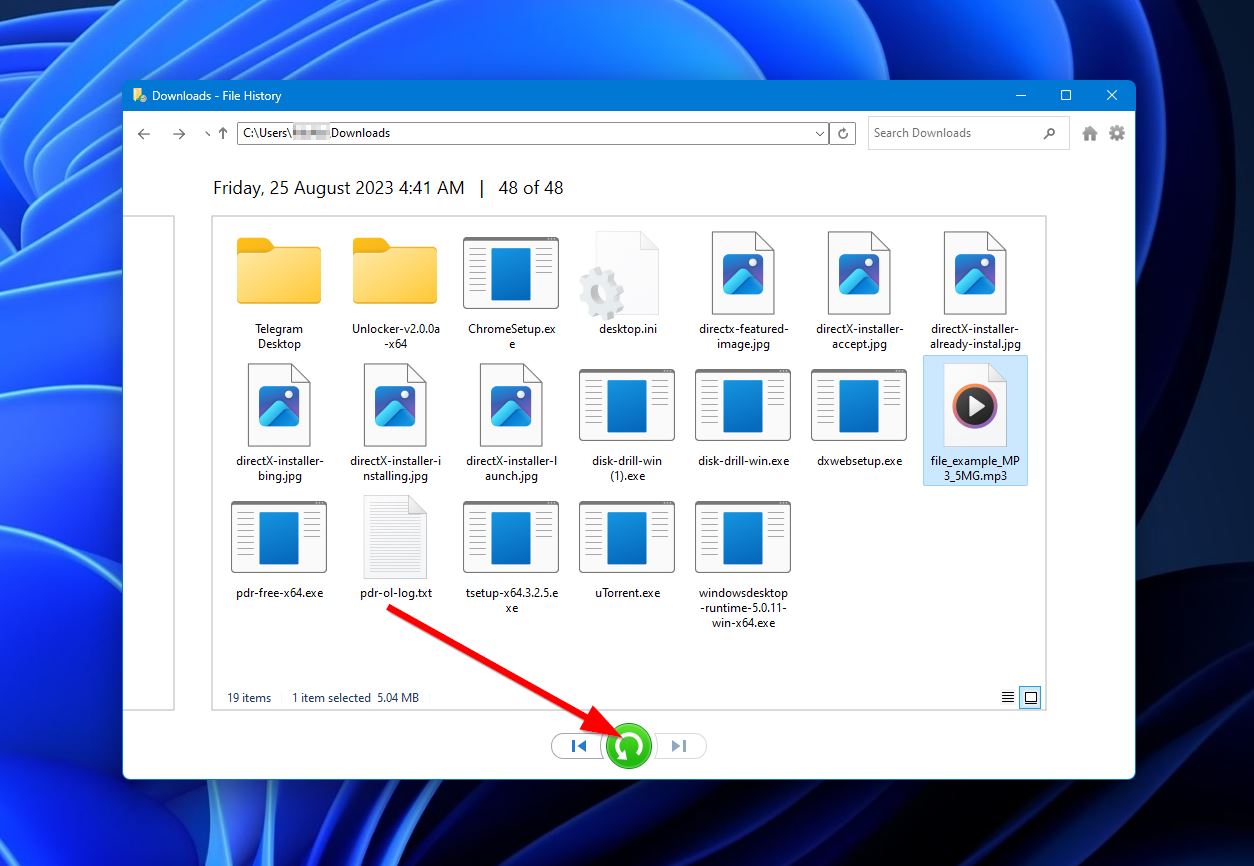
- After that, head to the location where your deleted files were last stored, then highlight the ones you want to recover and click the rounded greed arrow button towards the bottom of the window. Your deleted files will be restored to the location they were in last.
How to Recover Data from Lenovo Android Devices
Lenovo may be more known for its comprehensive line of laptops, but its repertoire of stellar Android devices has quickly gained traction over the years. Just like with PCs and laptops, users run the risk of accidentally deleting files from their mobile devices.
Below you’ll find a list of the most effective methods for recovering deleted files from your Lenovo Android phone.
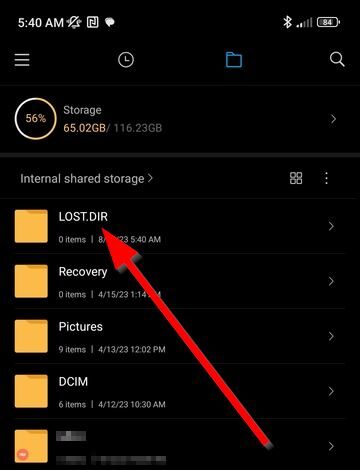
Method 1: Check Lost.Dir folder
The Lost.Dir folder on Android devices is sort of similar to the Windows Recycle Bin and can exist in either a phone’s internal memory or its memory card. It houses files that are lost due to a crash or sudden OS failure and may contain the files you mistakenly deleted.
You can access the Lost.Dir folder through the File Manager on your Lenovo phone or by connecting the device or memory card to a computer.
Lost.Dir file recovery involves opening the folder, finding the file you want to retrieve, and changing the file extension to the one it had before it was lost. For example, if the file you’re trying to restore is a JPG file, just rename it and have it end in “.jpg”.
Method 2: Recover Data from an SD Card
If you have no luck finding the deleted files in the Lost.Dir folder, then your next best bet is to use a capable data recovery program like Disk Drill to get your files back. Keep in mind that this method is specifically for retrieving files that were lost from an SD card.
All you have to do is connect the memory card to a computer using a card reader or a memory card slot, then follow the steps outlined in the “Use a Professional Data Recovery Tool” section above to use Disk Drill to restore your deleted files.
Method 3: Recover Data Directly from the Device
Finally, you can opt to retrieve deleted files directly from your Lenovo Android device by using a mobile data recovery app. Disk Digger is a popular app available in the Google Play store that’s geared towards restoring lost photos and videos from Android phones.
It’s free to download and use, though an unrooted device will only allow you to do basic scans and recovery. In-depth scans will require a rooted phone.
Here’s a quick guide on how to perform Lenovo Android data recovery using Disk Digger:
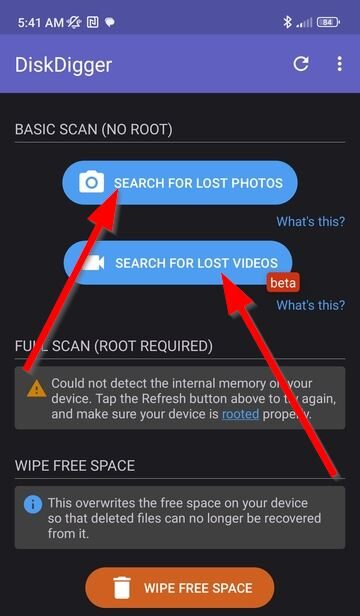
- To get started head over to Google Play and download the Disk Digger app on your Lenovo phone.
- Next, run the app and select either “SEARCH FOR LOST PHOTOS” or “SEARCH FOR LOST VIDEOS” depending on what you’re looking to recover.
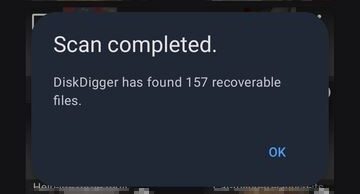
- After that, Disk Digger will begin scanning your Lenovo phone for retrievable photos or videos. Basic scans should be completed relatively quickly and you’ll receive a pop-up message showing how many files were found.
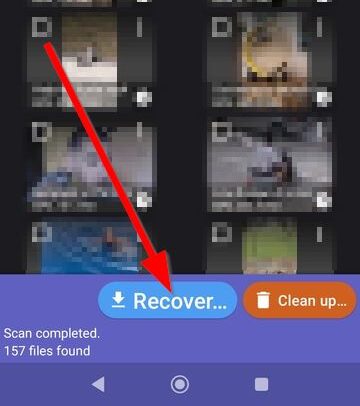
- Mark the files you want to restore by tapping them, then hit “Recover” to proceed.
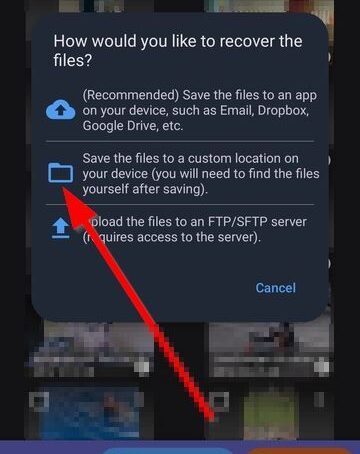
- After that, a pop-up will appear, asking you to choose your recovery location. Your choices are:
– An app on the Lenovo device like Dropbox or Google Drive
– A custom location on the device
– Uploading the files to an FTP/SFTP serverWe’ll be saving the recovered files to a custom location.
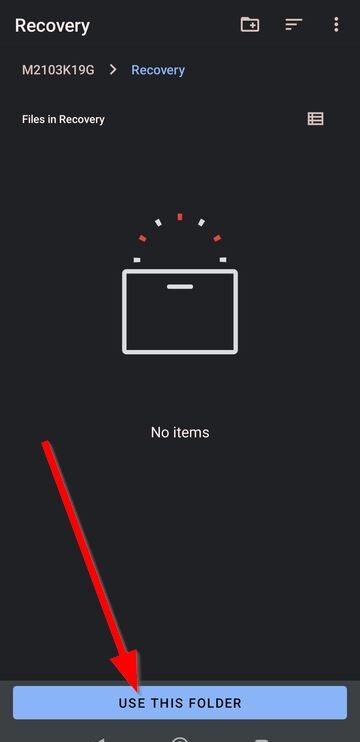
- Next, you’ll be shown a list of available folders on your device. Select the one you want to use as a recovery location, then tap the “USE THIS FOLDER” button. Tap “ALLOW” if you’re asked to give permission.
- Finally, your photos or videos will be saved in the selected folder and can be accessed using the File Manager or Gallery apps.
Conclusion
Whether you’re using a Lenovo laptop or mobile phone, there’s always a risk of accidentally deleting important files. The good news is that there are multiple methods on both Windows and Android that you can use to perform Lenovo data recovery, including built-in OS tools and third-party programs.


