 Whether you accidentally deleted the wrong photo on your Mac or lost a handful of photos due to malware infection or physical damage, there’s no need to panic just yet. Luckily, there are a few effective solutions that can help you recover permanently deleted photos on a Mac. So even if you think that the images are gone for good, it’s possible that you still have a chance to restore them.
Read on to learn about the best 4 data recovery methods that can retrieve lost photos on your Mac.
| Scenario | Solution |
| I can’t find my photos on the Mac | There’s a chance that yur photos are still on your Mac, so before attempting recovery try to find missing photos. |
| I’m sure that I moved my photos to the Trash Bin | In this case simply recover photos from trash. |
| I can’t find my photos neither on Mac nor in trash and I don’t have backup | Act swiftly to recover your photos using data recovery software. |
| I can’t find my photos, but I have an iCloud backup | Read how to recover your photos using iCloud backup here. |
| I can’t find my photos although I make Time Machine backups from time to time | Then this method is for you. |
Table of Contents
Where Do Deleted Photos Go on Macs?
Basically, there are two ways of storing photos on a Mac: either using the Photos app or simply by keeping them in folders. So the place where your deleted photos go depends on how you stored them:
- If you delete a photo from the Photos app, it automatically moves to the Recently Deleted section. You can access it by clicking Recently Deleted on the app’s sidebar.
- If you delete a photo from any folder on your Mac, it gets moved to the Trash. To find those photos, click the Trash icon on the Dock.
Once you delete the photos either from the Recently Deleted folder or from Trash, they get permanently removed from your Mac. But even in that case, there are a few methods that you can try out to recover the photos.
Try to Find Deleted Photos on a Mac
Maybe the photos that you are looking for aren’t really gone? It’s best to try to manually look for the photos on your Mac before actually moving forward with one of the data recovery methods.
So the first thing that you should do is check the Photos app:
- Launch the app by clicking the Photos icon from the Dock or looking for the app’s icon in Launchpad.
- If you know when the photo that you are looking for was created, use the bar at the top to choose a specific year or month. Or use the sidebar on the left to choose a photo category.
- Use the search field on the top right of the screen to enter the photo’s name.

If you were unable to find the needed photo in the Photos app, try using Finder on your Mac. Here’s what you should do:
- Open Finder (it’s usually the first app on the Dock).
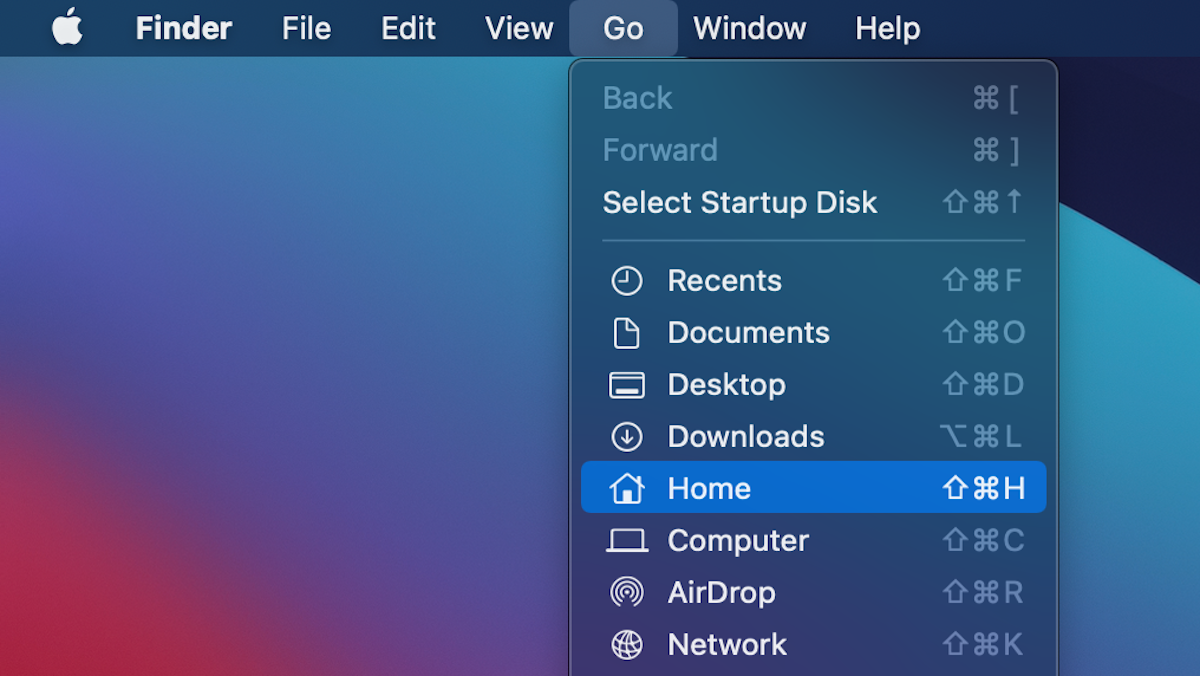
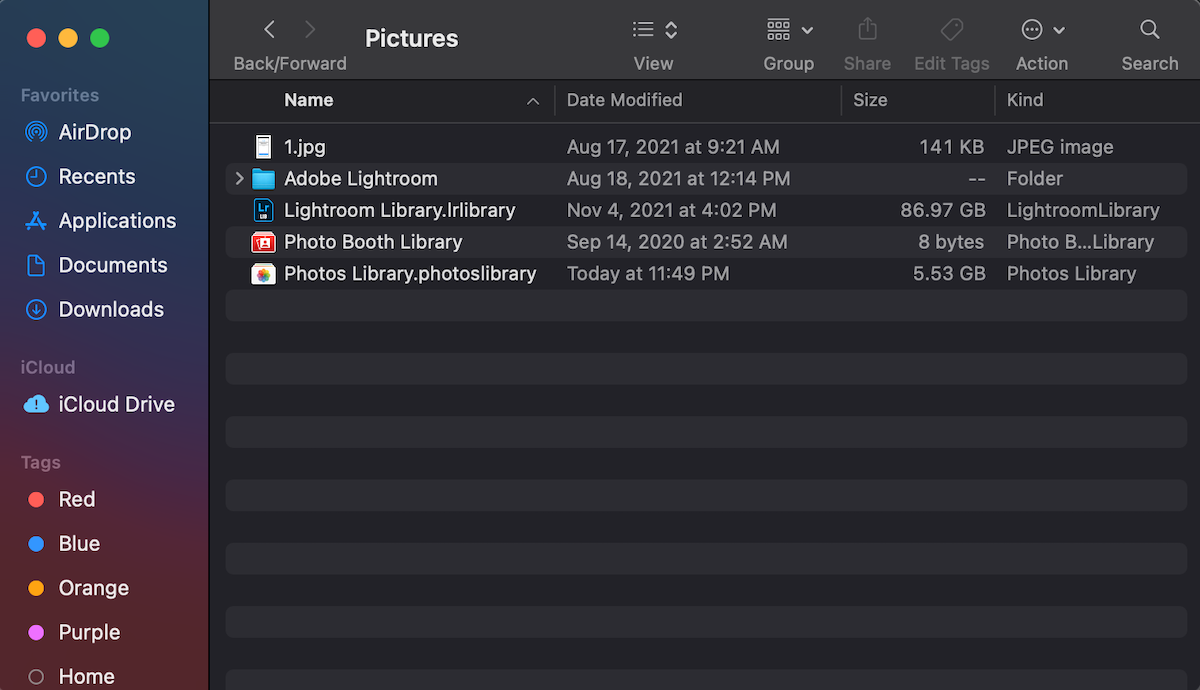
- Check the Pictures folder. To open it, click Go from the menu on the top and choose Home. Click Pictures to open the folder.
- If you know the name of the photo that you are looking for or its format, type it in the search field at the top right and hit Enter.
How to Recover Deleted Photos on a Mac
If you are sure that the photos that you’re trying to find are definitely deleted, then one of these data recovery methods should help you recover the photos on your Mac. It doesn’t matter whether you want to recover deleted from a MacBook Pro or from a MacBook Air, these options will work on any computer.
However, not all of these solutions will work for video files, so in case you’ll also need to recover a deleted video, check out these recovery methods.
Method 1:Check the Trash Bin
It’s always a good idea to check Trash on your Mac before choosing a more complex data recovery method. However, this method should work only in two conditions:
- If you deleted a photo from any folder on your Mac (not from the Photos app).
- If you haven’t emptied Trash on your Mac after deleting the photo.
Here’s how to check the Trash for deleted photos on your Mac and recover them:
- Click the Trash icon on the Dock to open it.
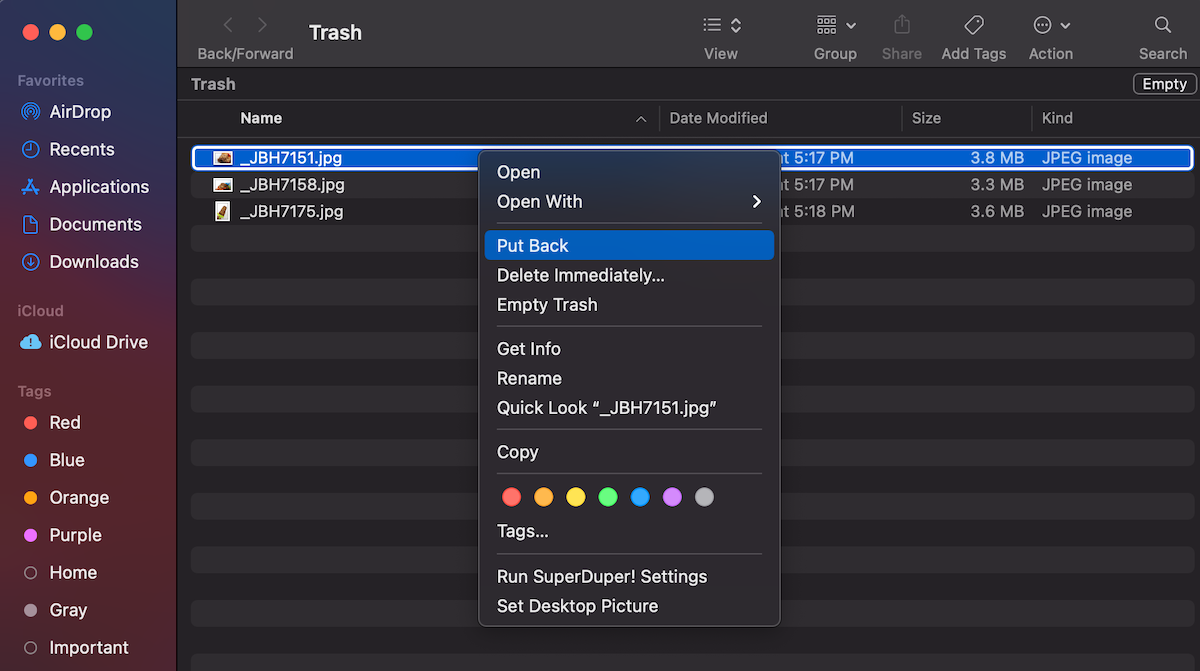
- Choose the photo that you want to recover. If you want to recover multiple photos, hold Command and click the needed photos.
- You can either drag and drop the photos to any folder on the sidebar or right-click on the chosen photo and choose Put Back from the drop-down menu.
Method 2:Use Data Recovery Software
If your deleted photos are no longer in the Trash app or the Recently Deleted folder in the Photos app, the best option for you would be to use a specialized data recovery software to scan your Mac and try to recover the lost photos.
Important: The results of using this method depend mostly on whether the deleted photos have already been overwritten with new data or not. Therefore, it’s recommended to stop using your computer or the storage device and start the recovery process as soon as possible.
One of the most user-friendly and effective data recovery applications on the market is Disk Drill. It does an excellent job in restoring lost data on both Macs and Windows-based computers and can recover almost any photo format (JPG, TIFF, PNG, EPS, and others).
Here are detailed step-by-step instructions on how to recover deleted photos on a Mac with Disk Drill:
- Download Disk Drill and follow the onscreen instructions to install the application on your computer.
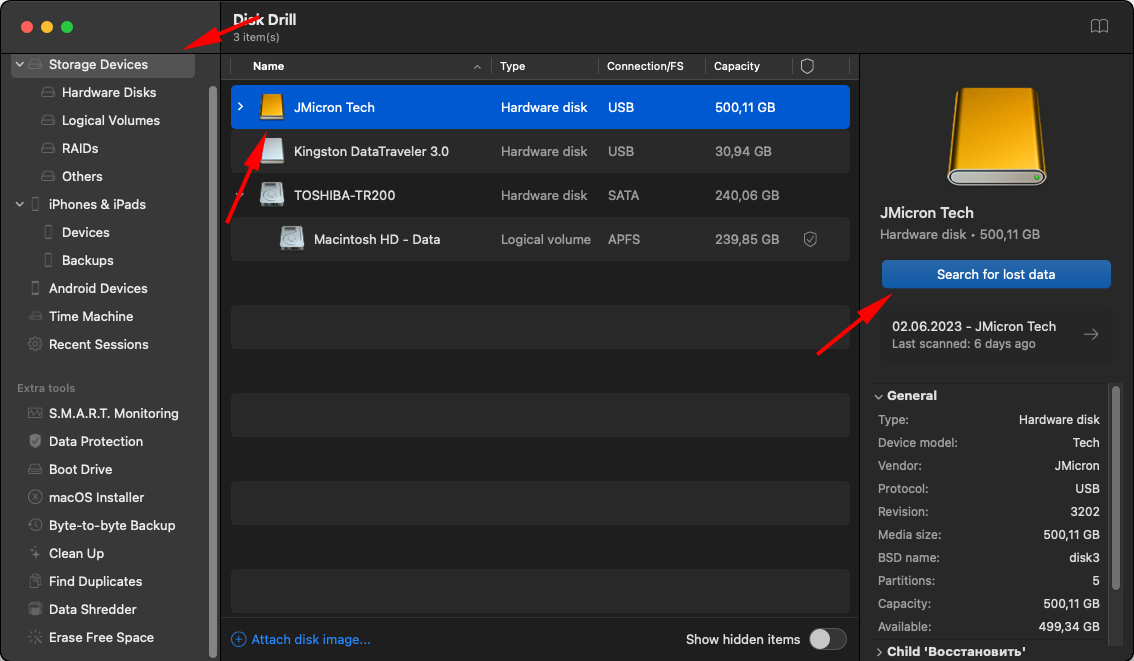
- Launch the tool and choose the Storage devices tab from the sidebar.
- Select the drive that contained the photos and click the Search for lost data button.
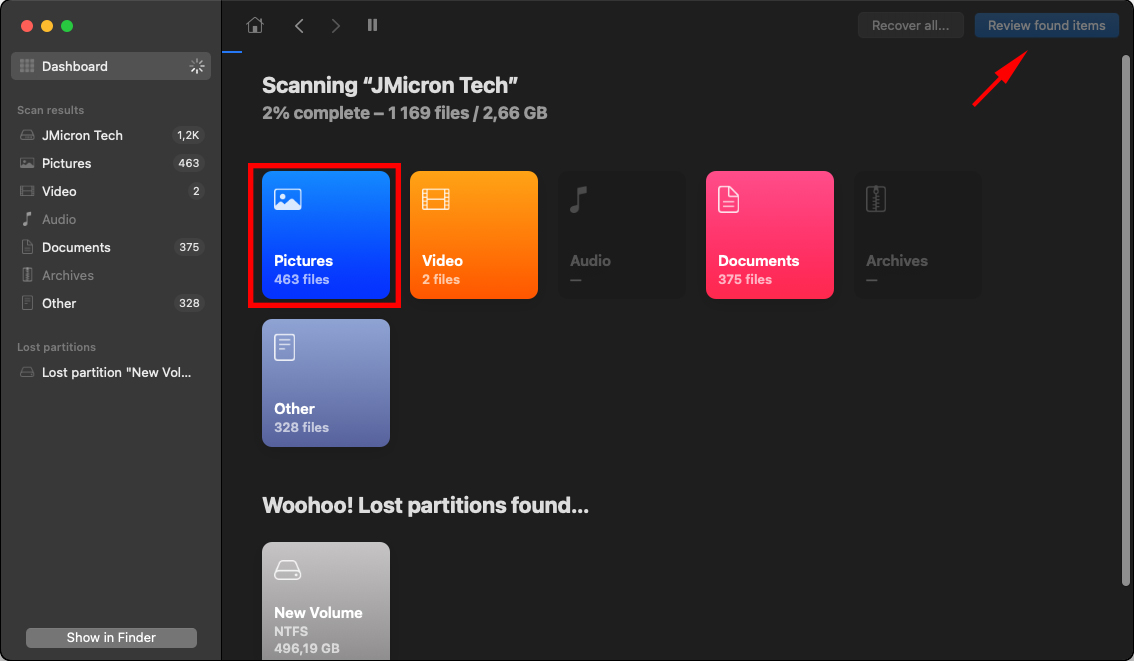
- Wait for the scan to finish or click Review found items to start searching for the lost photos immediately. Or, if you want to view only files that are marked as pictures, click the Pictures icon right away.
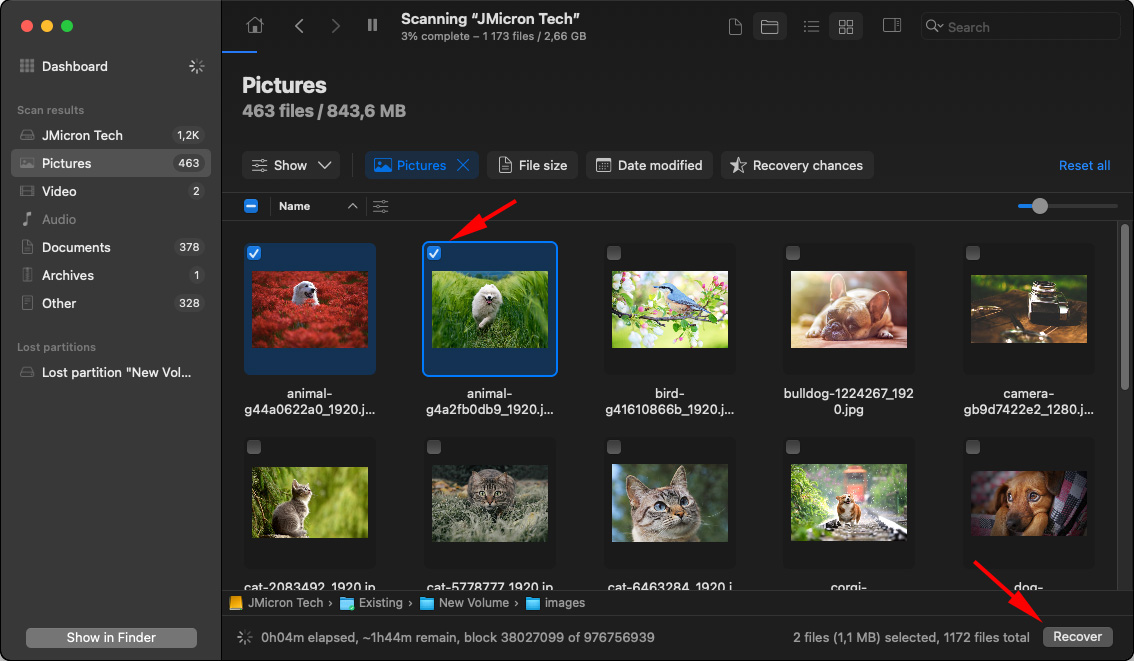
- If you know the file name, you can type it in the search field at the top right of the screen. Otherwise, manually navigate to the folder that you think used to contain the deleted photo.
- Click the eye icon to preview the file to make sure that it’s the one that you need.
- Click the box near the photo to select it and click Recover.
- Choose a destination folder for the recovered photo and click Next.
That’s it! Your lost photo has successfully been restored on your Mac.
Method 3:Recover Photos from iCloud
If you use iCloud to store your photos, then you can use it to recover deleted pictures on your Mac.
But time is of the essence with this method since iCloud stores deleted files only for 30 days. Once the time has passed, the files get permanently removed and, therefore, impossible to recover from iCloud.
Note: If you want to get old photos from iCloud, you can find all of them also in the Photos section of your iCloud account.
Here’s how to recover photos from iCloud:
- Head to iCloud.com and log into your account.
- Click Photos to access all of the stored images.

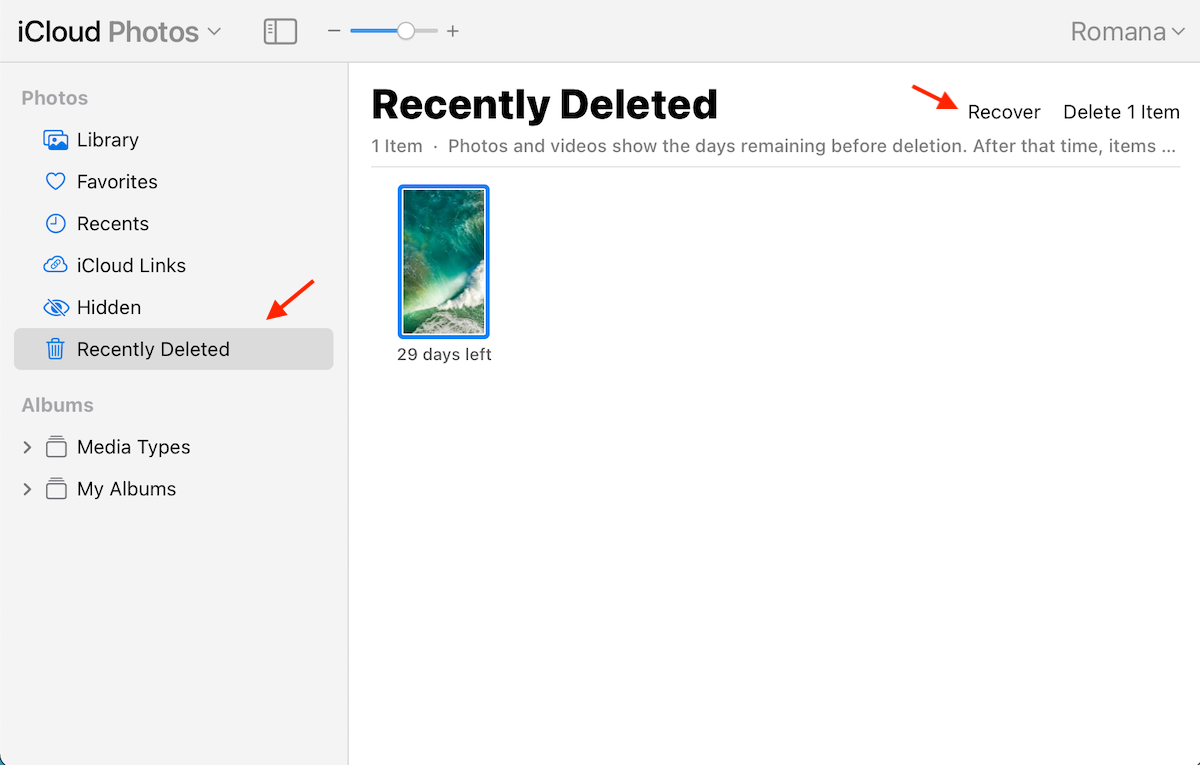
- Click the Recently Deleted tab on the sidebar.
- Choose the photo that you wish to recover and click Recover at the top right of the screen.
Now simply go to the Photos Library folder, and the recovered photo should be back there.
Method 4:Restore Photos from a Time Machine Backup
This method is suitable only for those who regularly use Time Machine to back up their Mac. Also, in this case, the data recovery results depend on whether you’ve backed up your Mac before deleting the photo. If not, then you won’t be able to find the deleted file on your latest backup.
Follow these steps to restore photos from a Time Machine backup:
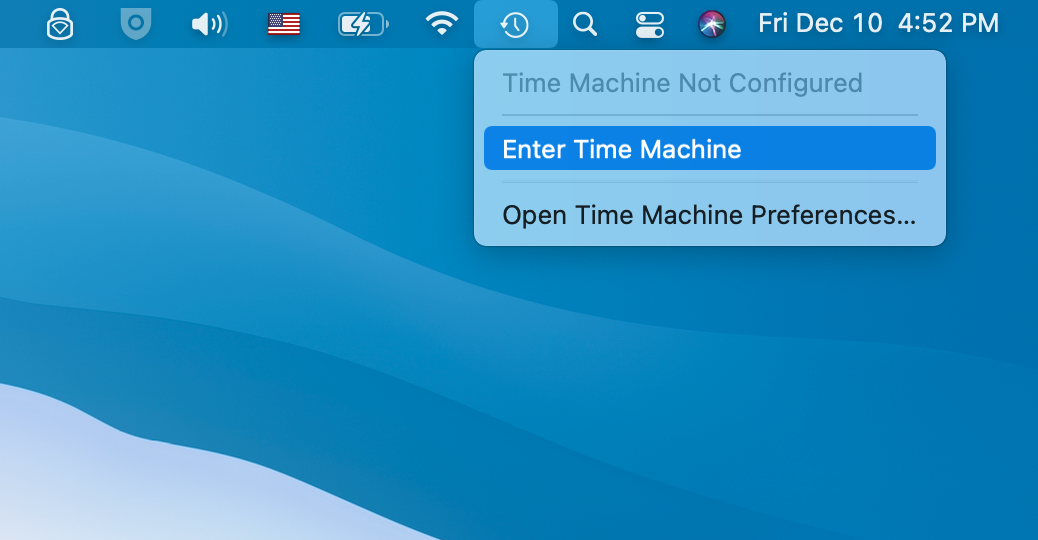
- Click the Time Machine icon and choose Enter Time Machine.
- Use the timeline on the left to choose the needed Time Machine backup version.
- If you remember the photo’s name, click the search icon on the top right and type it in. Or use the sidebar on the left to navigate to the folder that used to contain the needed photo.
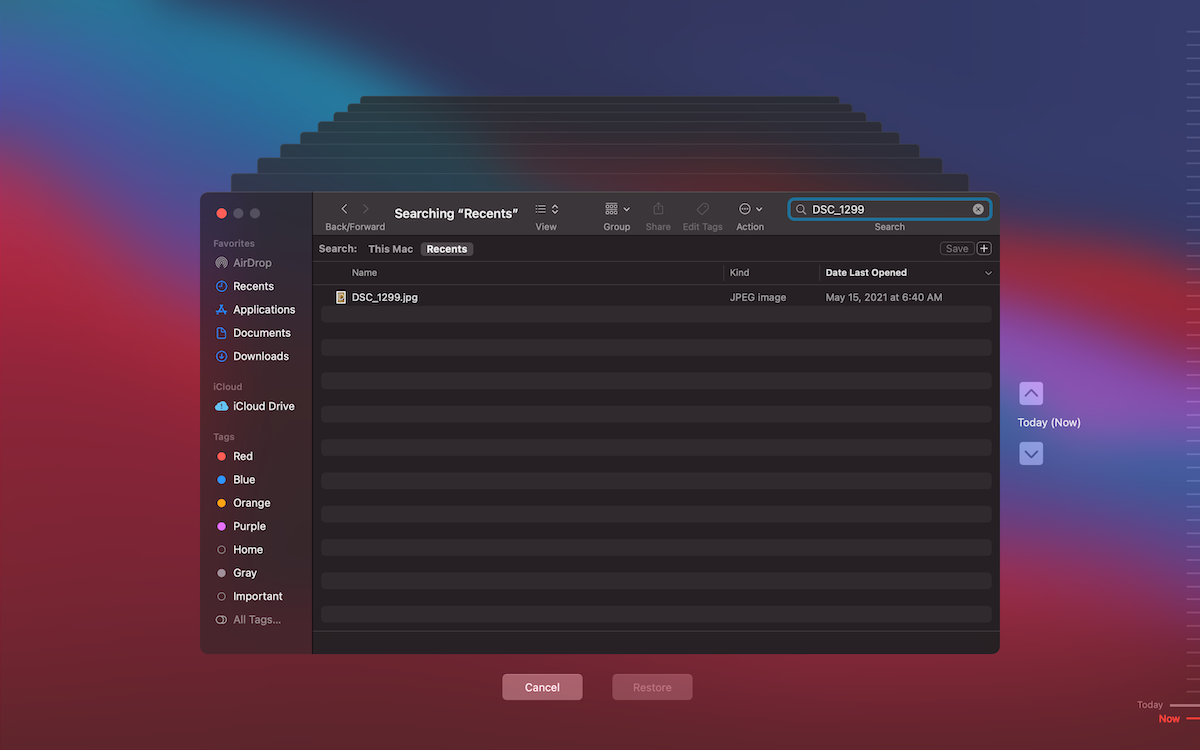
- Choose the photo that you wish to recover and click Restore.
You should be able to find the recovered photo in the folder where it used to be located before you deleted it.


