 If your current exFAT storage device is no longer satisfying your needs, converting it to a more efficient file system seems like the next logical step. This, however, involves formatting your device, which can lead to data loss. Luckily, there are ways to configure your file system while making sure that your files do not get lost.
In this guide, we will walk you through the steps to easily convert exFAT to NTFS without losing data on Windows.
Table of Contents
Reasons for Converting exFAT to NTFS
Both exFAT and NTFS file systems have advantages depending on how you use your storage device. Understanding the strengths and weaknesses of each file system will help you make an informed choice that aligns with your storage requirements.
Here’s a quick recap of how exFAT and NTFS weigh against each other:
| Feature | exFAT | NTFS |
| Compatibility | Compatible with all versions of Mac OS and Windows. Requires additional software to run on Linux | Compatible with all versions of Windows, read-only with MAC, and limited to Linux |
| Journaling | No | Yes |
| Compression | No | Yes |
| Encryption | Limited | Yes |
| Security | Limited support for permissions | With user and file permissions, etc. |
| Speed and Performance | Faster for external drives | Faster for Windows internal drives |
| Best for: | External drives, memory cards, and USB drives | Internal storage/system drives on Windows |
Switching from exFAT to NTFS is often about user preferences, unlike converting from RAW file system to FAT32, where your drive becomes unusable. But if you’re still a little hesitant, wondering, “Should I convert exFAT to NTFS?” here are some common reasons to convert to NTFS:
- Advanced security features – NTFS works best if you are someone who values security features like access controls, file permissions, etc.
- Preserving data integrity – System drives and applications are more corruption-resistant in NTFS. Its journaling feature helps prevent data loss in case of unexpected system crashes.
- exFAT vs. NTFS speed – NTFS is faster and more efficient than exFAT for internal drives.
- exFAT vs. NTFS performance on Windows – While exFAT is generally compatible with Windows, there are times when it may not recognize exFAT devices. On the other hand, NTFS is specifically designed for Windows and is most compatible with it.
ExFAT shines in portability and cross-platform compatibility. It works best for users who work with external storage devices or people who need to switch between different operating systems often. Professional photographers, editors, travelers, and media enthusiasts are often the ones who use this file system.
NTFS, on the other hand, suits users who are mostly working on computers with a Windows operating system. It is also often used in enterprise settings where data security and advanced permissions are crucial.
Avoid Losing Data During Conversion from exFAT to NTFS
The only way you can convert from one file system to another is to format your storage device. But as you know, this deletes all the data on your drive. To convert exFAT to NTFS without losing data, Windows has backup features you can use.
But if your drive is not recognized by Windows or an error is causing it to be inaccessible, you’ll need to extract your data using reliable data recovery software like Disk Drill.
Disk Drill works seamlessly with exFAT file systems and can recover hundreds of file formats. If your storage device is not readable, Disk Drill also has a byte-to-byte feature that lets you create a disk image of your drive and scan that instead to avoid further data loss. For Disk Drill on Windows, you can enjoy up to 500 MB of data to recover files for free.
To extract data from your exFAT file system storage device using Disk Drill, simply follow the steps below:
- First, go to the Cleverfiles website and download Disk Drill. Then, launch the installer and follow the instructions to successfully install the app.
- Next, Open Disk Drill. On the main screen, you should see the list of drives you can scan. Select your drive and click Search for lost data to begin scanning your exFAT drive.

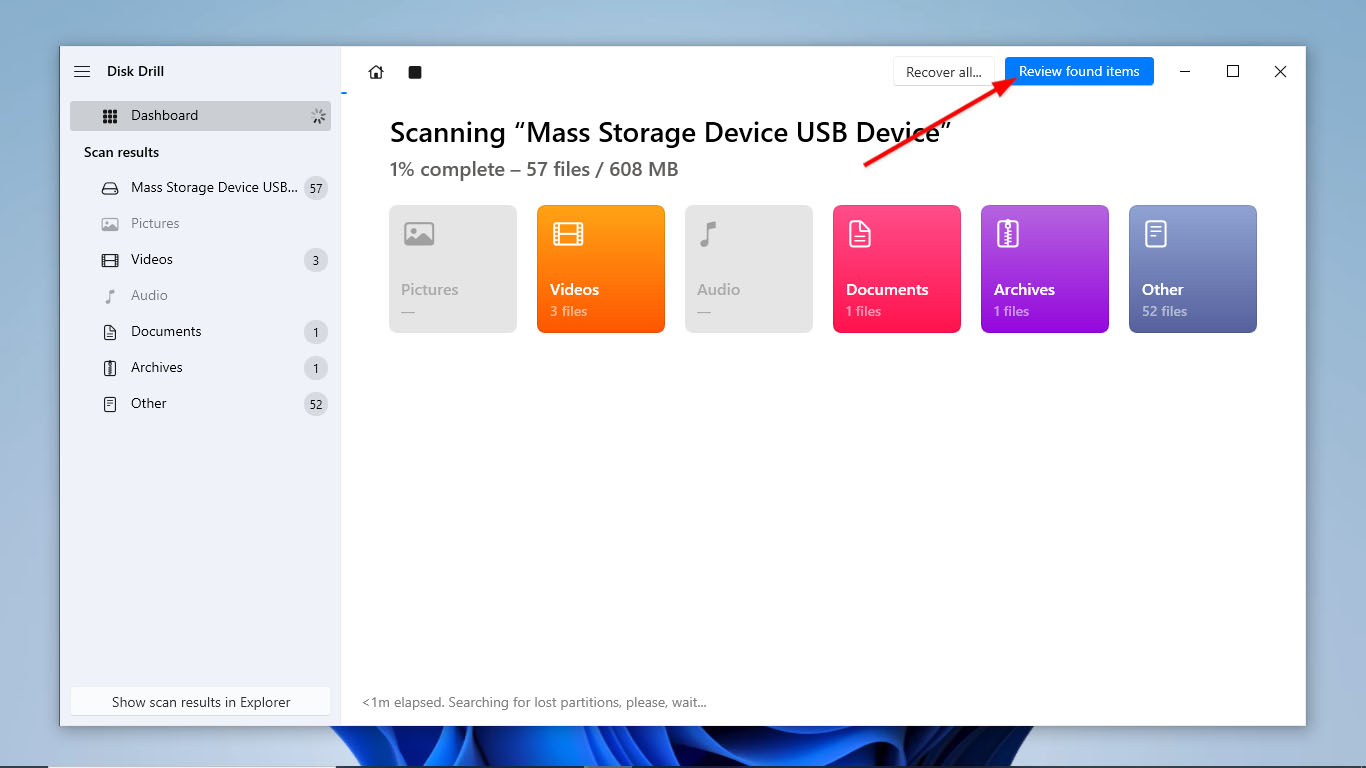
- To preview the files Disk Drill has been able to find so far, click the Review found items button at the top-right corner of the window. If you want to let the scan finish first, go straight to the next step.
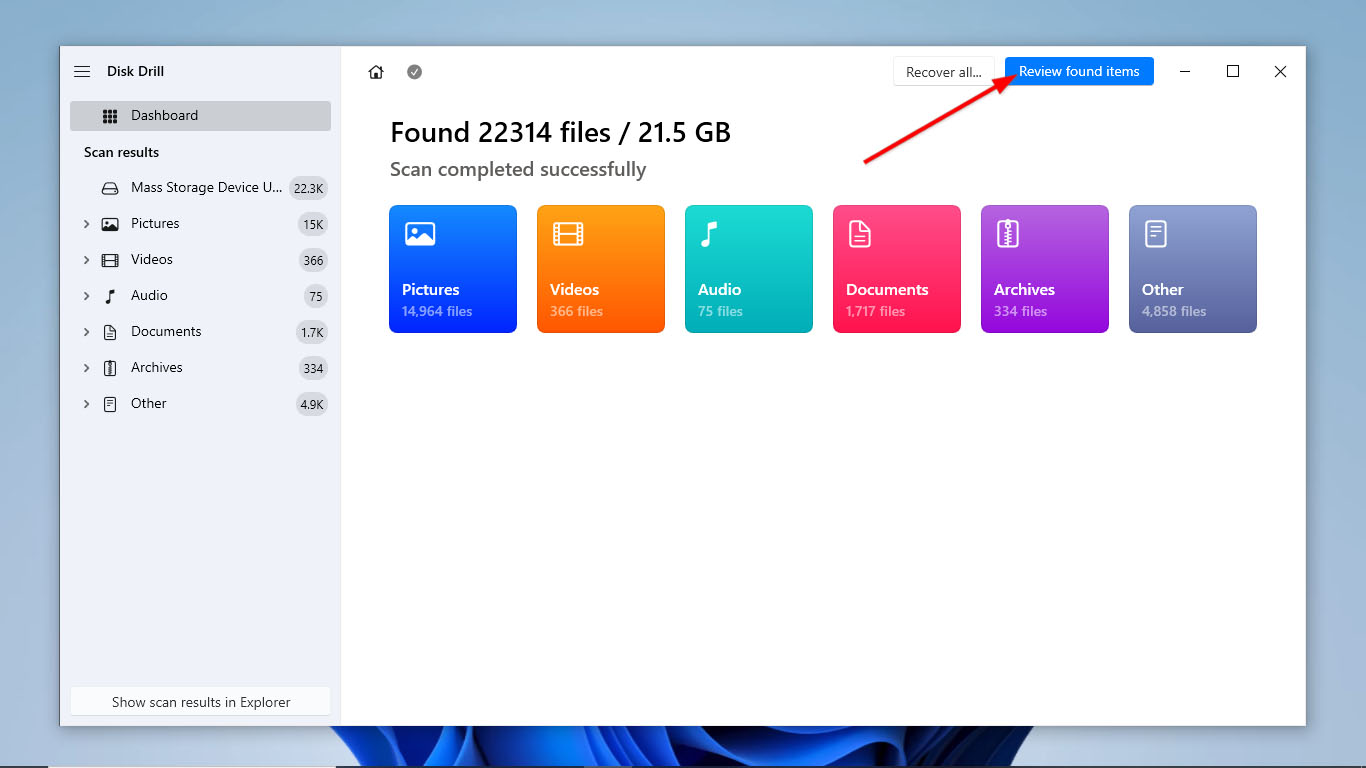
- After the scan is complete, click Review found items.
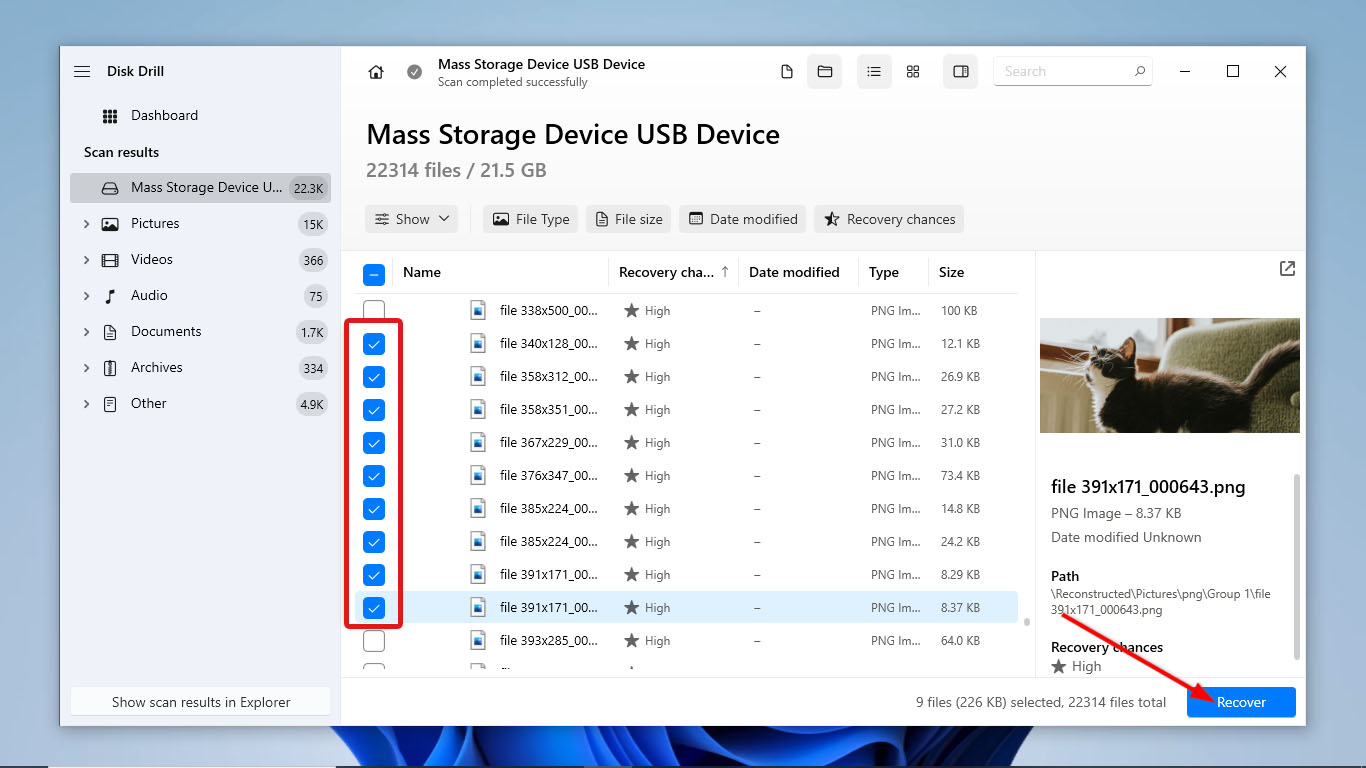
- Select all the files you want to recover by ticking the checkboxes beside their file names. You can also search for them by file name or file type using the search bar at the top right. After selecting the files, click Recover.
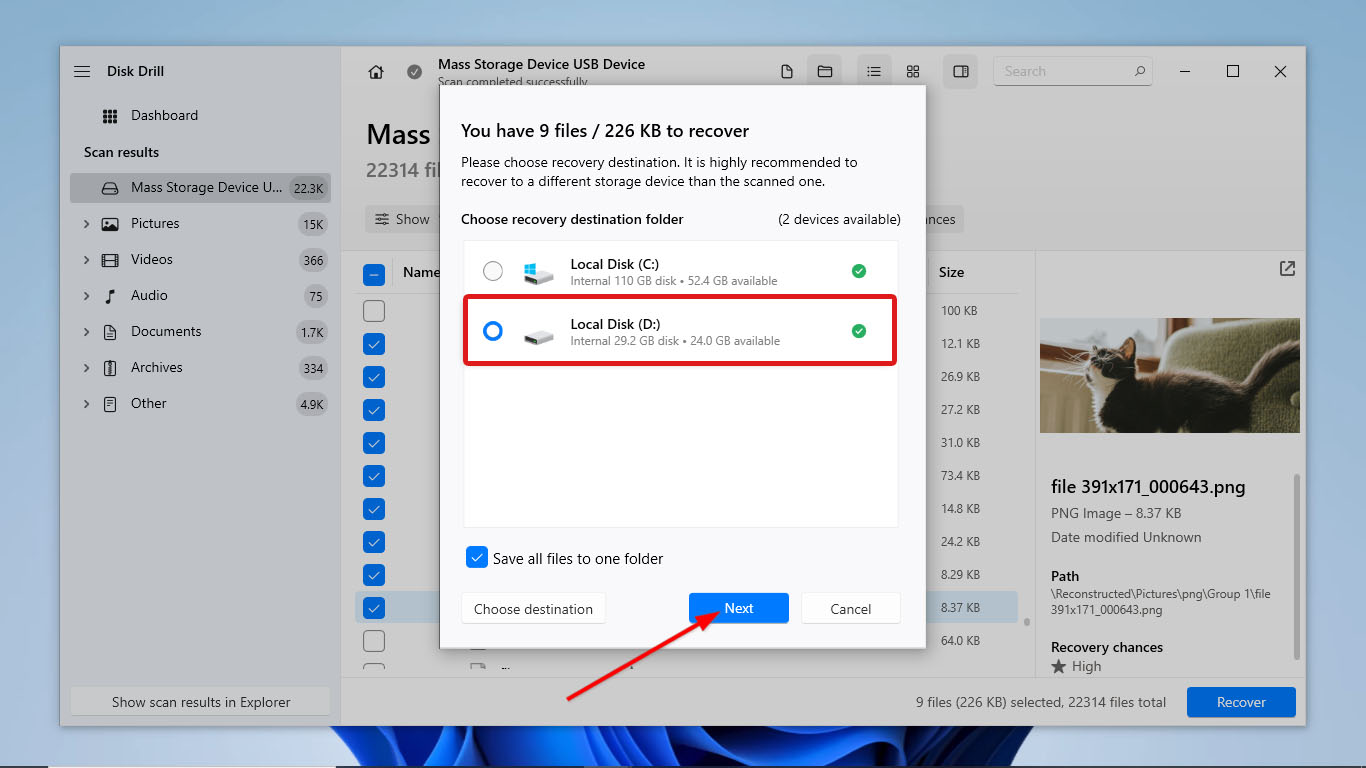
- Choose where you want to place your recovered files. Make sure that the drive you choose is different from the one you scanned. Then, click Next to start the recovery process.
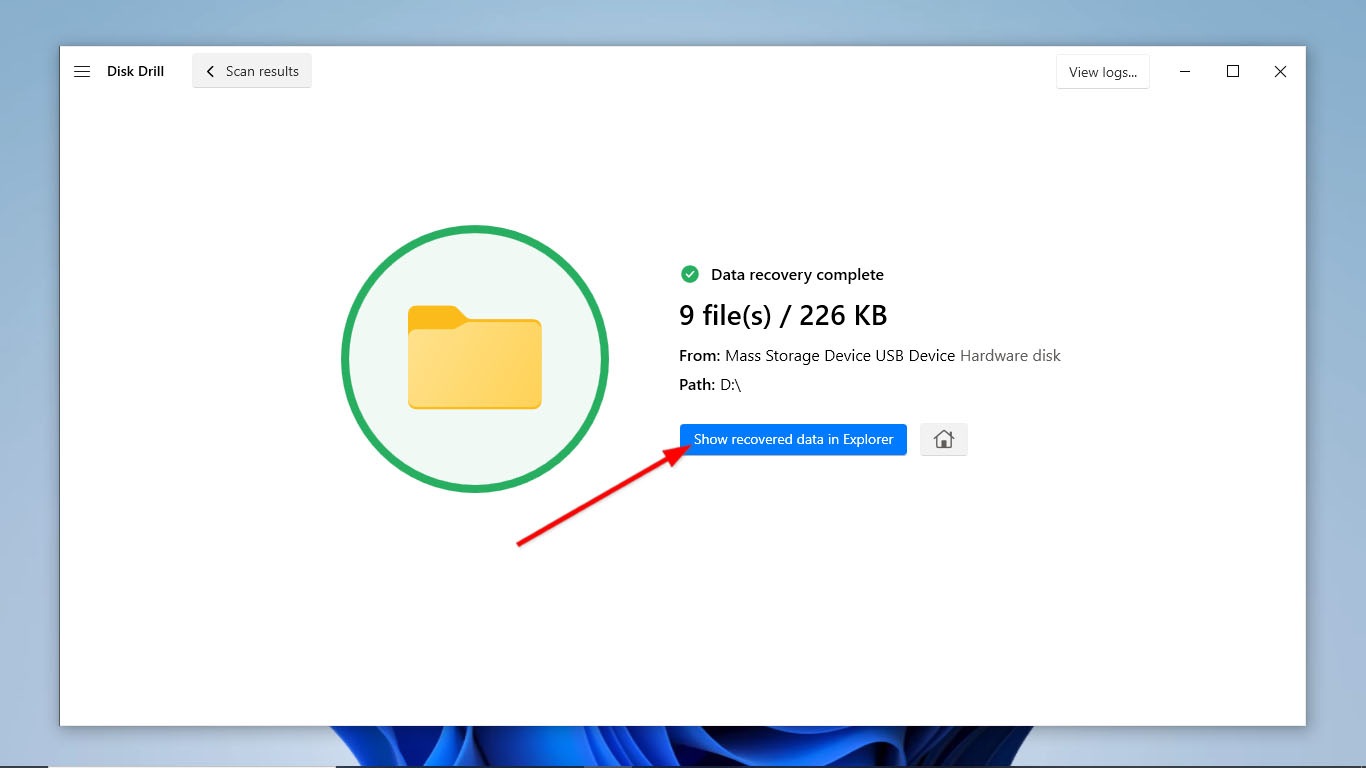
- Once the recovery process is done, Disk Drill will redirect you to a page displaying the details of the files it successfully recovered. Click the Show recovered data in Explorer button to open your recovered files in File Explorer.
How to Format exFAT drive to NTFS
After safekeeping your files, you can now proceed to convert your exFAT-formatted device to NTFS. We have listed three methods for Windows 10/11 to format your drive: File Explorer, the Disk Management tool, and the Command Prompt.
Method 1:Using Explorer
The simplest method to format your exFAT device is using File Explorer. We have outlined the steps on how to format external SSD or other drives below:
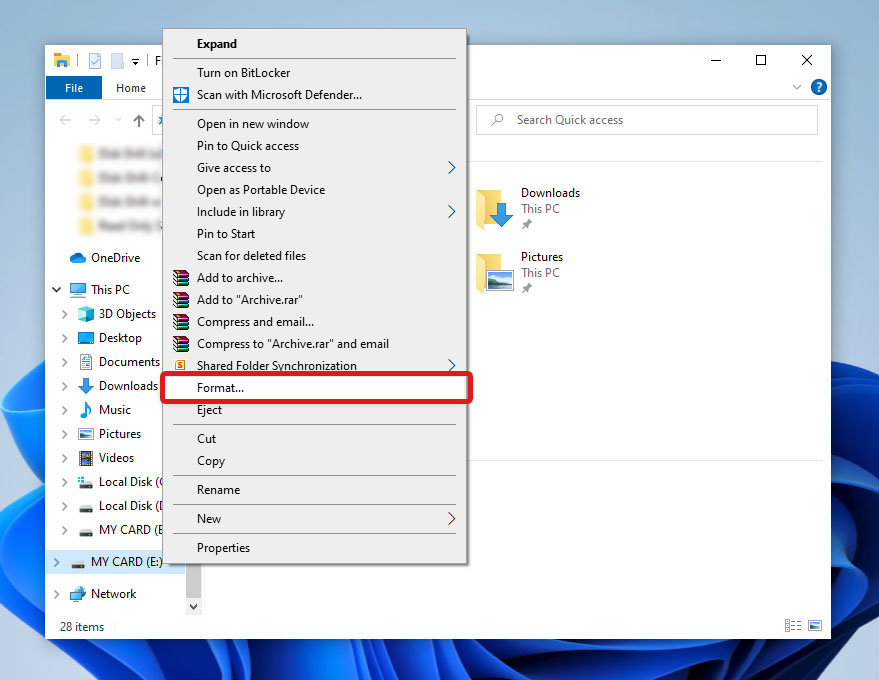
- First, make sure that your exFAT-formatted device is connected to your computer. Then, open File Explorer by pressing Windows + E.
- Next, find your drive and right-click on it. From the menu that appears, select Format.
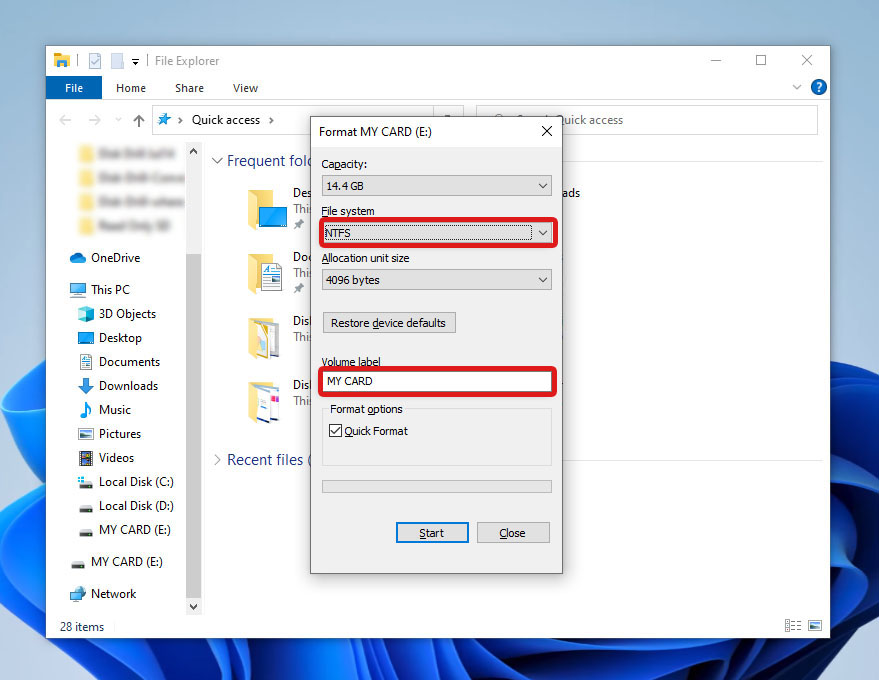
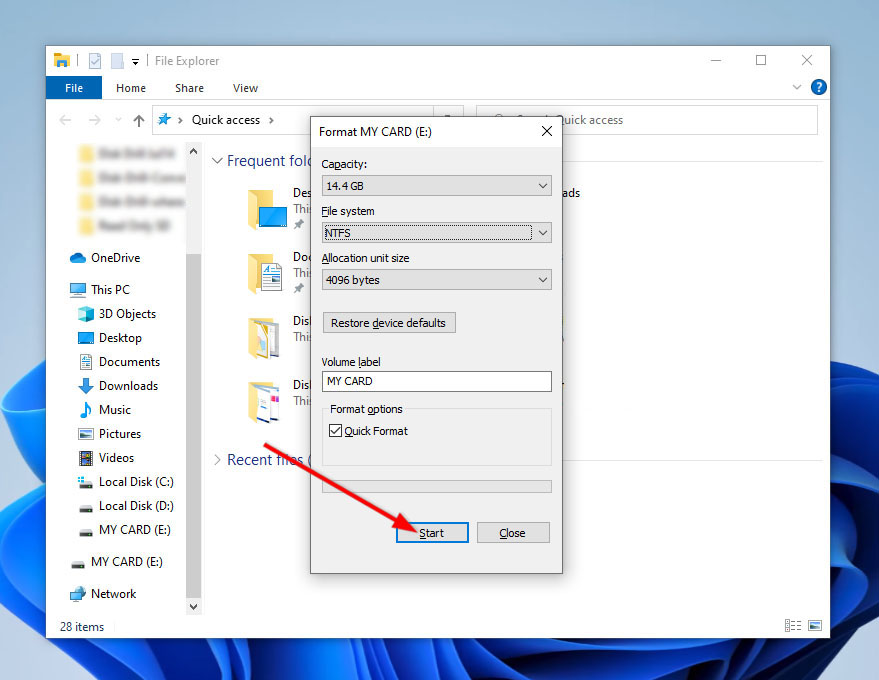
- In the Format dialog box, select NTFS as the File system in the Format dialog box. Alternatively, you can edit the Volume label to rename your drive.
- For a more extensive format, you can uncheck the Quick Format option.
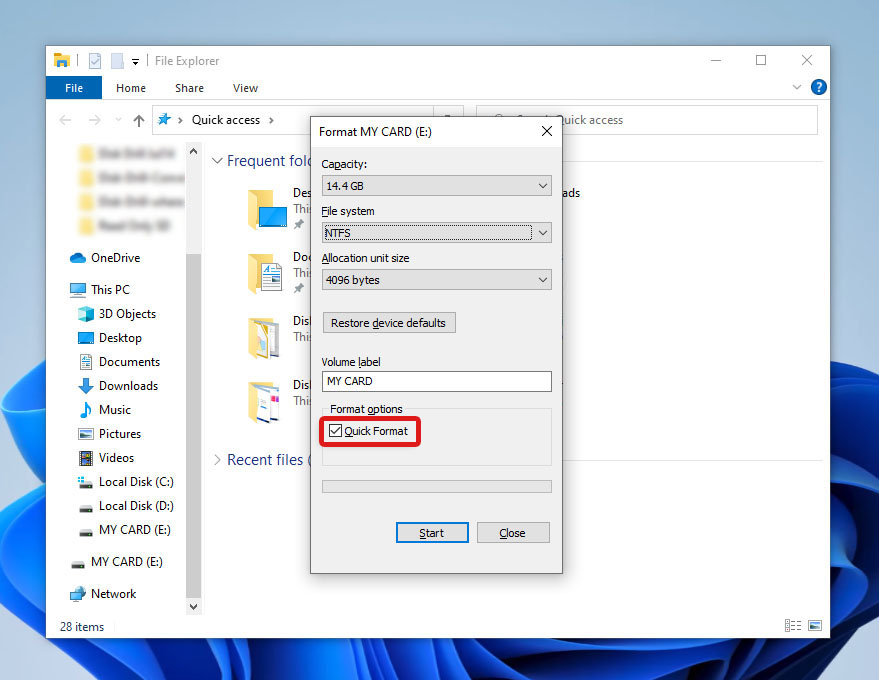
- Finally, click Start to begin the formatting process.
Method 2:Using Disk Management
You can also use Windows’ built-in tool, Disk Management, to convert your exFAT drive into the NTFS file system. Here’s how to do that:
- Open Disk Management by pressing the Windows key + X and selecting Disk Management from the menu that appears. Alternatively, you can search for Disk Management in the Start menu and select Create and format hard disk partitions.

- Find your device among the list of available drives at the left part of the Disk Management window.
- After that, right-click on your exFAT drive and click Format.

- In the Format dialog box, select NTFS as the File system.

- Optionally, rename your device by editing the Volume label.
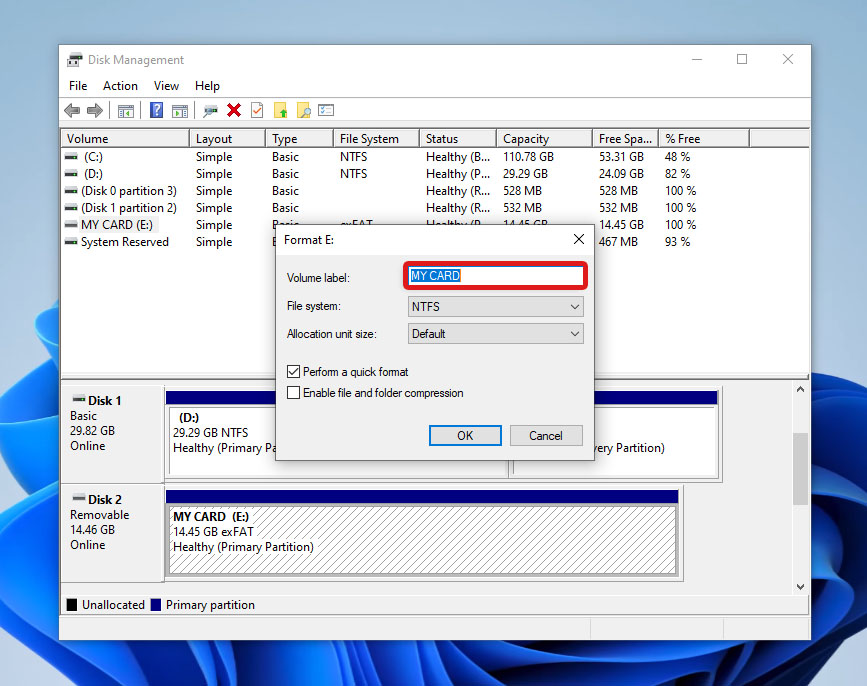
- Optionally, you can also uncheck Perform a quick format if you want a more thorough format.

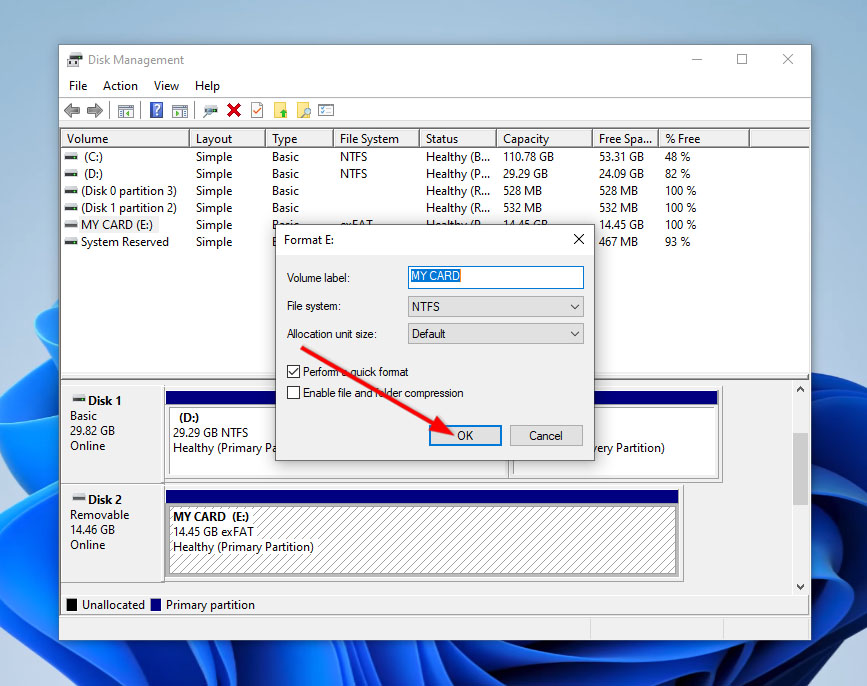
- Once you have configured all the settings, Click OK to start formatting your device.
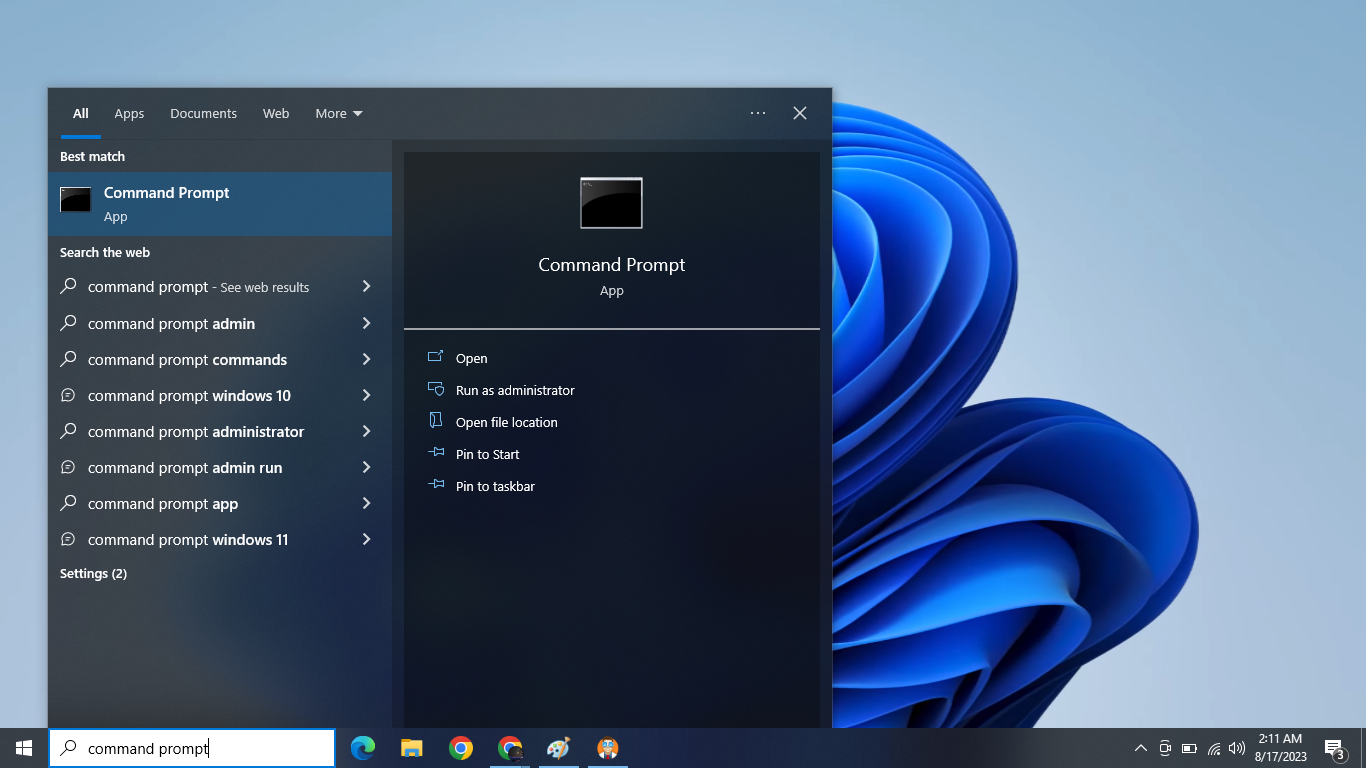
Method 3:Using Command Prompt
Command Prompt is another built-in utility on Windows that hosts a lot of commands for maintaining, troubleshooting, and accessing different components of your system.
Here’s a quick step-by-step guide on how to convert exFAT to NTFS using Command Prompt:
- Begin by pressing Windows + R to open the Run dialog box. Next, type in
diskpartand hit Enter.
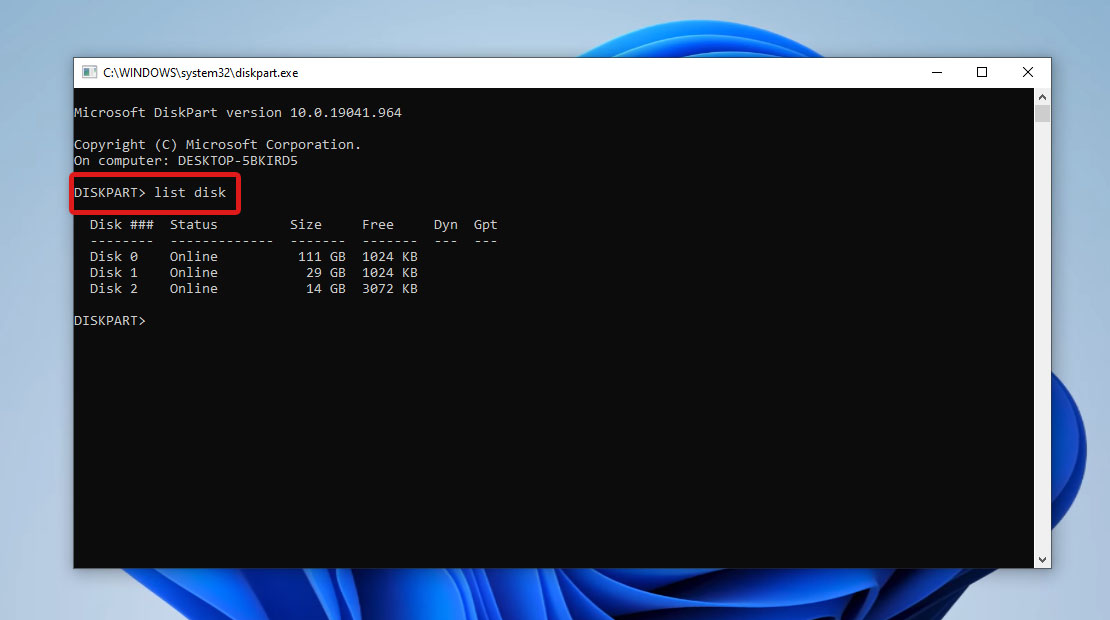
- On the window that opens, type
list diskand press Enter to display all the drives currently connected to your computer. Take note of the disk number of your exFAT device.
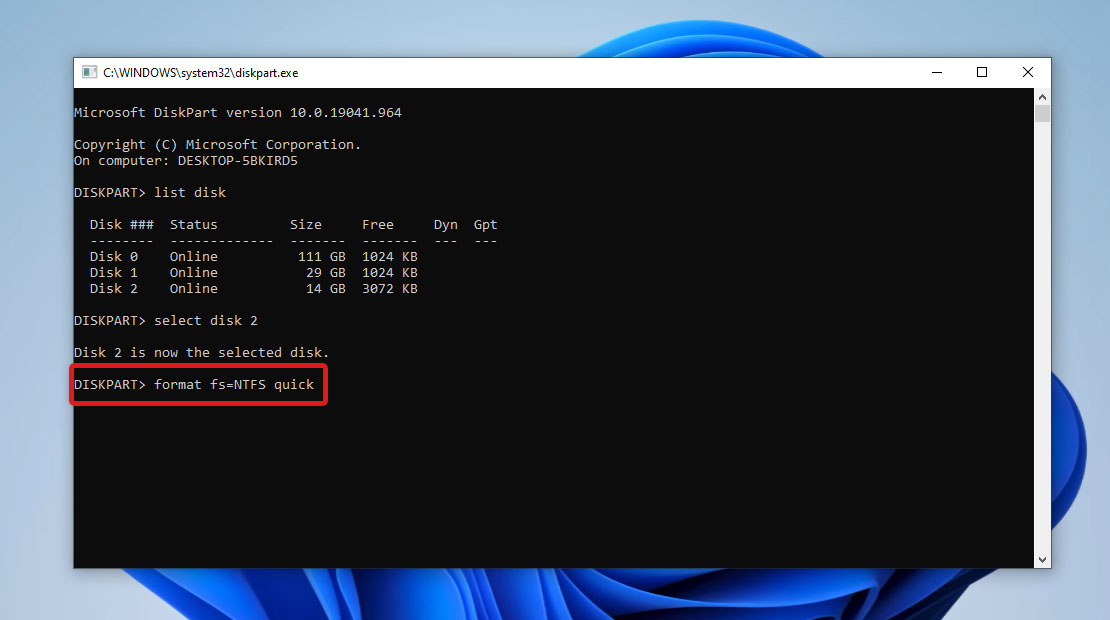
- Then, type
select disk nwhere n is the disk number. Press Enter to proceed.

- Finally, type
format fs=NTFS quickwhere fs stands for “file system,” “NTFS” is the file system, and “quick” is for quick format.
Make sure that you are writing down the command correctly to avoid any unexpected errors or data loss.
Conclusion
Converting exFAT to NTFS comes with a bunch of perks, especially if you plan to use your storage device as a Windows system drive or internal storage. But converting a file system involves formatting your drive, which wipes out all the data in your drive. You can avoid this data loss by backing up your files before formatting.
But in case your drive is inaccessible or you weren’t able to create a backup, you can use professional data recovery software like Disk Drill to retrieve your files.
Once your files are safe, you can convert your file system in three ways: File Explorer, Windows’ built-in tool Disk Management, or executing the necessary commands using Command Prompt.


