
Data recovery software can be one of the few effective lifelines available when your data has been deleted. However, you may encounter a problem where, upon recovery, you notice that most (if not all) of your data has been renamed with random characters. Why is that?
Well, the answer has a lot to do with the condition of your file system. In this article, we’re going to dive deeper into this and explain what you can do to increase your chances of recovering the data with the original file names. Read on to learn more.
Table of Contents
Is It Possible to Recover Files With Original Names?
Yes, but not always. You see, when you delete a file, the actual data of the file still remains for a time (even following a quick format). This includes the file metadata too, such as the original photo ID, file creation date, etc. Only the reference used by the file system is deleted. Until that data is overwritten with new data, it will still be possible to recover it, along with its original file name.
However, successfully performing data recovery (with original file names intact) is only possible if the data hasn’t been overwritten and the file system is still in working condition. Otherwise, if the file system is damaged, you will need to rely on recovery using signature scanning, which will get your data back, but without the original names.
How to Increase Your Chances of Recovering Files With Original Names
Although you’re in an unfortunate position when your data is lost, there are some actions you can take to prevent it from getting worse. To increase your chances of being able to successfully restore the folder structure and file names, you can do the following.
| Tip | Description |
| 🛑 Stop using the device | Writing any new data to the device puts your old data at risk of being overwritten. Even if you’re not intentionally writing something to the device, background processes can create temporary files that will have the same effect. |
| 💾 Start recovery immediately | The longer you leave it, the more your chances of recovery decrease. Always perform recovery at your earliest convenience to get the most data back. |
| 🔌 For SSDs, shut down your computer | Solid-state drives may have TRIM enabled. TRIM is a method of managing your SSDs space efficiently, but it removes any chance of recovery. Therefore, shut down immediately to prevent it from wiping your data. |
| 🧑💻 Install data recovery software to a separate drive | Installing an app involved writing new files to the drive. This process may overwrite some of the data you’re trying to recover, so always install your data recovery software to a separate storage device. |
How to Recover Files With Original Names
Not all data recovery tools can recover files with their original names. For example, PhotoRec only has signature scanning abilities, making it impossible to restore the original names or folder structure. Therefore, we’re going to show you three distinct approaches: a paid recovery application, a free recovery tool, and an alternative method that doesn’t rely on data recovery software. Each of these methods offers unique advantages in restoring your lost data with its original integrity.
Method 1: Disk Drill
Disk Drill Data Recovery is our recommended choice, as it can restore the original file names and recover the folder structure. It also has a great user interface that makes recovery easy for any user and lots of free features that can help you keep your data safe going forward.
This is how you recover deleted files (along with their original names) using Disk Drill:
- Download and install Disk Drill to a separate storage device.
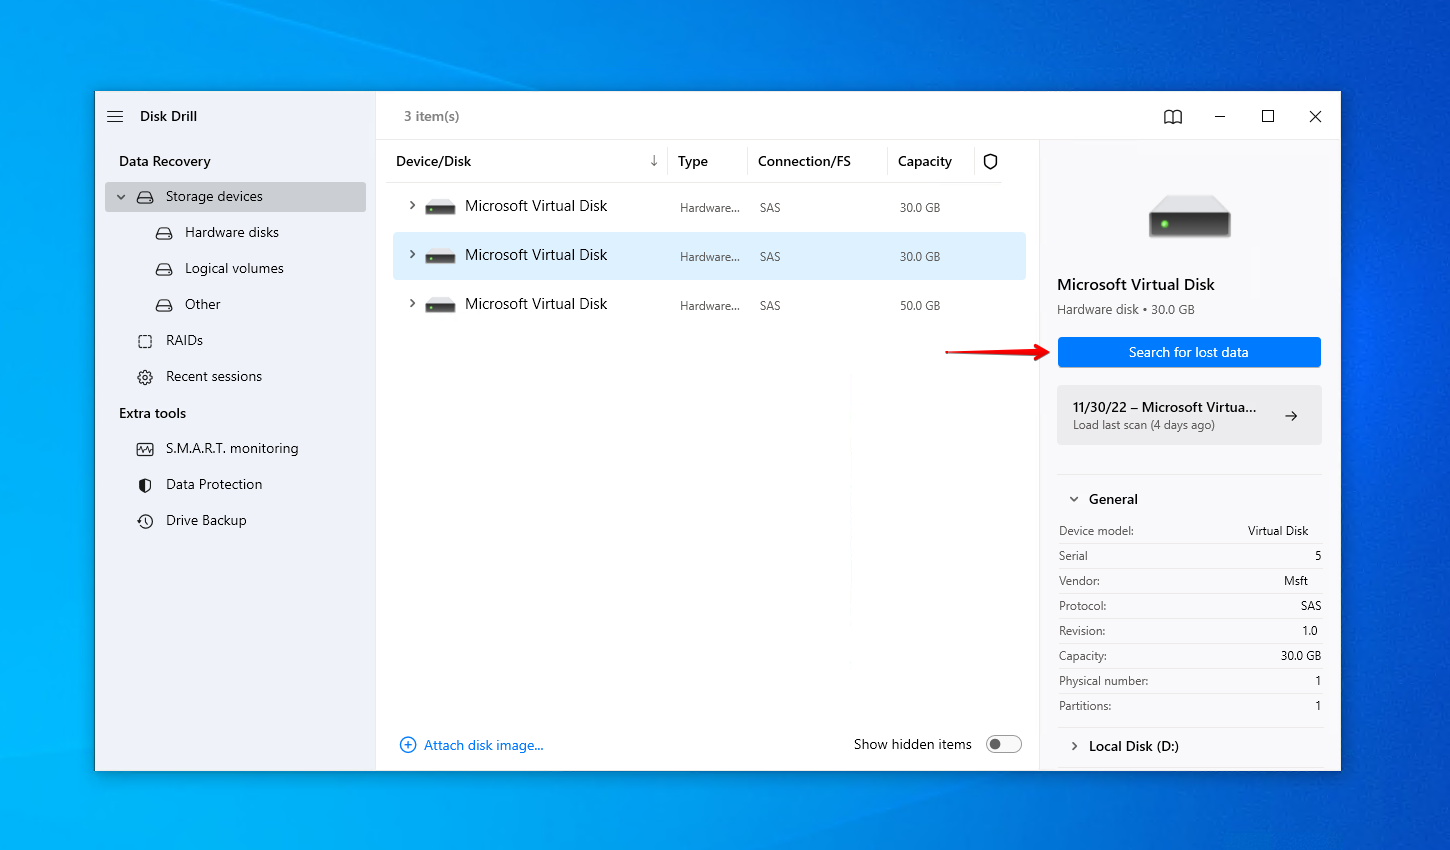
- Select the drive that contains the lost files and click Search for lost data.
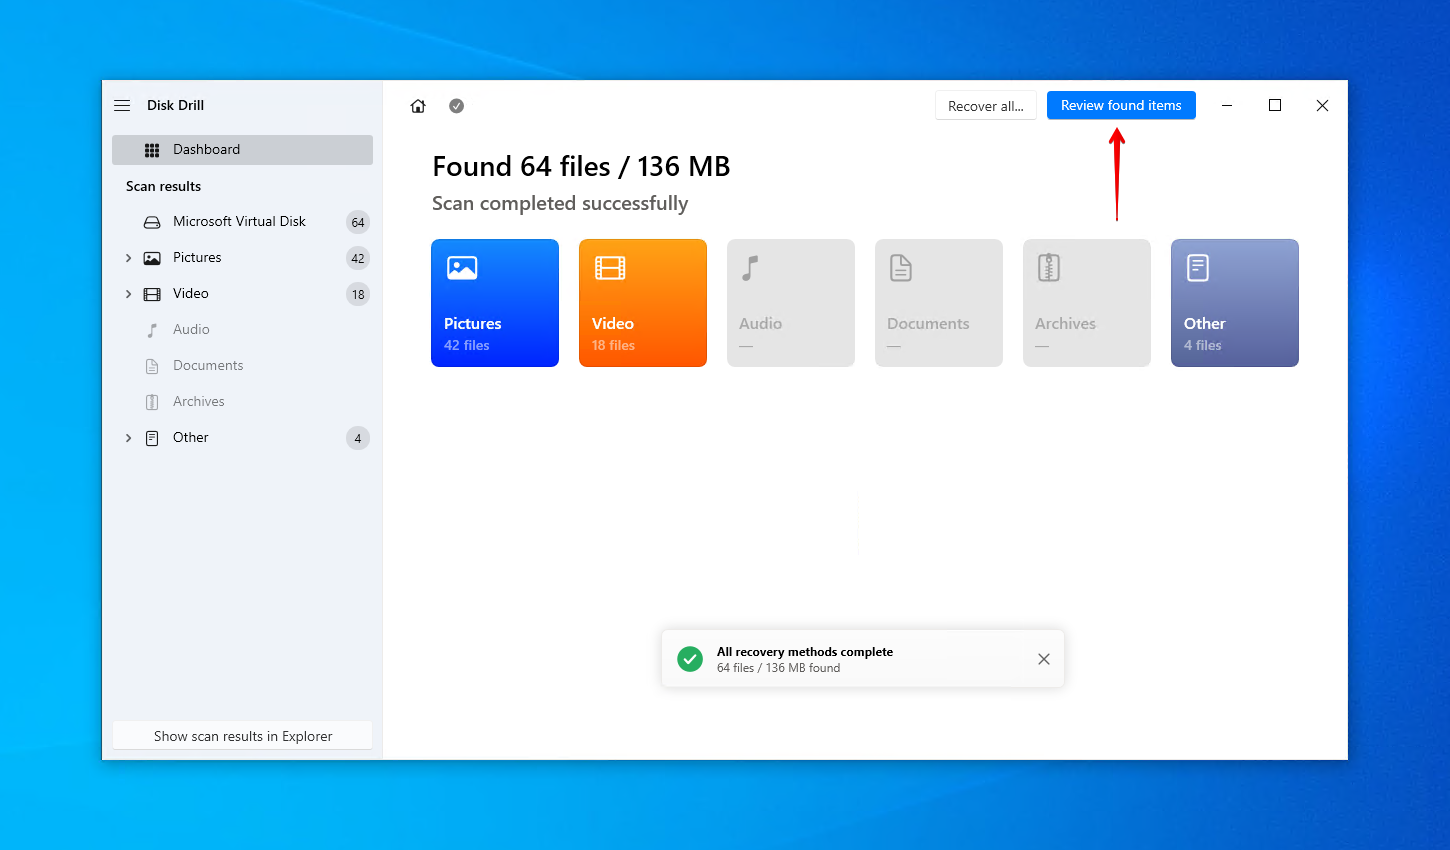
- Click Review found items once the scan is finished. Or, if you want to recover everything in one go, click Recover all.
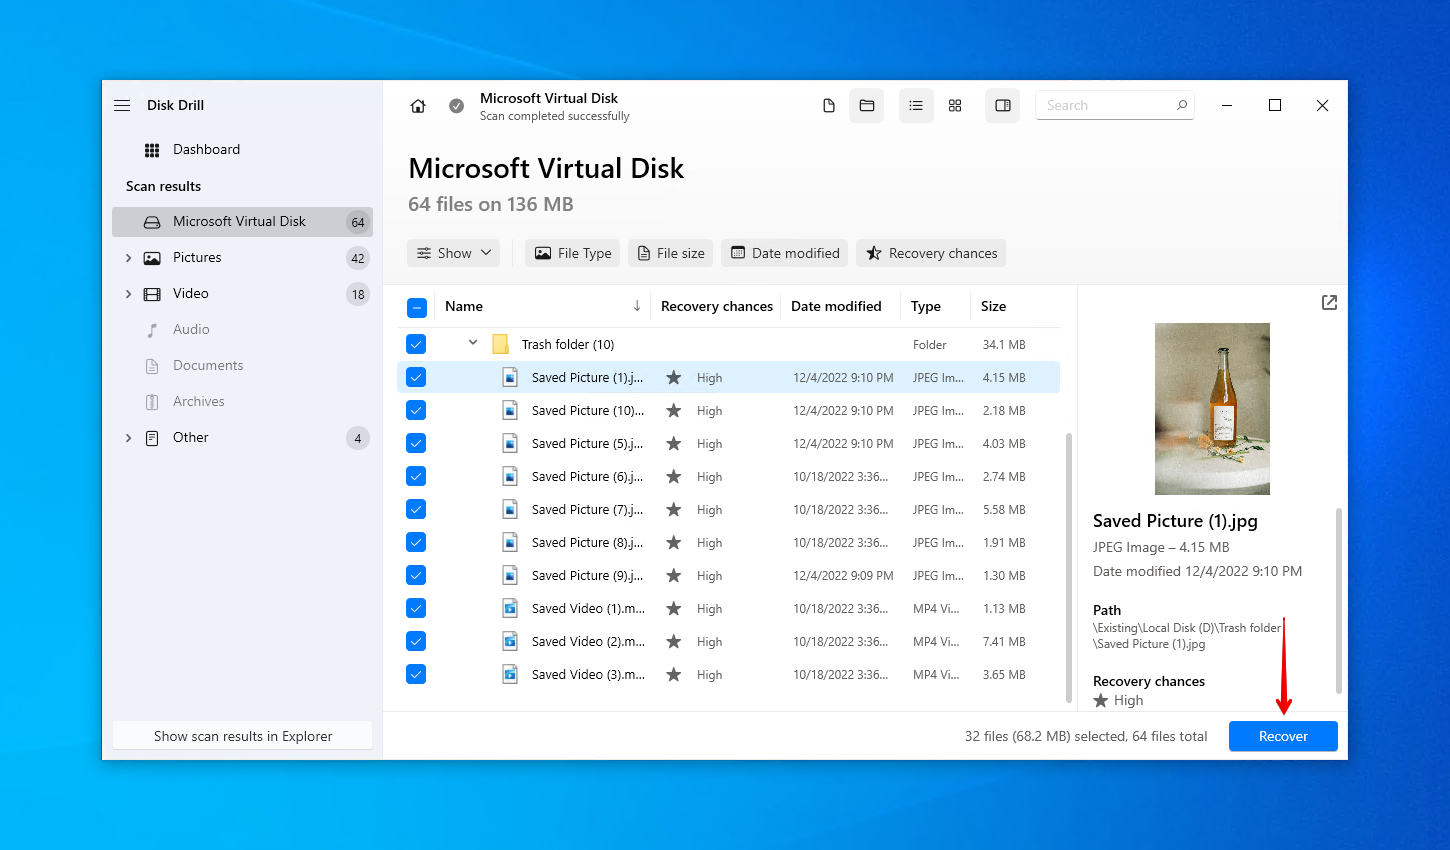
- Select the files you want to recover. Use the search bar to find files using their names. Preview them before recovery to ensure you’re recovering the right ones. When you’re ready, click Recover.
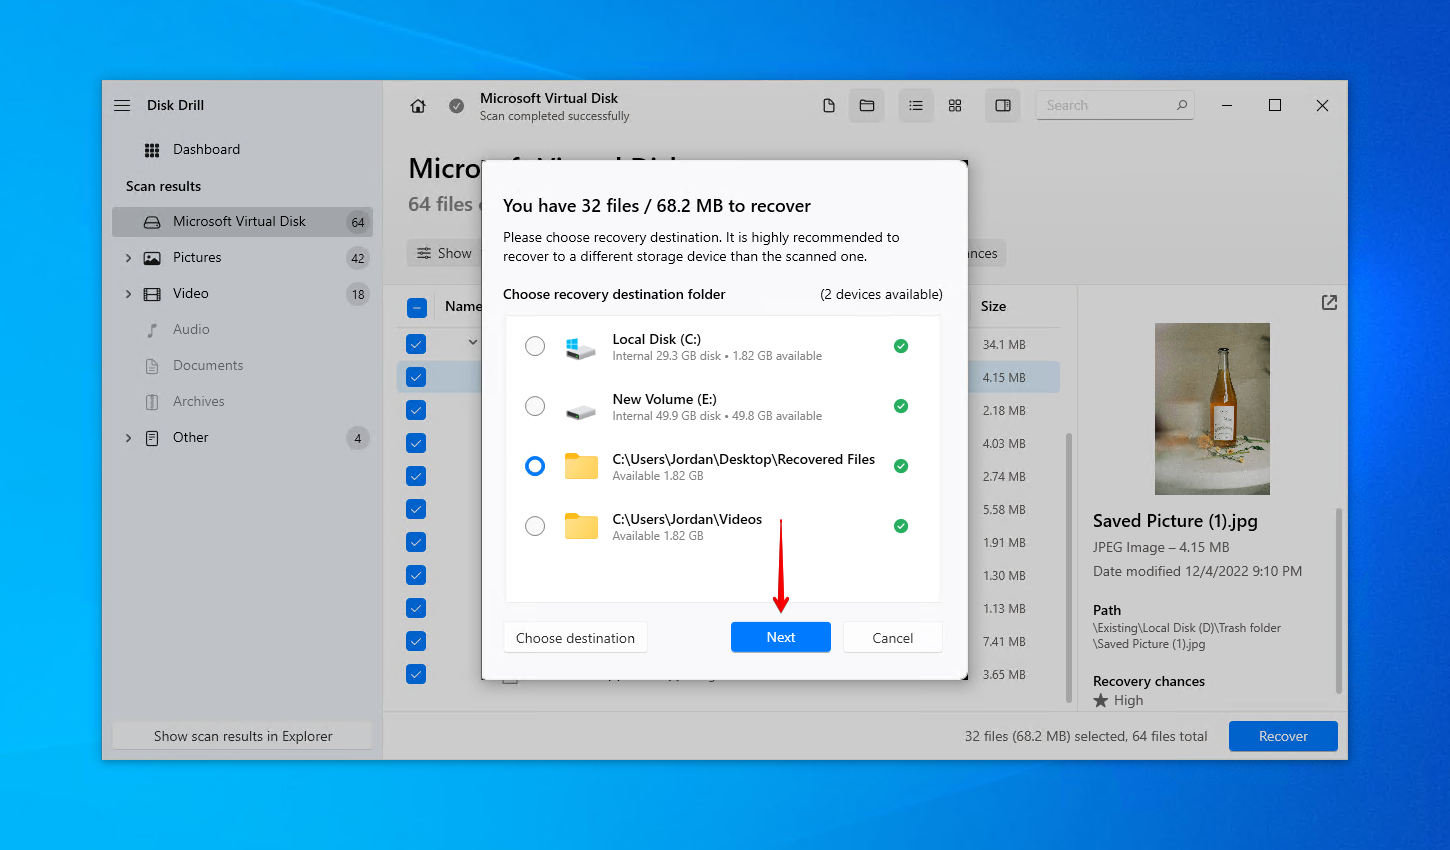
- Select an appropriate recovery location. Do not restore the files to the same drive you’re recovering them from. Click Next to complete the recovery.
Thanks to Disk Drill’s quick scan and signature scan abilities, it has superb recovery performance. Once your files are recovered, look at backing them up using File History or Backup and Restore.
Method 2: Recuva
Recuva is a completely free data recovery solution that allows for unlimited recovery without the need to spend a dollar. Although it doesn’t have the same recovery performance as Disk Drill, it’s a great option for those who need to recover deleted files with their original file names without investing in a paid solution.
Follow these steps to recover your deleted files with their original names using Recuva:
- Download and install Recuva to a separate storage device.
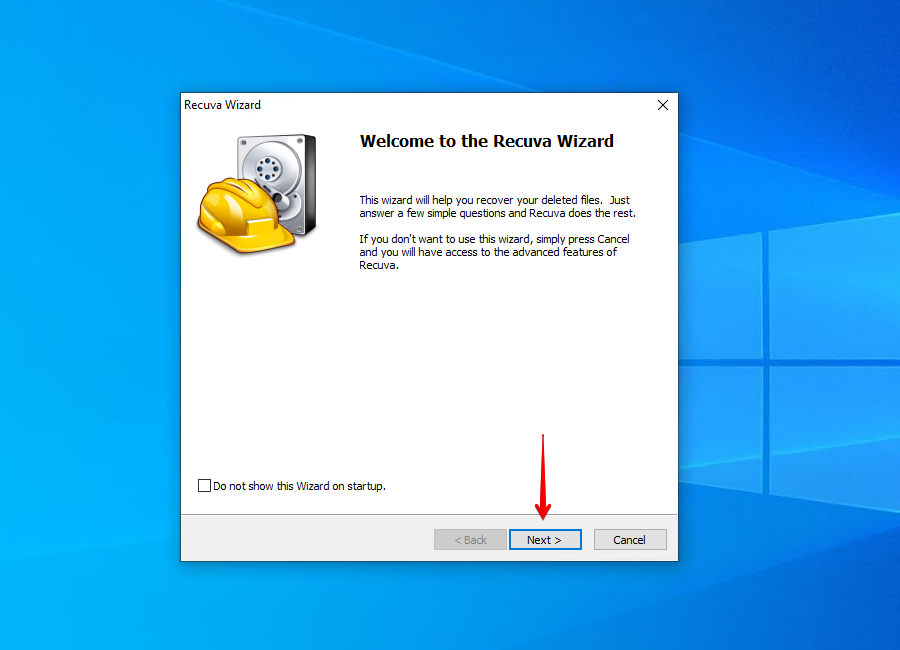
- Click Next to continue.
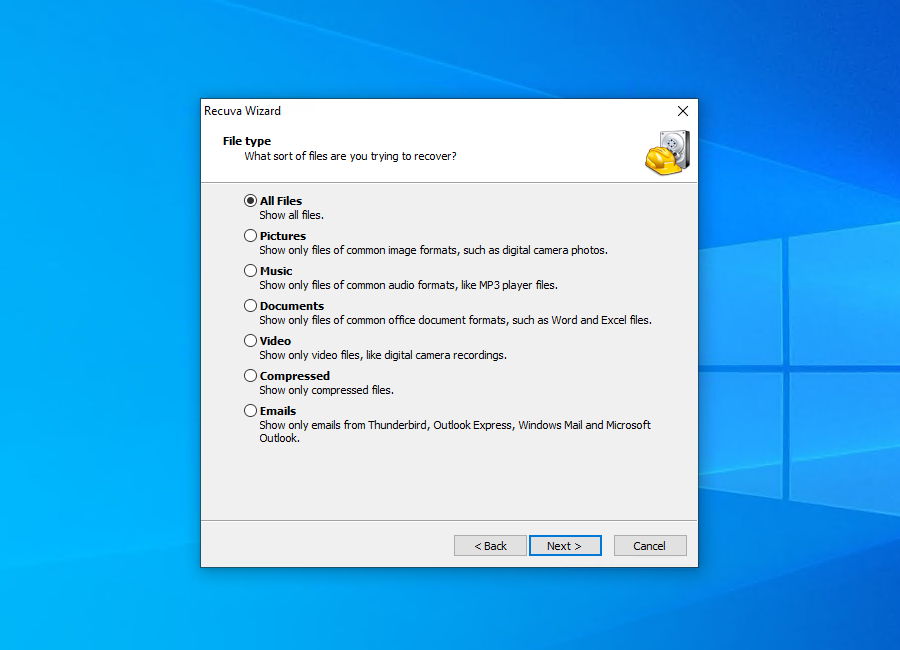
- Ensure All Files is selected, then click Next.
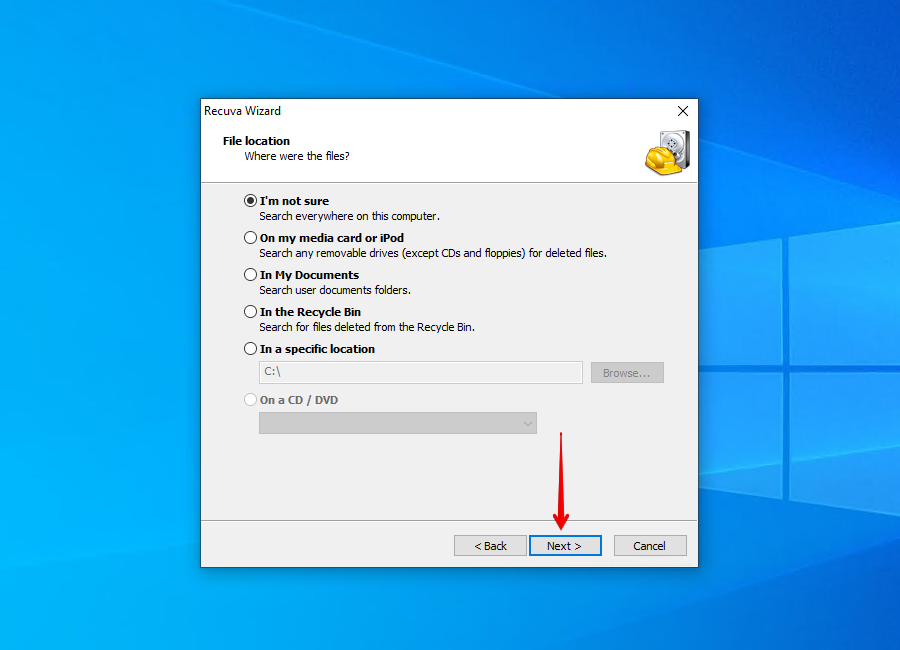
- Ensure I’m not sure is selected (to scan the whole drive), then click Next.
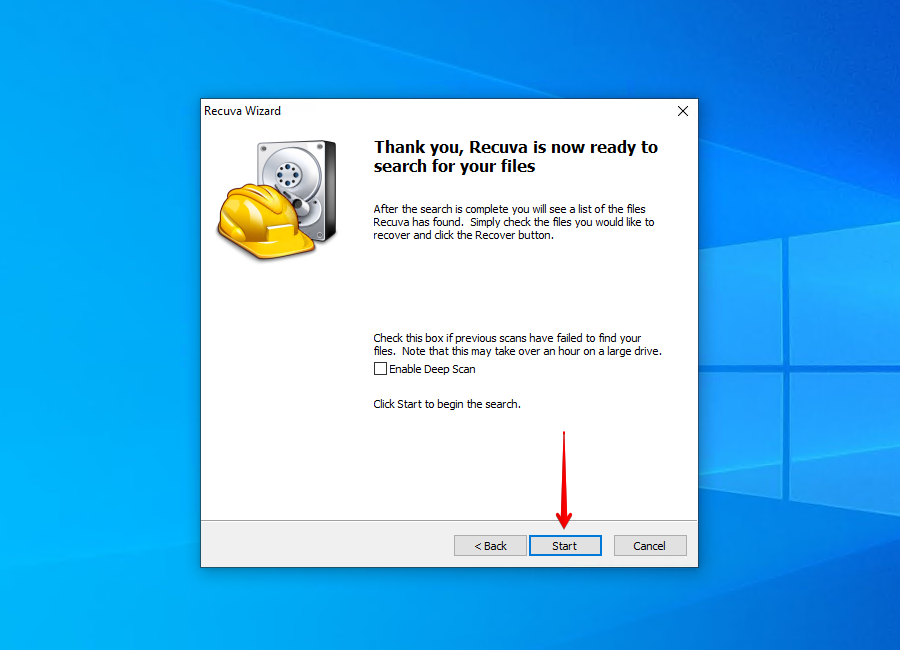
- Click Start.
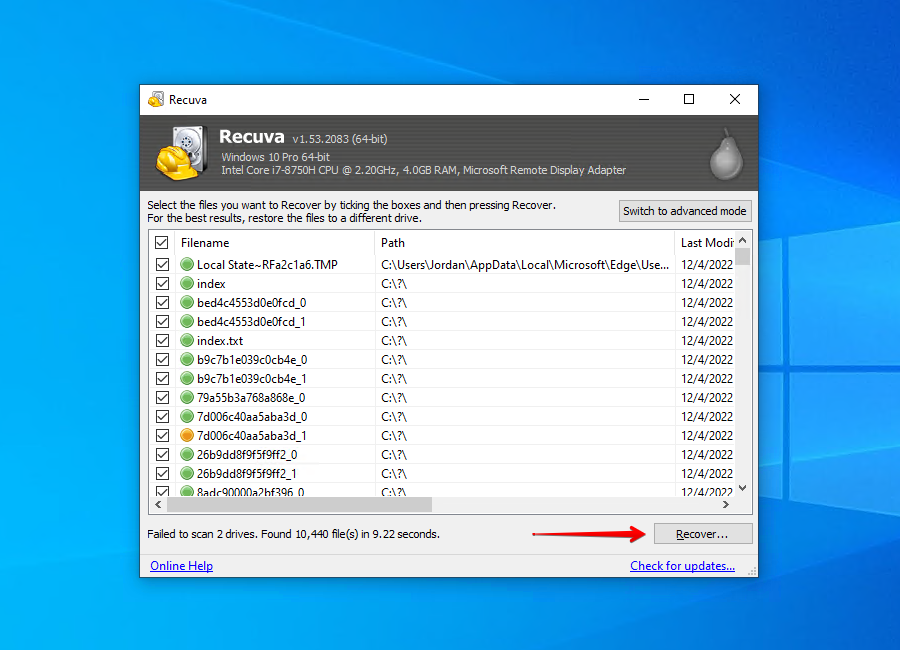
- Select the data you wish to recover then click Recover.
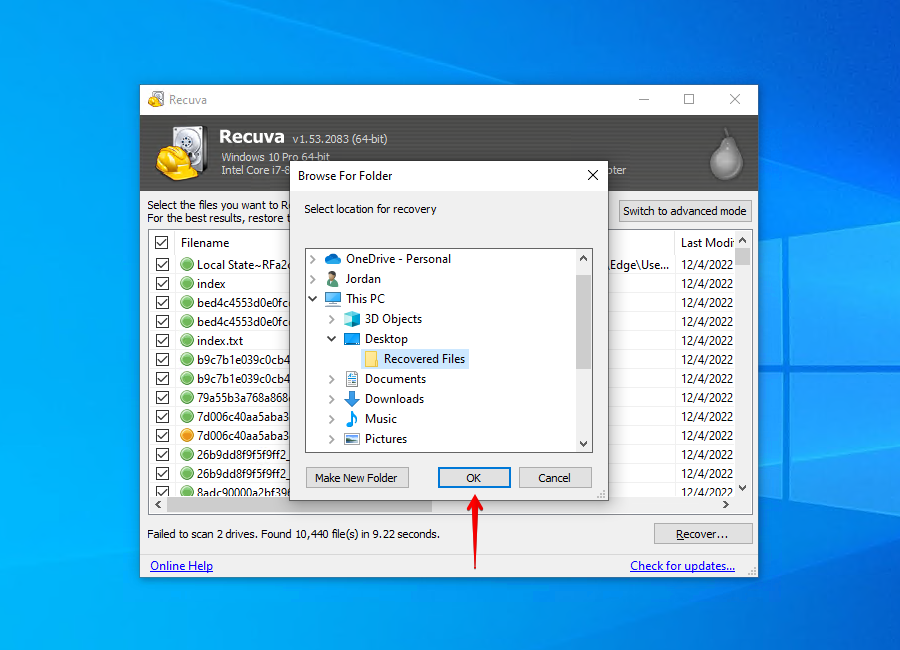
- Select a suitable location for recovery (make sure it’s not the same drive you’re recovering from), then click OK.
Again, once you’ve restored your data, be sure to back it up for safekeeping. If Recuva wasn’t able to find the data you wanted to recover, try performing a deep scan instead.
Method 3: Restore From Backup
If you managed to create a backup of the data before it was lost or deleted, you can use it to restore a working copy of your files, along with their original file names.
We’re going to demonstrate how to do this from a File History backup, but this can also be done from any other type of backup.
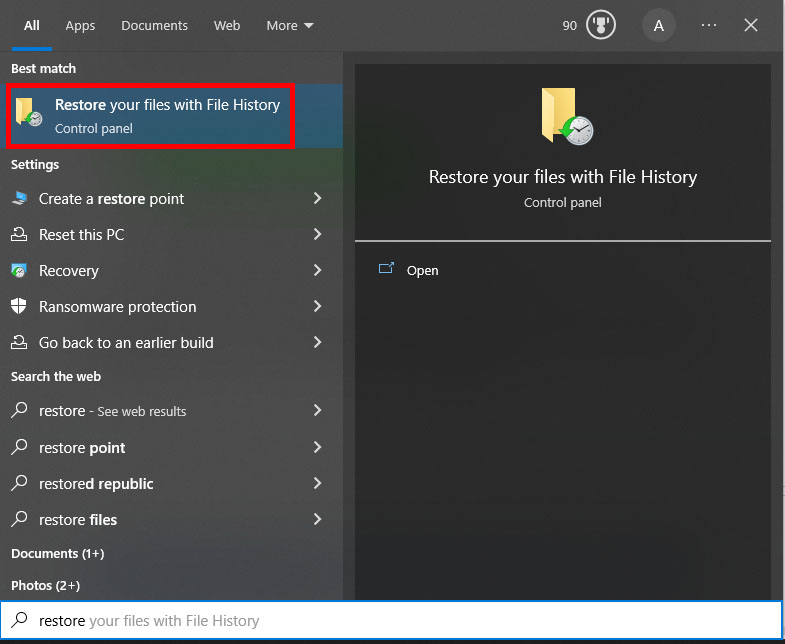
- Open Start. Search for and open File History.
- Click Restore personal files.
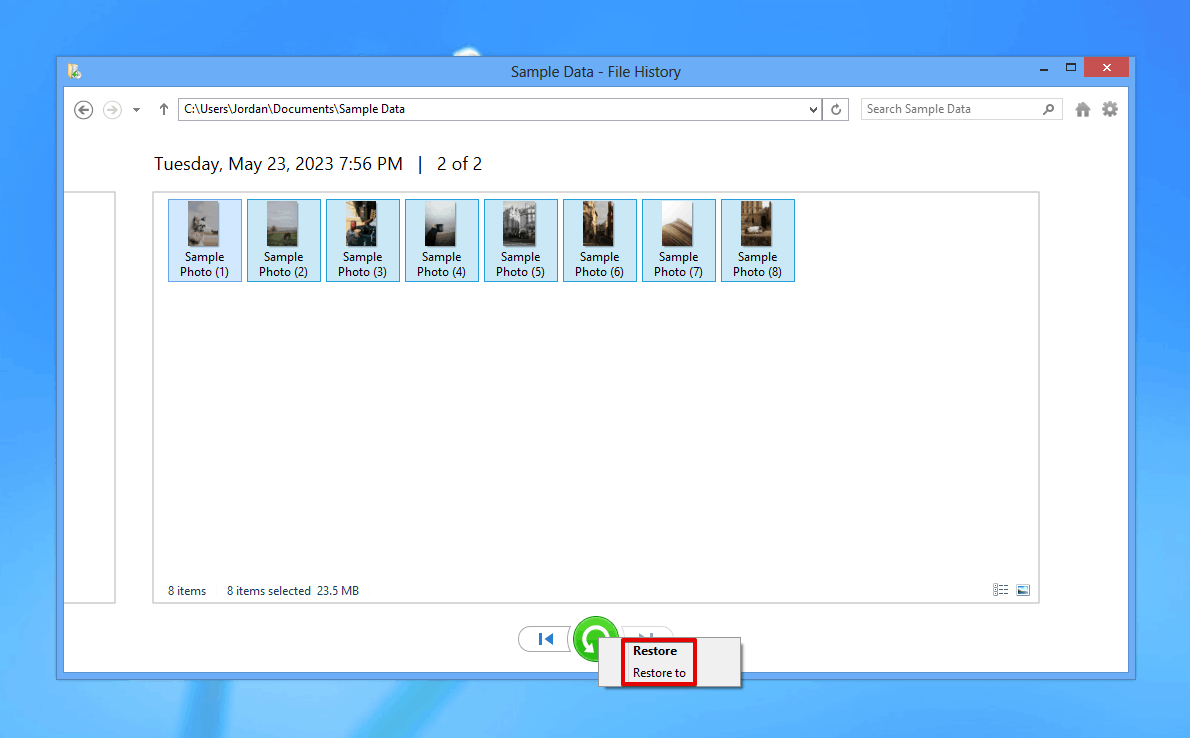
- Select the files you wish to restore.
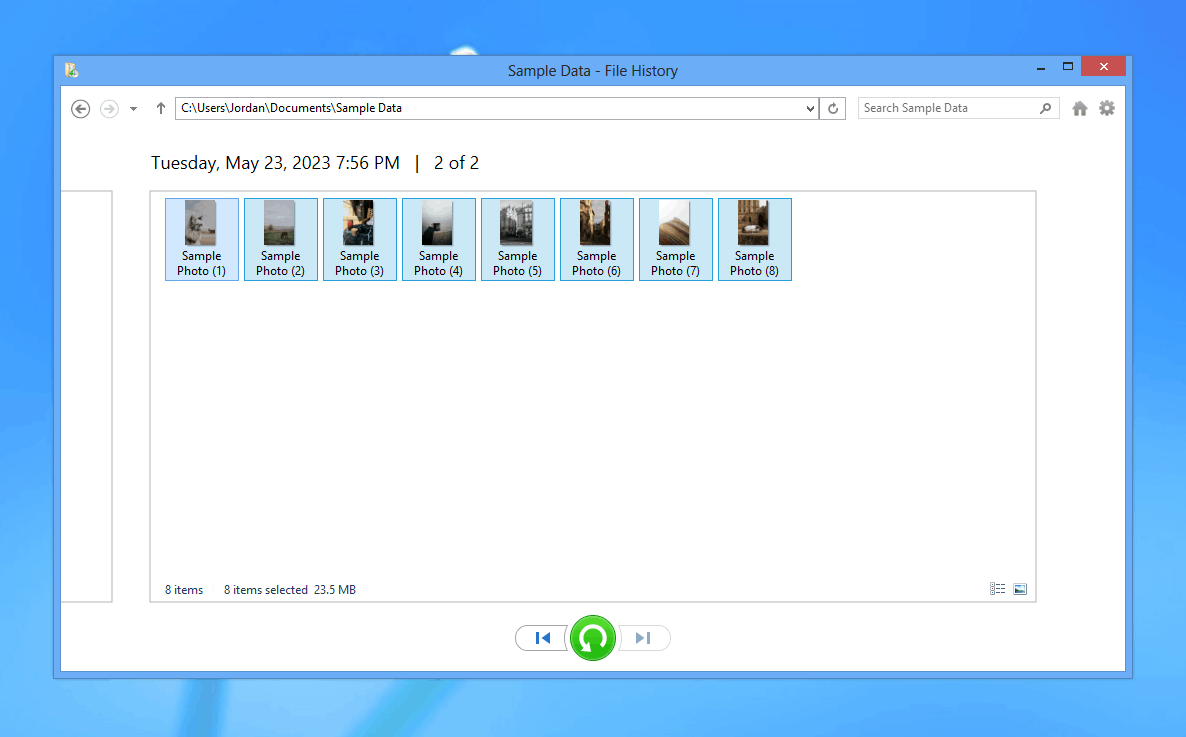
- Right-click the green restore button, then either click Restore to restore the data to its original location or Restore to so you can choose where it is restored.
Conclusion
In order to recover deleted files with their original names, you need to act quickly. Every passing moment can be detrimental to your data, as it’s left in a state where it can be overwritten with new data, causing it to become unrecoverable. To increase your chances, stop using the drive until you’re ready to perform recovery.
To perform data recovery, we recommend Disk Drill Data Recovery as it can restore the folder hierarchy, as well as the files inside. Once your data is successfully recovered, be sure to back it up using a backup solution like File History to protect it in the future.


