 When shopping for a hard drive, Western Digital is a brand that’s hard to miss. It’s a trusted option for many because it’s well-known and available worldwide. Even so, there are times when disaster can strike and cause some of the data on your Western Digital hard drive to become lost.
Fortunately, there are numerous ways you can go about getting your data back before it’s gone for good. We’ll show you how to recover data from a Western Digital hard drive and restore it to working order.
Table of Contents
How to Access WD Passport Data on Windows
First, let’s discuss how you can access your Western Digital Passport data on Windows to see how much of it is accessible and whether or not it’s possible to back it up straight away.
Method 1: Cloud Storage
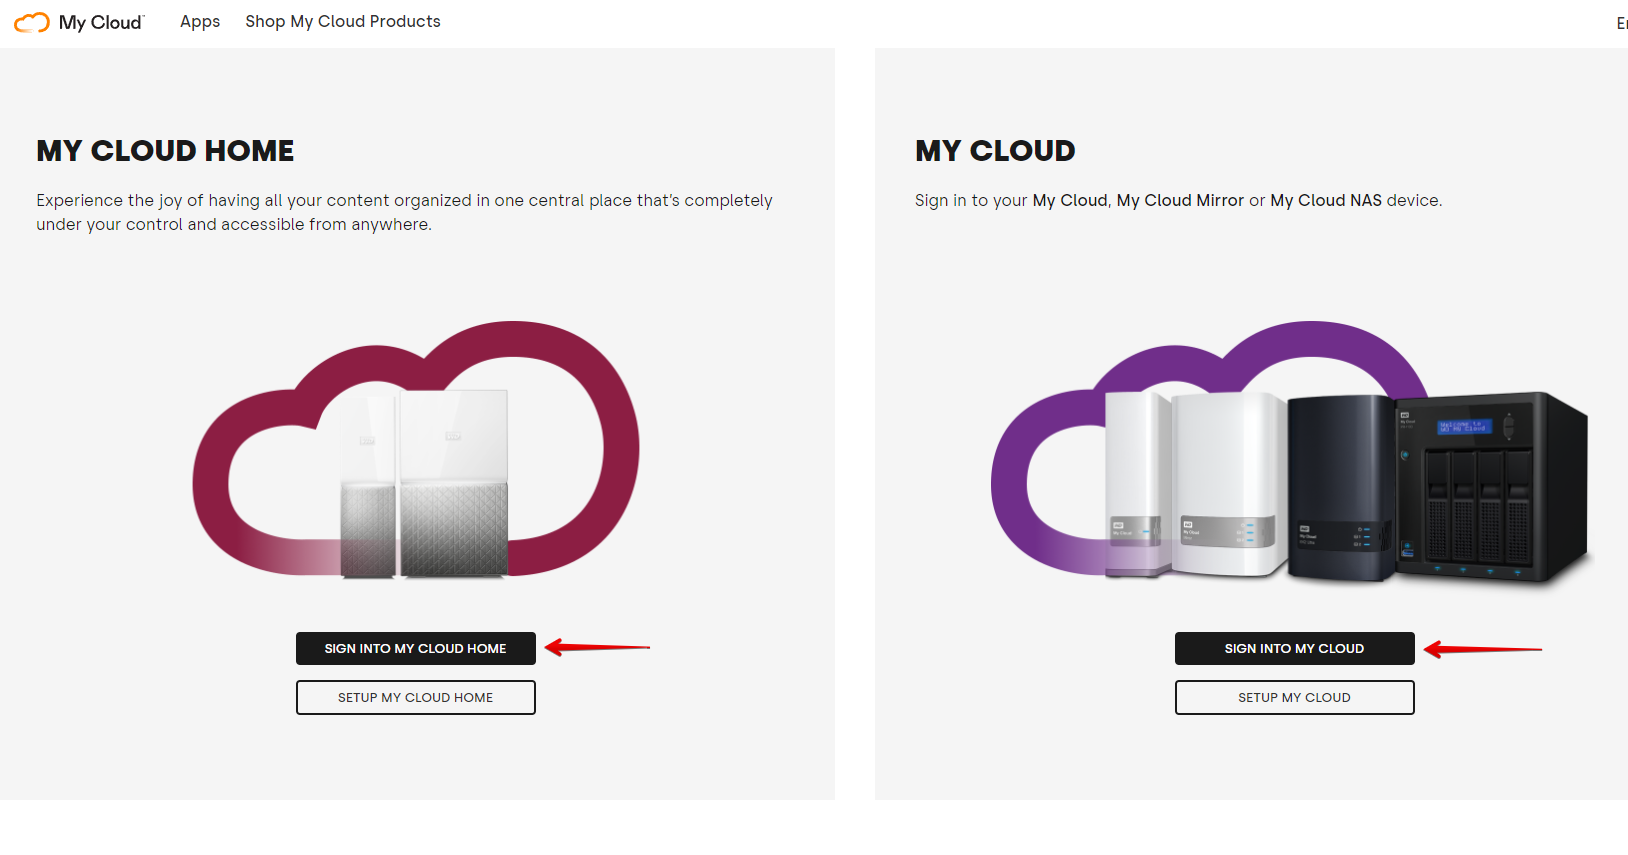
The My Cloud range of devices from Western Digital utilizes cloud-based software that allows you to access your data from anywhere there is an internet connection. If you have a My Cloud device that you have used to back up your files from the WD Passport before, you can check My Cloud to see if your data is available there.
- Go to the My Cloud homepage.
- Sign in to your account and access your data.
Method 2: File Explorer
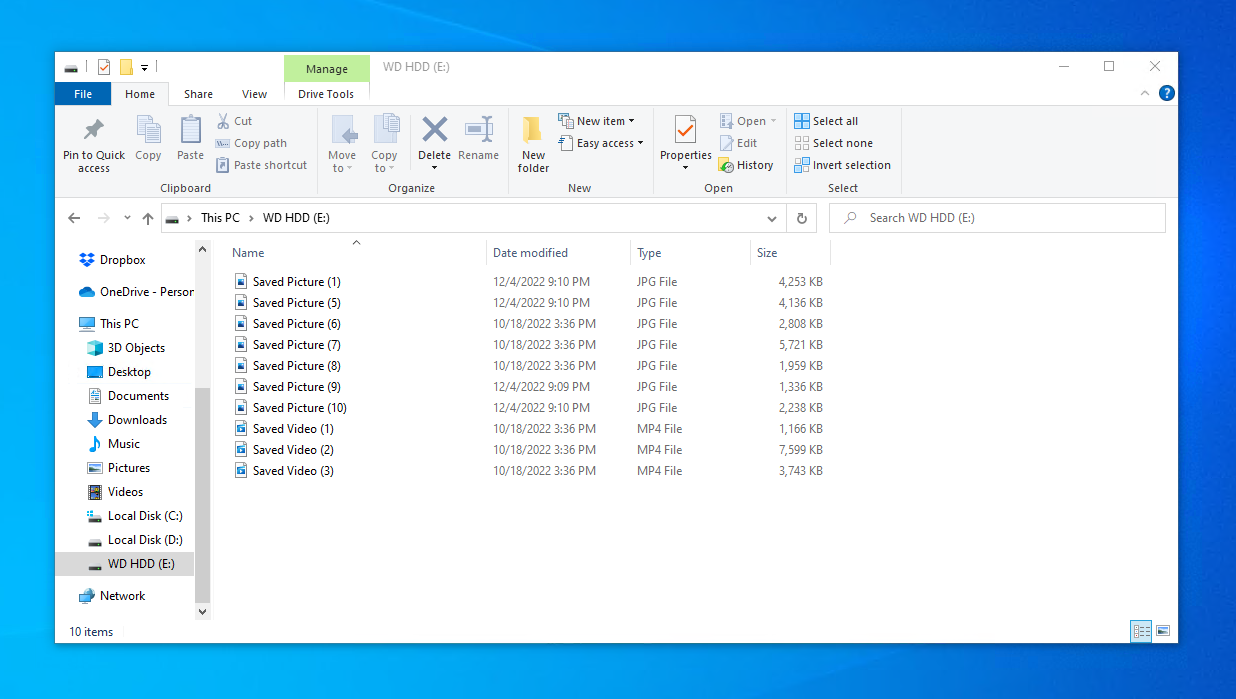
If you only have the Western Digital Passport drive, you can access your data through traditional means like File Explorer. This will also work for any other Western Digital backup drives that allow a direct connection.
- Connect your Western Digital Passport drive.
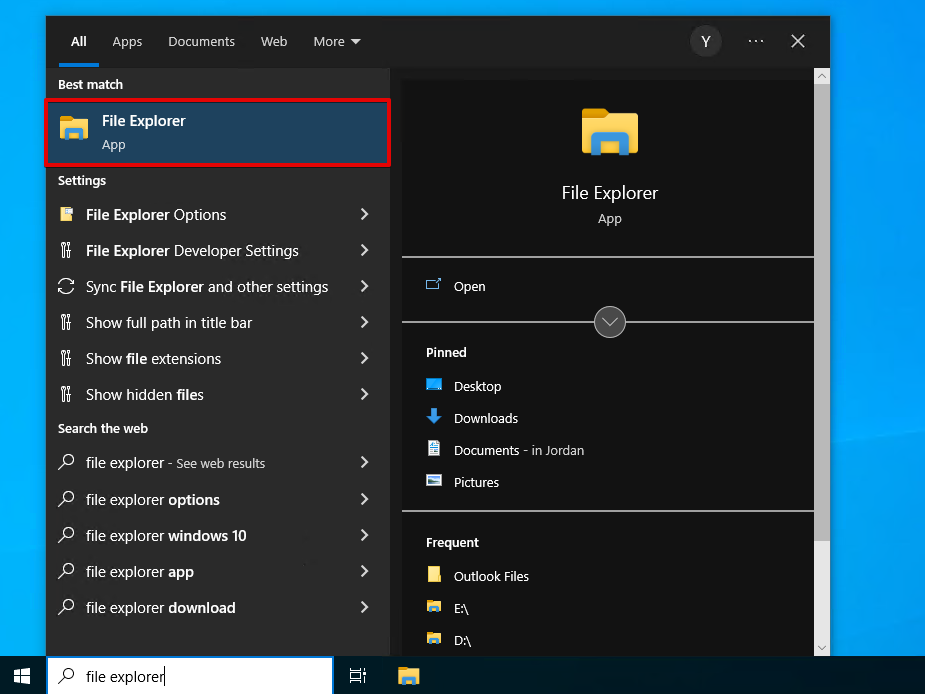
- Open File Explorer.
- Navigate to your Western Digital external hard drive.
If the drive isn’t accessible, or you find that some of the data is missing, then it’s time to perform data recovery from the Western Digital hard drive.
How to Recover Data From Western Digital Hard Drives
There are various ways you can go about performing WD data recovery. To increase your chances of successfully recovering your data, don’t write any new data to the hard drive as it puts your data at risk of being overwritten and becoming unrecoverable.
Method 1: Data Recovery Software
If you’re wanting to do data recovery yourself, you can do so using Western Digital data recovery software. There are many tools out there to choose from, but we recommend Disk Drill. Disk Drill is our top pick because it can be used by anyone and it uses advanced scanning algorithms to find as much data as possible. Better yet, it includes a byte-to-byte backup feature, which we’ll be using to preserve the original data during recovery.
Follow these steps to perform Western Digital data recovery using Disk Drill:
- Download and install Disk Drill.
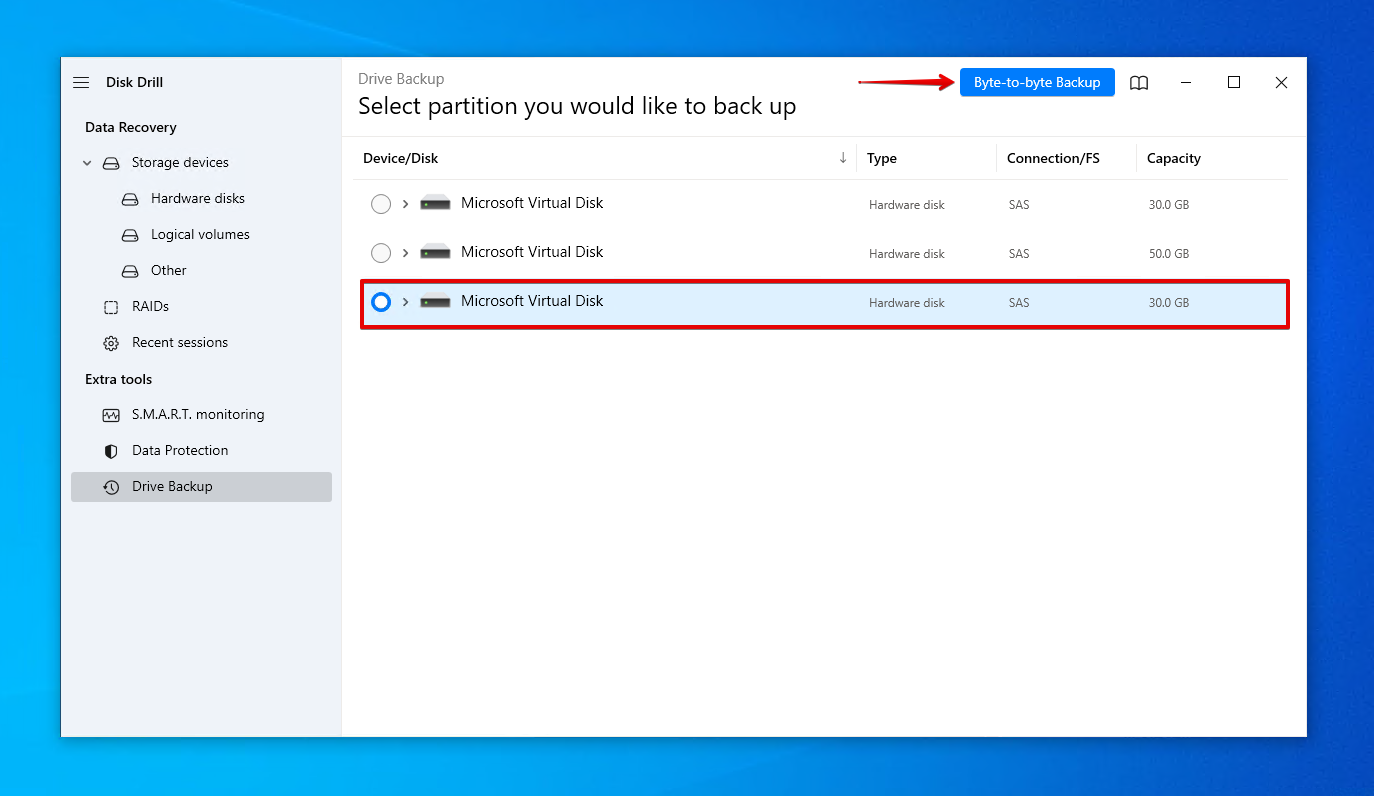
- Connect your Western Digital hard drive, then go to the Drive Backup section.
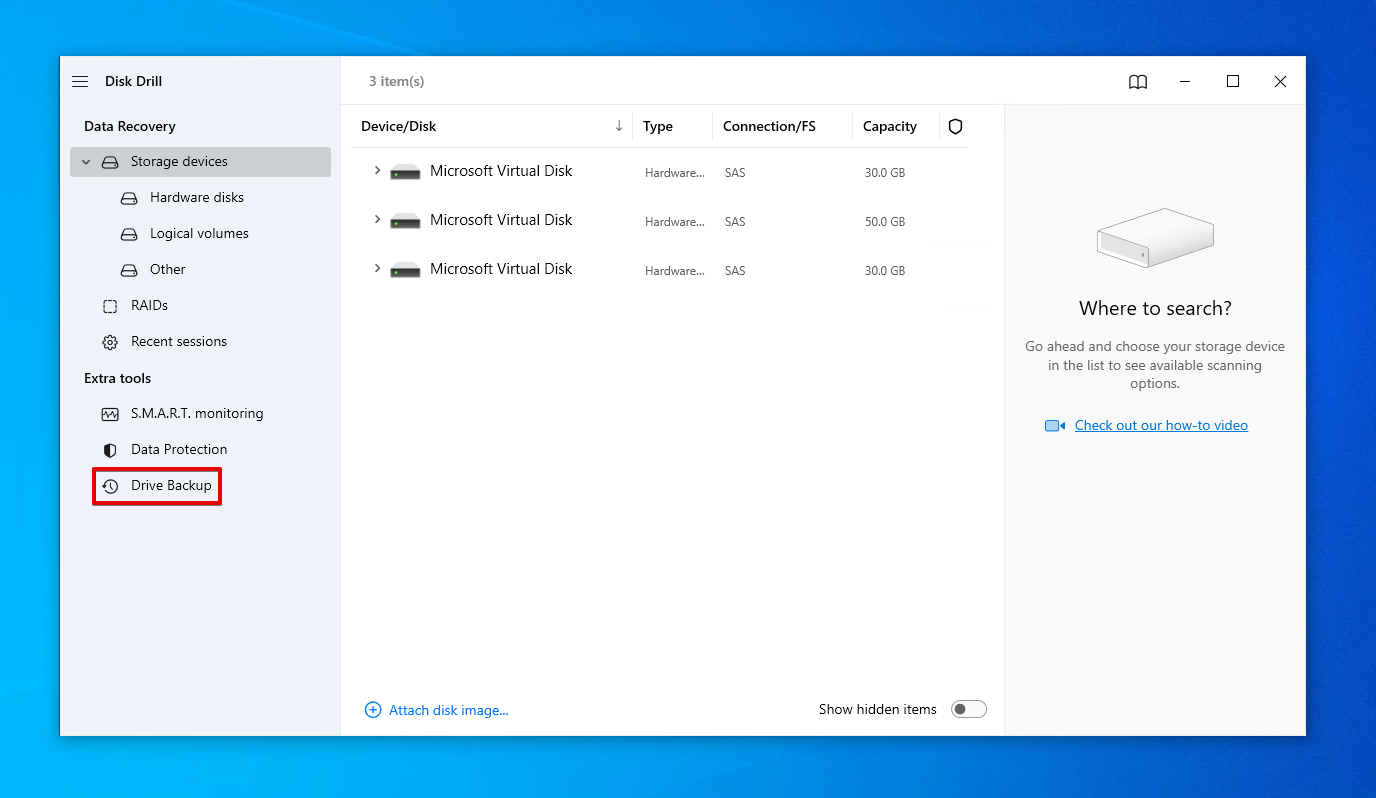
- Select your Western Digital hard drive, then click Byte-to-byte Backup.
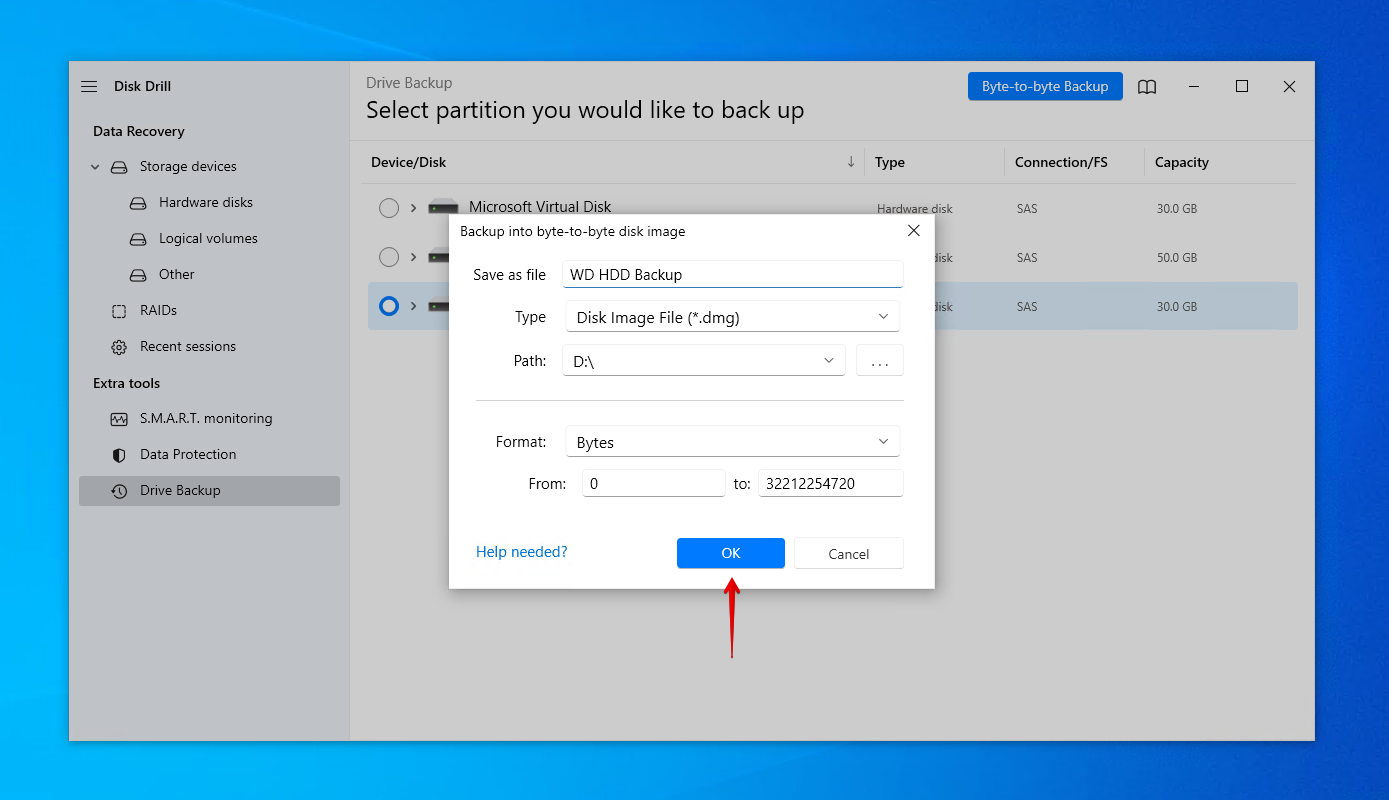
- Give the backup a name and choose where to store it. Don’t store it on the same Western Digital drive you’re planning to perform recovery on. Click OK.
- Return to Storage devices and assign the new disk image.
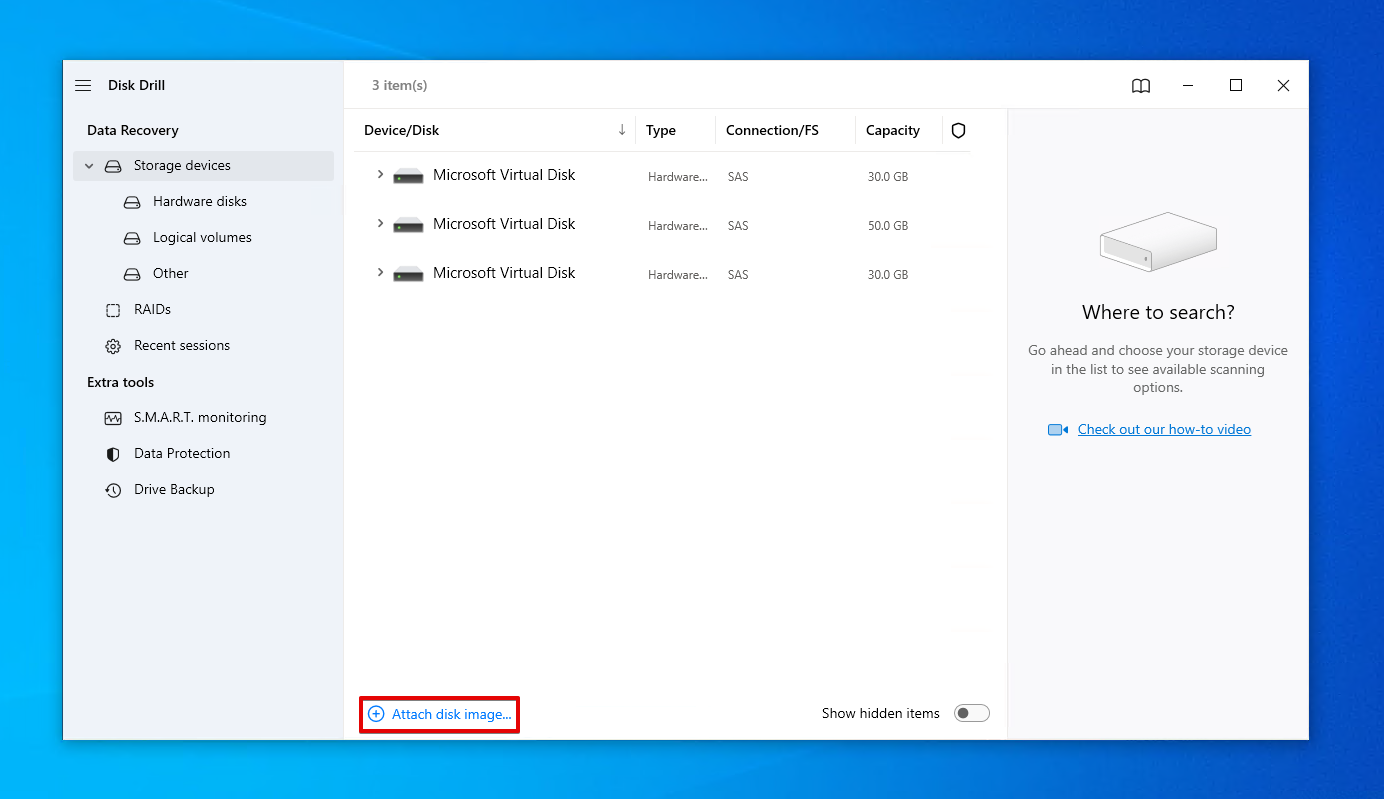
- Select the disk image and click Search for lost data.

- Click Review found items once the scan is complete. Alternatively, you can click Recover all… to restore everything immediately.
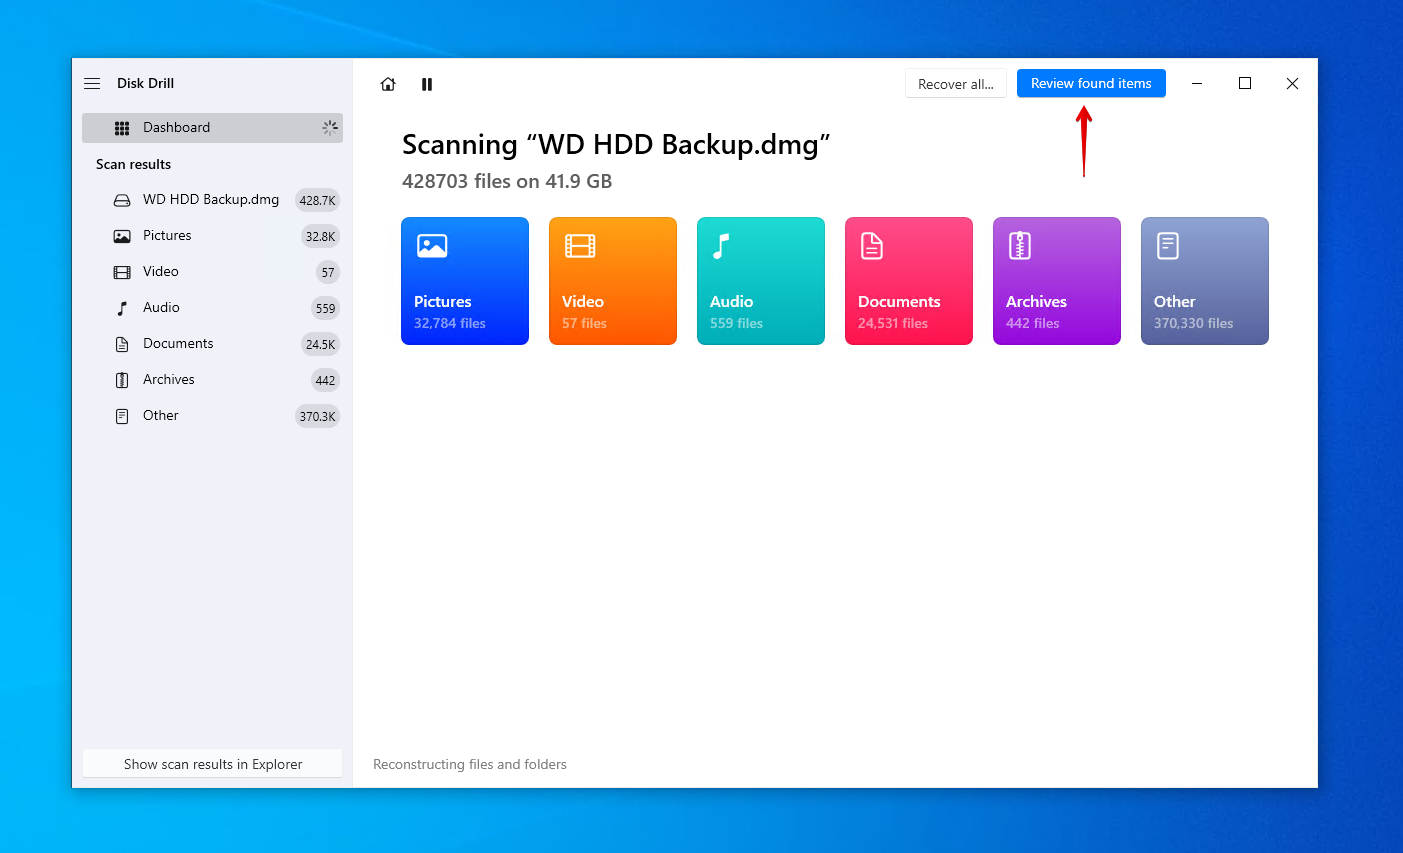
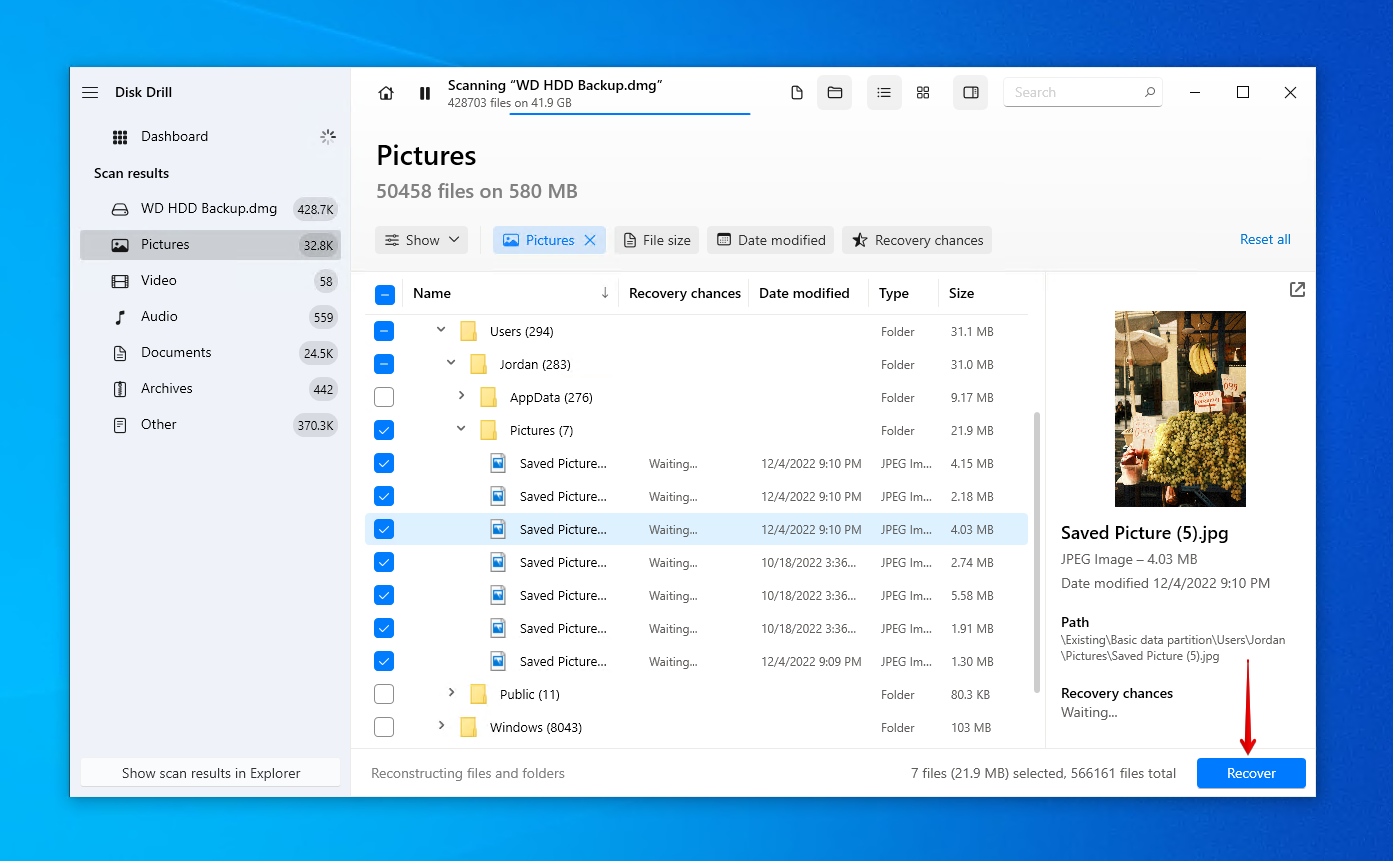
- Mark the files you want to recover. Use the preview panel to make it easier to identify your files. Click Recover when you’re ready to restore them.
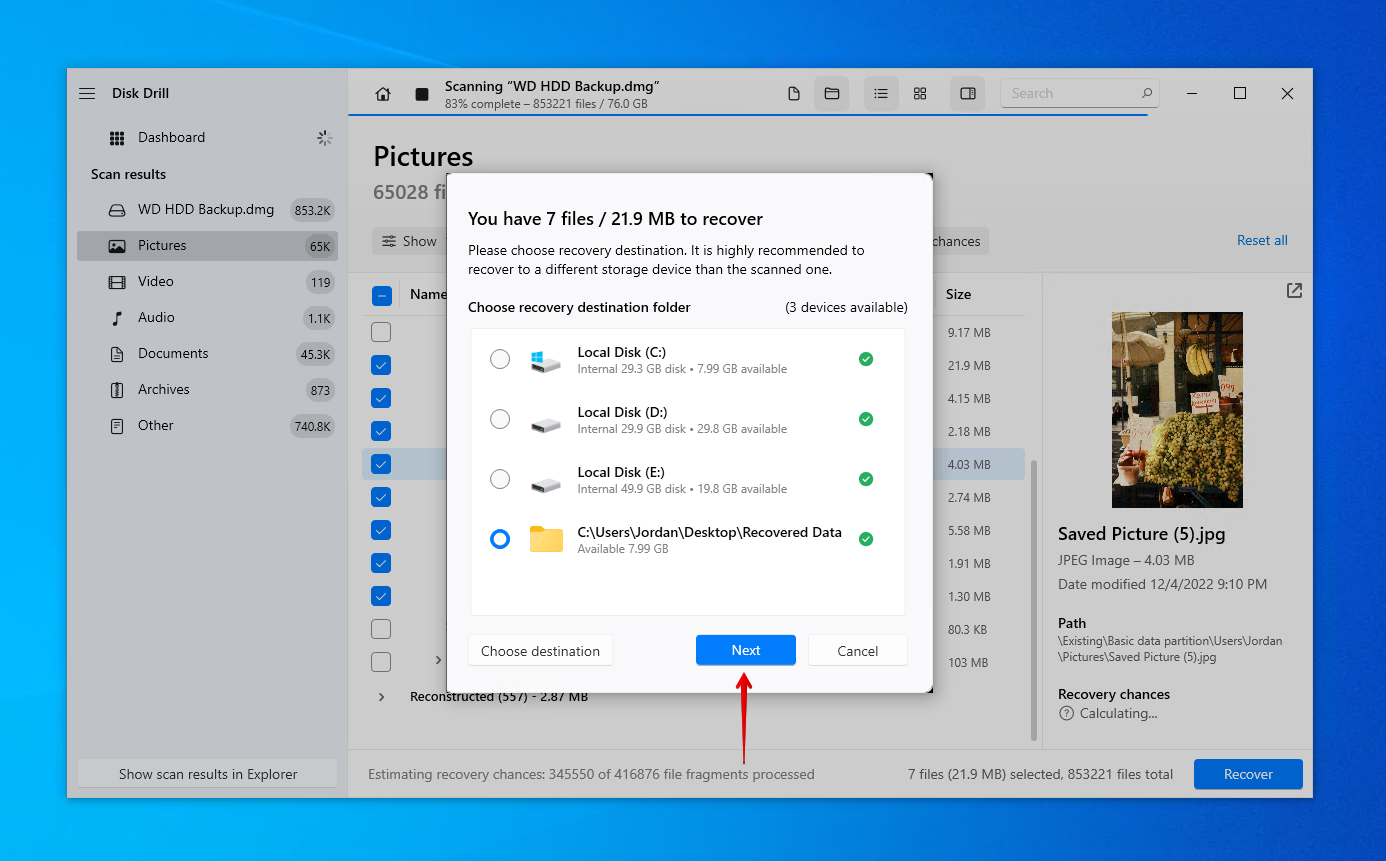
- Select an appropriate recovery location that doesn’t reside on the Western Digital hard drive. Click Next to complete recovery.
Want to try a different recovery application instead? Check out our list of Western Digital recovery tools. Once your data is back, make sure you back it up. Since support for WD Backup has ended, Western Digital recommends Acronis True Image for Western Digital as the primary method of backing up your drives.
Method 2: Data Recovery Service
If data recovery software wasn’t enough to get your data back, or you’re just not comfortable doing it yourself, then you should look at using a data recovery service instead. Western Digital does not provide data recovery services directly, but they do have a network of data recovery service providers around the world who can do it for you.
US-based customers have the option of purchasing a 2-year or 3-year Data Recovery Plan for a one-time fee. In doing so, they can have their data recovered through Ontrack, as long as they have an eligible product. If you purchased the Data Recovery Plan and your WD device is eligible, you can submit a job using the online Western Digital Data Recovery Plan Form.
For non-US customers or US customers who do not have a Data Recovery Plan, you have the option of using one of Western Digital’s data recovery partners. Using an approved service provider means that your warranty will not become void, as long as all of the conditions are met.
How to Fix a Corrupted WD Passport External Hard Drive
Once you are finished with Western Digital hard drive recovery, you can begin fixing your corrupted WD Passport external hard drive.
Method 1: Connect to Another PC or Port
Before delving into more advanced solutions, let’s start with the basics. Try connecting your WD Passport external hard drive to another port on your computer. Where possible, connect it to one that’s on the motherboard as opposed to one at the top of your case. If it still doesn’t work, try connecting it to another computer, as it may be an issue with your computer’s USB ports.
Method 2: Virus Scan
A virus-infected Western Digital hard drive won’t operate like normal. You may notice symptoms like failed connection attempts, disappearing files and folders, or sluggish performance. You can fix this by removing the virus using Microsoft Defender Antivirus which comes included with Windows 10 and 11.
Follow these instructions to perform virus removal from a WD hard drive:
- Open File Explorer.
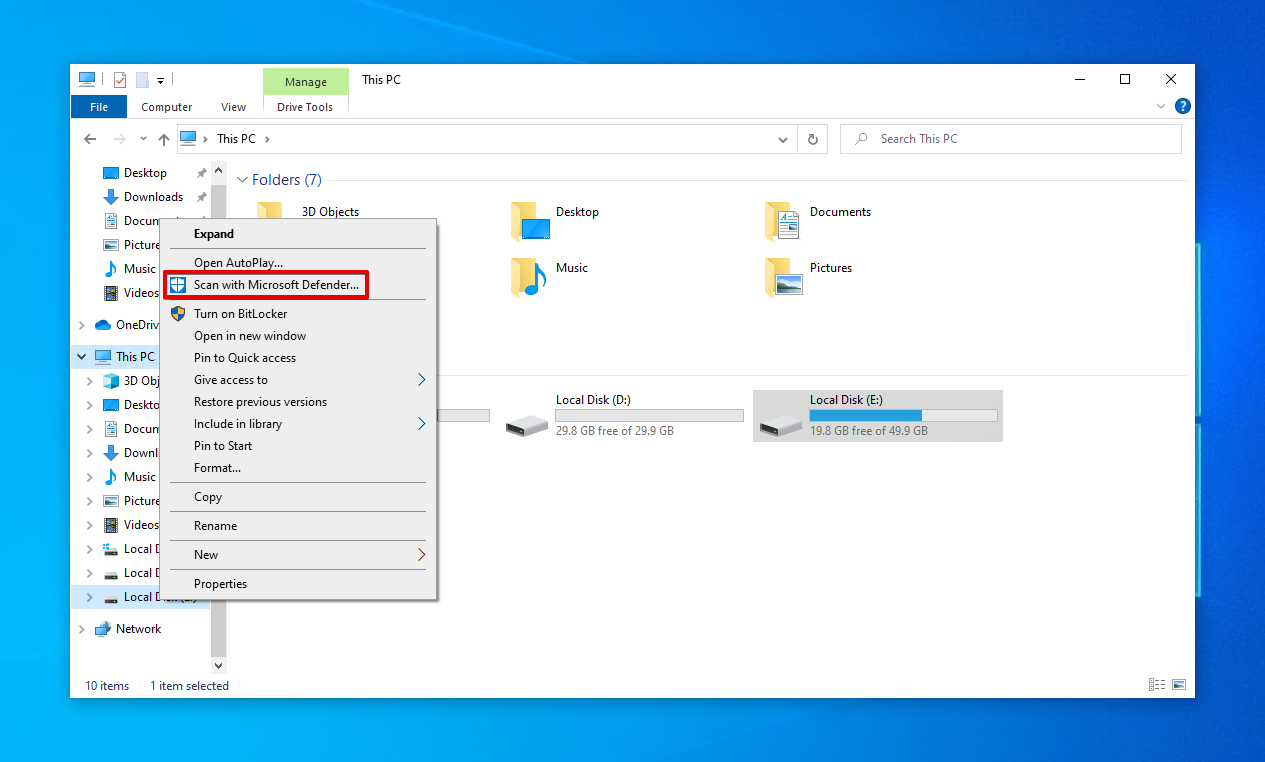
- Right-click your Western Digital hard drive, then click Scan with Microsoft Defender. This will perform a quick scan.
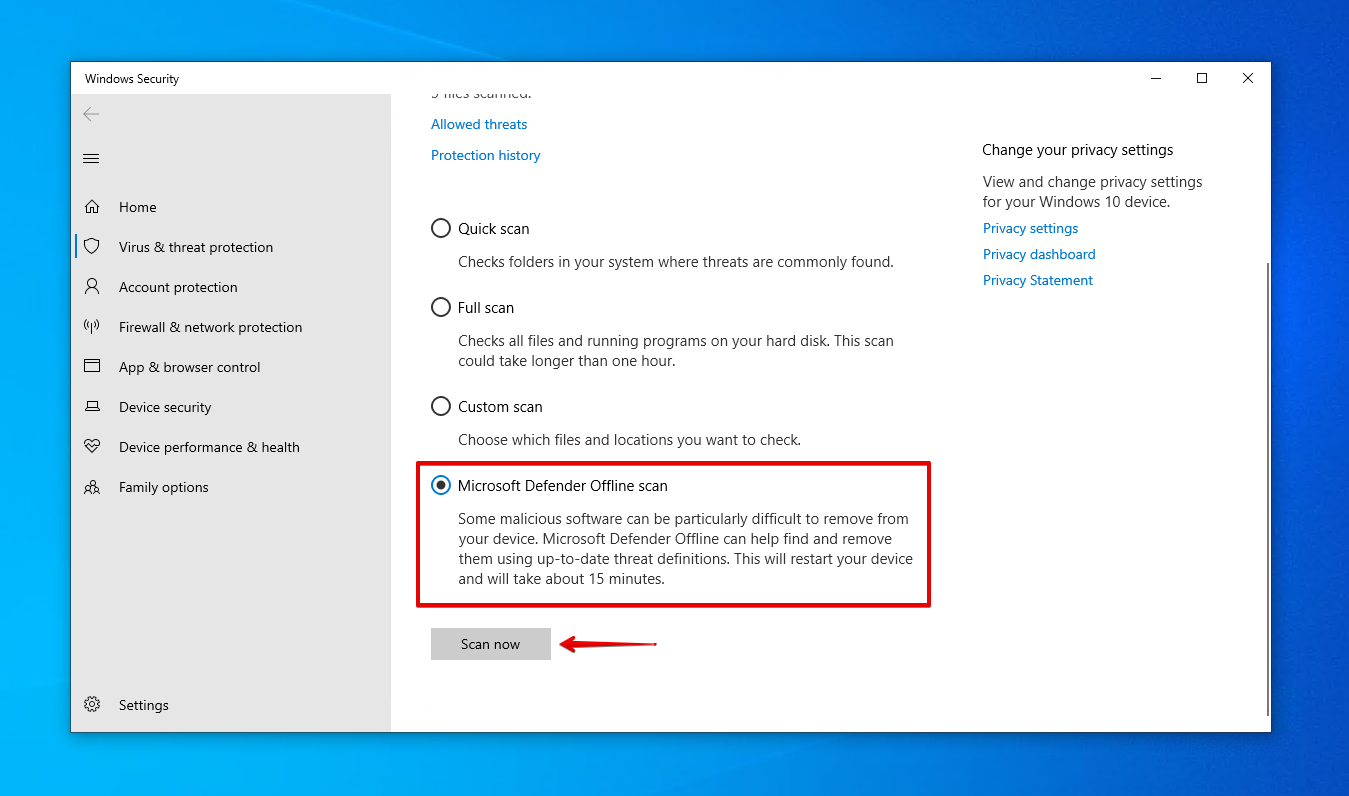
- For a more in-depth scan, choose Microsoft Defender Offline scan and click Scan now.
Method 3: Reinstall Drivers
Drivers are a key component in the communication between your hard drive and computer. Without them, both devices won’t be able to see each other, let alone communicate. If they’re corrupted or outdated, it can inhibit your ability to read or write data to the drive.
Here’s how you can update or reinstall the drivers:
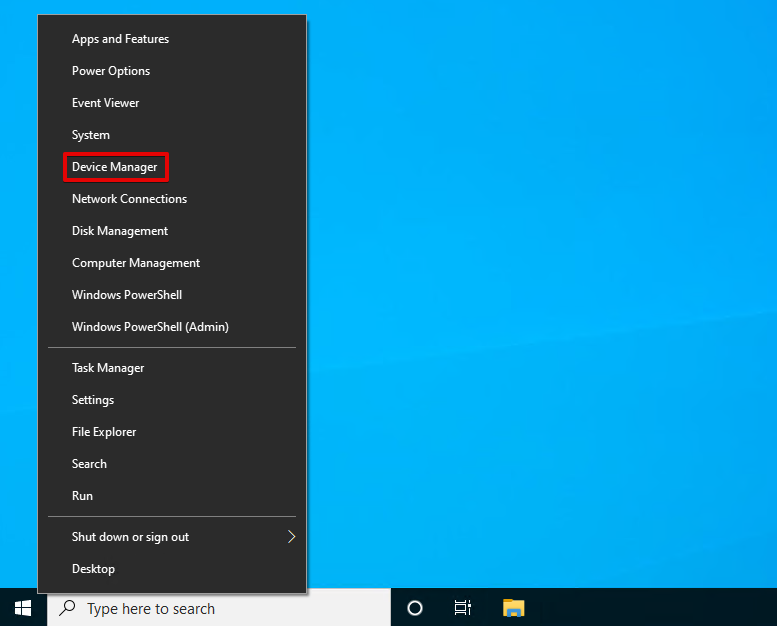
- Right-click Start and click Device Manager.
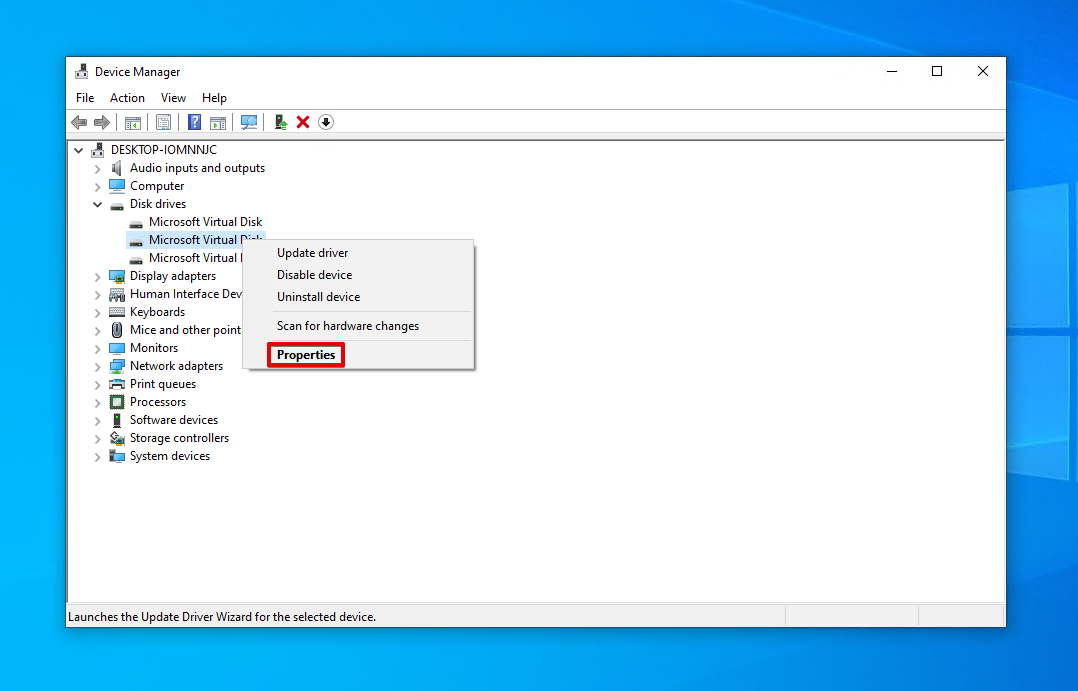
- Expand Disk drives, then right-click your Western Digital hard drive and click Properties.
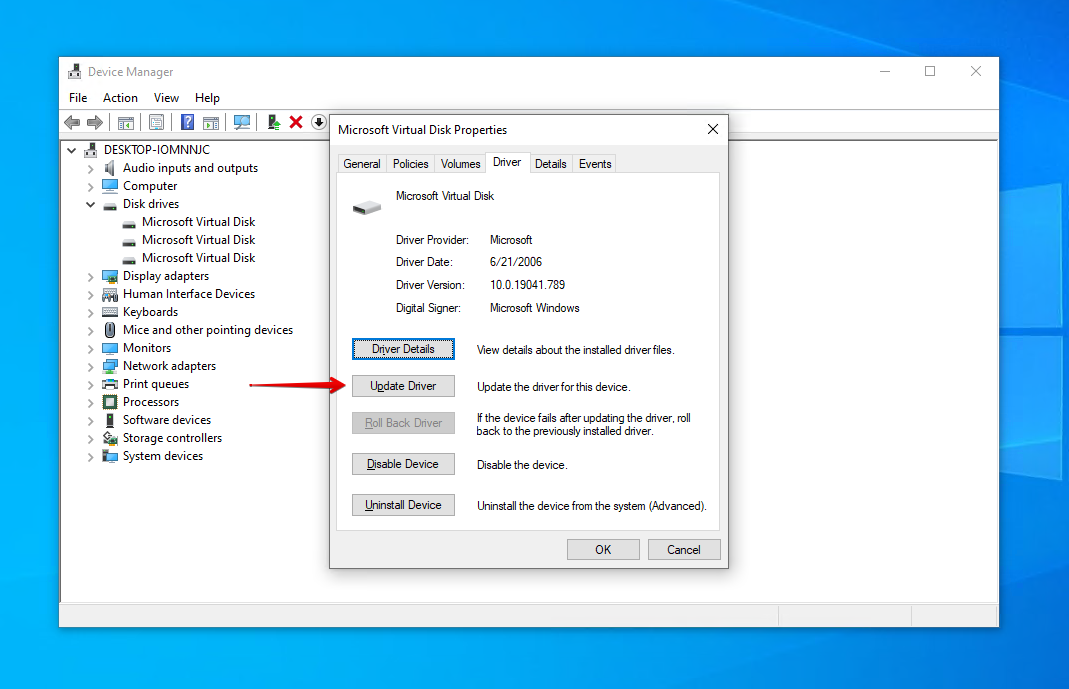
- Go to the Driver tab, then click Update Driver.
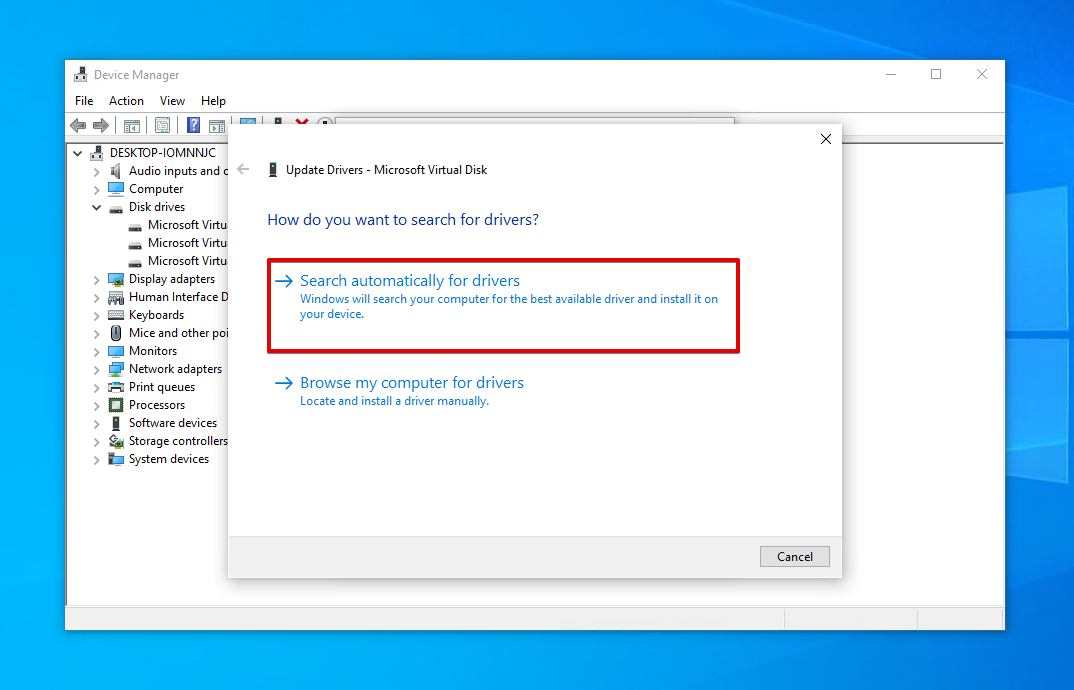
- Click Search automatically for drivers and follow the prompts. If no new drivers are found, return to the drive properties.
- Click Uninstall Device. Click Uninstall to confirm.
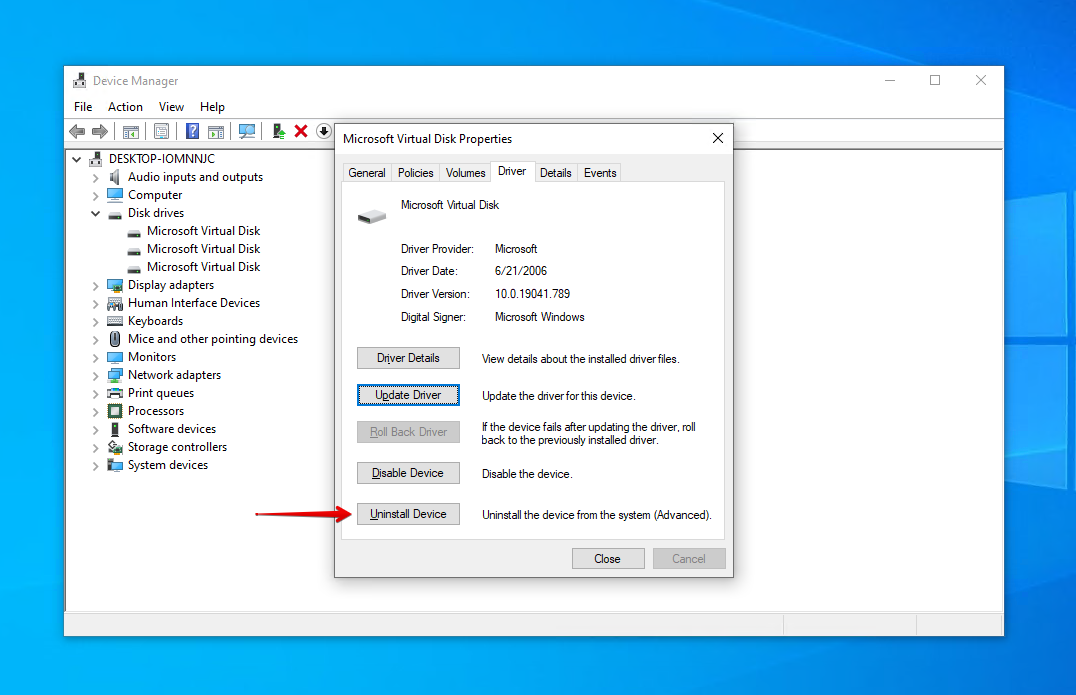
- Remove the Western Digital hard drive then reconnect it and the drivers will reinstall.
Method 4: CHKDSK
CheckDisk is a tool that can be used to scan for logical and physical issues relating to your hard drive’s volumes. When used with other parameters, it can even fix the problems that it finds.
These steps will guide you through running CheckDisk on the WD hard drive:
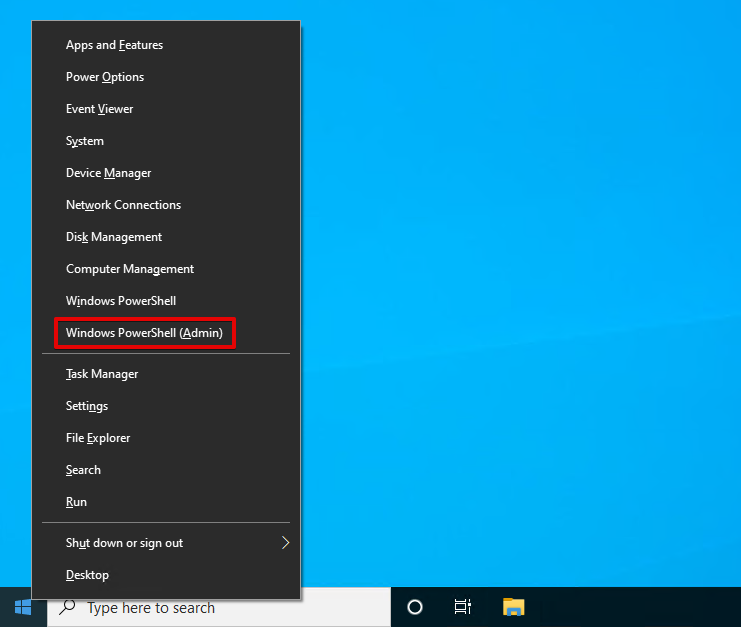
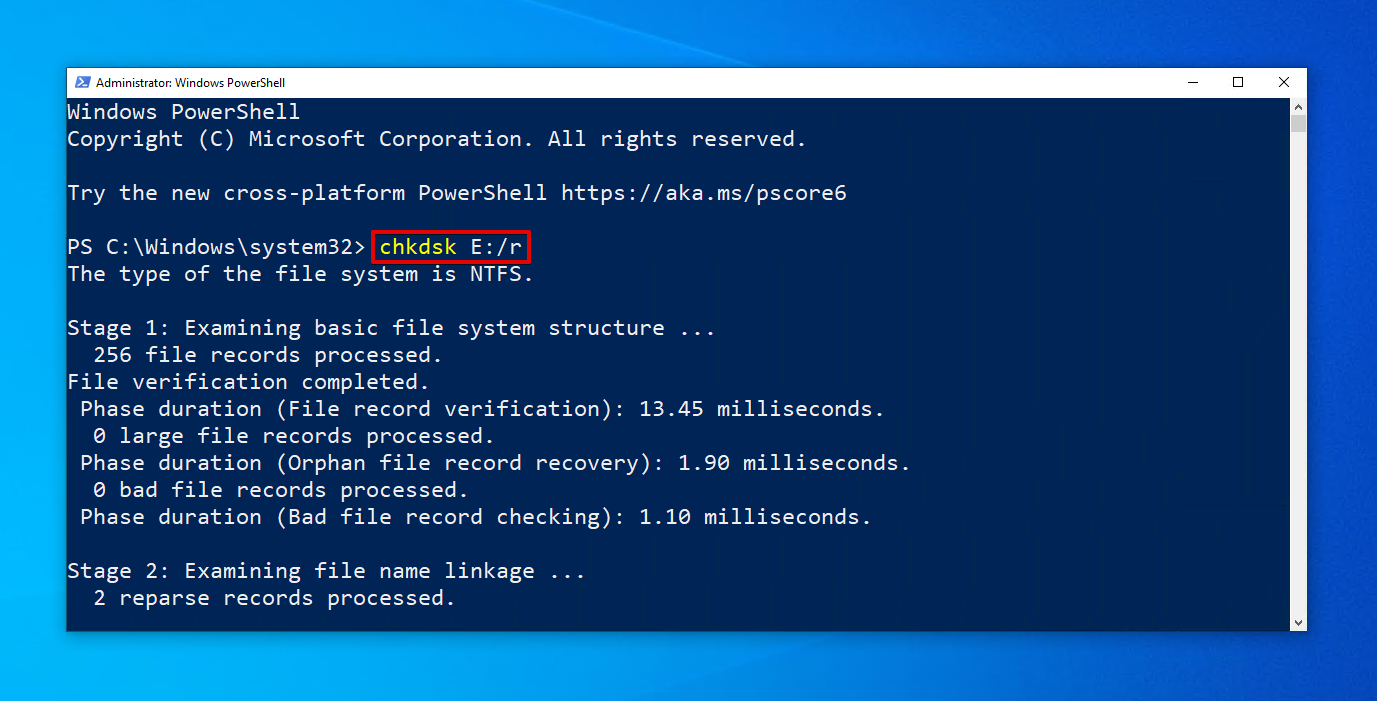
- Right-click Start and click Windows PowerShell (Admin).
- Type chkdsk *: /r. Replace * with the drive letter of your WD drive. Press Enter.
Method 5: Format
A format is similar to doing a reset of your Western Digital hard drive. It writes a new file system to the hard drive so it’s ready to store data. During this process, all of the data on the drive is deleted. Therefore, you should recover deleted files from the Western Digital drive before formatting (but you can perform recovery afterward too, if needed).
This is how you format a Western Digital hard drive on Windows:
- Right-click Start and click Disk Management.
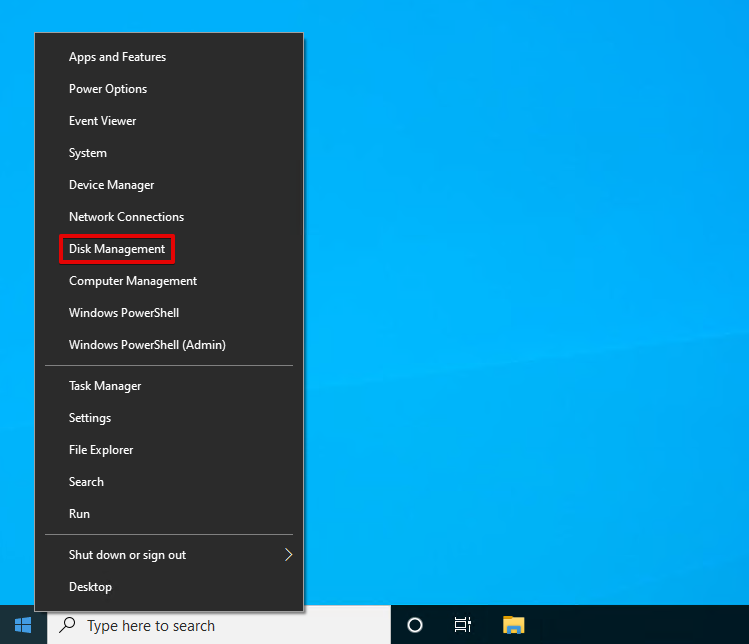
- Right-click the volume of your Western Digital hard drive, then click Format.
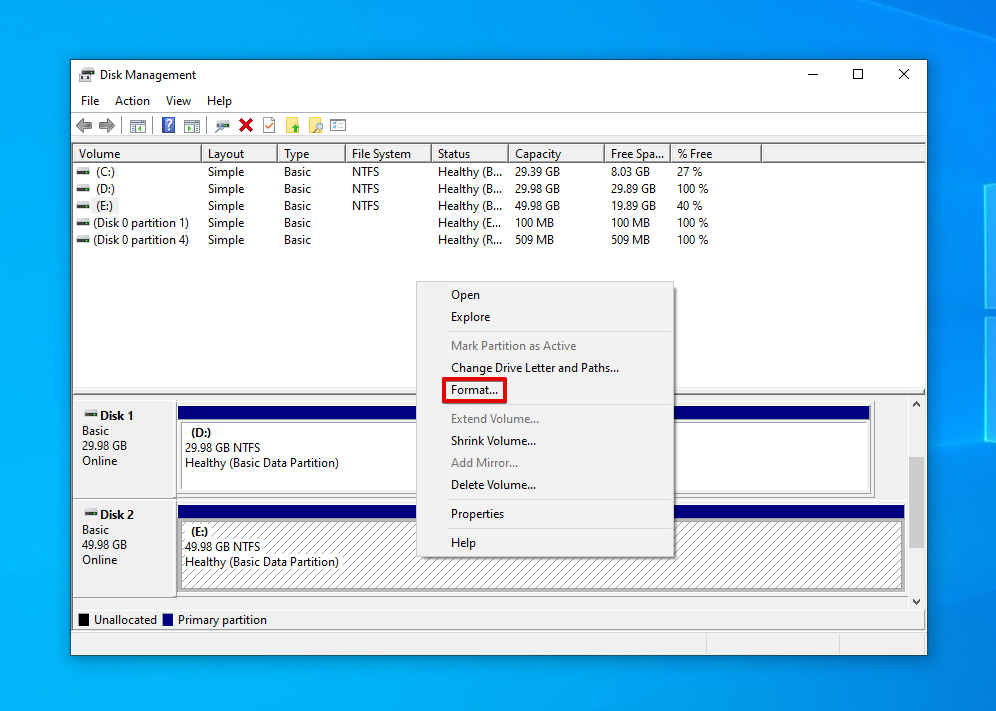
- Ensure Perform a quick format is selected and click OK.

- Click OK to confirm the format.
How to Prevent Data Loss From WD Drives
You can save yourself the time and effort of performing data recovery in the future if you take good care of your drive to help reduce the chances of data loss occurring. Take a look at the below tips on preventing data loss from Western Digital hard drives.
| Tip | Description |
| ⏏️ Eject the drive safely | Instead of simply disconnecting the drive from your computer, be sure to eject it safely so it has time to stop any delicate read-write processes. This prevents data corruption. |
| 🩺 Monitor the S.M.A.R.T. data | Every drive is capable of reporting its status using S.M.A.R.T. (Self-Monitoring, Analysis, and Reporting Technology) data. Disk Drill has a free active disk monitoring tool that can alert you to problems as they arise. |
| ⌚ Take an extra few seconds | Data loss commonly occurs as a result of human error. Next time you’re performing an important task, like formatting your drive, take a few extra seconds to make sure everything is in order before proceeding. |
| ⚡ Invest in a UPS | A UPS (Uninterruptible Power Supply) is a device that provides emergency power in the event that there’s a sudden power outage. This gives you time to shut down safely and protect your data from corruption or loss due to a power surge. |
| 💽 Back up your data | Probably the most important tip on this list: back up your data. Keeping a backup of your data ensures you have a working copy to restore from if some (or all) of your data becomes lost. |
Conclusion
Western Digital hard drives can sometimes face data loss. In moments like this, you are often able to get your data back if you act quickly enough. Start by checking to see if your data is accessible or if you have a backup available locally or in the cloud.
If you need to recover the data, use a data recovery tool like Disk Drill to scan the WD hard drive and restore the data. Failing that, you can use a data recovery service. If you have a Data Recovery Plan, use it for recovery through Ontrack. Otherwise, use one of Western Digital’s data recovery service providers.
Once the data is recovered, be sure to back it up. Then, if the drive is damaged, repair it by removing any malware that’s present, updating or reinstalling the drivers, and running CheckDisk. If none of the aforementioned options have worked, format the drive.


")