 As you’re using your computer, suddenly it freezes and forces you to perform a hard reboot. Once it powers on, you’re met with the message “A disk read error occurred”, along with a suggestion to press Ctrl+Alt+Del to restart Windows 10.
However, even after performing the suggested restart, the error continues to persist. There are many causes for this error, but don’t worry as there are ways to fix it. This is how you can fix the disk read error on Windows 10.
Go to data recovery ⤵
Table of Contents
What Causes “A Disk Read Error Occured”?
The “A disk read error occurred” problem doesn’t necessarily have to be a drive-related issue. Here are a few of the common causes behind the message:
- 🔥 Disk corruption or overheating: Disk corruption affects the integrity of the drive and its ability to perform. The same is true with overheating, as the hardware is not rated to operate at extremely high temperatures.
- ⚠️ Bad sectors: If a bad sector has appeared where the MBR is stored, the MBR will no longer be accessible or usable.
- 🔌 Bad connections on the ports: The hard drive not showing up on a Windows computer can be due to faulty ports or bad cables that either prevent communication or cause it to be inconsistent.
- 🧠 Corrupted RAM: Since your computer uses RAM to access readily available data, corrupted RAM can cause this issue because the computer is constantly trying to get information that it can’t access.
- ⚙️ Incorrect BIOS settings: Incorrect BIOS settings can cause a BIOS disk read error. This often happens when another device has modified the boot order.
- 💾 Error with boot sector of the drive: The boot sector on your drive contains code that’s loaded into RAM and plays an essential role in your computer’s startup. Without it, booting is not possible.
- 🦠 Viruses: Viruses can be designed to perform any kind of malicious task, including attacking your hard drive. A virus attack can result in the error appearing.
How to Fix “A Disk Read Error Occured” on Windows 10
This problem requires a systematic approach to troubleshoot it and figure out what’s causing it. Oftentimes it’s either in relation to a faulty hard drive, an incorrect BIOS setting, or a problematic RAM module. Checking the status of your hard drive and confirming your BIOS settings are all in order are just some of the solutions we’ll be exploring.
Method 1: Turn the Computer Off
An overheating computer can prompt this message if your hardware components are getting too hot. Your hardware has ideal operating temperatures, so if they’re operating above them, anomalies will begin to occur. Let your computer rest for several hours, then turn it back on to see if the message continues to appear.
If the message disappears, immediately make a backup of your drive and determine what is causing your computer to overheat. This commonly occurs due to a lack of airflow or insufficient cooling.
Method 2: Check the Boot Sequence
An incorrect boot sequence can lead to the disk read error appearing on Windows 10. If you have more than one storage source installed or connected, your computer may be trying to boot from the other source that doesn’t contain an operating system. The boot sequence can be updated in your BIOS.
The exact process will look slightly different for each brand of computer:
- Enter your BIOS. This can be achieved by your BIOS key after you power on your computer but before Windows boots. It’s often one of the following keys: DEL, F1, F2, F10, or F12.
- In the Boot section, go to Boot Device Priority.
- Make sure your hard drive is at the top.
Method 3: Reset BIOS Settings or Update BIOS
Your BIOS may either be outdated or running outdated settings. This can cause the error to appear as your BIOS plays a role in the communication between your hardware. First, try resetting your BIOS settings to see if that fixes the issue. Again, this will be slightly different depending on the brand of your computer.
- Enter your BIOS.
- Load the factory default settings. Usually, you can do this by pressing F9.
- Save the changes and exit the BIOS.
If the problem persists, try updating your BIOS to the latest version instead. The below instructions will guide you through checking your existing BIOS version and installing the updated one.
- Visit the website of your motherboard manufacturer and check for a new version. Download it if it’s available and put it on a USB drive.
- Enter your BIOS and uses the menus to install the updated BIOS from the USB.
Method 4: Check Port Connections
When your hard drive isn’t properly connected to the motherboard, Windows can produce this error in response. Laptop users can check their hard drive compartment and make sure it hasn’t come loose or become blocked from lint and dust. For desktop computers, ensure that the connecting cable (often SATA) is securely connected to both the motherboard and hard drive ends.
If it’s still not working now, try changing the SATA port you’re connecting to. You may need to update the boot sequence to look for the new SATA port, but this will eliminate the chances that it’s a faulty connection point. Additionally, you can also try swapping out the cable.
Method 5: Restore MBR
The Master Boot Record (MBR) sits in the first sector of your hard drive or SSD and contains the information needed for your computer to find and load the operating system. If it’s damaged or corrupted, your computer won’t boot. For this step, you will need a bootable USB drive with Windows on it to enter the recovery environment.
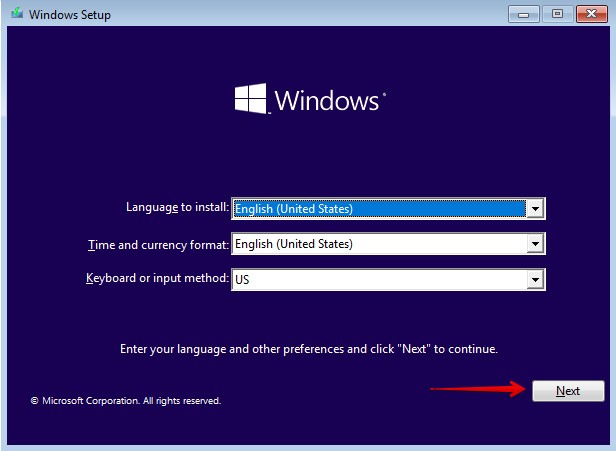
- Boot from the USB, select your language and currency formats, then click Next.
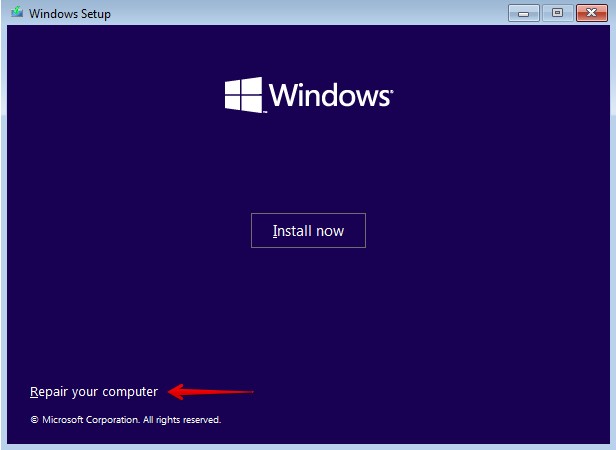
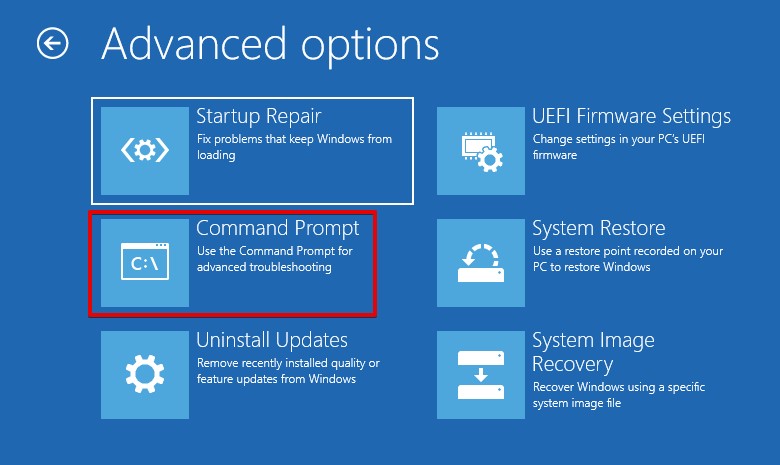
- Click the Repair your computer option on the first screen.
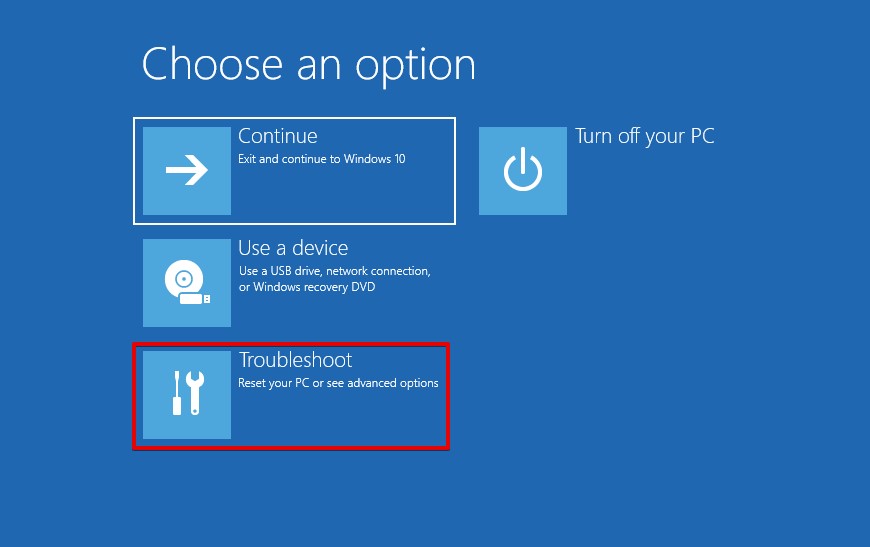
- Click Troubleshoot.
- Click Command Prompt.
- Type
bootrec /fixmbrand press Enter.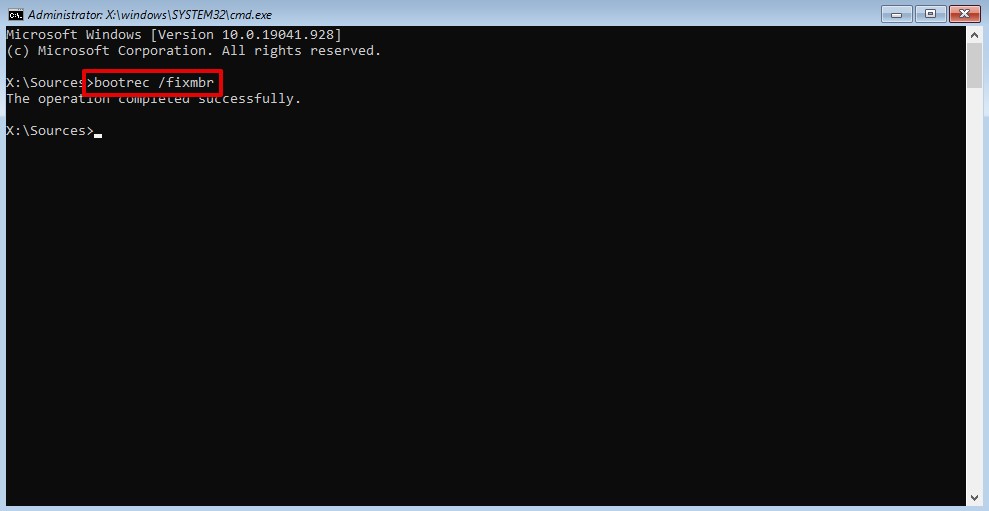
- Type
bootrec /fixbootand press Enter.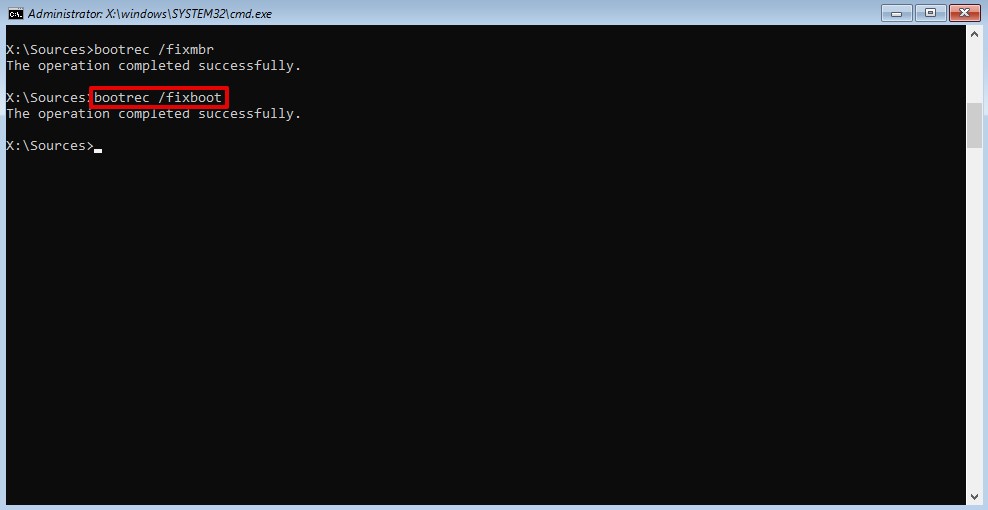
- Type
bootrec /scanosand press Enter.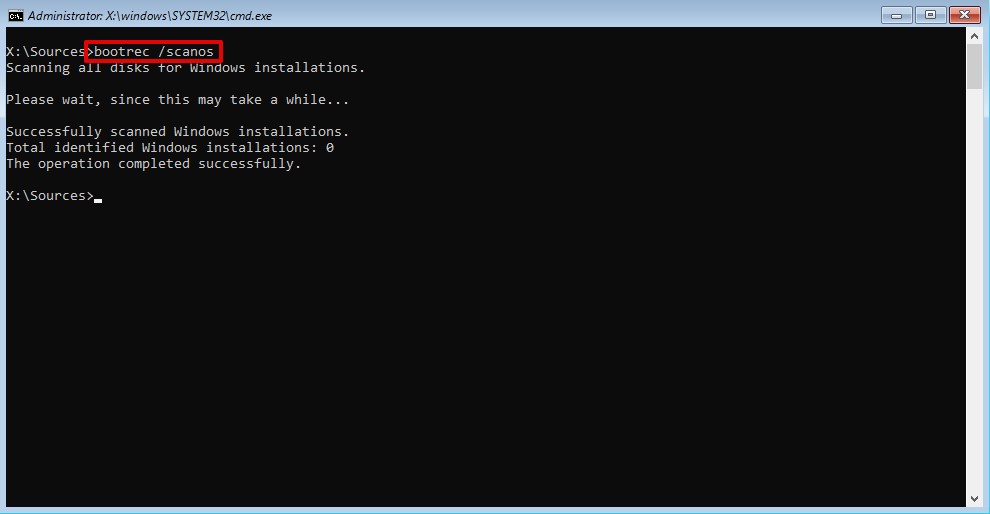
- Type
bootrec /rebuildbcdand press Enter.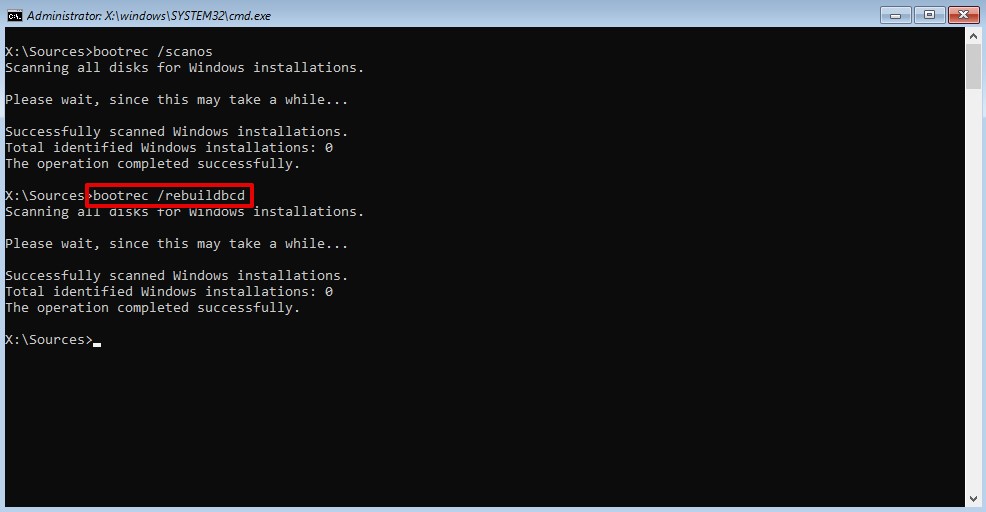
- Restart your computer and boot from your hard drive.
Method 6: Run CheckDisk
CheckDisk is a repair tool that can scan your drive for logical and physical errors. It’s typically used for fixing disk errors that it discovers, but it can also be used in a read-only mode without the use of parameters. It can even be used to fix bad sectors.
You will also need a bootable USB for this step.
- Boot from the USB and click Next.
- Click the Repair your computer option on the first screen.
- Click Troubleshoot.
- Click Command Prompt.
- Type
chkdsk C: /f /r. Replace C: with your own drive letter. Press Enter.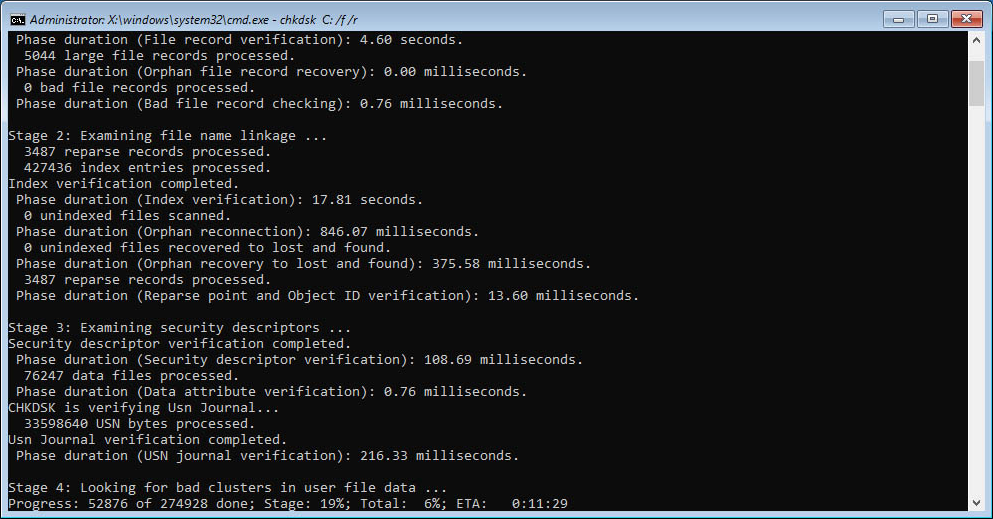
- Restart your computer and boot from your hard drive.
Method 7: Check the RAM
It’s not uncommon for this problem to originate from a problem with your RAM. First, try reseating your RAM to ensure it’s firmly connected. If that doesn’t work and you’re using a single stick of RAM, try putting it in a different slot. If you’re using dual channel RAM, try switching their places.
If you get the opportunity to test the RAM in another device, you can do so by running the Windows Memory Diagnostic tool. Simply press ⊞ Win + R, type “mdsched” and press Enter.
Method 8: Perform Virus Removal and Defragmentation
If none of the above methods have worked, try removing the hard drive from your computer and connecting it to another. This allows you to see if the disk appears and perform diagnostics such as virus removal and defragmentation.
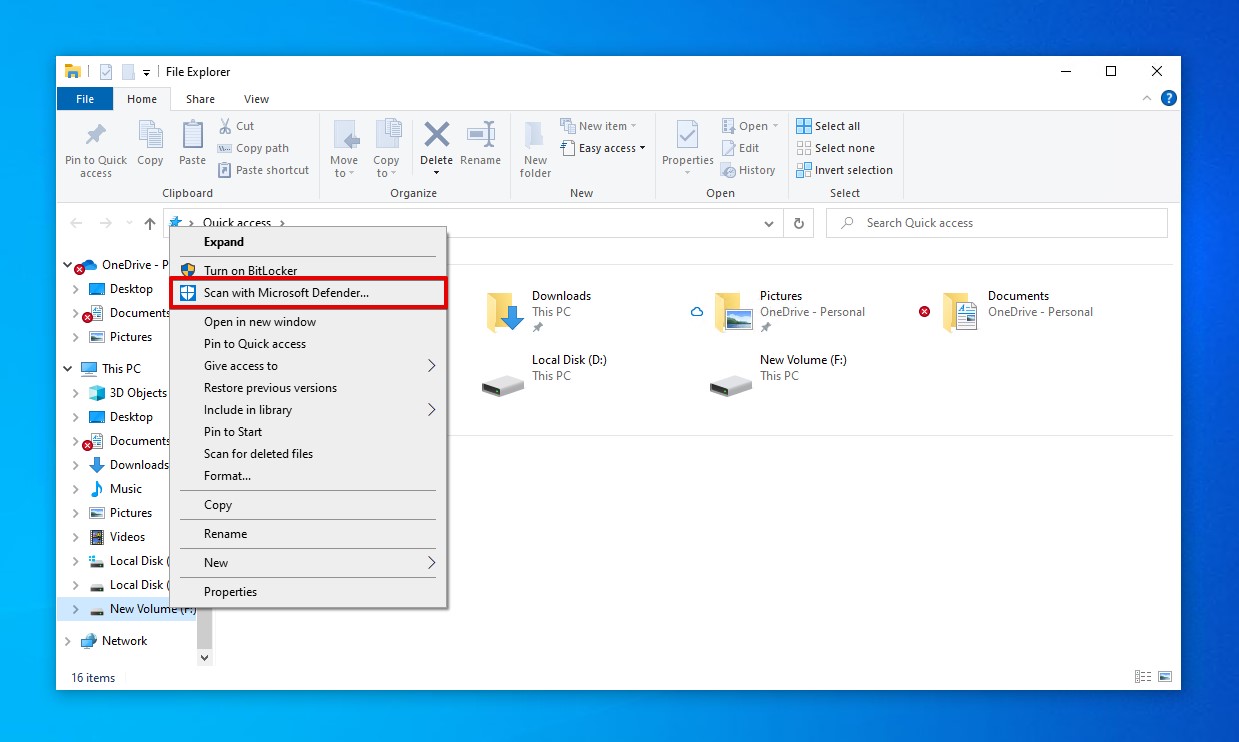
Start by scanning the hard drive for viruses. You can do this using Windows Defender:
- Open File Explorer.
- Right-click your drive in the left navigation pane, then select Scan with Microsoft Defender.
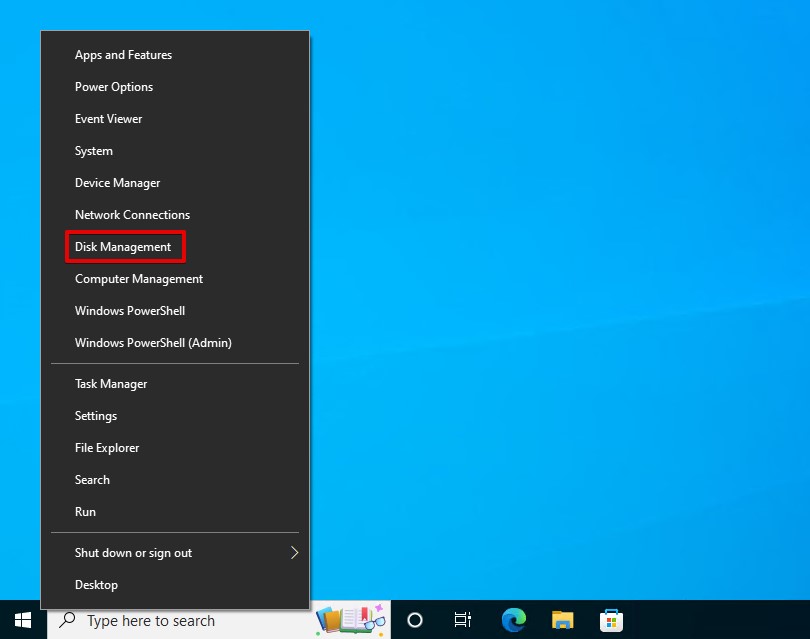
After the scan has been completed and returns no viruses, perform defragmentation by following the below steps. Skip this part if you’re using an SSD.
- Right-click Start and select Disk Management.
- Right-click the volume of the troubled drive and select Properties.
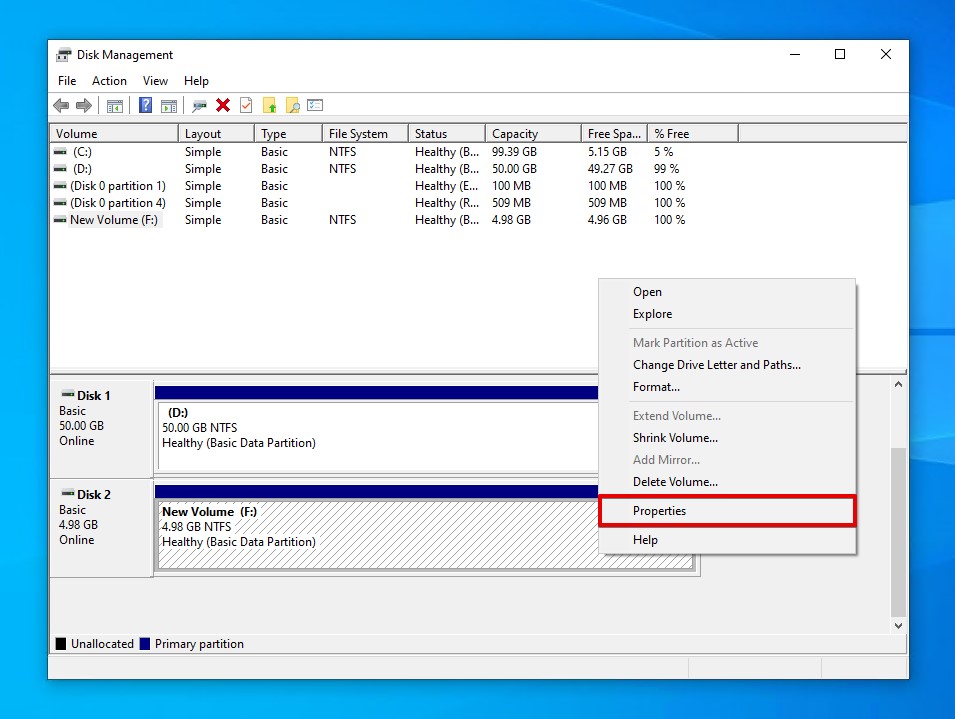
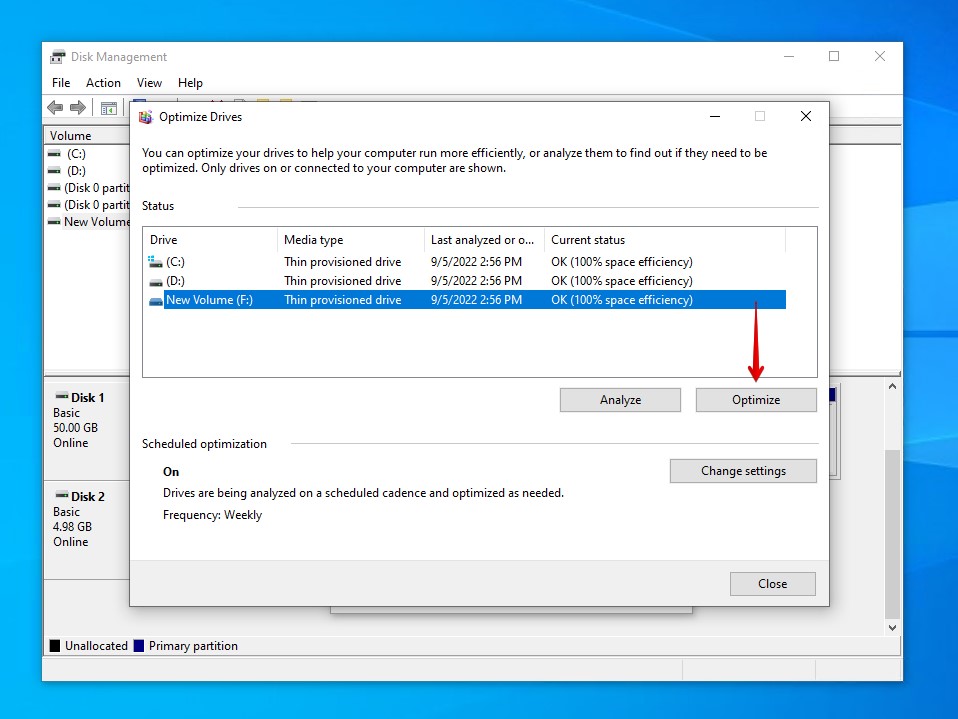
- Click Tools, then Optimize.
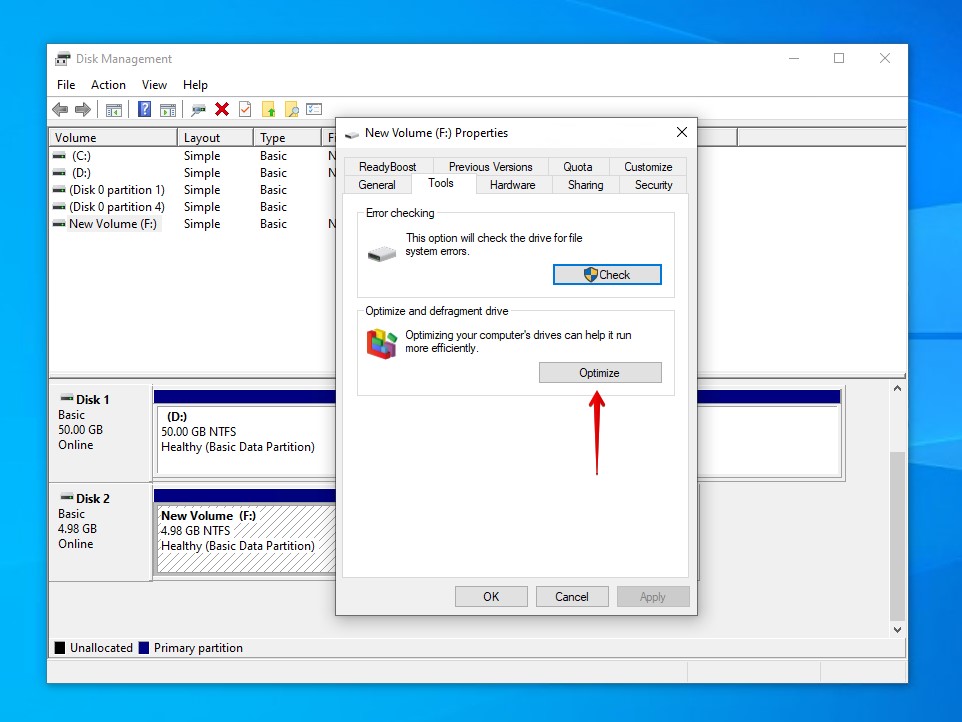
- Click Optimize.
How to Recover Files After Fixing Disk Read Error
The damage that caused this Windows 10 boot error may have also affected the data on your drive. If you act fast enough, you may be able to recover the data that was lost or damaged using the data recovery tool Disk Drill. Disk Drill is a data recovery tool capable of restoring data that was previously thought to be lost forever.
To do this, you should remove your drive and connect it to a working computer that you can install Disk Drill on. Follow these steps to recover data using Disk Drill:
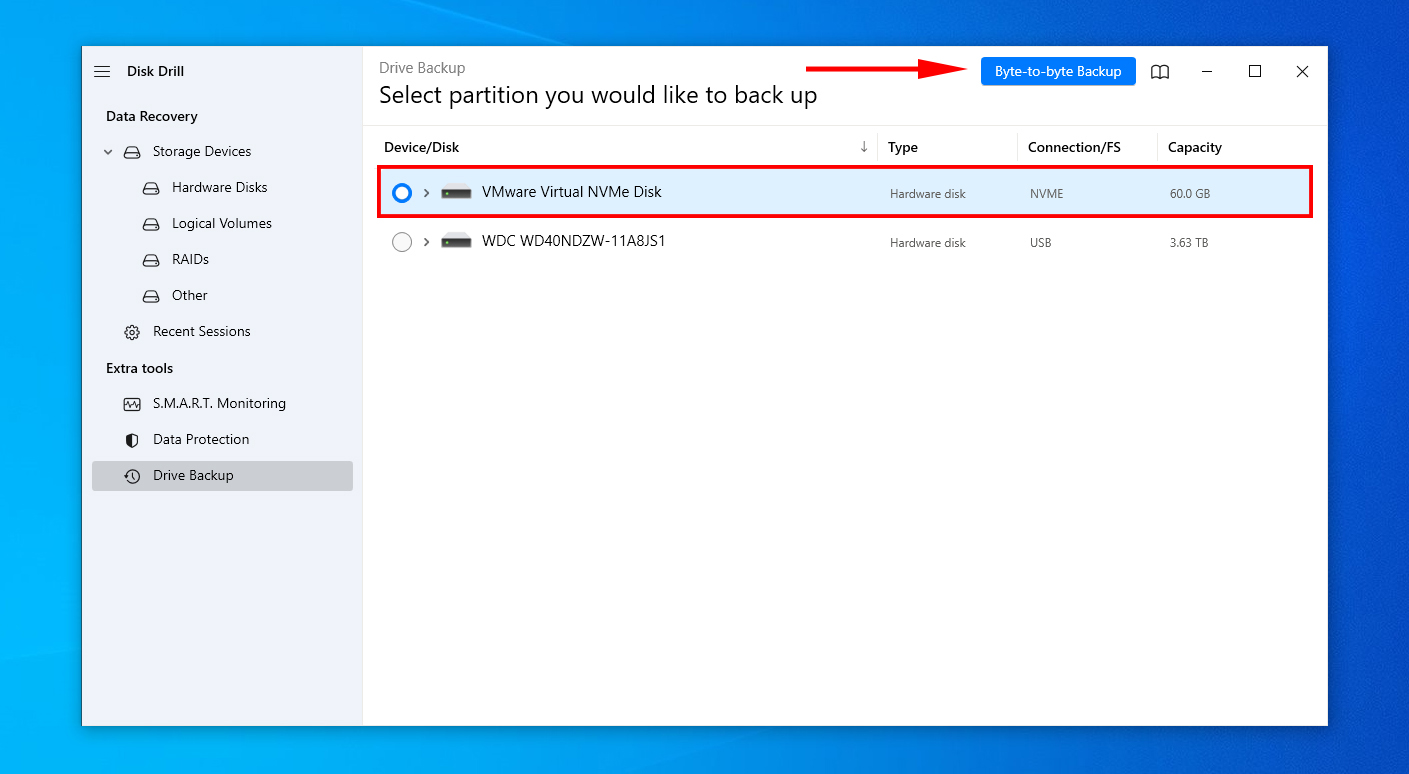
- Download and open Disk Drill.
- Click Drive Backup.
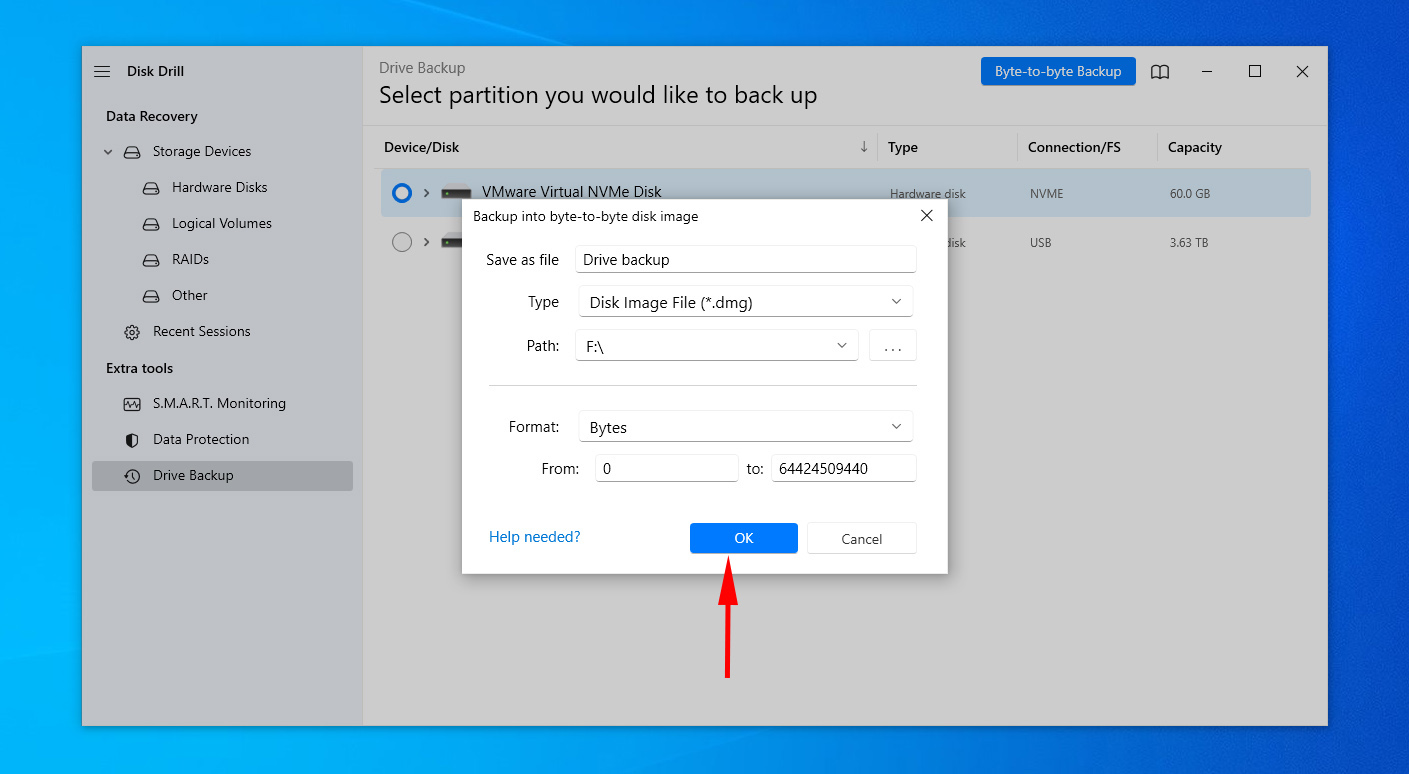
- Select the affected disk, then click Byte-to-byte Backup.
- Fill in the desired fields, then click OK.
- Click Data Recovery.
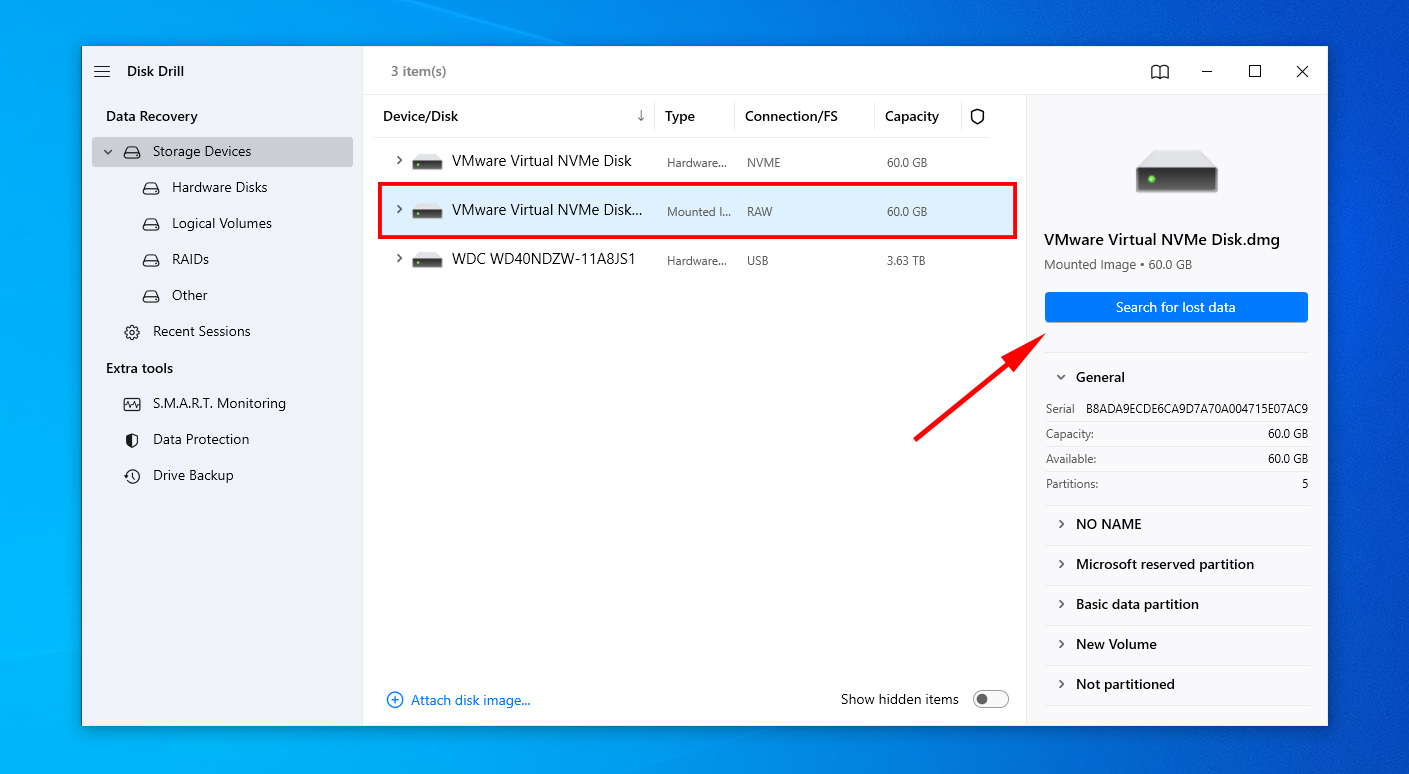
- Click Attach disk image and add the newly created disk image. Then, select the image file and click Search for lost data.
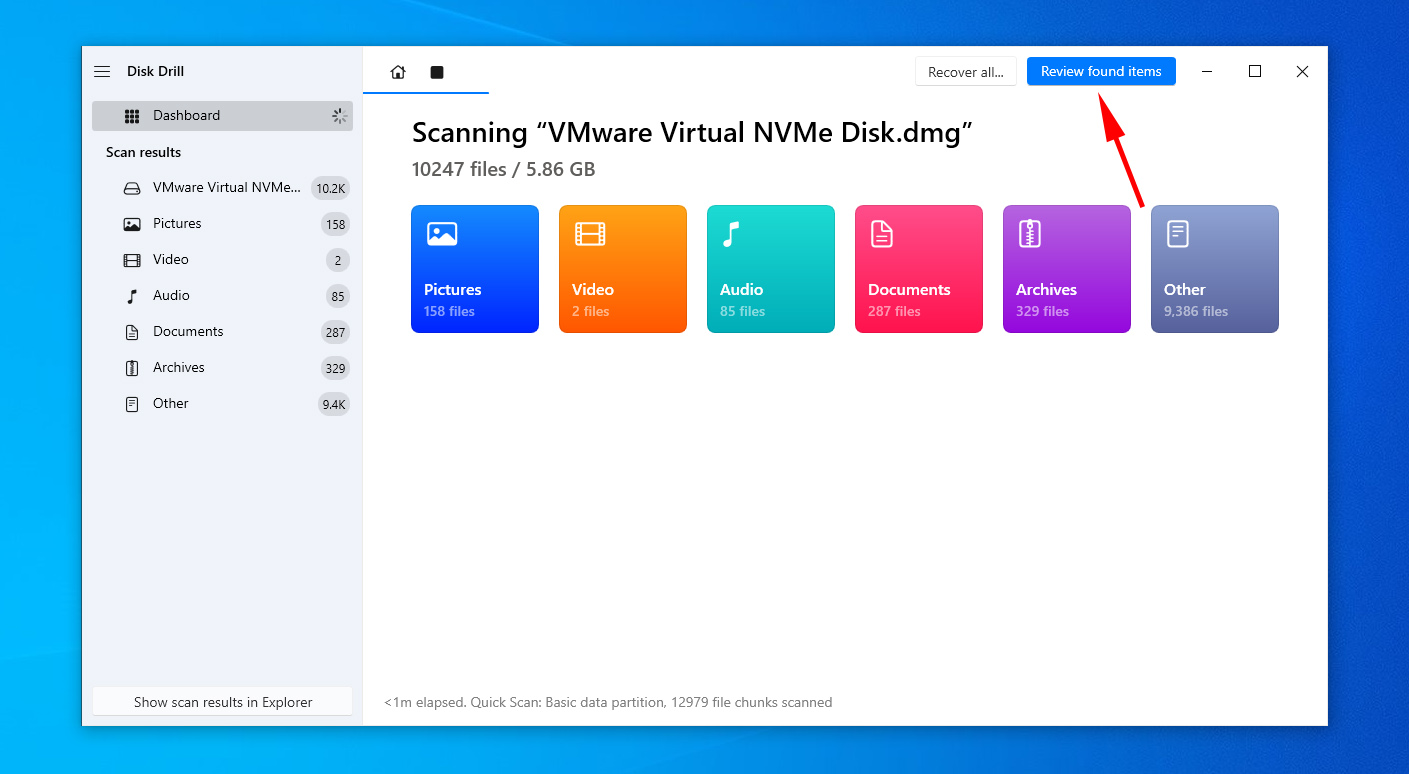
- Click Review found items once the scan is complete.
- Select the files you want to recover. Use the Recovery chances column for an indication of how recoverable each file is. When ready, click Recover.
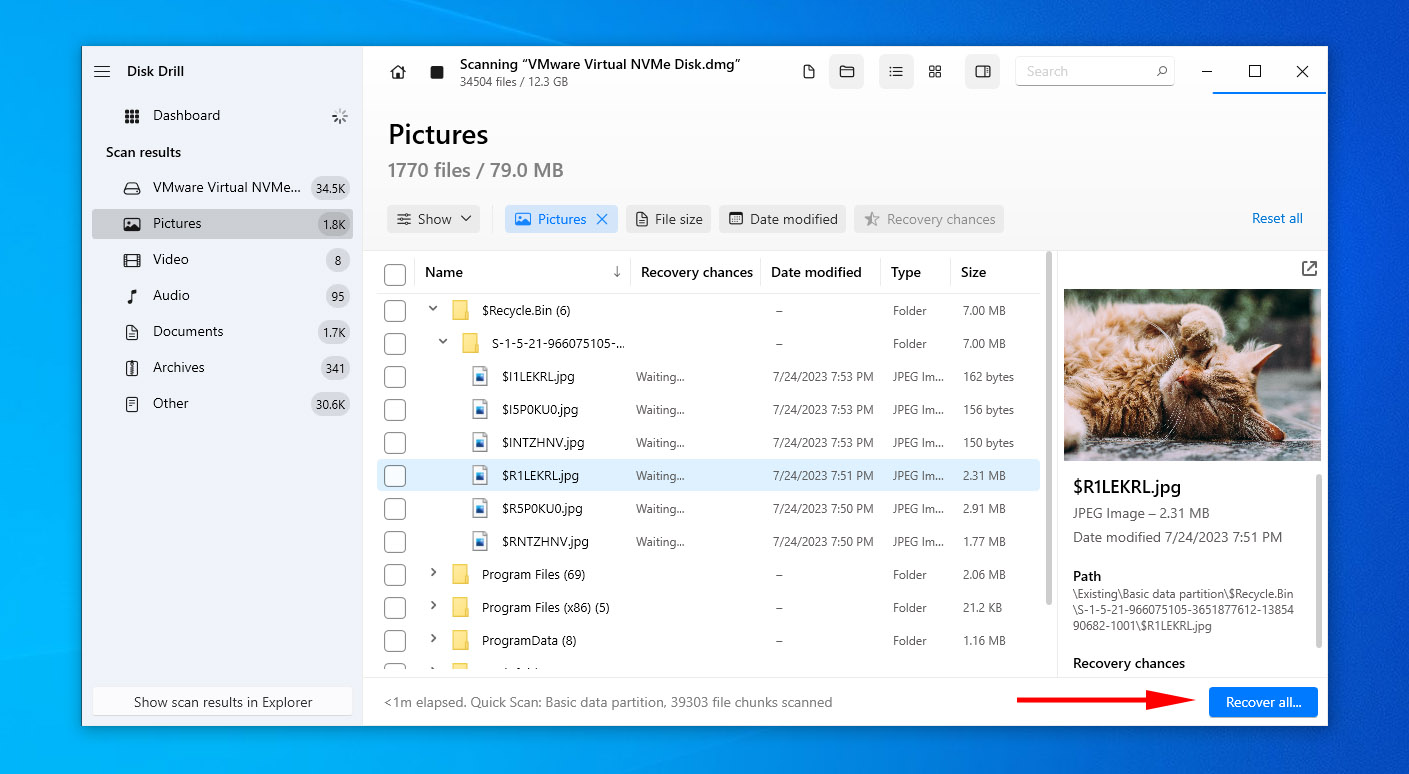
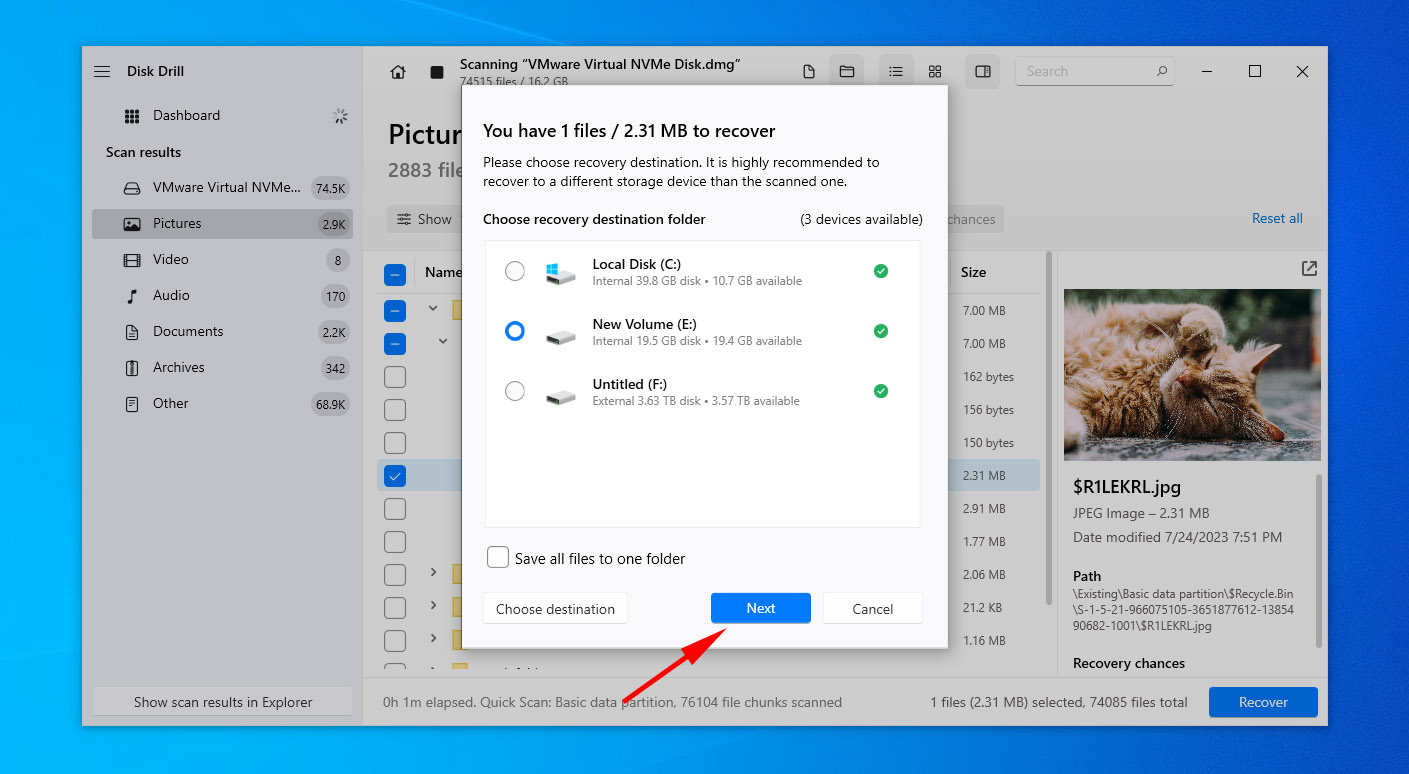
- Choose where you want to store the recovered files. Make sure you’re not saving them to the same disk you’re recovering from.
Conclusion
The “A disk error occurred” issue can appear in Windows XP, Windows Vista, Windows 7, Windows 8, and Windows 10. The problem resides with either your hard disk, RAM, or BIOS settings. The best way to fix this issue is to repair any hard drive-related issues with CheckDisk. If that doesn’t help, confirm your boot order is correct and make sure your RAM is functioning and properly seated.


