 If you’ve just installed a new hard drive in your computer, it will appear uninitialized in the Disk Management console. To access it like other drives, you’ll first need to initialize the disk. Existing disks can also become uninitialized because of a corrupt master boot record (MBR).
In either case, initializing the disk is fairly straightforward. In this article, we explain how to recover data from an uninitialized disk so you can prevent data loss when initializing the disk. We also explain how to initialize the disk within minutes.
Table of Contents
What is Disk Initialization
Initialization is the process that applies partition tables to your disk so it can start (or “initialize”).
An operating system relies on the partition table, which is a data organization scheme used by the operating system to understand how your hard disk is divided into drives and which partition contains the active operating system.
Understandably, you can’t use a disk unless it has a partition table. You’ll need to apply either MBR (for older drives) or GPT (you’ll use this one in most cases) to your hard drive to use it, and that’s where initialization helps.
Does Initializing a Disk Erase Data?
Technically – yes, initialization does erase data.
Initializing only involves several steps. The first is applying a partition style (MBR or GPT) to the disk. When you apply a partition style, the data on your drive remains unaffected. However, you’ll also need to format the disk to make it usable. This is where the data is erased in the disk initialization process.
Essentially, it’s not the initialization of disk, but formatting the disk that erases the data. For this reason, you should always aim to recover data from a disk before you initialize it.
How to Recover Data from Uninitialized Drive
Recovering data from an uninitialized disk is easy. The best method to recover data here is using Disk Drill.
Disk Drill offers multiple scan methods that thoroughly scan uninitialized disks for recoverable data. Disk Drill can also help you recover data after you’ve initialized the disk and lost your data.
Here’s how you can recover data using Disk Drill:
- Download Disk Drill and install it on your PC. You can recover up to 500MB of data for free on Windows.
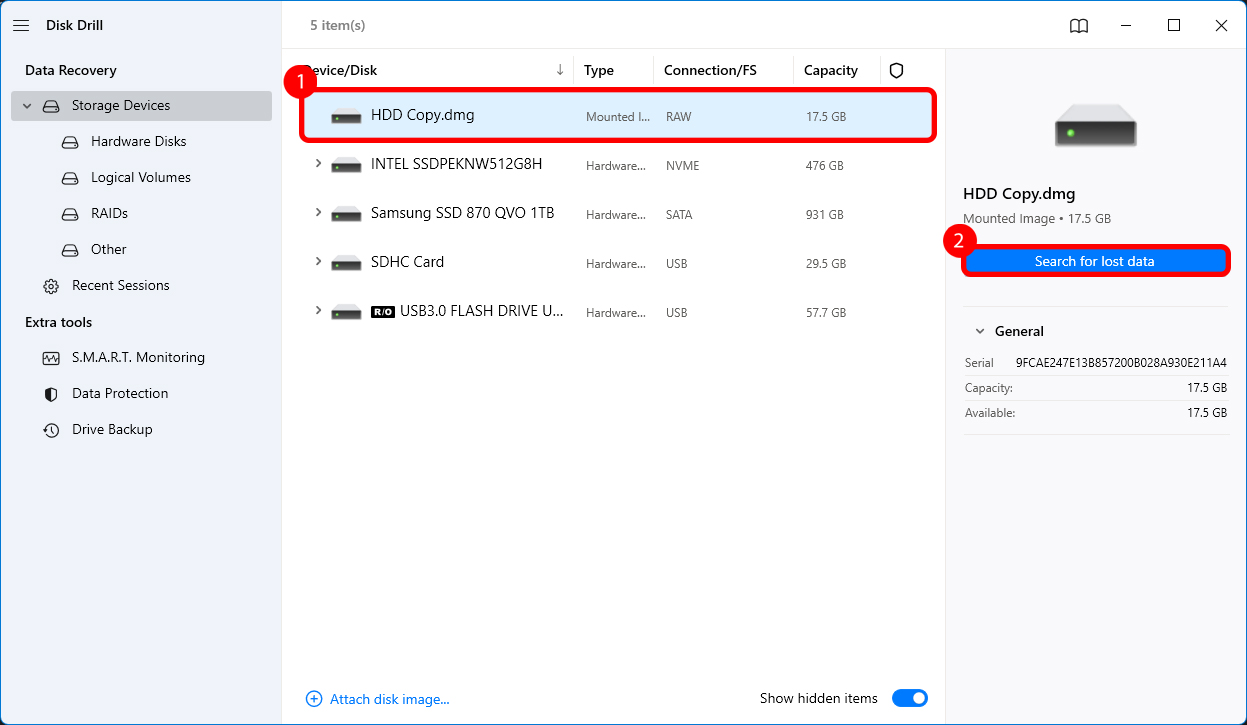
- Select the disk you want to scan from Disk Drill’s home screen and click the Search for lost data button. Doing this will start the scan.
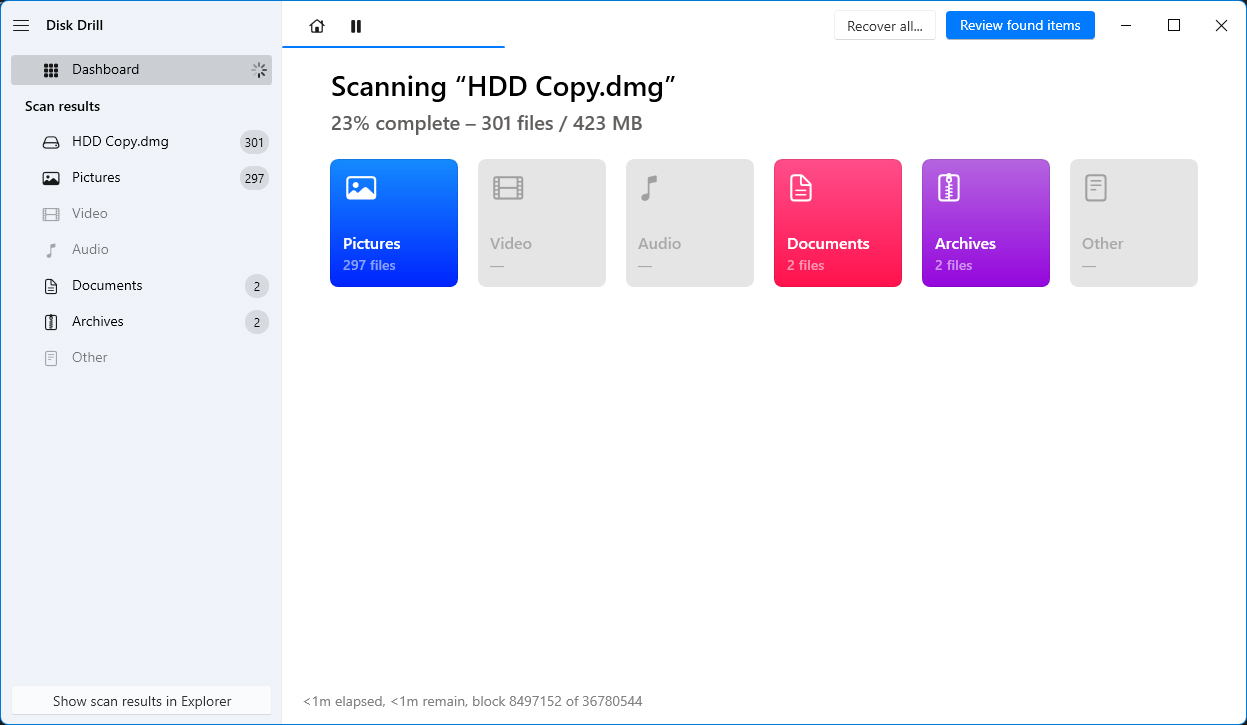
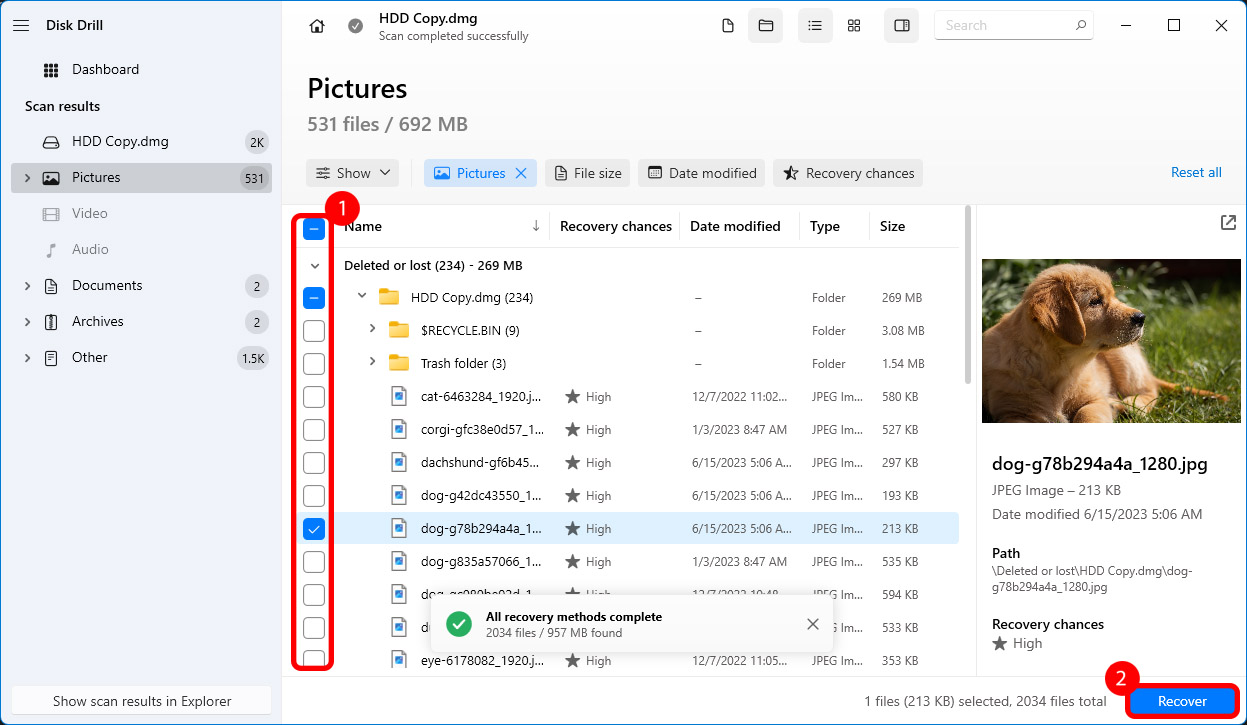
- Once the scan is complete, you’ll see a list of files that can be recovered. You can filter the results by filetype from the left sidebar if you’re looking for specific files like documents or photos.
- Click on the Recover button after selecting the files you want to recover.
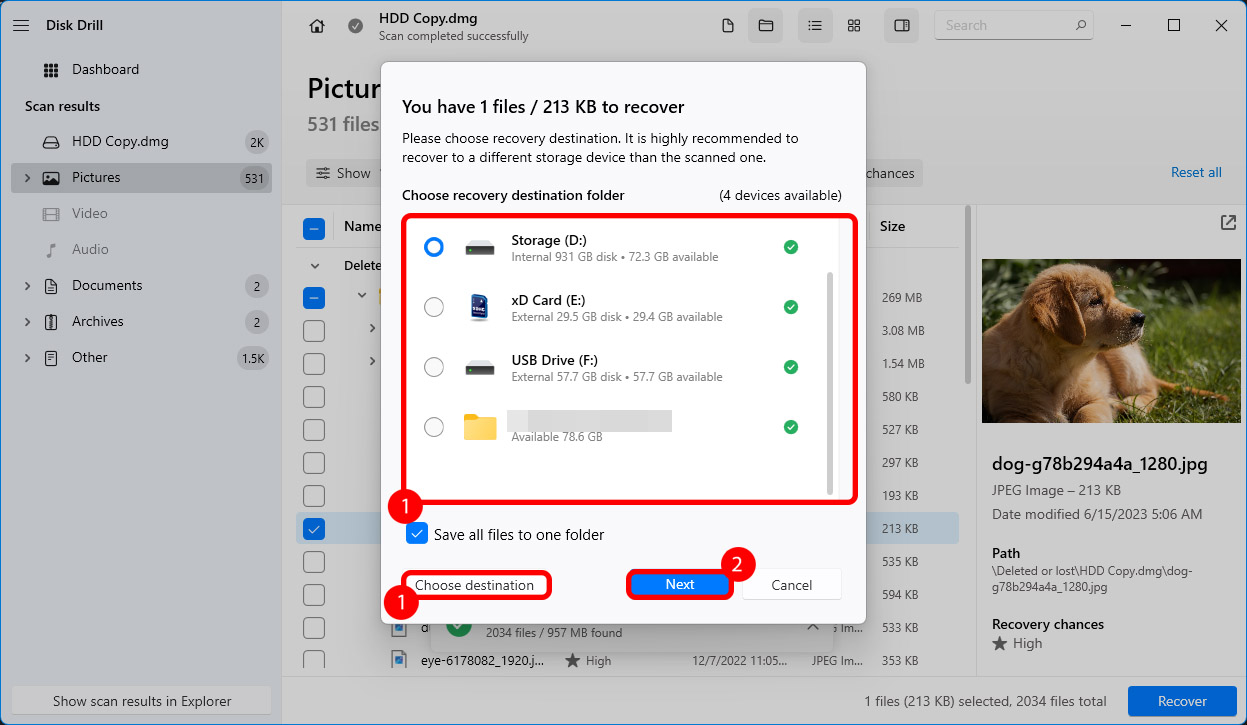
- You’ll see a pop-up asking you where you want to save the recovered files. Select a location different from the source disk (the uninitialized disk in this case) to avoid overwriting any data.
- Click Next once you’ve selected a location.
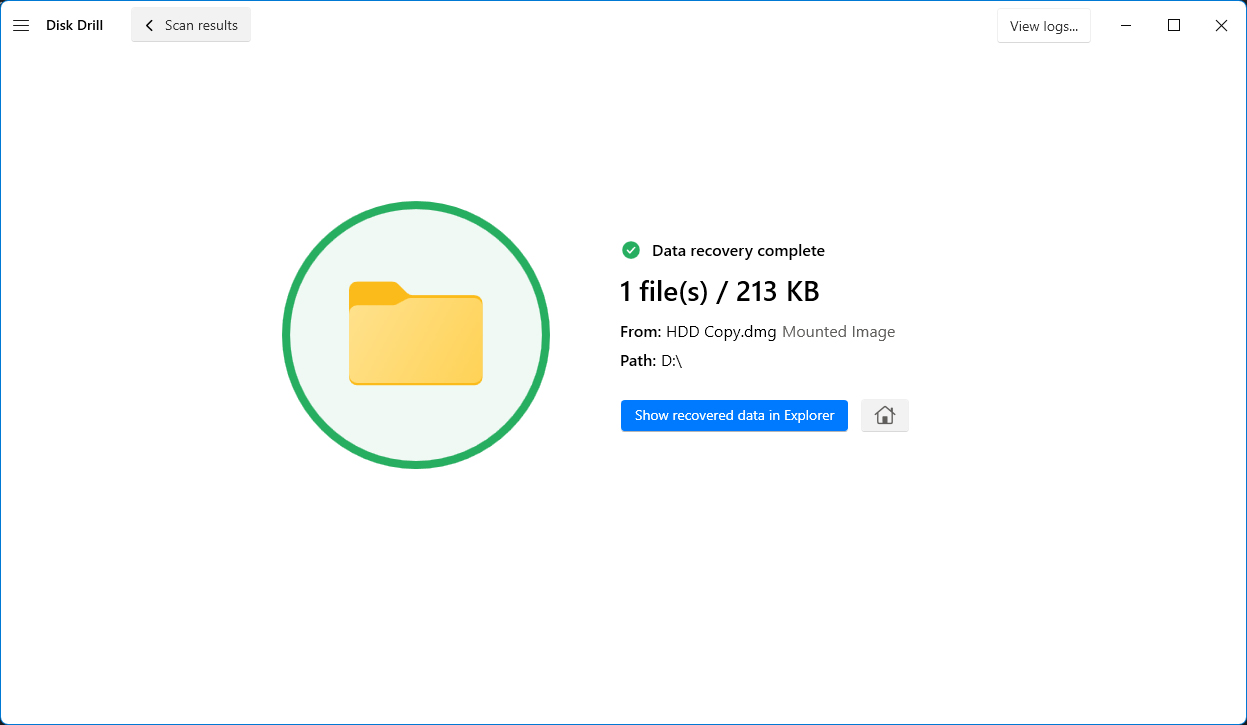
- You should then see the recovered files in your chosen location.
How to Initialize a Disk
There are two ways to initialize a disk on Windows. You can initialize a disk from the Disk Management console (which is the simpler method) or you can use the PowerShell cmdlet for initializing a disk.
Method 1:Initialize a Disk from the Disk Management Console
Let’s discuss the easier method first. The Disk Management console has a disk initialization wizard that walks you through each step of the process.
Here is how you can initialize a disk from Disk Management:
- Search for disk management in the Start Menu and launch and select the Best match.
- Check if the disk you want to initialize is online. If it’s offline, right-click and select Online.
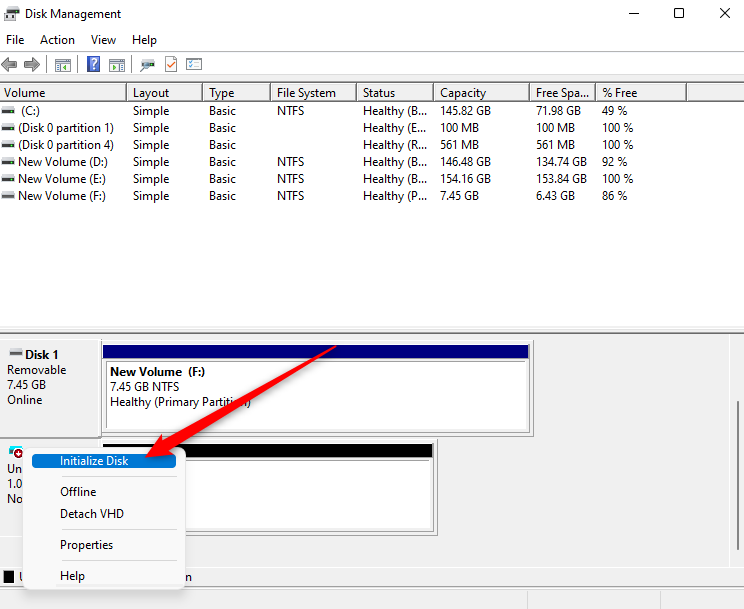
- Once it’s online, right-click again and select Initialize Disk.
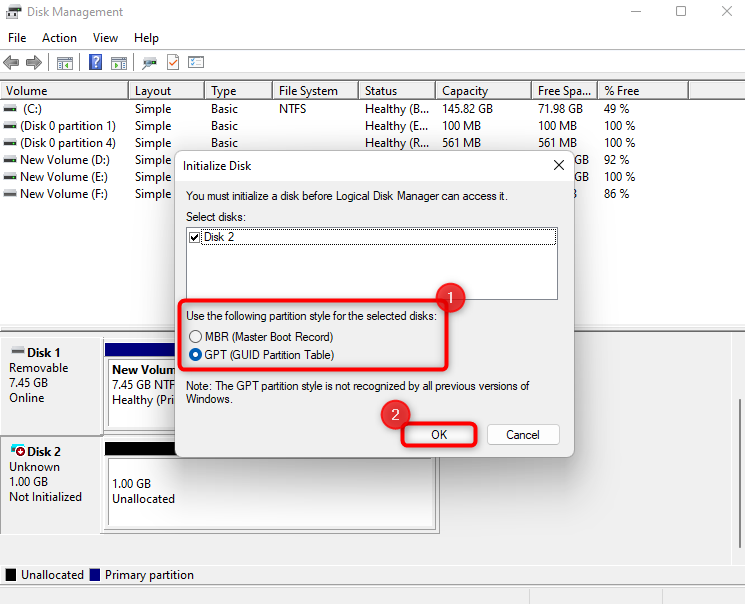
- Select the correct disk and a partition style (it’s best to use what’s selected by default) and then click OK.
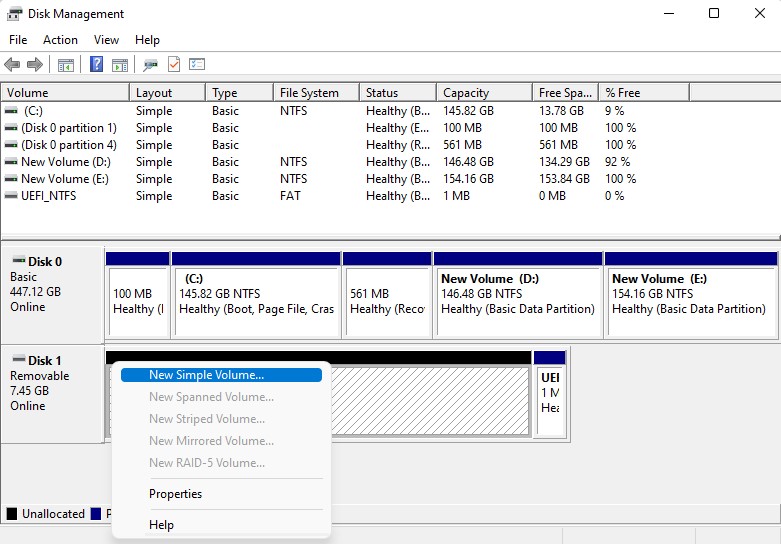
- Next, right-click on the drive and select New Simple Volume.
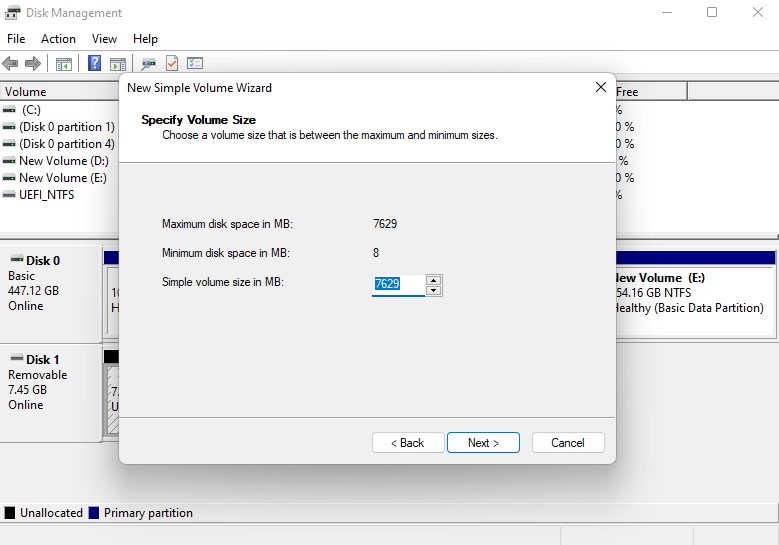
- Click Next and then select the size of the volume. Once you’ve entered the size, click Next again.
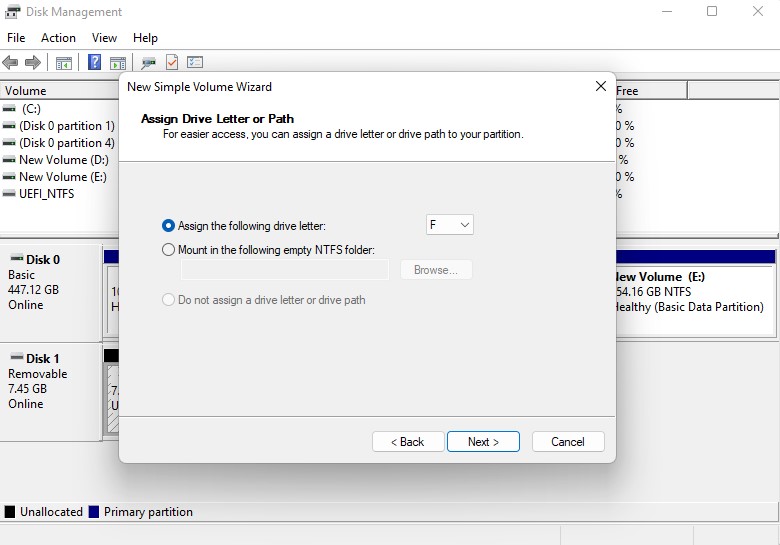
- Select a drive letter and click Next.
- Select a filesystem (NTFS for Windows) and click Next.
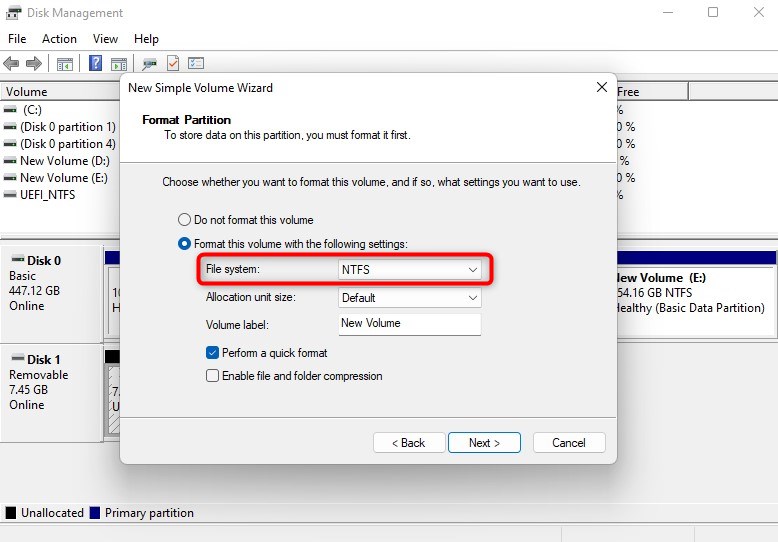
- Click Finish.
You’ll see the status of your disk change to Initializing for a moment before it returns to Online again. Once that happens, you’ll have initialized your disk. Alternatively, the initialization process may fail.
Method 2:Initialize a Disk Using PowerShell
You can also get through the process a little quicker if you’re comfortable using PowerShell.
All you need to do is:
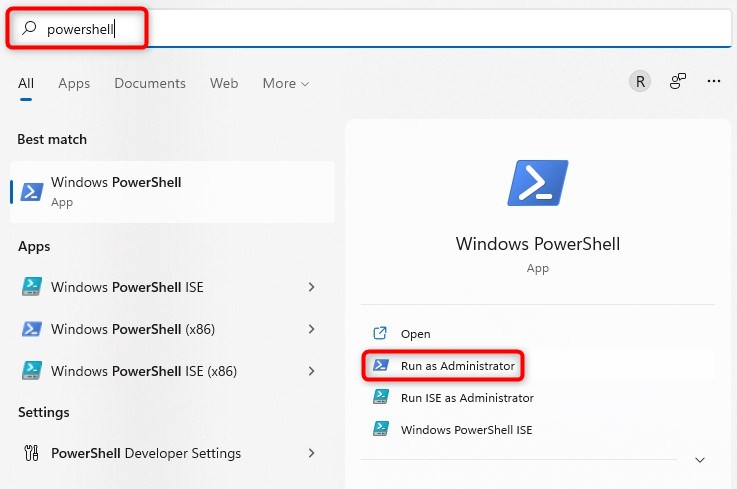
- Search for PowerShell in the Start Menu and run it as an administrator.
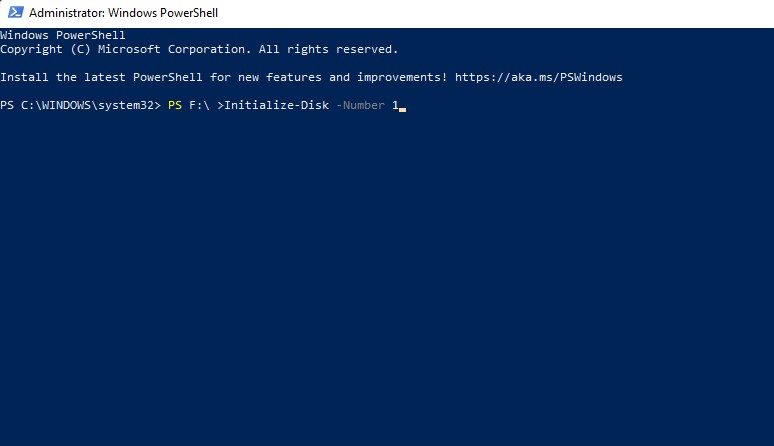
- Execute the following cmdlet:
PS F:\>Initialize-Disk -Number 1
(Replace F: with the relevant disk letter and the number 1 with the relevant disk number – both of them can be found in Disk Management)
This cmdlet initializes the disk using default values. If you want to learn about more parameters to apply to this cmdlet, you’ll find it on Microsoft’s website.
You’ll still need to create a new volume after initializing. You can do that using Disk Management as explained in the previous section or execute a few additional commands as explained below in PowerShell.
Start by executing the following commands:
diskpart
list disk
You’ll see a list of disks connected to your PC. Note the number of the disk on which you want to create the volume and then run the following commands:
select disk 1
(replace 1 with the relevant disk number)
create partition primary size=50000
(replace 50000 with the relevant size – the size here is expressed in megabytes so 50000 equals roughly 48GB)
assign letter=F
(replace F with a drive letter you want to assign)
exit
Conclusion
Initializing a disk can be intimidating if you don’t know what it means and how it impacts the data on your drive. Hopefully, this guide helped you initialize your disk and you were able to protect all the data on your drive by recovering it.


