
Losing high-quality photos and videos due to accidental deletion or file corruption can be a traumatic experience, especially if it’s something you do professionally. After all, few things are as panic-inducing as finding out that some important family memories disappeared or a client’s irreplaceable wedding photos just vanished.
Luckily enough, there’s some excellent software out there that can help you with PNY SD card recovery, allowing you to retrieve important picture and video files. In this article, we’re going to teach you how to do just that.
Table of Contents
What Are PNY Memory Cards Famous For?
PNY is a successful tech company that’s been around for more than three decades. One of the things they’re most famous for is their line of high-performance memory cards which are most commonly used for professional and semi-professional grade cameras and camcorders, including DLSRs.
Due to the high-resolution photos and videos that these kinds of devices capture, they’ll need a memory card with a higher speed class than normal. This means that they’ll need to be able to write data faster than the average card in order to keep up with the device.
PNY SD cards offer exactly that, with some of their models boasting write speeds of up to 280 MB/s. In comparison, Samsung’s line of professional-grade memory cards maxes out at 160 MB/s.
You’ll also find that they’re a fair bit cheaper than most of the competition, making them popular among photography enthusiasts and professionals who are trying to save a buck. The brand offers PNY memory sticks and PNY card readers as well.
What Is Photorecovery PNY Edition software?
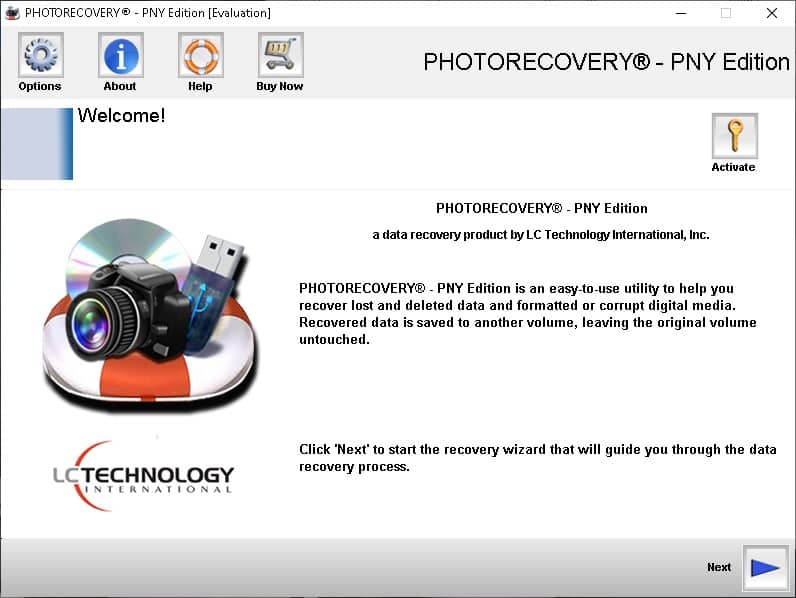
The brand has its own PNY SD card recovery software – aptly named “Photorecovery” – that can attempt to recover various kinds of media files and documents from a storage medium, as well as create backup images of your memory cards.
Unfortunately, the PNY recovery tool is a very dated-looking piece of software that only allows you to search for lost files as part of its trial version since you’re forced to buy the program if you want to actually recover anything. It’s also quite expensive to boot.
Aside from the data recovery tool, there’s a PNY data migration and security solution that the brand endorses called Acronis which allows you to back up and restore files from a designated archive.
How to Recover Data From PNY SD Cards
If you’re interested in a more comprehensive data recovery solution that features a better user interface and a more generous free version, we suggest you check out the Disk Drill data recovery tool.
Disk Drill is an easy-to-use data retrieval program that excels at recovering lost files from various storage mediums, including corrupted SD card recovery. It’s able to reclaim a wide range of file documents, pictures, videos, and more.
To use it to recover data from your PNY SD card, just follow the simple steps described below.
-
-
- To start things off, you’ll have to download and install the free version of Drill Disk from here. Bear in mind that the free version allows you to recover half a gigabyte’s worth of data, after which you’ll have to upgrade to the program’s Pro version.
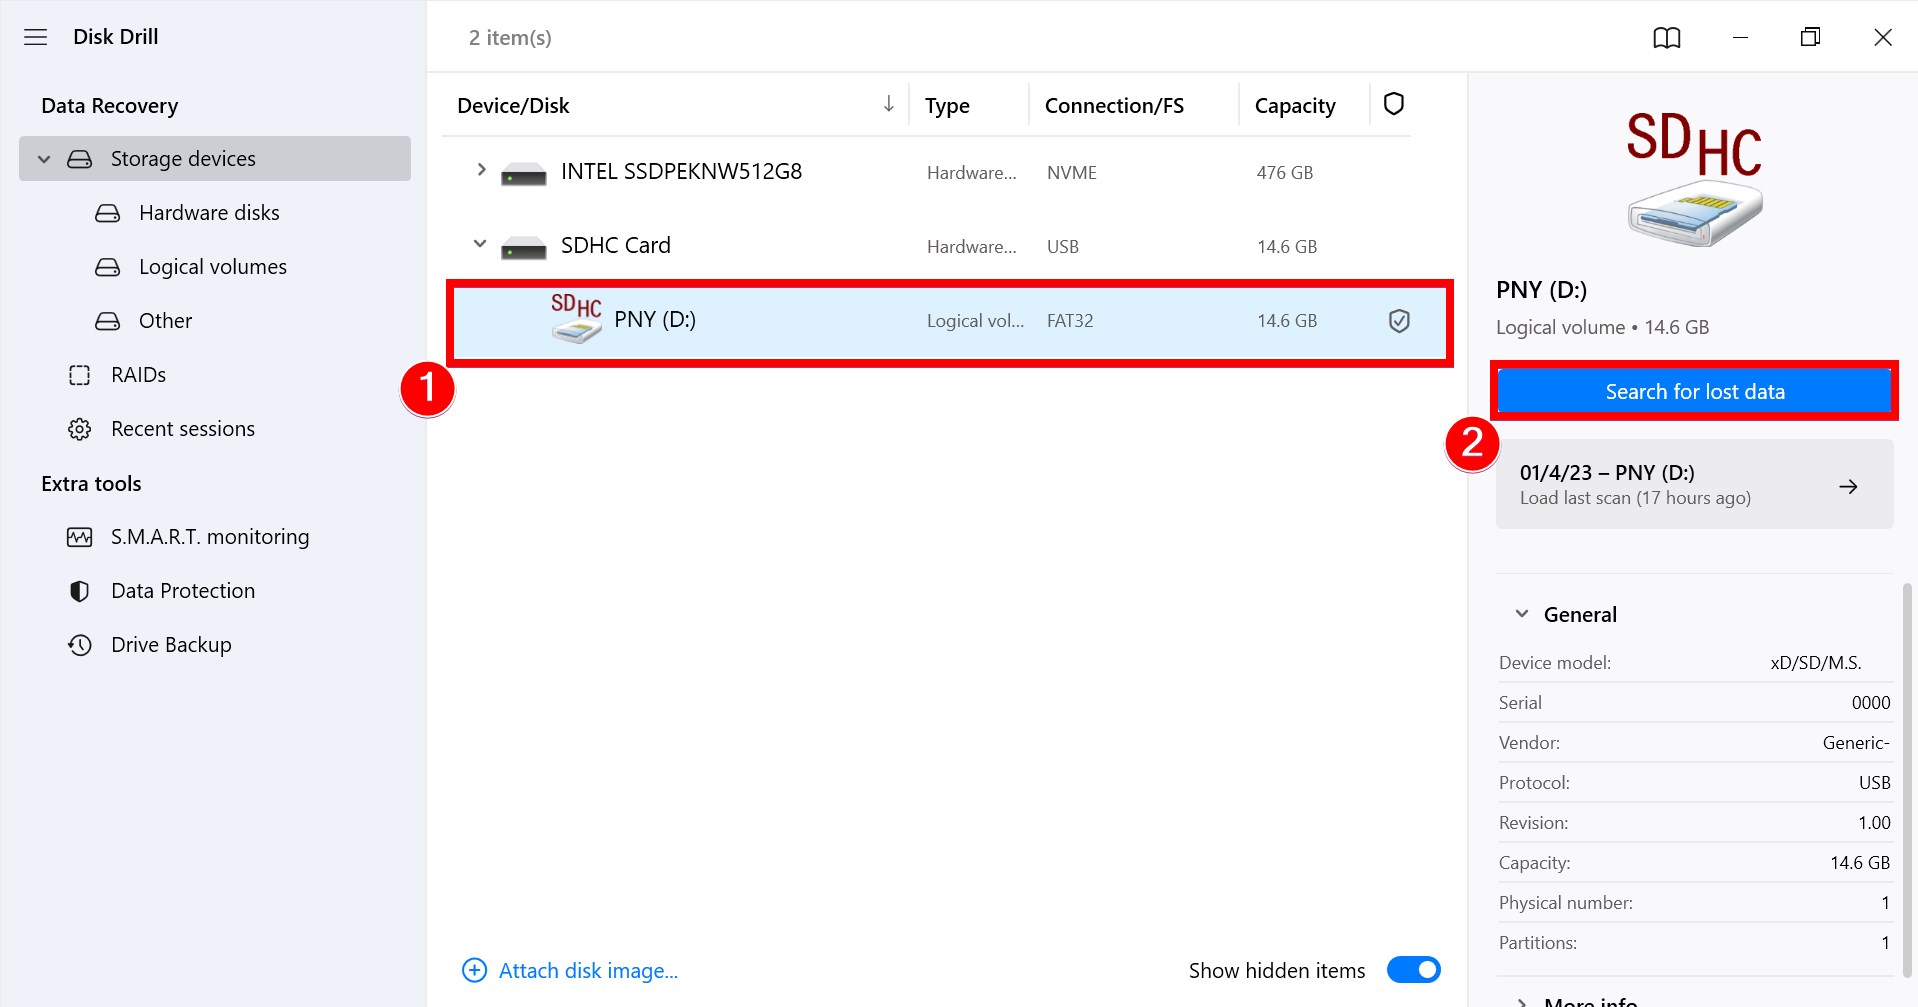
- Once you’ve successfully installed the program, make sure to connect your PNY memory card to your computer via a card reader or a memory card slot, and then launch Disk Drill.
- Choose your PNY SD card from the list of storage mediums present – in our case, it’s our PNY SDHC Card. Click the Search for lost data button so Disk Drill can start looking for lost data.
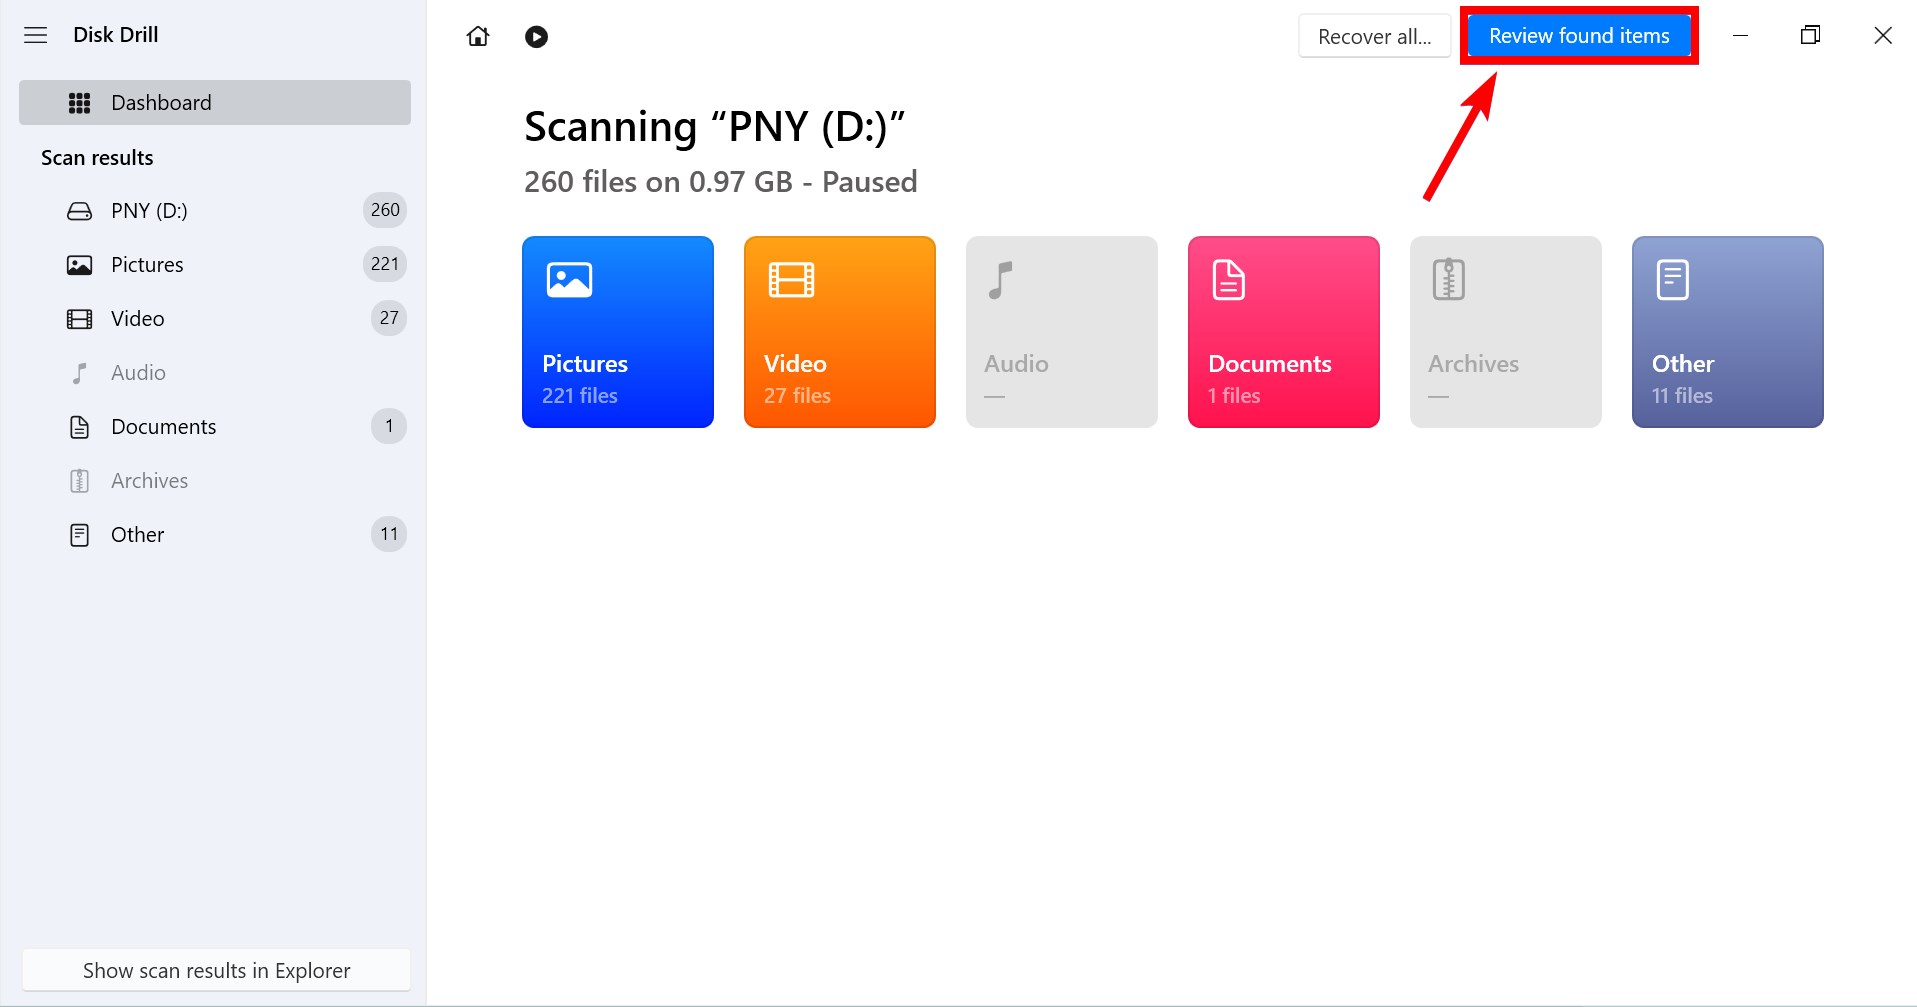
- Once the scan is completed, click the Review found items button located on the top-right corner of the window to show the files you can potentially recover.
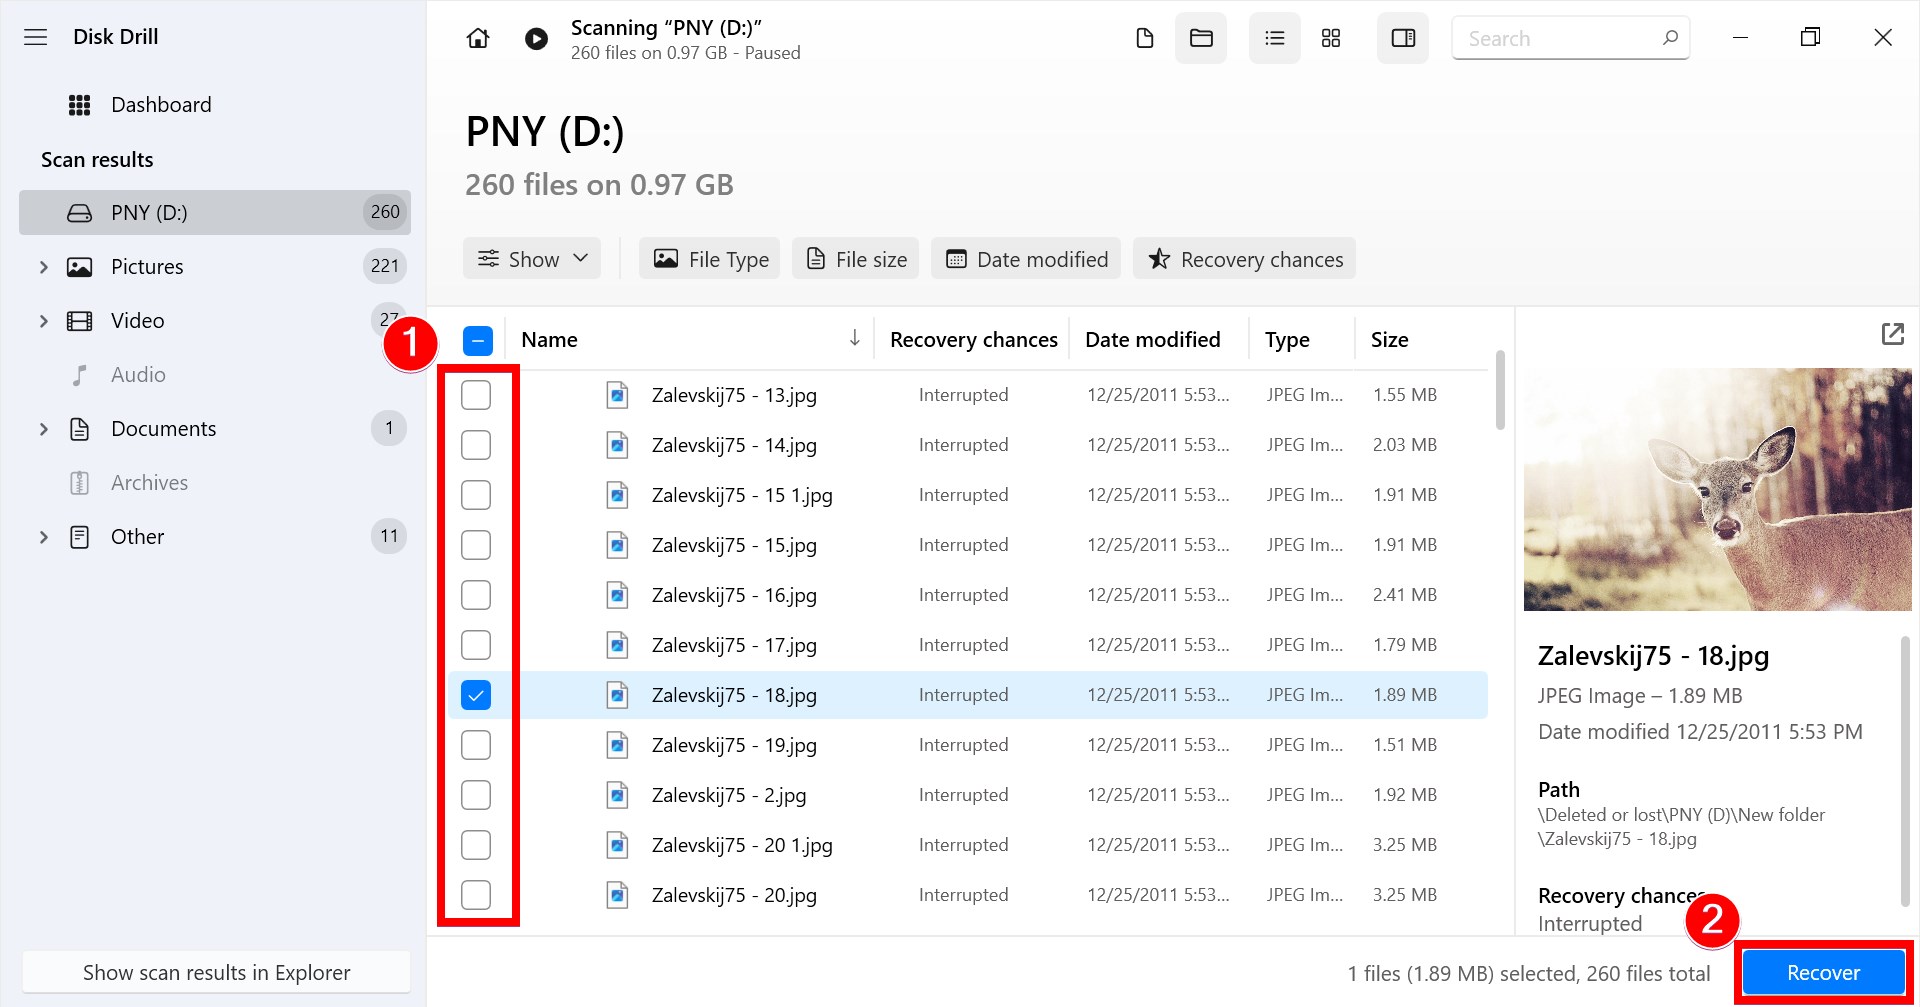
- After you’ve figured out which files you want to recover, just click the little checkbox on the left of the files to highlight them, and then hit the Recover button.
- A pop-up will appear asking you to specify the location the recovered files should be saved in. Bear in mind that the location in which you save these files has to be different from the storage medium you’re trying to recover files from.
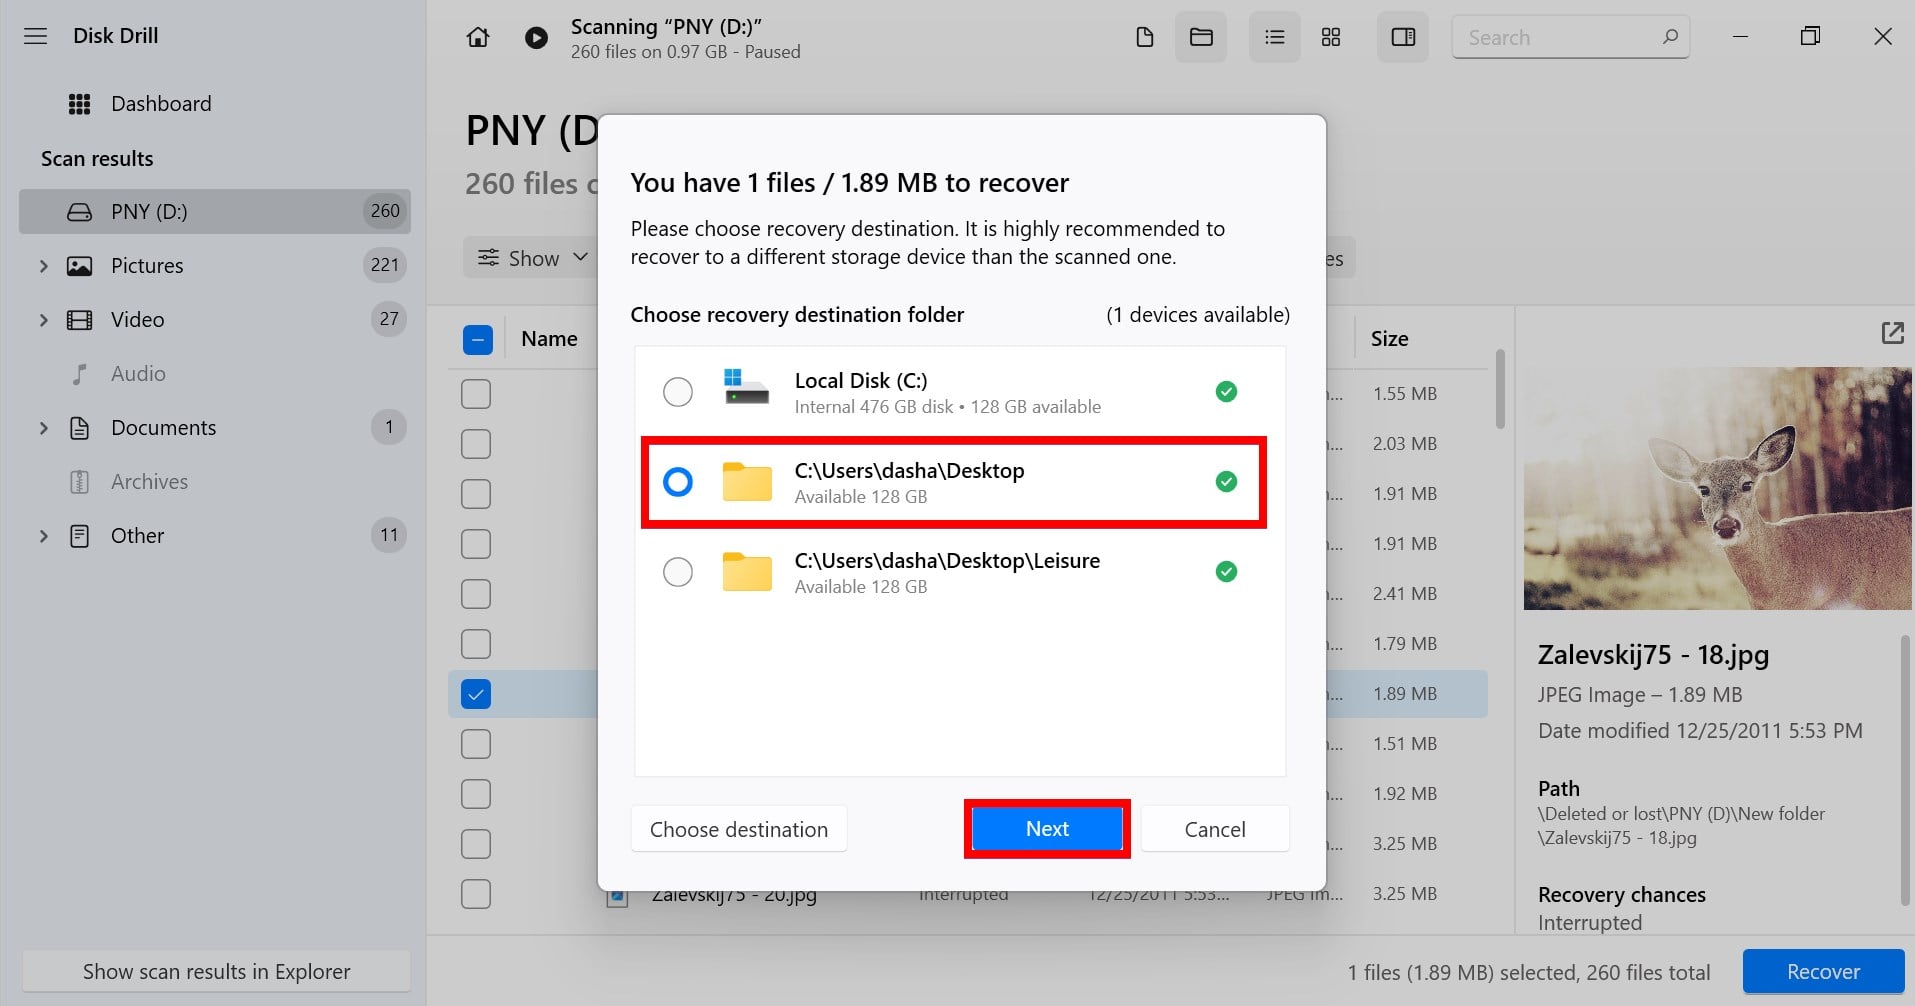
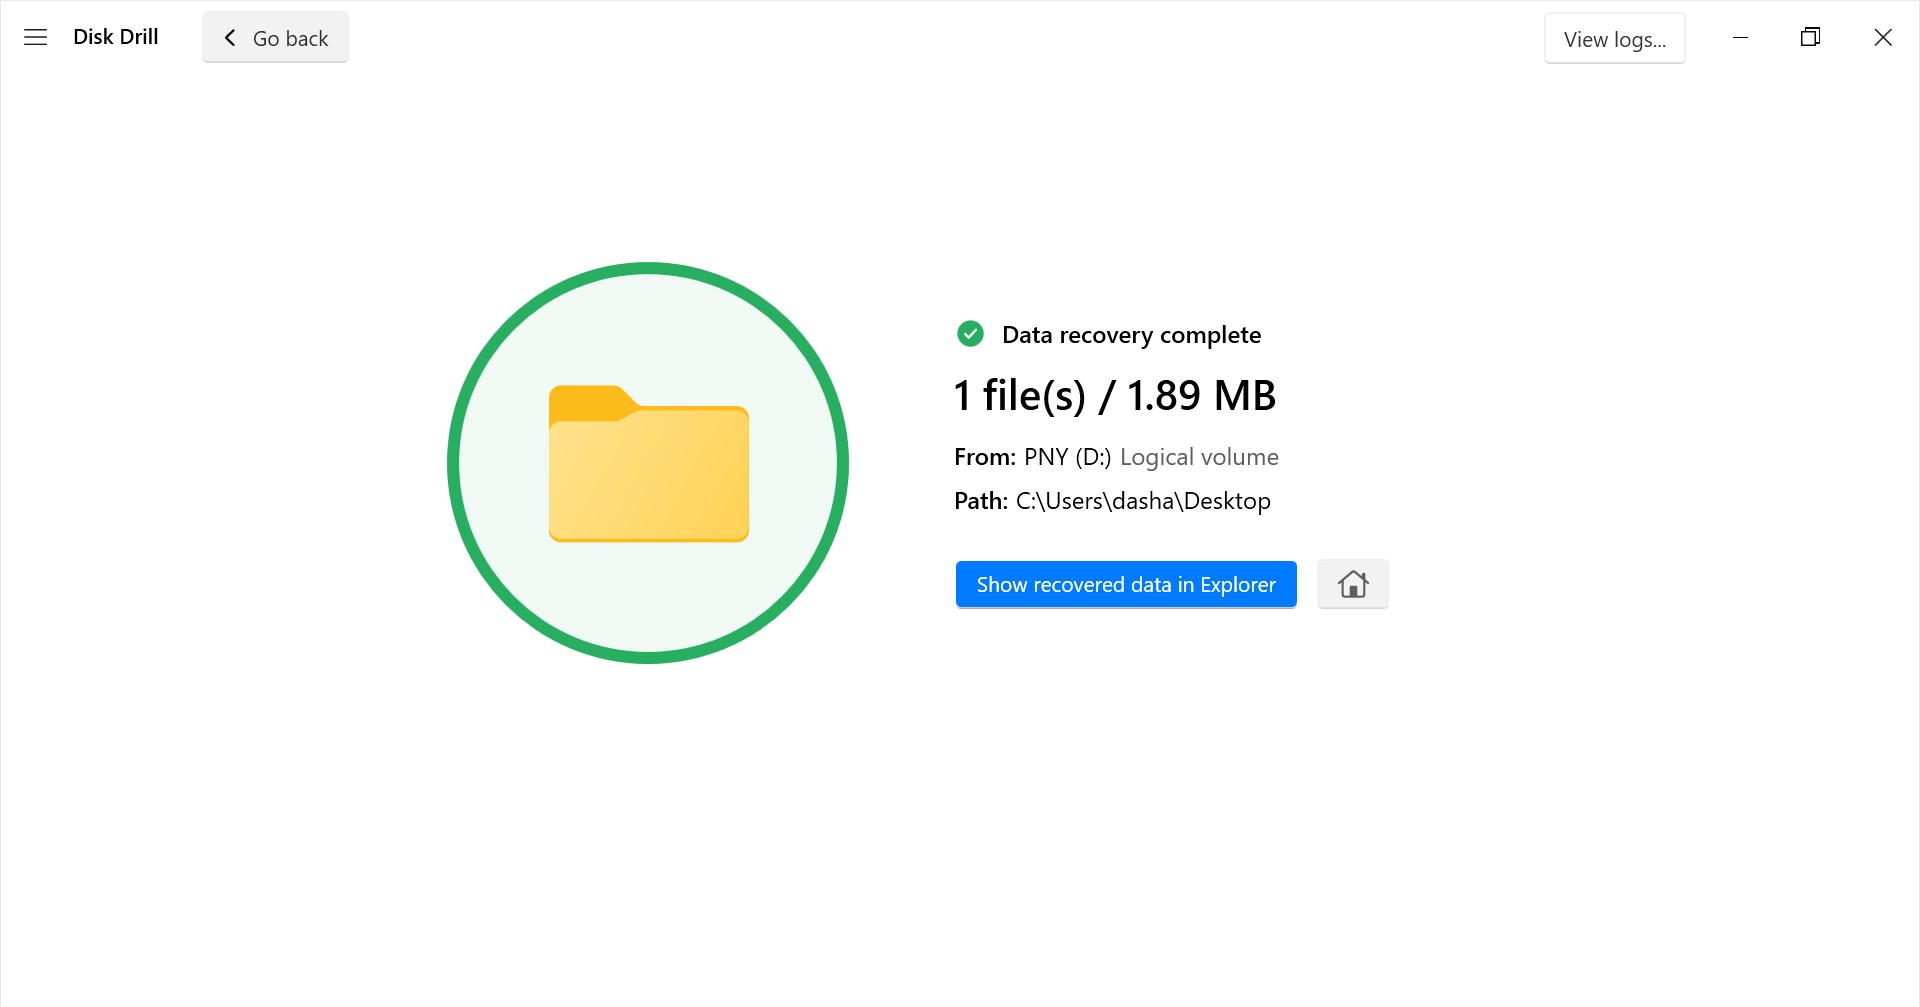
- If you’re sure of all your selections, click the “Next” button and Disk Drill will start recovering your files. Once it’s done, you’ll see a results screen that will show you the number of files you’ve recovered and the total size they occupy.
As long as you follow the aforementioned steps closely and your pictures and videos aren’t too old or damaged, you should be able to recover them without any issues. Always remember, just because your files were deleted or your storage medium was compromised, doesn’t necessarily mean your data is gone for good. All you need is the right data recovery tool to get them back.
-


