 SATA hard disks (HDDs) and solid-state drives (SSDs) are the two primary storage mediums on PCs and laptops, often housing crucial operating system files and important personal data. Just like any other storage device, both are susceptible to data loss from various sources. If you’ve encountered such a scenario, you shouldn’t panic just yet. There are a few tried and tested ways to recover data from SATA drives and SSDs.
In this guide, we’ll discuss the best methods in detail and go through some of the differences between the two storage devices.
Table of Contents
What You Should Know About SATA Drives
SATA stands for “Serial Advanced Technology Attachment,” and it’s a type of connecting cable that is commonly used to link hard disk drives with a motherboard. Essentially, a SATA drive is just an HDD or SSD that utilizes the SATA interface. On another note, the newer nonvolatile memory express (NVme) drives are becoming increasingly more popular nowadays, offering far faster speeds though at a steeper price point.
So what exactly are the differences between HDD and SSD SATA drives? It mostly boils down to performance and price. Being the older of the two, HDDs have the following features:
- Functions through magnetic spinning platters and several heads to read /write information.
- Can be quite noisy.
- Storage capacity ranges from 500 GB to 16 TB.
- A fair bit more affordable than SSDs.
- Prone to fragmentation, slowdowns, and physical damage.
As for Solid State Drives (SSD), they boast the following features:
- Has no moving parts, opting to use flash memory to store data instead.
- Extremely quiet.
- Much faster than HDDs.
- Less prone to mechanical failure.
- Comes with a built-in TRIM feature.
- Quite a bit more expensive and offers smaller storage capacities compared to HDDs
Note: The TRIM feature allows the SSD to automatically erase blocks of data after a user deletes a file from within the OS. This means that the OS can immediately write new data on the block, which is good, but it makes data recovery a lot more difficult.
How to Recover Data From SATA Drive
There are multiple ways to recover data from SATA hard drives and SSDs, including Windows tools, third-party programs, and professional assistance. Just keep in mind that if you’re planning to retrieve the files using software, the SATA SSD or hard drive has to be recognized by the operating system, and its size should appear accurately in the Disk Manager tool.
Method 1: Try CMD Commands
If you’re certain that your missing files weren’t deleted and just aren’t showing up on your drive, you might be able to make them visible again by entering a few commands in the Command Prompt tool.
Here’s an easy step-by-step guide on how to retrieve data from SATA hard drives or SSDs using the Command Prompt:
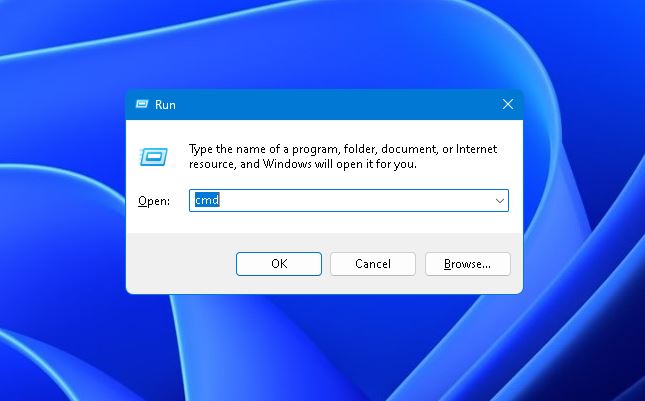
- To get started, press Windows + R to bring up the Run feature, then type in “cmd” and hit Ctrl + Shift + Enter to run with administrator access.
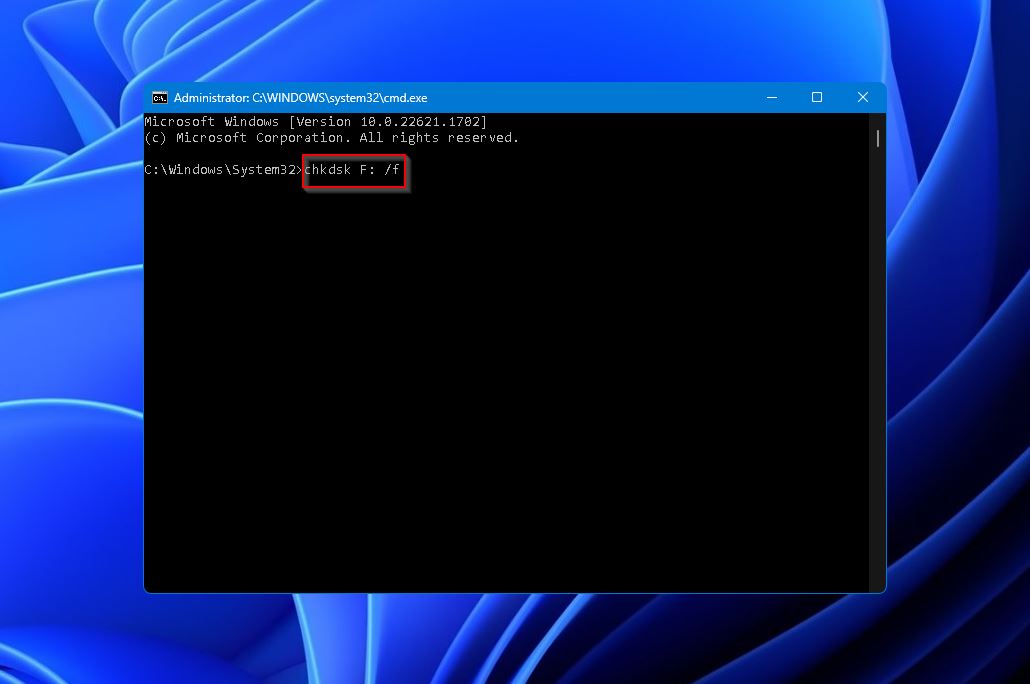
- Then, start by entering “chkdsk X: /f” without quotation marks. The “X” in the string refers to the drive letter of your storage device. Hit Enter when you’re ready. This will launch Windows CHKDSK, which scans your disk for errors and attempts to repair any that it comes across. One of these errors may be the cause of your missing files.
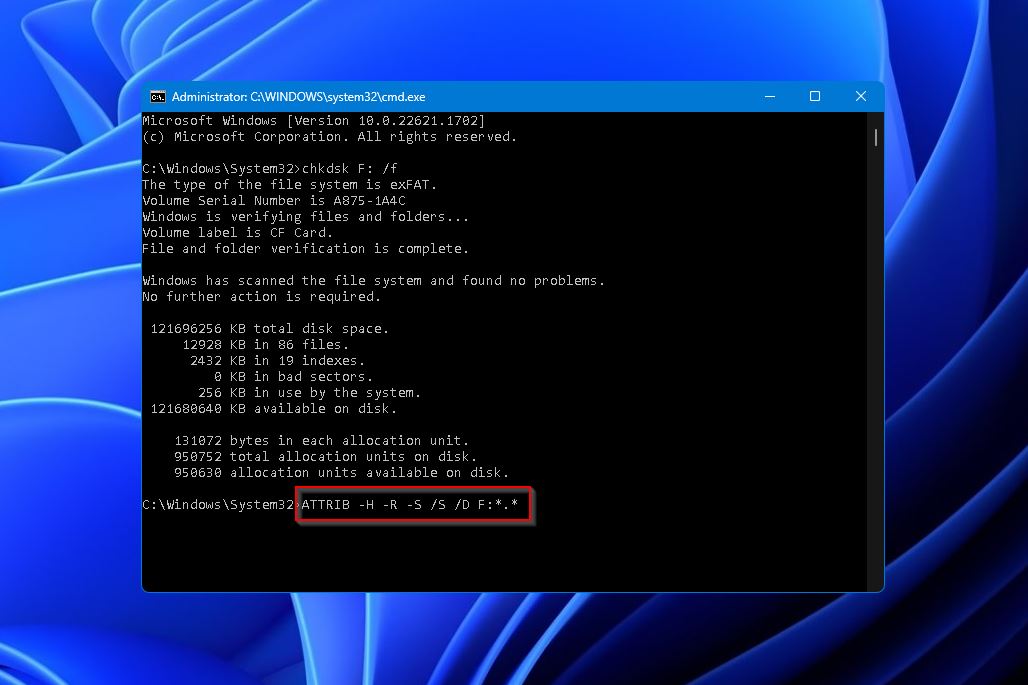
- From there, type in “ATTRIB -H -R -S /S /D X:*.*” without quotation marks and hit Enter. Again, the “X” here refers to the drive letter of your storage device. This command will attempt to remove several file attributes that could be causing your files to go missing.
Method 2: Use Professional Data Recovery Software
In case Command Prompt doesn’t work or you accidentally deleted your files, your next course of action is to seek out an effective data recovery program. We highly recommend Disk Drill on account of its high-speed scanning, top-notch recovery rates, and well-crafted user interface. On top of that, it also supports pretty much any file type and is compatible with any file system utilized by Windows machines.
Furthermore, Disk Drill comes in both Windows and Mac versions and offers a free trial that lets you try out all of its features to recover up to 500 MB worth of files on Windows. While the program is compatible with most Windows versions, Windows 7 users will need to download an older version.
Follow the instructions below to recover files from SATA hard drives and SSDs using Disk Drill:
- First, download the Disk Drill setup file and install it on your computer.
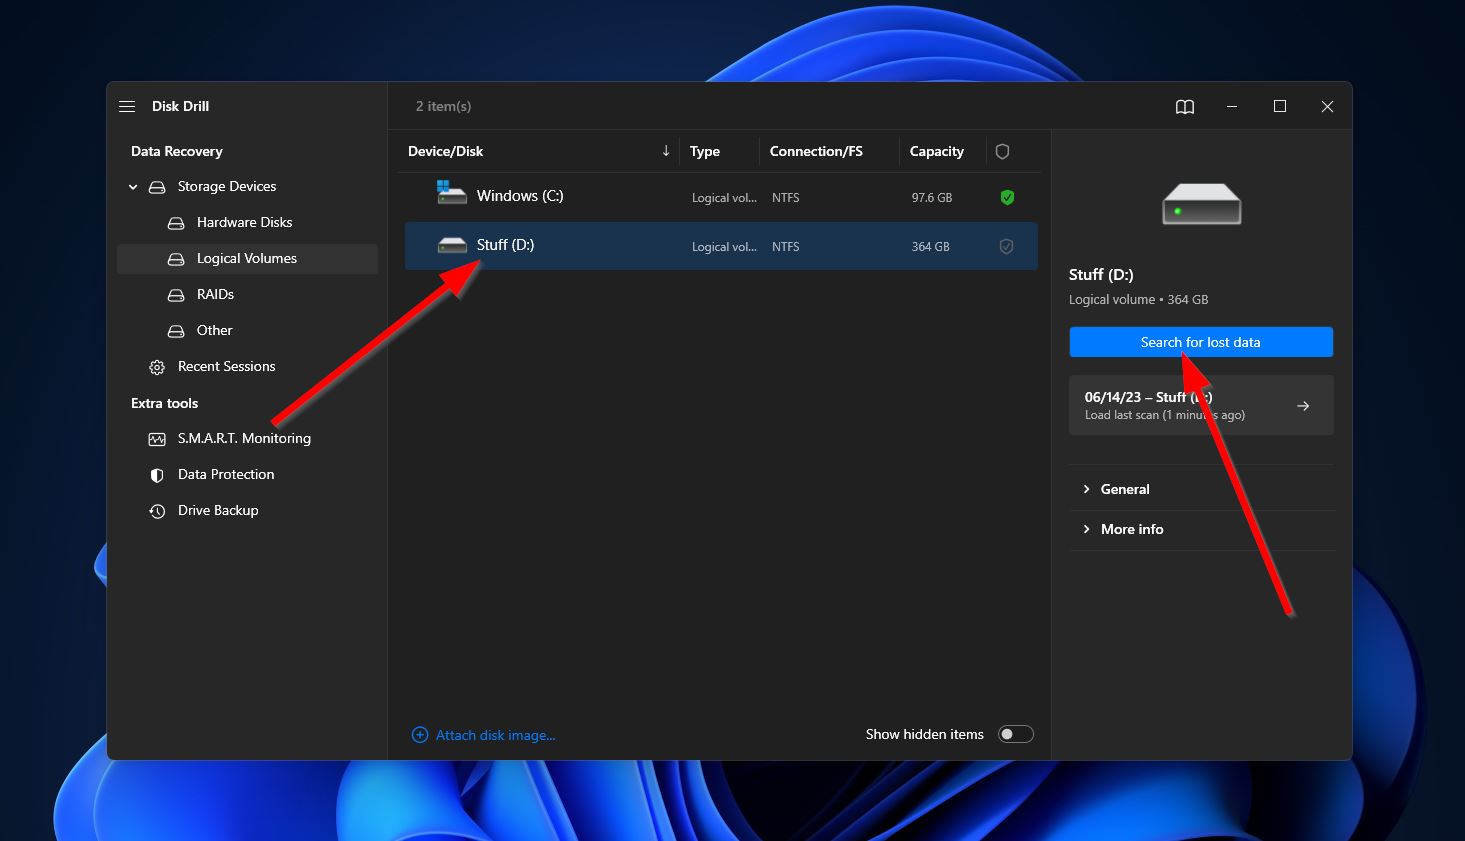
- Launch Disk Drill and select your SATA SSD or HDD from the list of available storage devices. Then, click “Search for lost data” to continue.
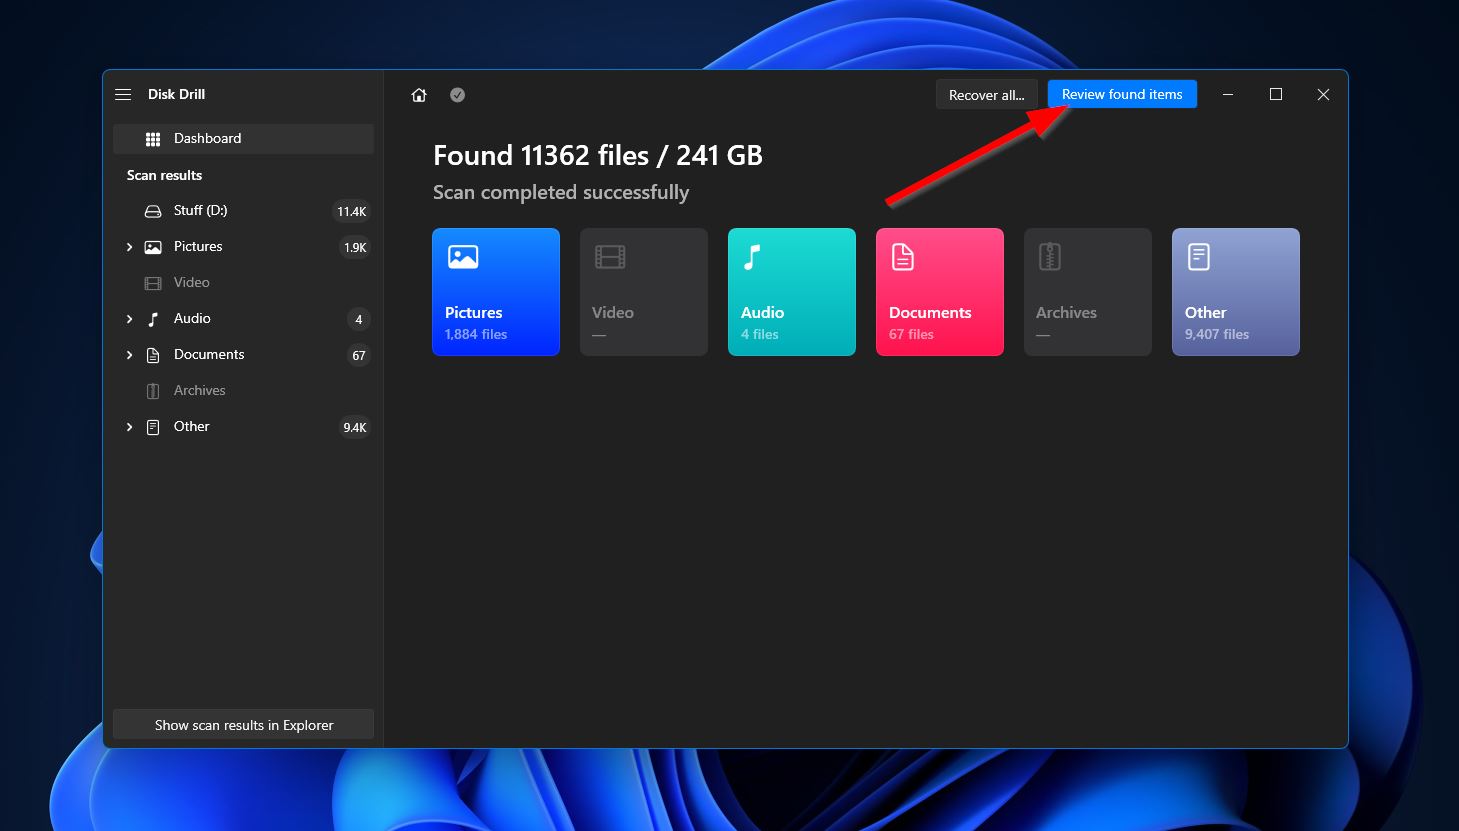
- Upon clicking, the program will start scanning your drive for all recoverable files. You can click the “Review found files” button at the top right corner during the scan to browse through the results as it continues. Or you can wait for the scan to complete before clicking the same button to proceed.
- Next, when you get to the results section, you can filter the items using the categories on the left or the search bar at the top right. Keep in mind that the search bar supports both file names and file types. Once you find the files you’re after, highlight them by ticking the checkboxes next to their names, and click “Recover” to move to the next step.

- After that, a small window will pop up, asking you to choose the location where your recovered files will be stored. This has to be on a different storage device than the SATA drive you’re restoring from. Hit “Next” once you’ve decided.

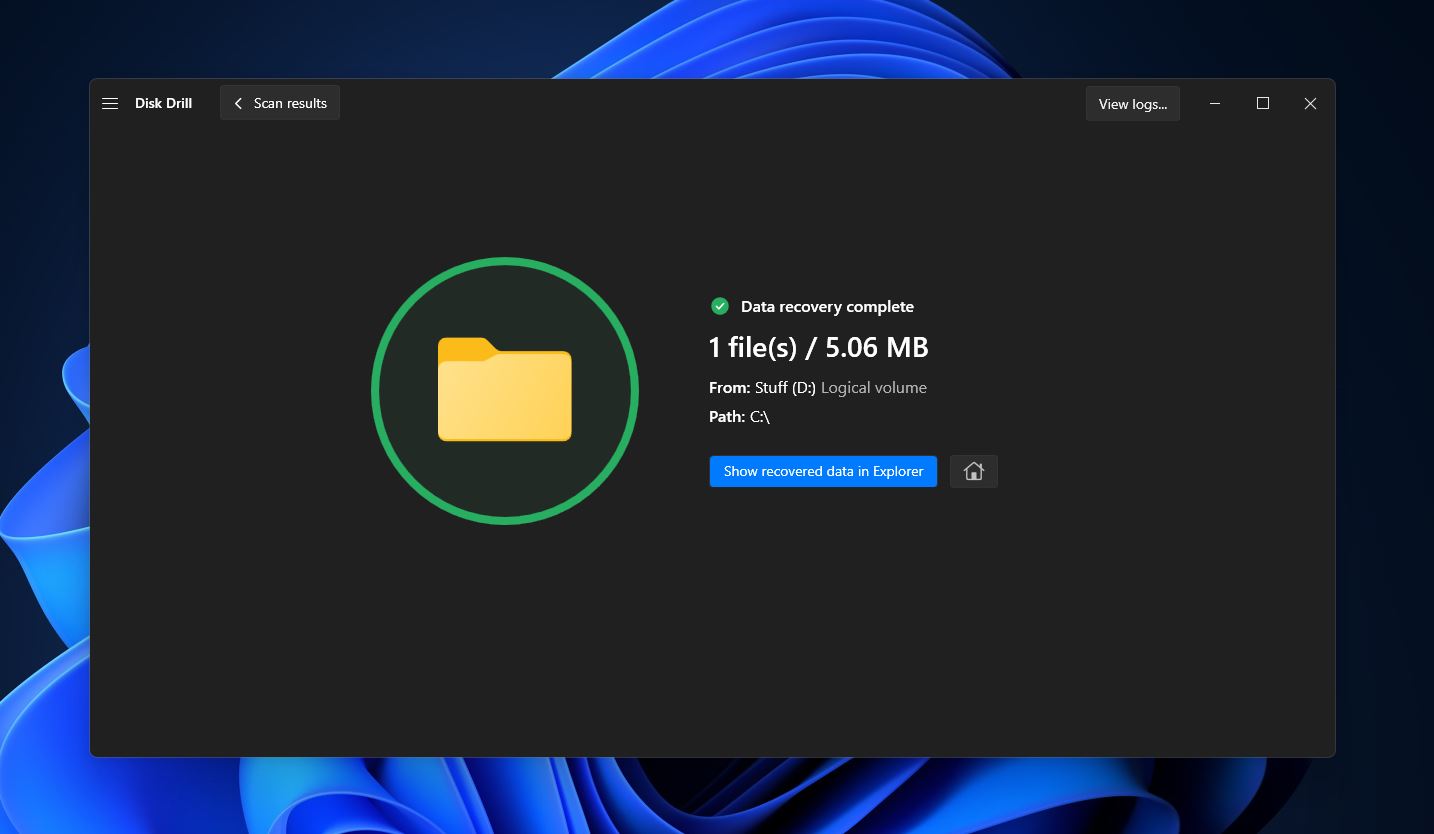
- Disk Drill will then try to rescue your selected files. If successful, you’ll get a completion screen with a button labeled “Show recovered data in Explorer.” Clicking it will take you directly to your retrieved files.
Method 3: Use Freeware Data Recovery Software
If you’re not keen on shelling out cash for a recovery solution, there are some freeware options available. However, you’ll need to manage your expectations a bit, as they’re often not as effective as their paid alternatives, nor are they as polished. Recuva is one of the better free data recovery options around.
To use freeware options like Recuva to perform data recovery on SATA drives, simply follow the steps provided below:
- First, download Recuva from the official website and install it on your PC.
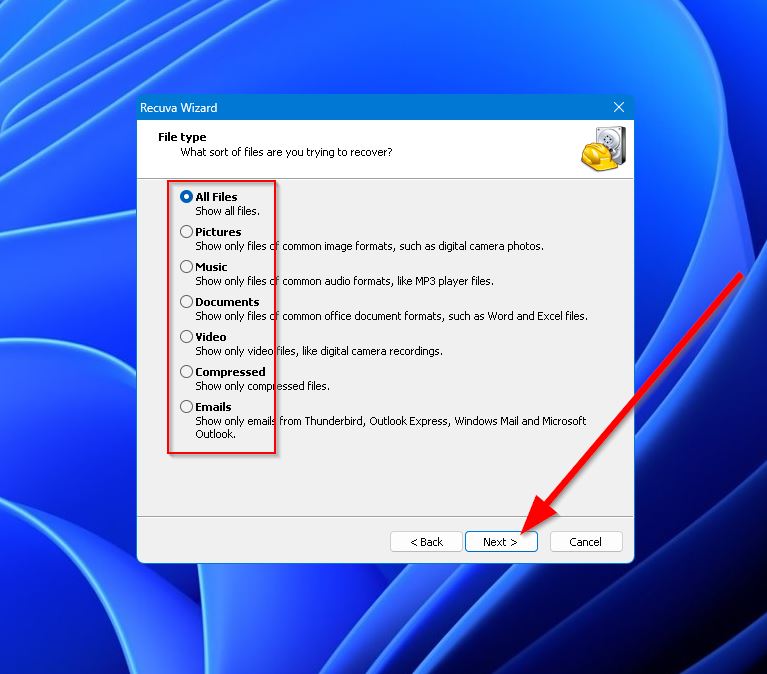
- Launch Recuva and click “Next” on the first screen. You’ll then be asked to select the type of files you want to retrieve. Choose the applicable option and click “Next.”
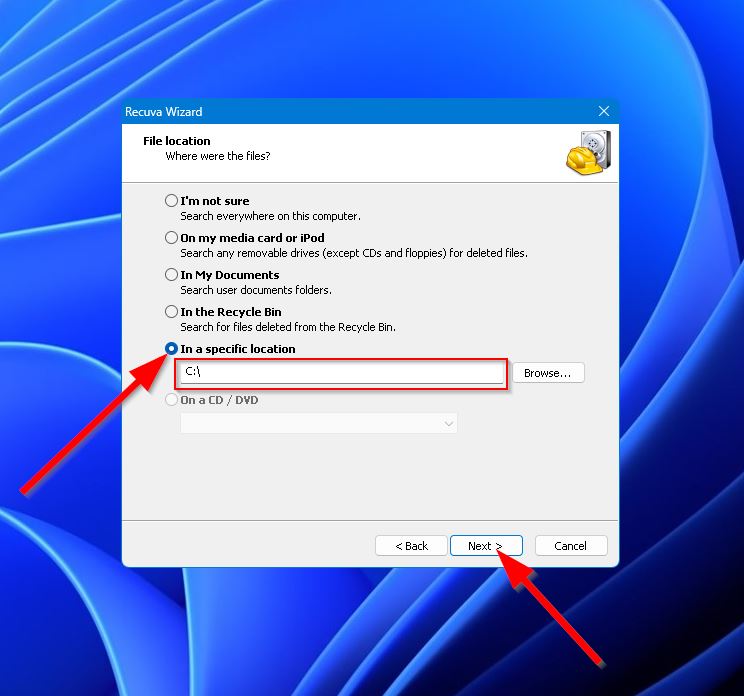
- After that, select the “In a specific location” option and enter the drive letter of your SATA drive into the textbox below. Click “Next” when you’re ready.
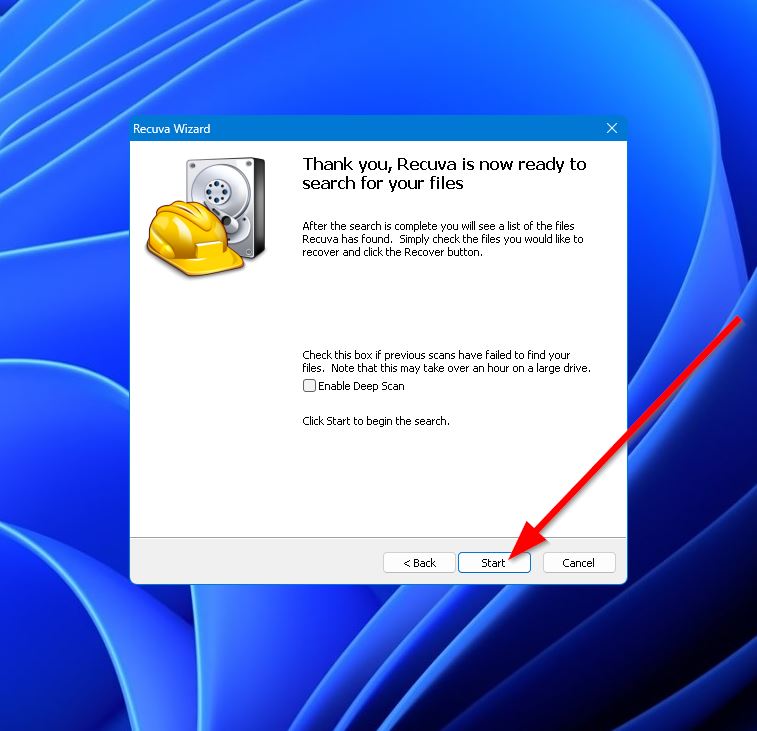
- Next, hit “Start” to begin scanning for recoverable files.
- Once the scan is completed, you’ll be directed to the results section, where you can look through the found files. If you want to narrow down the items, you can click “Switch to advanced mode” in the top-right corner and use the textbox or dropdown menu in the upper right. Tick the checkboxes on the left of the file names to highlight the files you want to restore, then click the “Recover” button.

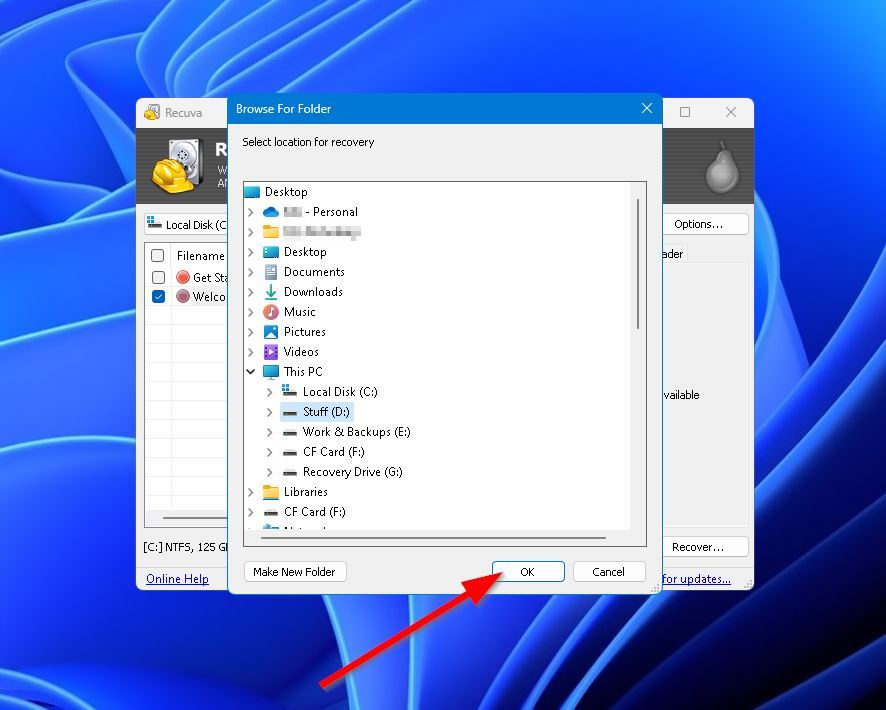
- Upon clicking, a pop-up will appear, asking you to select the folder you want to save the files in. Click “OK” once you’ve decided. Recuva will then attempt to recover the selected files, and you’ll see a completion screen if it’s successful.
Method 4: Send Disk to Data Recovery Service
In case you’re dealing with a dead hard drive, you can still attempt data recovery yourself, but doing so comes with some major risks, especially when there’s sensitive data involved. If the drive is connected to your PC correctly but isn’t being recognized by Windows or is making strange noises, the best thing to do is look up recommended data recovery specialists in your area. They have experts who are trained to deal with these sorts of issues.
Conclusion
SATA drives are vulnerable to data loss, whether it’s an HDD or SSD. The good news is that there are a number of steps you can take in case you’re faced with such a situation. You can use the Command Prompt to manipulate file attributes, data recovery programs to retrieve lost files, or a data recovery service to deal with more significant issues. Hopefully, one of these methods will help get your SATA drive up and running.
FAQ:
- Download and install Disk Drill on your PC.
- Run the app and scan your SSD.
- Select the files you want to retrieve.
- Choose a location to store your retrieved files and finalize the process.


