 Voice recordings are convenient for capturing lectures, meetings, ideas, to-do lists, and many more. Oftentimes, they have valuable information with them. Unfortunately, like any other type of file, recordings can be accidentally deleted due to user error, viruses, or other causes.
Luckily, there are different techniques available to help you recover deleted voice recordings. This includes checking your Recycle Bin or Trash folder, restoring from a backup, or using data recovery software.
In this guide, we’ll discuss all the methods on how to recover deleted voice recordings from your recorder or phone.
Table of Contents
How to Recover Deleted Files from a Digital Voice Recorder
Most Digital Voice Recorders (DVRs) use Media Transfer Protocol (MTP) to transfer data to your PC. The protocol prevents your computer from accessing your device’s actual file system. This in turn makes most data recovery software unable to read the device’s internal memory, leaving lost files unlikely to be recovered.
So unless you can initialize your DVR’s internal storage to act as a regular drive, your best chance of voice recording file recovery would be performing an SD card data recovery using a data retrieval app.
Choose a reputable data recovery software like Disk Drill for your data recovery needs. Disk Drill is easy to use and is available on Windows and Mac OS. It can scan almost every file type available, including different file formats for voice recordings such as MP3, WAV, WMA, and more.
Here are some of Disk Drill’s other convenient features:
- The free trial version of Disk Drill offers up to 500 MB worth of file recovery limit (on Windows).
- Disk Drill can create a byte-to-byte image of your memory card before scanning it. This method works best for SD cards that are malfunctioning or corrupted.
- It can preview the files it has scanned for recovery. This allows you to check if you’re recovering the correct recordings.
- Disk Drill can scan and recover from almost all kinds of memory cards that most digital voice recording gadgets use. Some of these include Sandisk and Samsung, among others.
Here’s a quick and easy step-by-step guide on how you can use Disk Drill to scan your storage device and recover permanently deleted recordings in no time:
- Download Disk Drill from the official Cleverfiles website to get started. Then, follow the installation instructions to install the app successfully.
- Connect your device or memory card to your computer if you haven’t yet. Then, open the Disk Drill application. To increase your chances of recovering deleted voice recordings from your SD card, it’s best to stop using your memory card immediately and connect it to your computer.
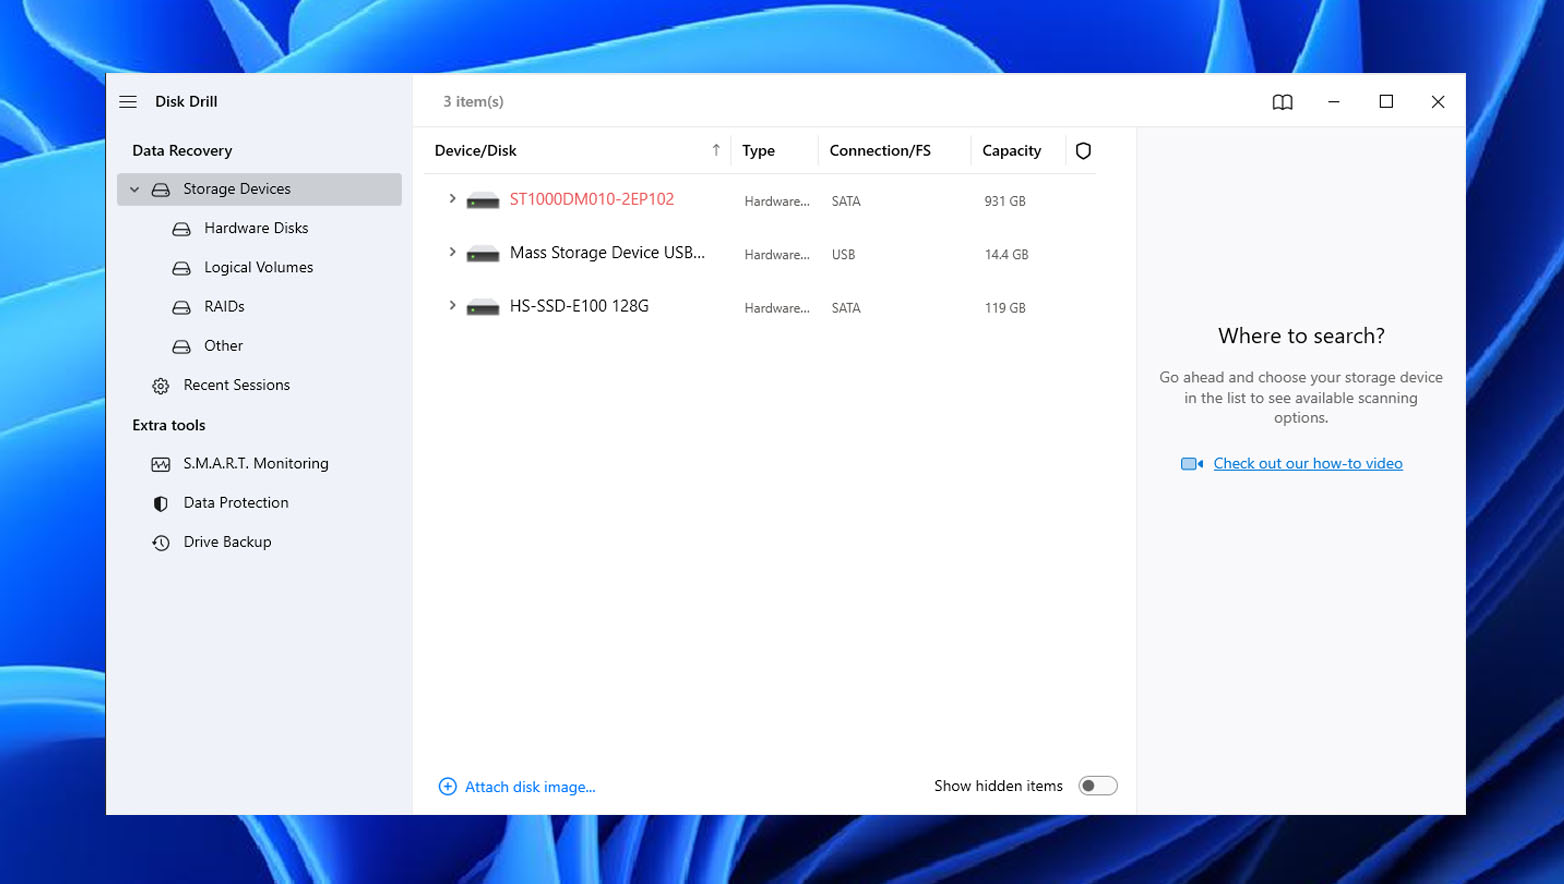
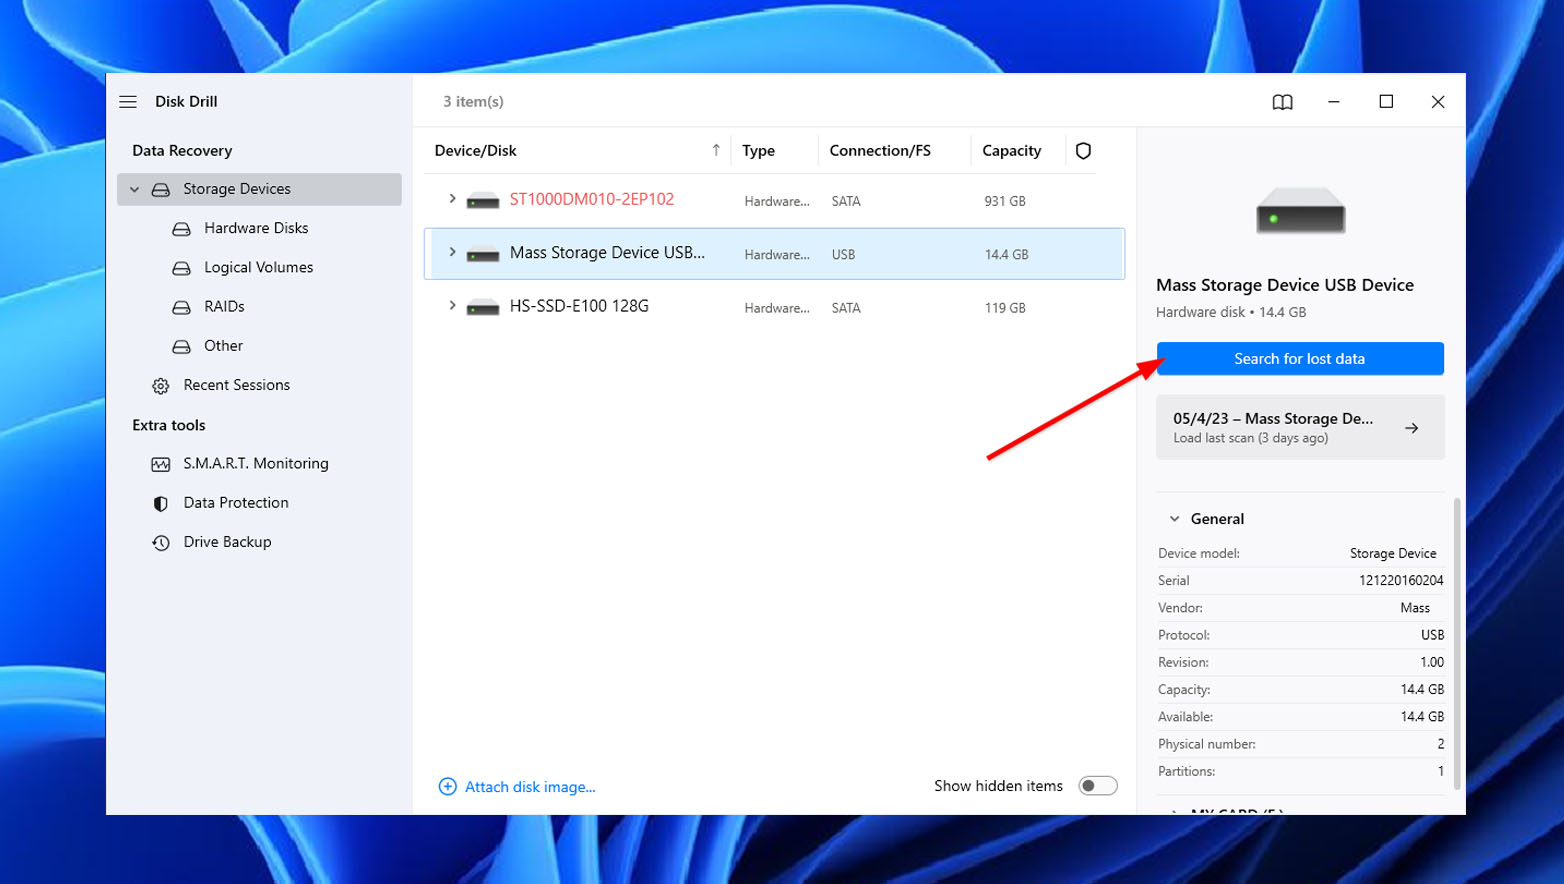
- On the main screen of the app, you can see the list of devices available for data recovery. Choose your memory card or the device that you wish to scan. Then, select Search for lost data to continue.
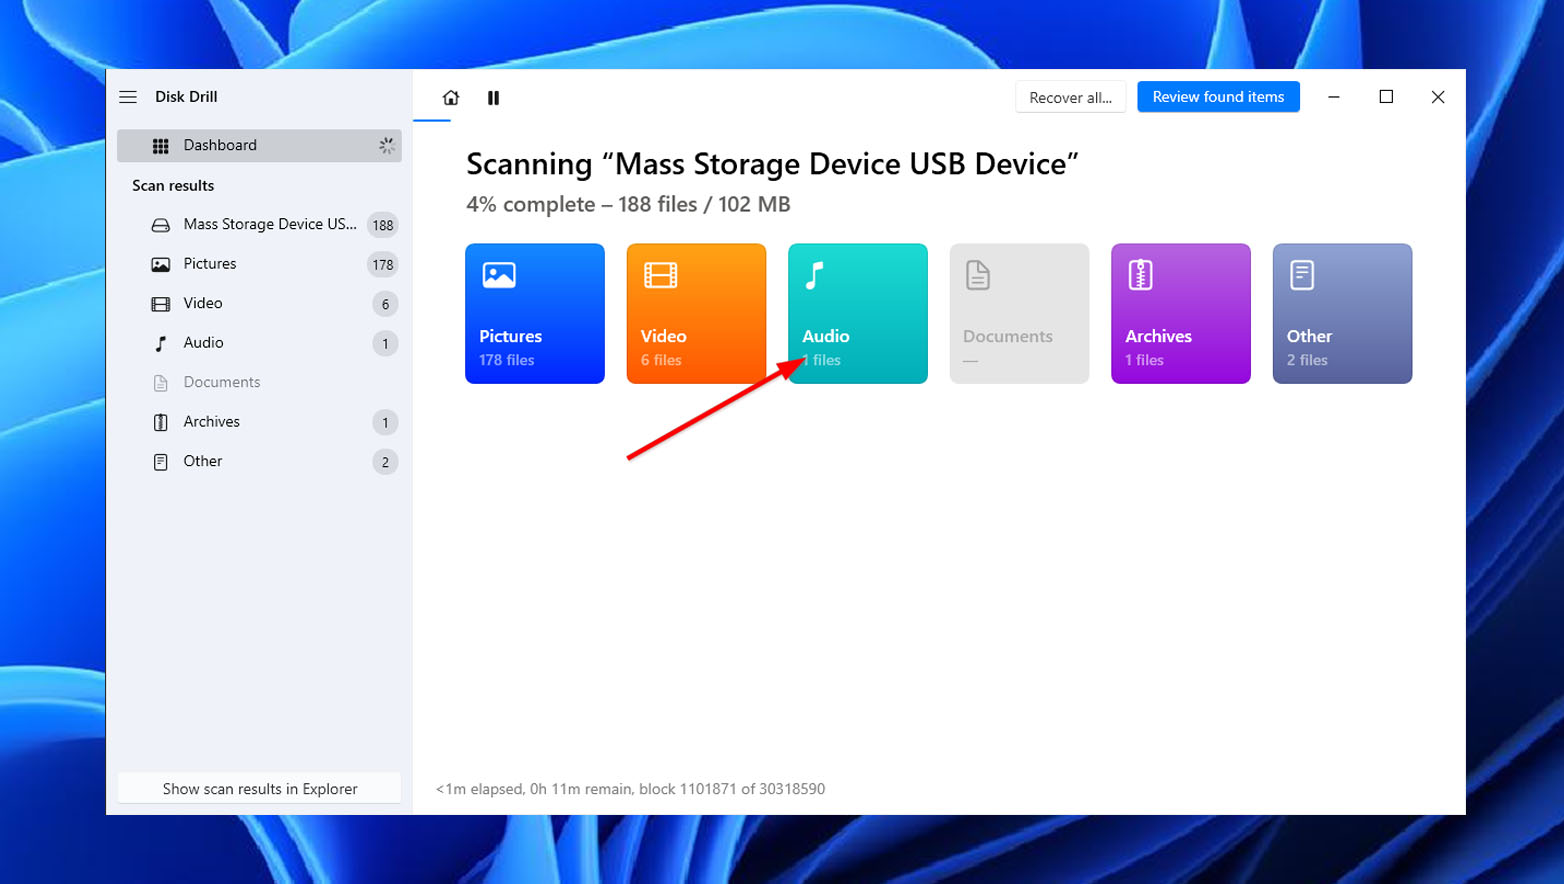
- After that, Disk Drill will now begin scanning for your lost recordings. Note that the length of the scan varies depending on your storage device’s capacity. The software will list the files it has scanned in real-time, so you can check them out even before the scan finishes. Simply click the Audio icon to review the items scanned. If you want to wait for the process to finish, skip to the next step.
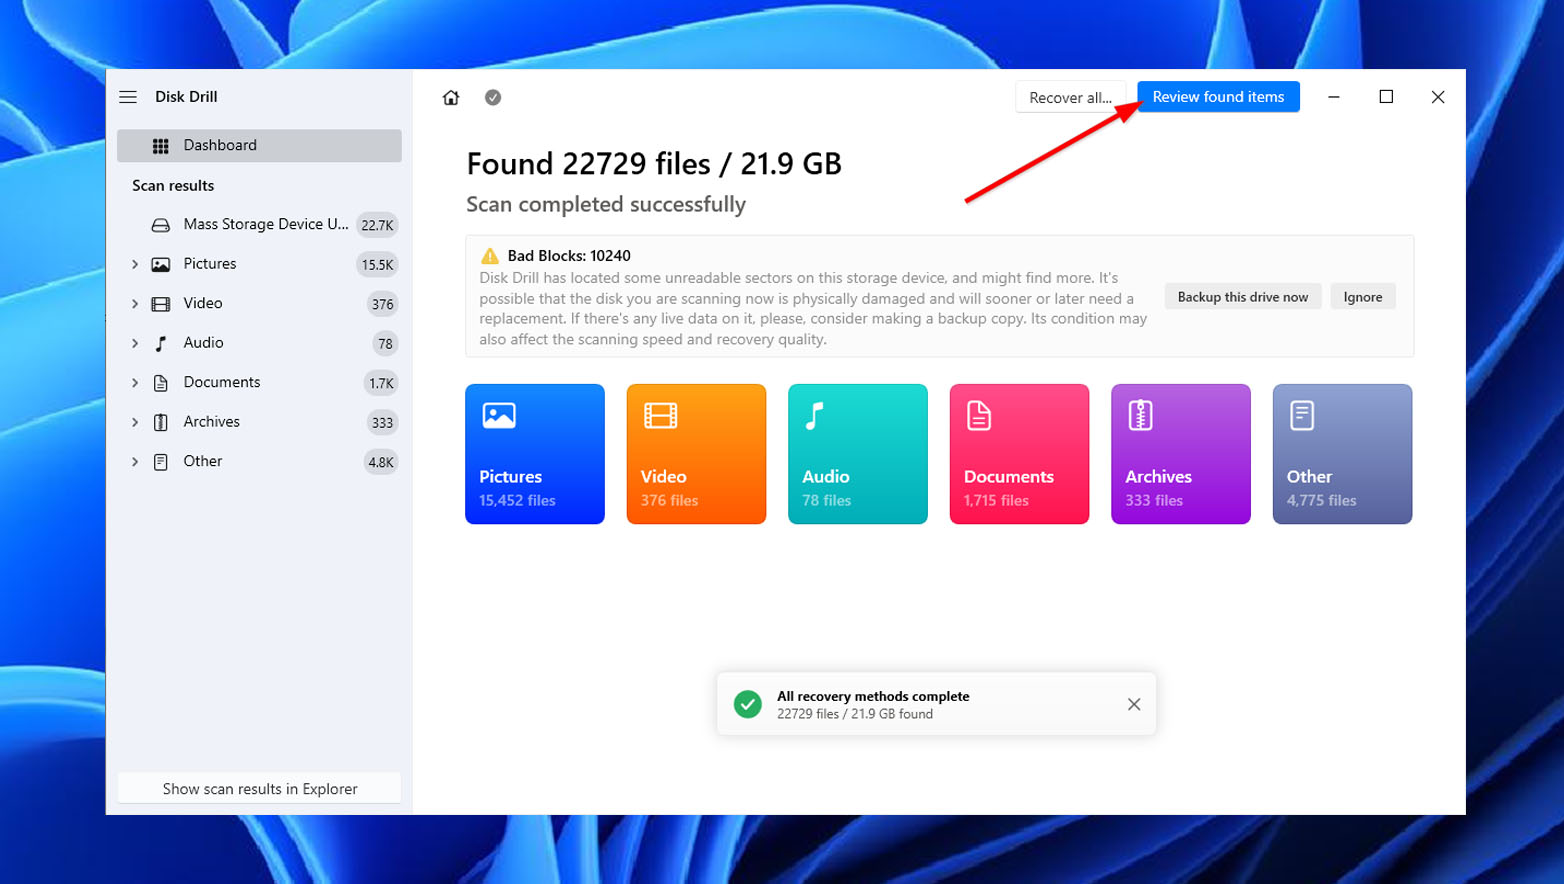
- Once the scan has finished, click Review found items in the top-right corner of the screen to browse through the scan results.
- Upon clicking, you’ll be redirected to the results section. From here, you can select the Audio tab to filter the found files by audio format for easy selection. Once you’ve selected your recordings, click Recover on the bottom right corner of the screen.

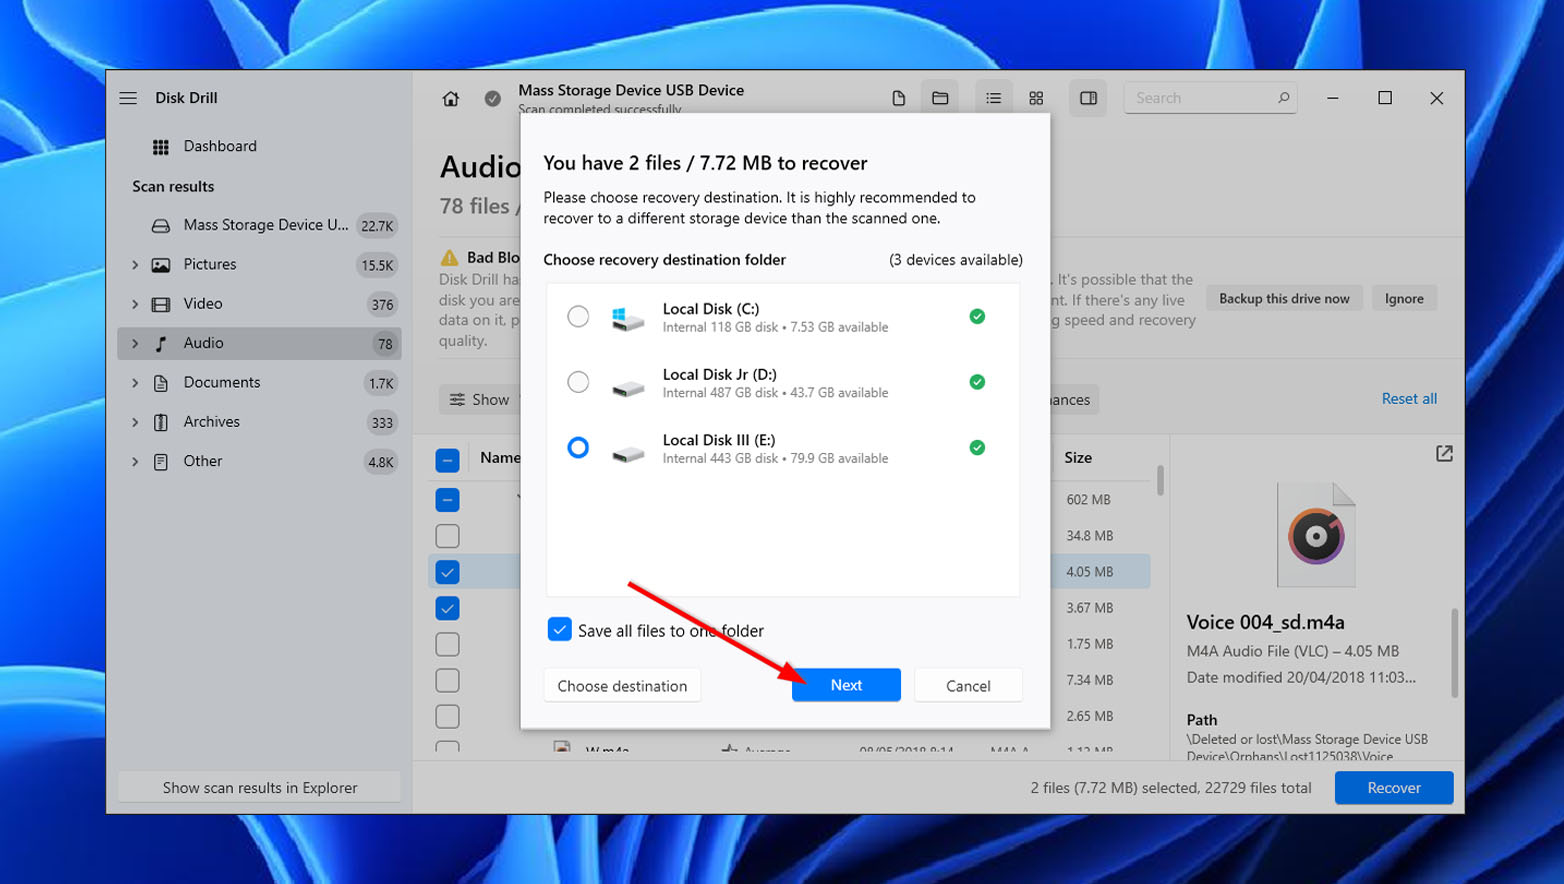
- Next, choose the file destination of your recovered files from the appearing window and click Next. Note that you should select a different storage device than the one you are trying to recover from. After that, Disk Drill will begin to recover your files and place them in the location you specified.
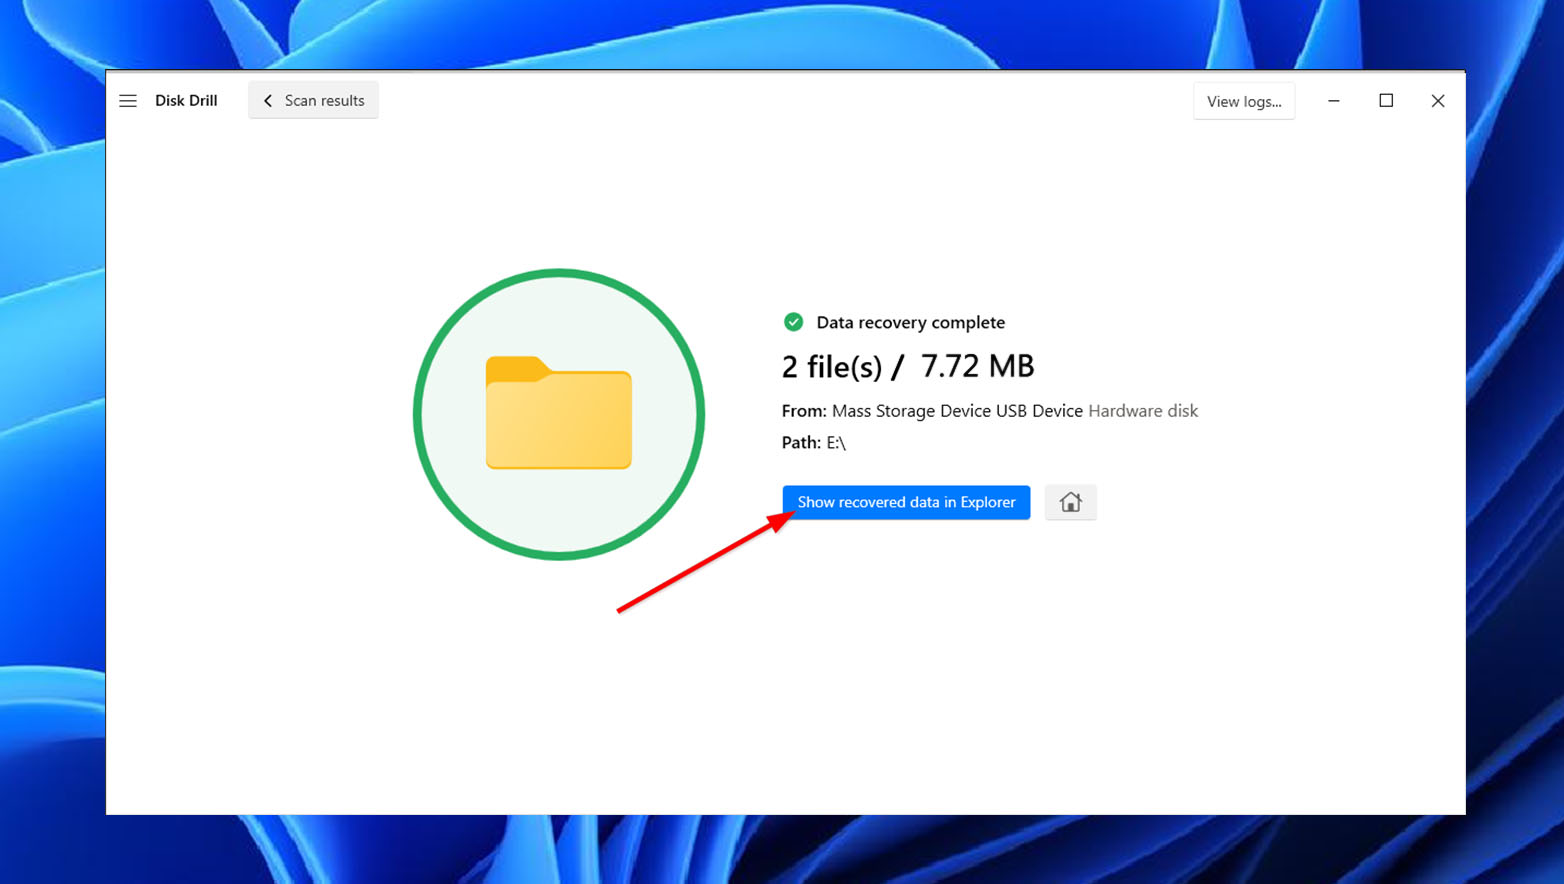
- Finally, a completion message will appear once the data recovery is successful. Click Show in Recovered Files in Explorer to check the files you recovered.
How to Recover Deleted Voice Recordings on Android
Android phones often have a built-in app for voice recording. In addition, there are plenty of third-party applications you can download from the Playstore as well.
The location of your recordings on different apps will depend on each app’s settings. It may be located on your phone’s internal storage or on your external SD card, if available. The chances that you can retrieve deleted voice recordings on Android will also depend on these settings.
Method 1: Recover Voice Recordings from the Google Drive Backup
You can recover your voice recordings from a Google Drive backup if you have enabled automatic or manual backup on your phone.
Perform a manual backup to Google Drive by doing the following: Select your files > Share > Google Drive. Alternatively, you can enable any Android backup feature for Google Drive (such as Google One) if it is available on your device.
To recover your data from Google Drive, simply follow the steps below:
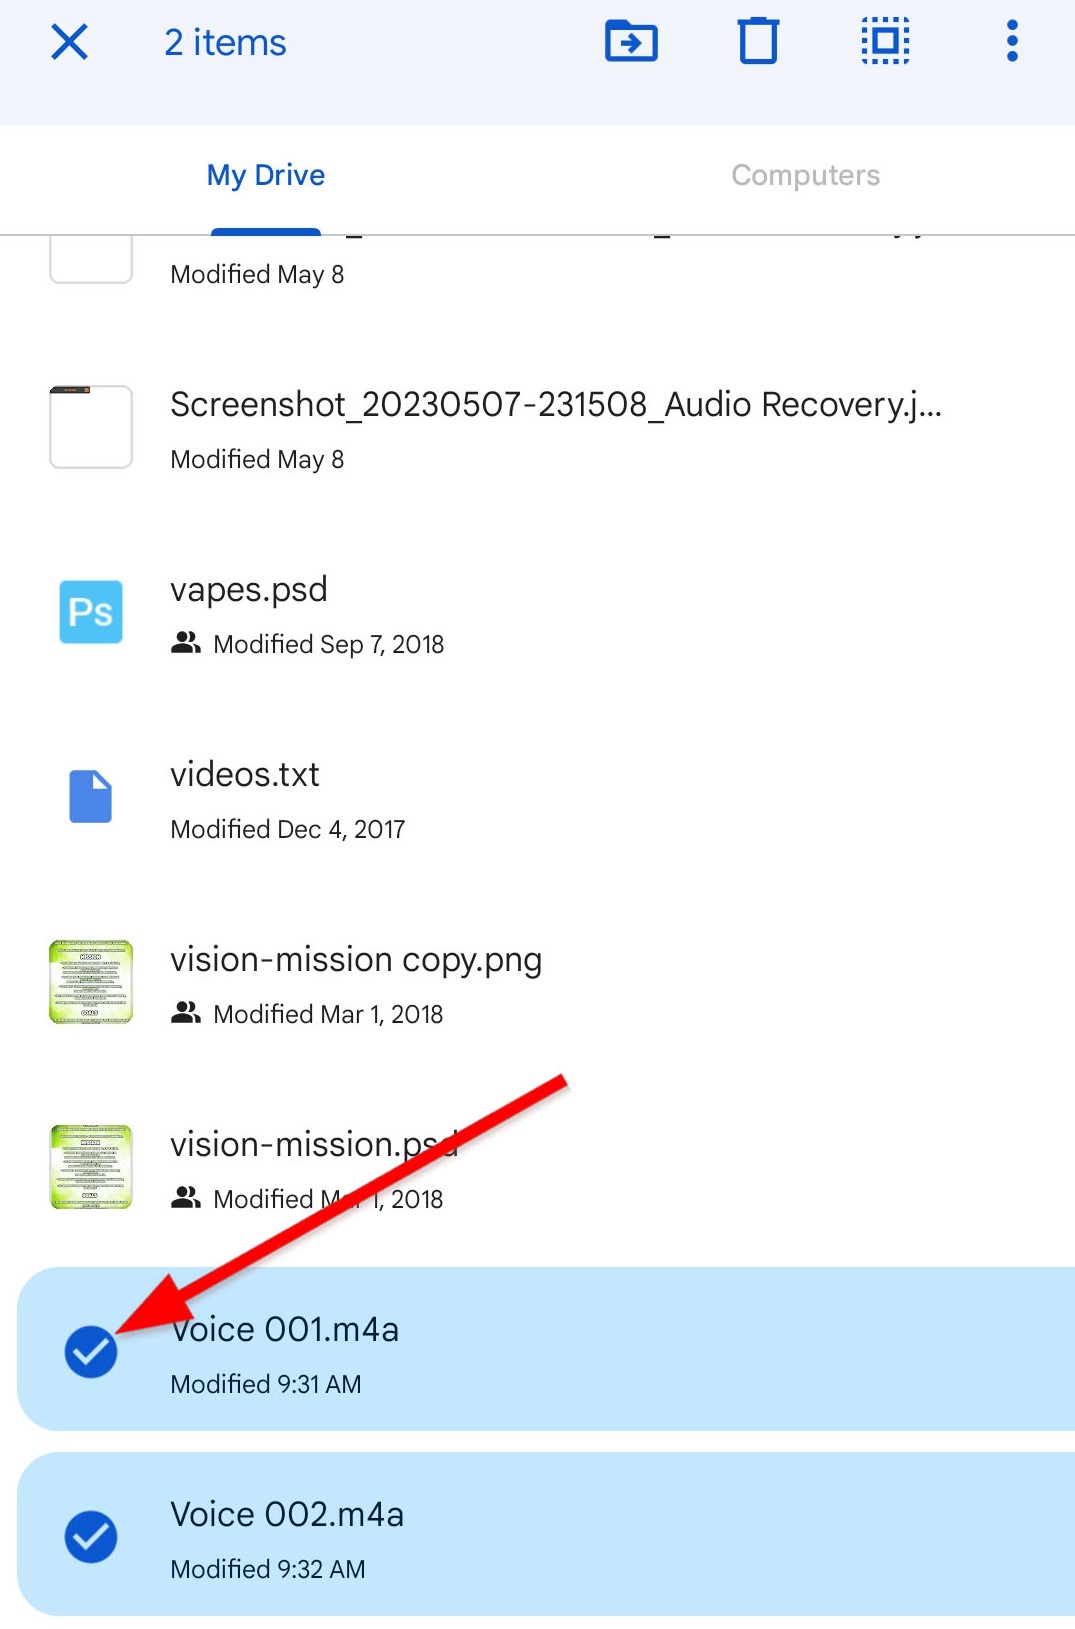
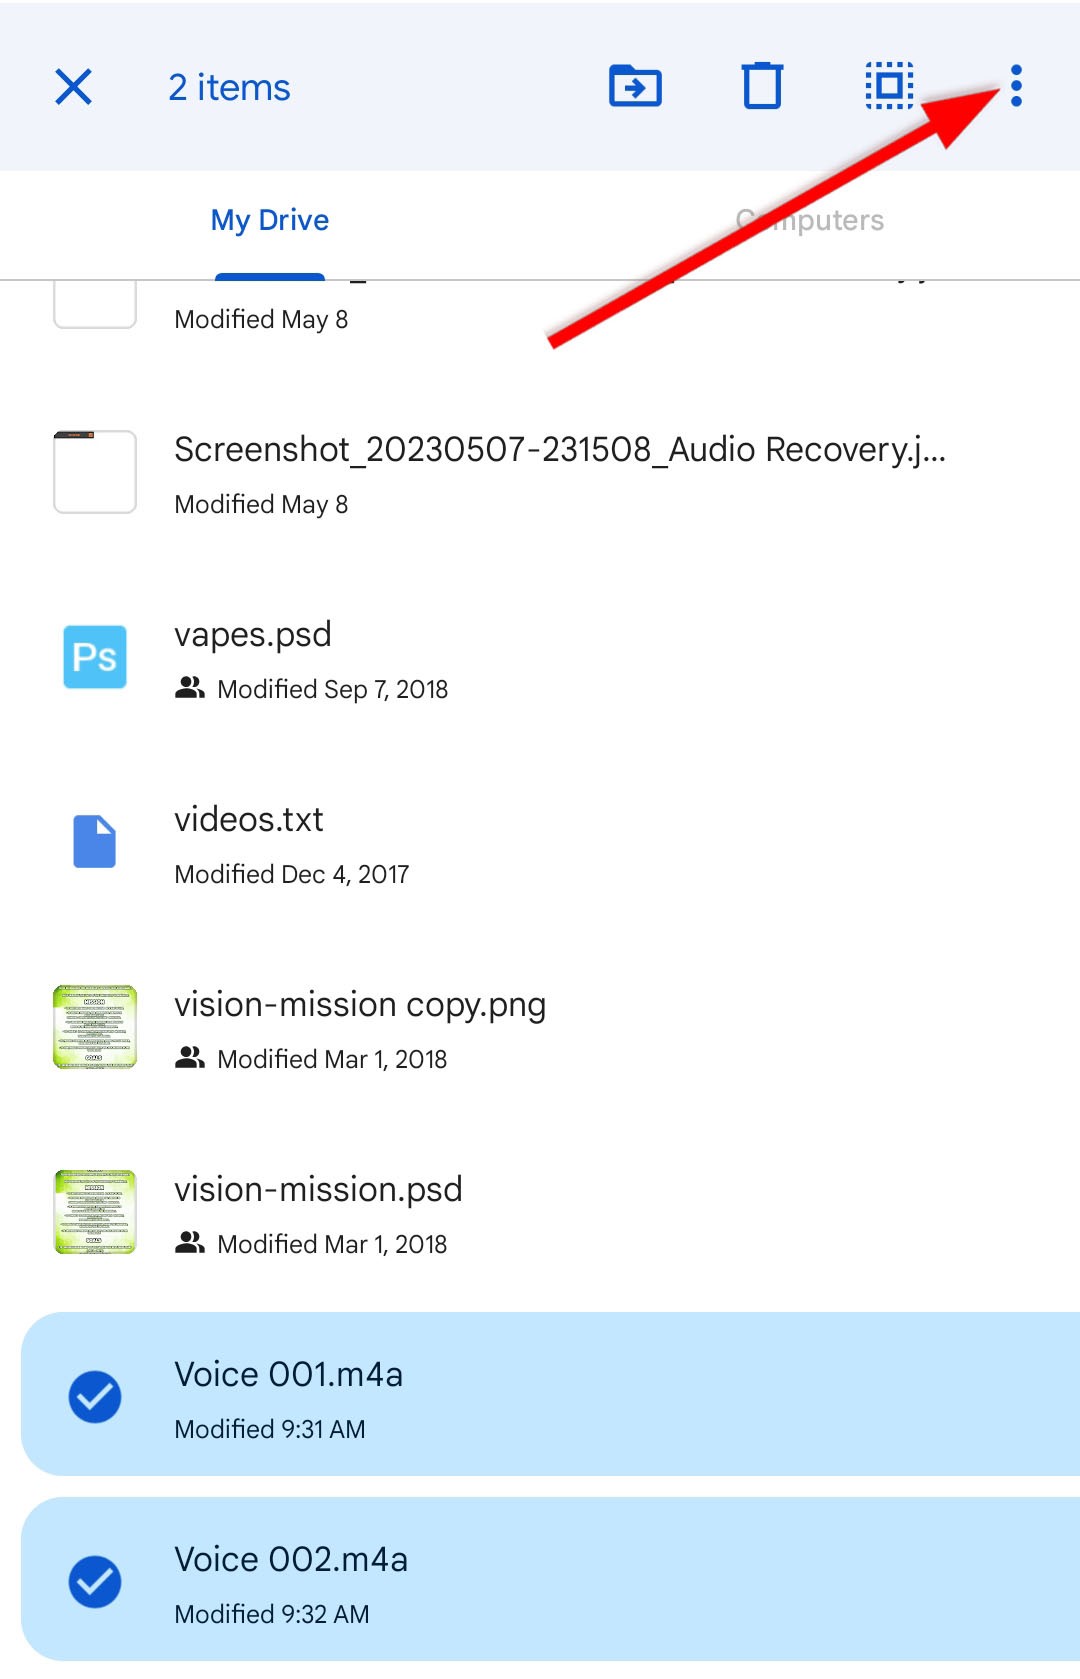
- First, open Google Drive on your phone and find the voice recording you want to restore. You can recover multiple audio files at once by tapping and holding on to the file name to select it, then continuing to select the rest of the files.
- Next, tap the three vertical dots to open a pop-up menu.
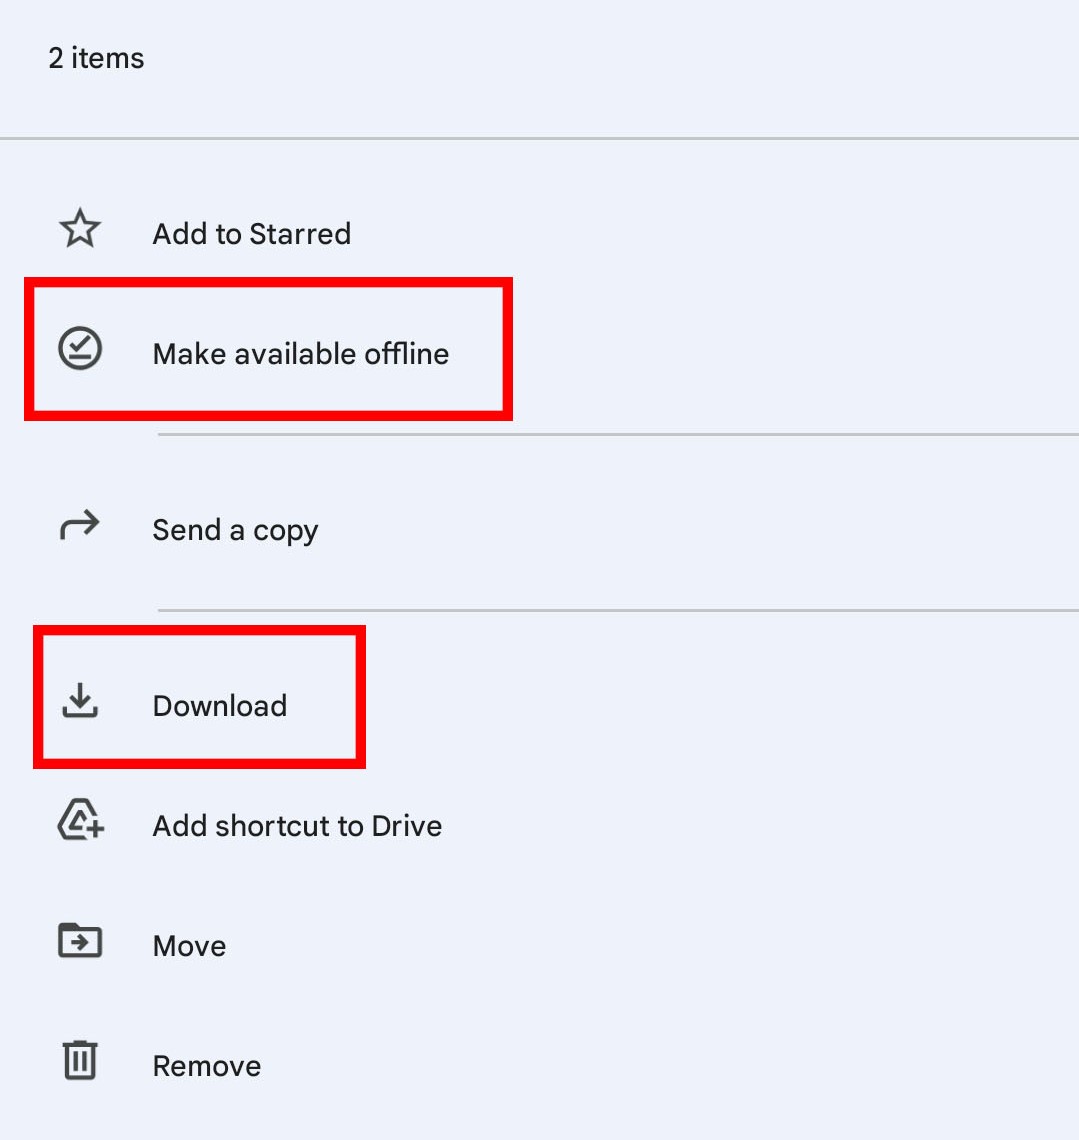
- Finally, choose Make available offline or Download to restore your file.
Method 2: Recover Voice Recordings from OneDrive Cloud
OneDrive Cloud can serve as an easy way to perform backups of files from your mobile devices. If you have performed updated backups in OneDrive, you can try to find and restore your recordings in your account. Simply follow these simple steps to proceed:
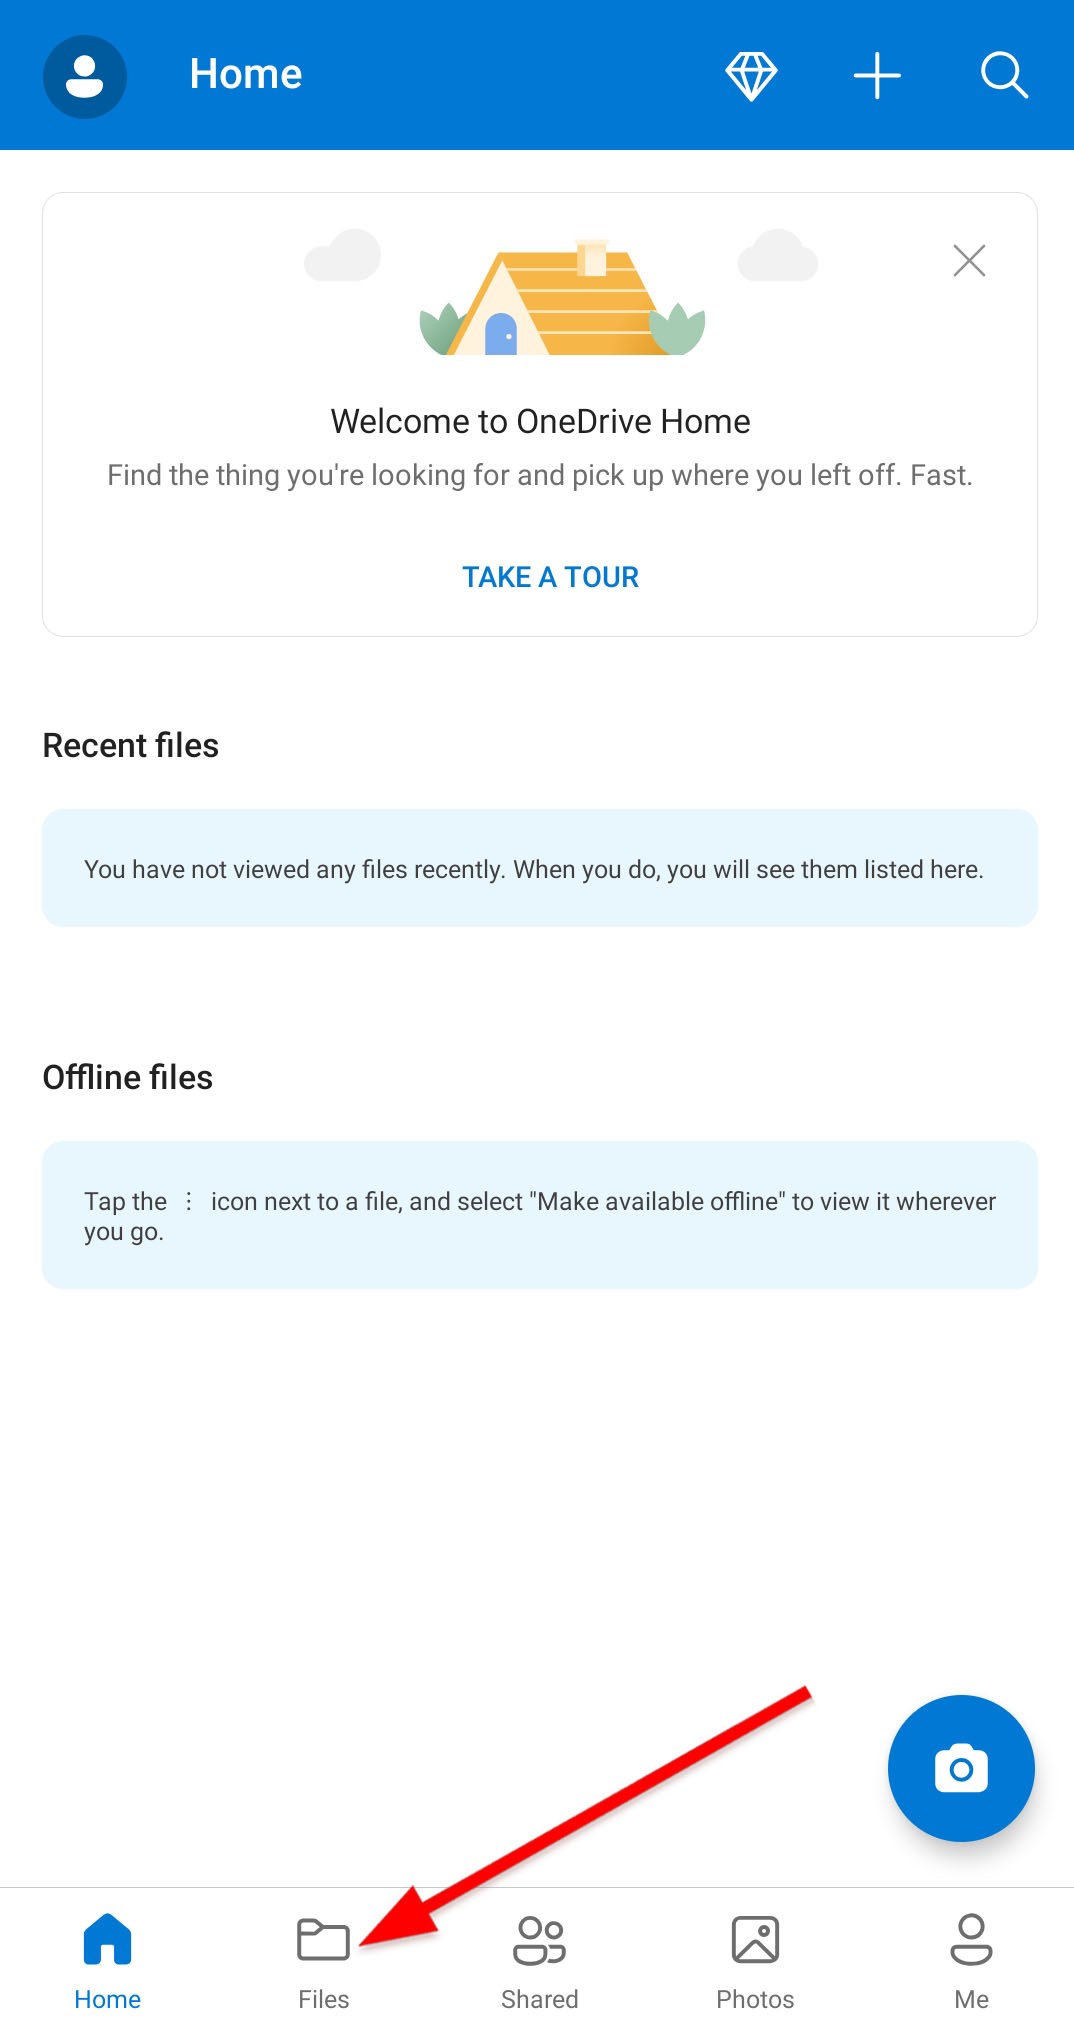
- First, open your OneDrive app and log in with the account you used for backup.
- Then, access the Files tab and find the files you want to download.
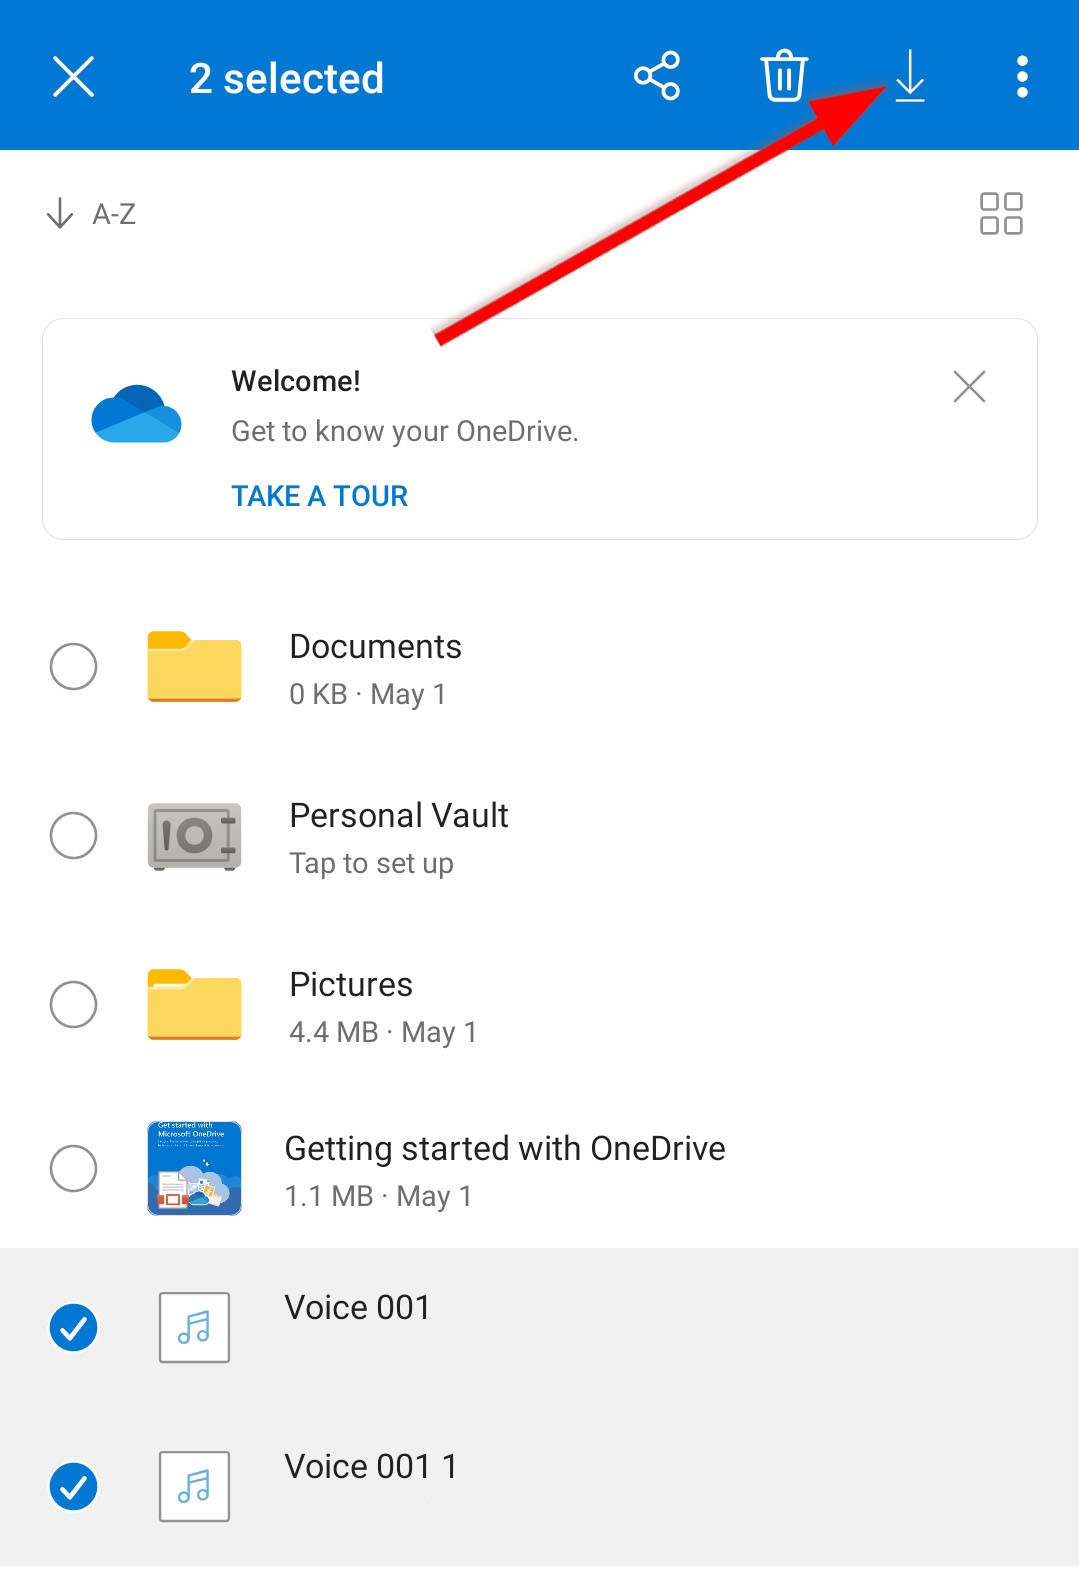
- Finally, tap the Download button to save your voice recordings.
Method 3: Recover Voice Recording with Android App
You can also try Android data recovery for your voice recordings using third-party apps on the Playstore. Most of these apps provide easy data recovery for free. However, some apps might make you watch ads for a few seconds before giving you access to the feature.
Note that these apps do not guarantee successful data recovery. Therefore, we recommend that you always read the feedback and comments from other users who have tried the app you want to install before proceeding.
Deleted Audio Recovery is one of the third-party apps designed to recover deleted audio recording from phone. To recover your audio using this app, follow these steps:
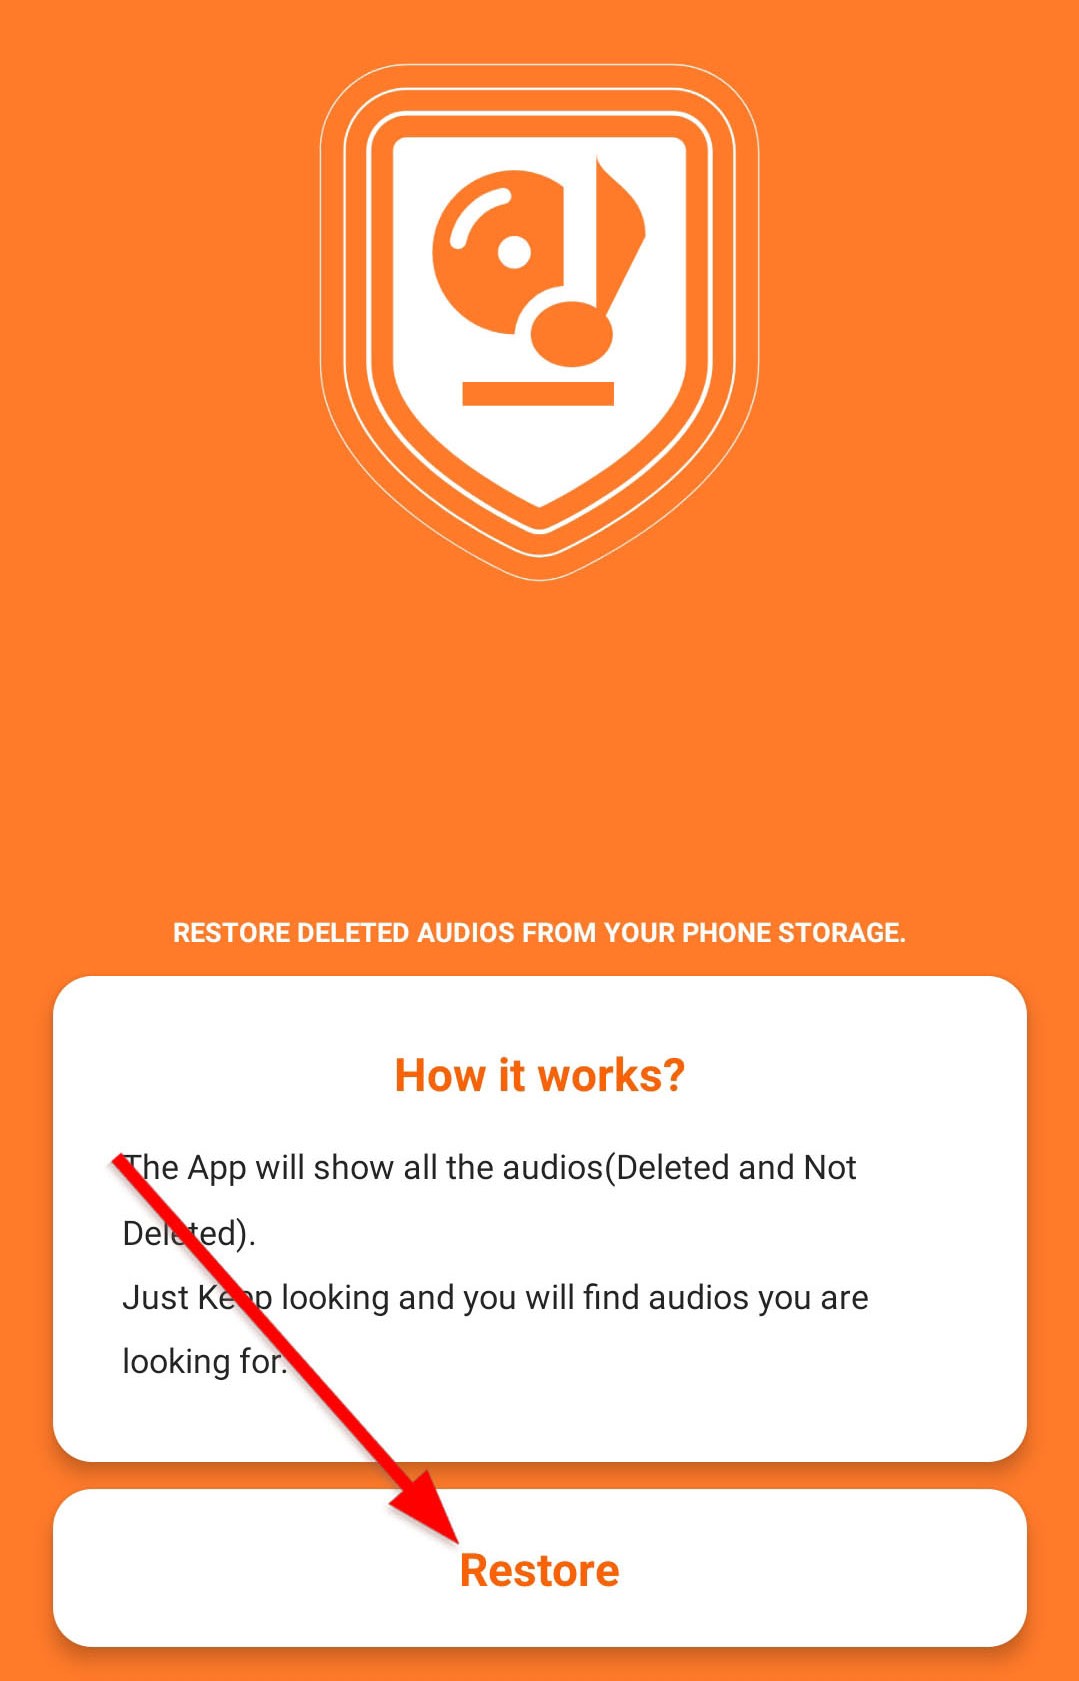
- First, install Deleted Audio Recovery on your phone.
- Launch the app. Then, tap Restore on the main screen.
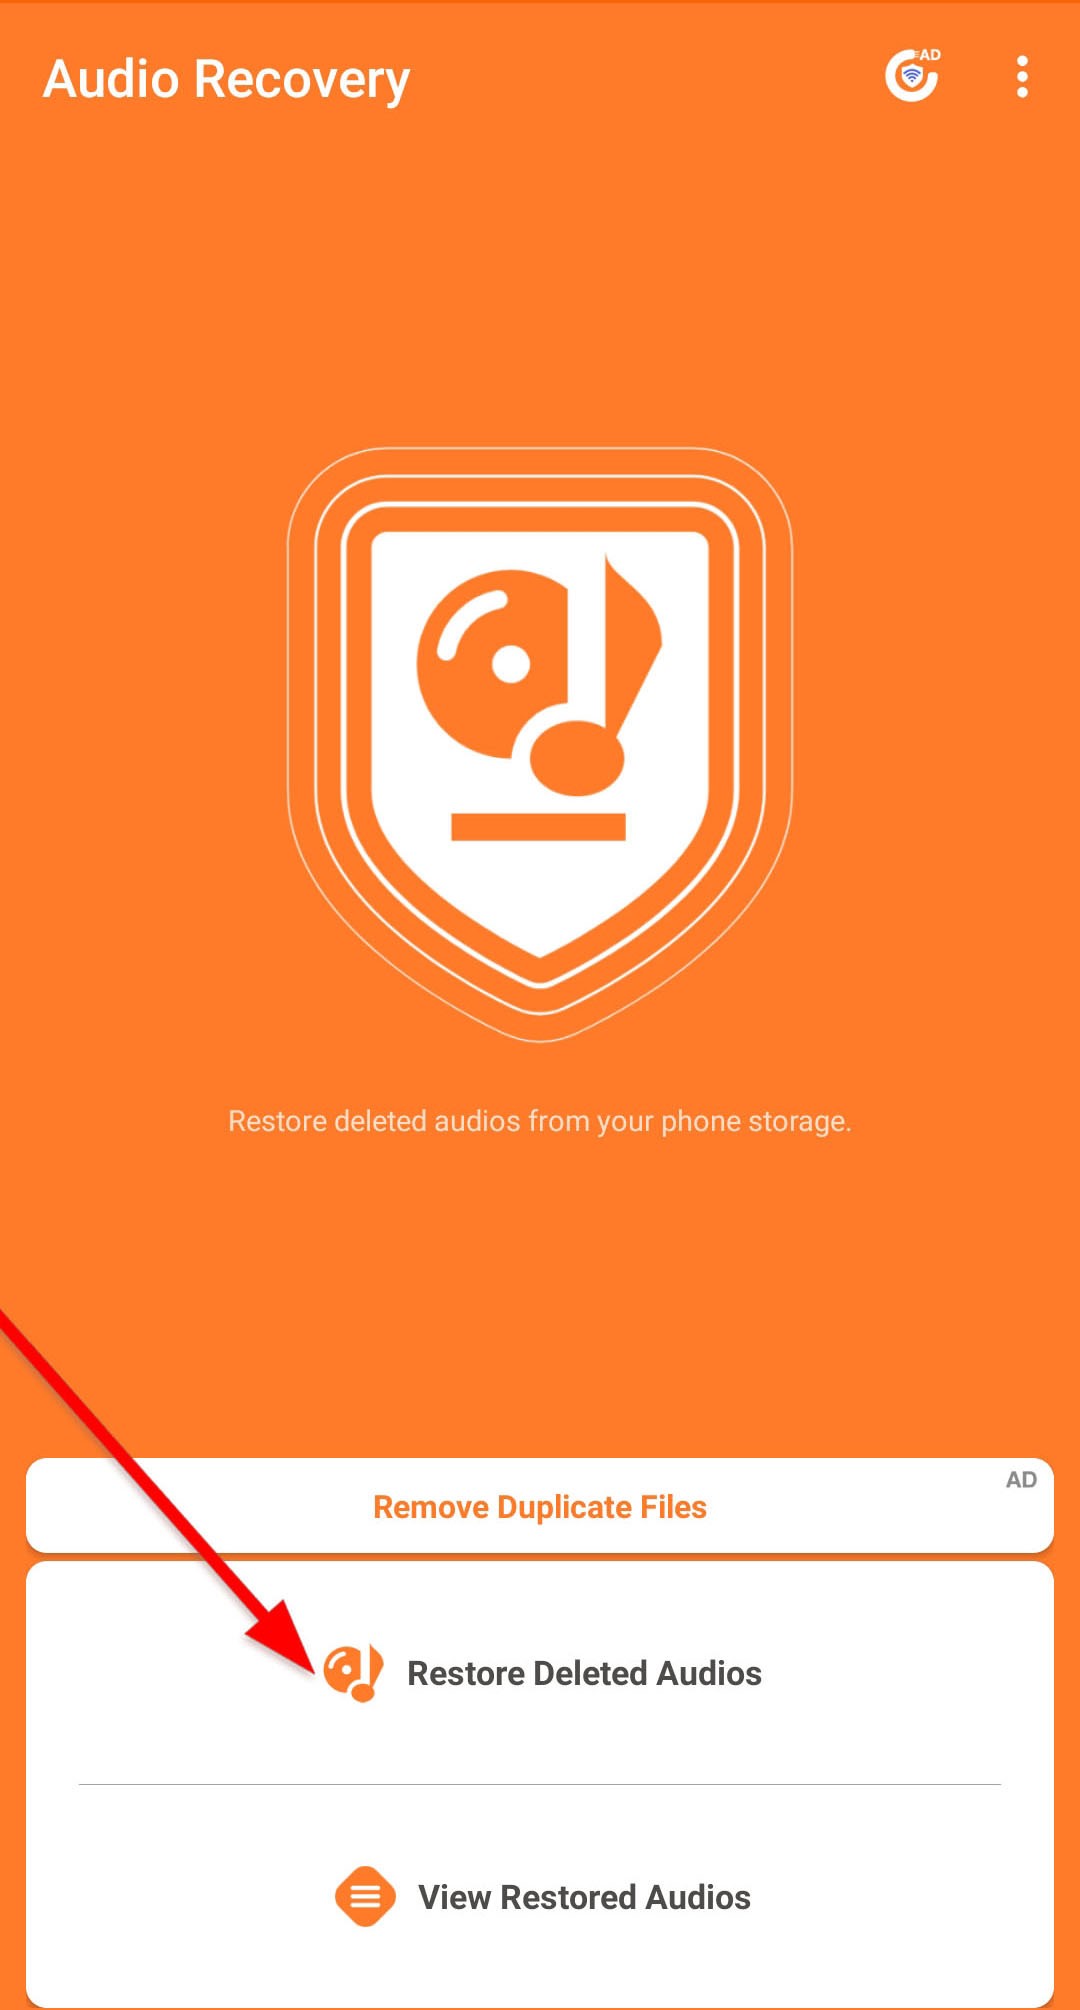
- Next, tap Restore Deleted Audios. The app might ask for access to your storage. Grant permission to the app and wait as it finishes its scan.
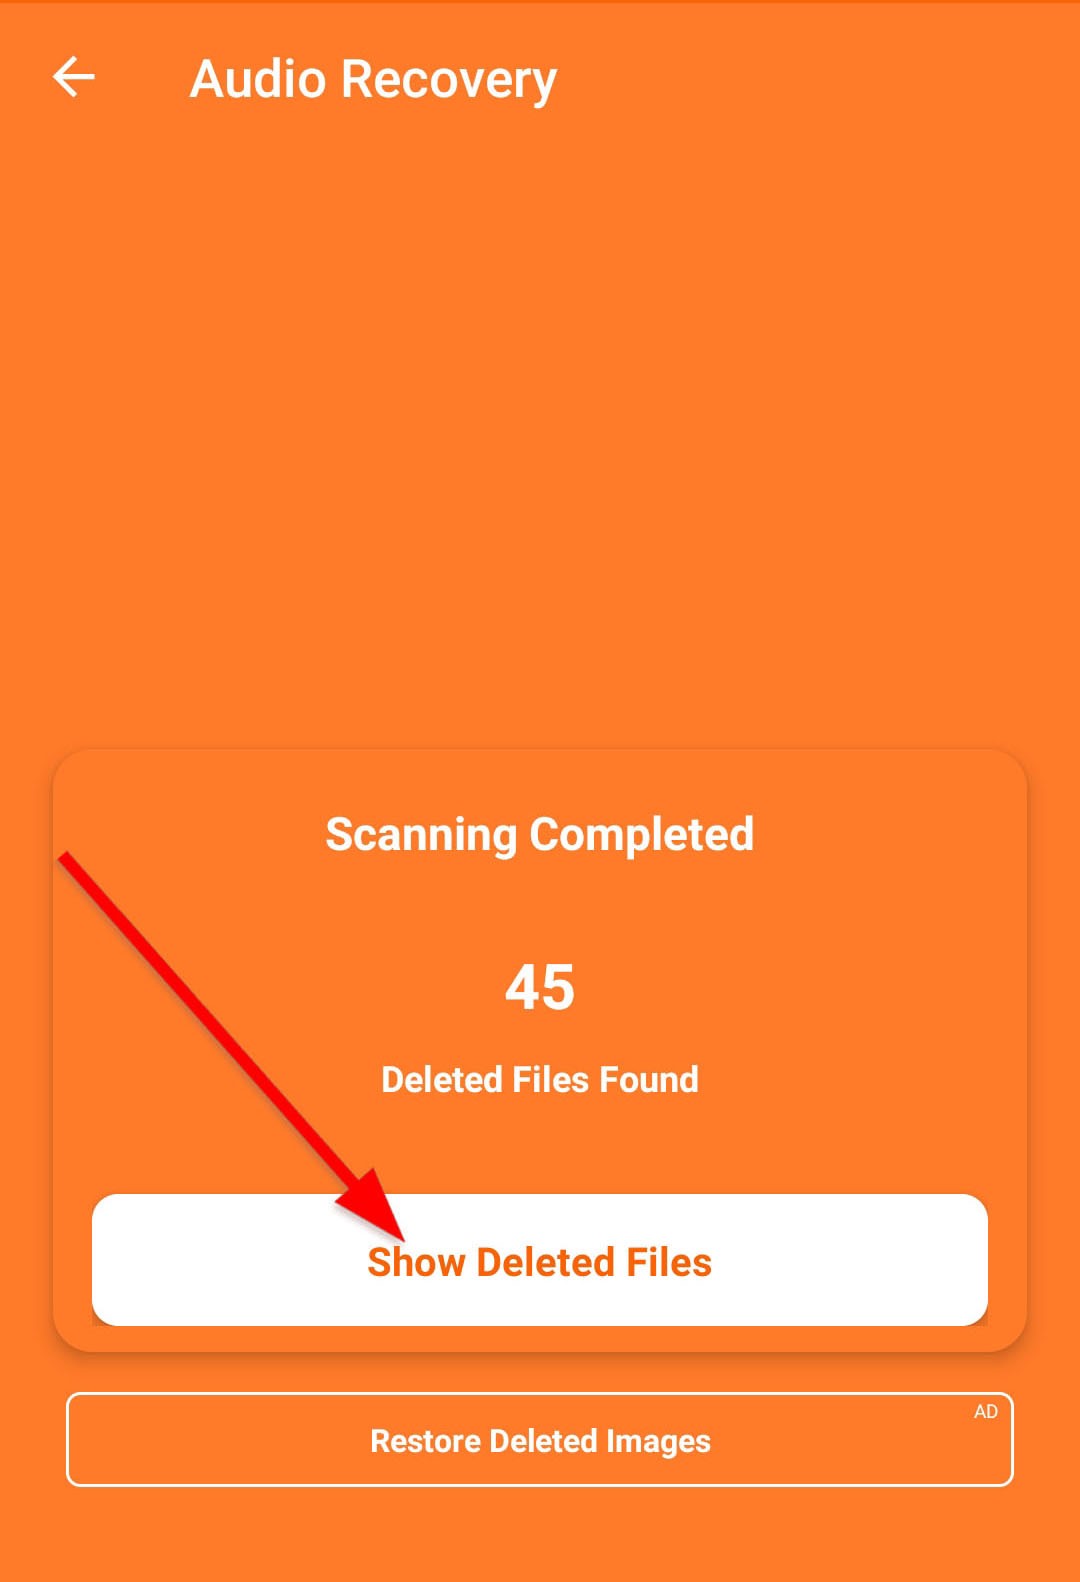
- Once the scan is complete, tap Show Deleted Files.
- Upon tapping, the app will display the scanned audio files as groups. Find and select your deleted audio.
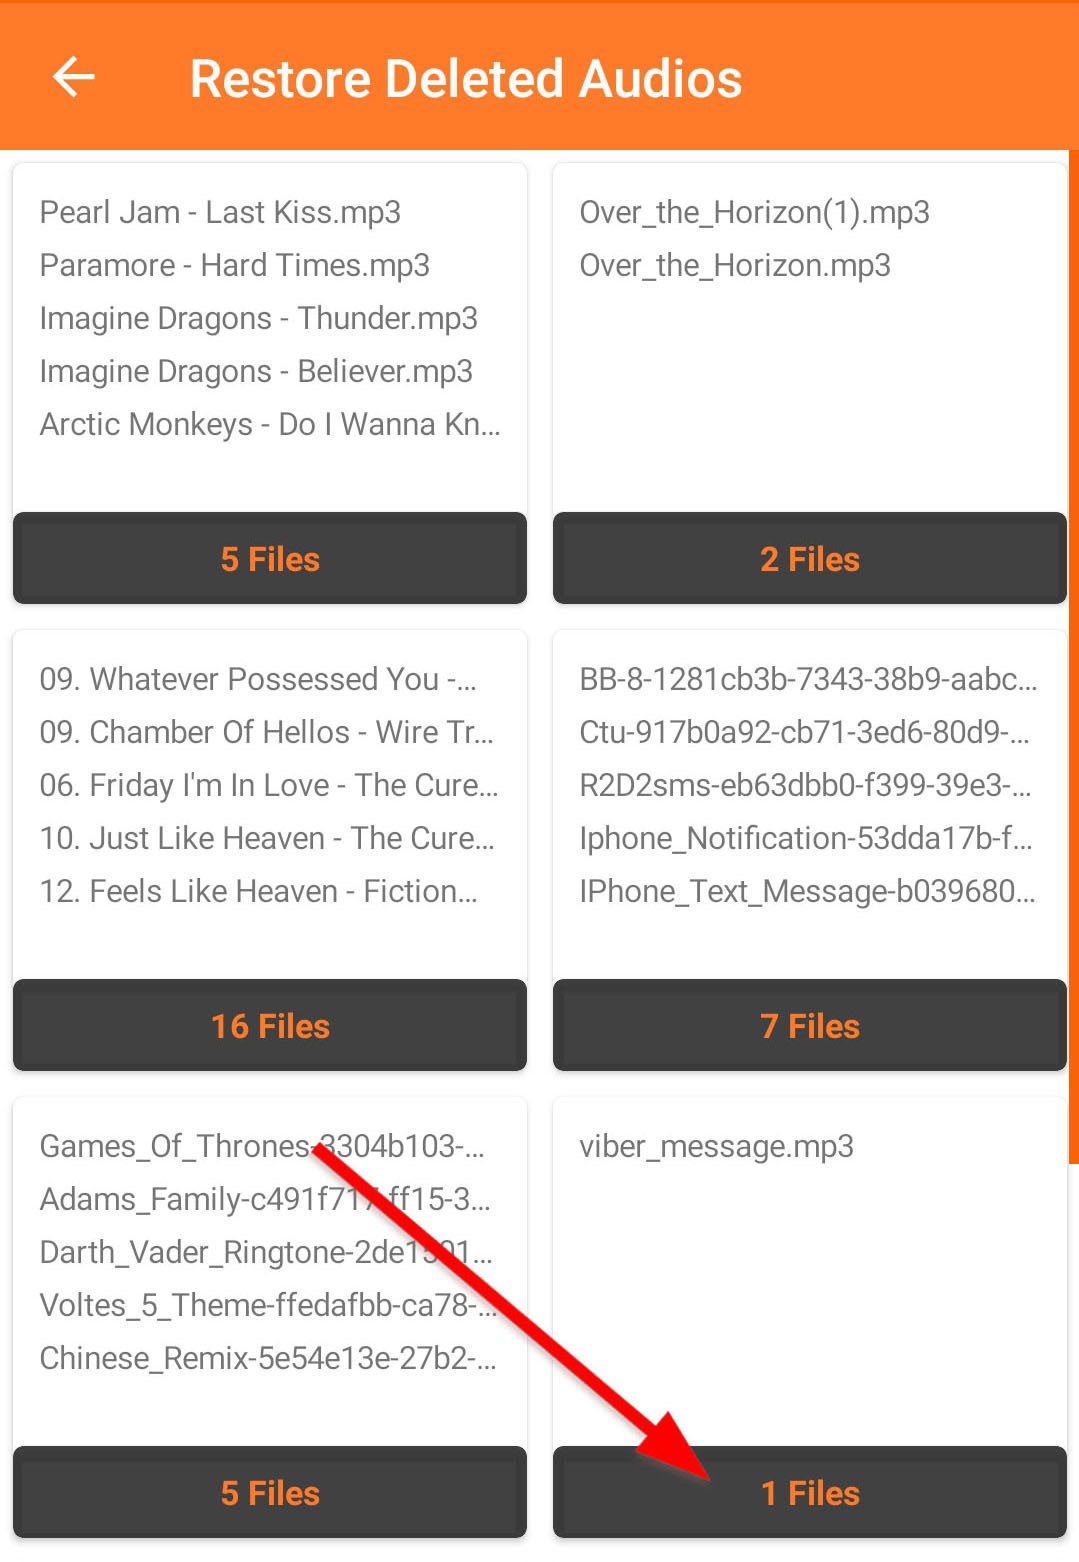
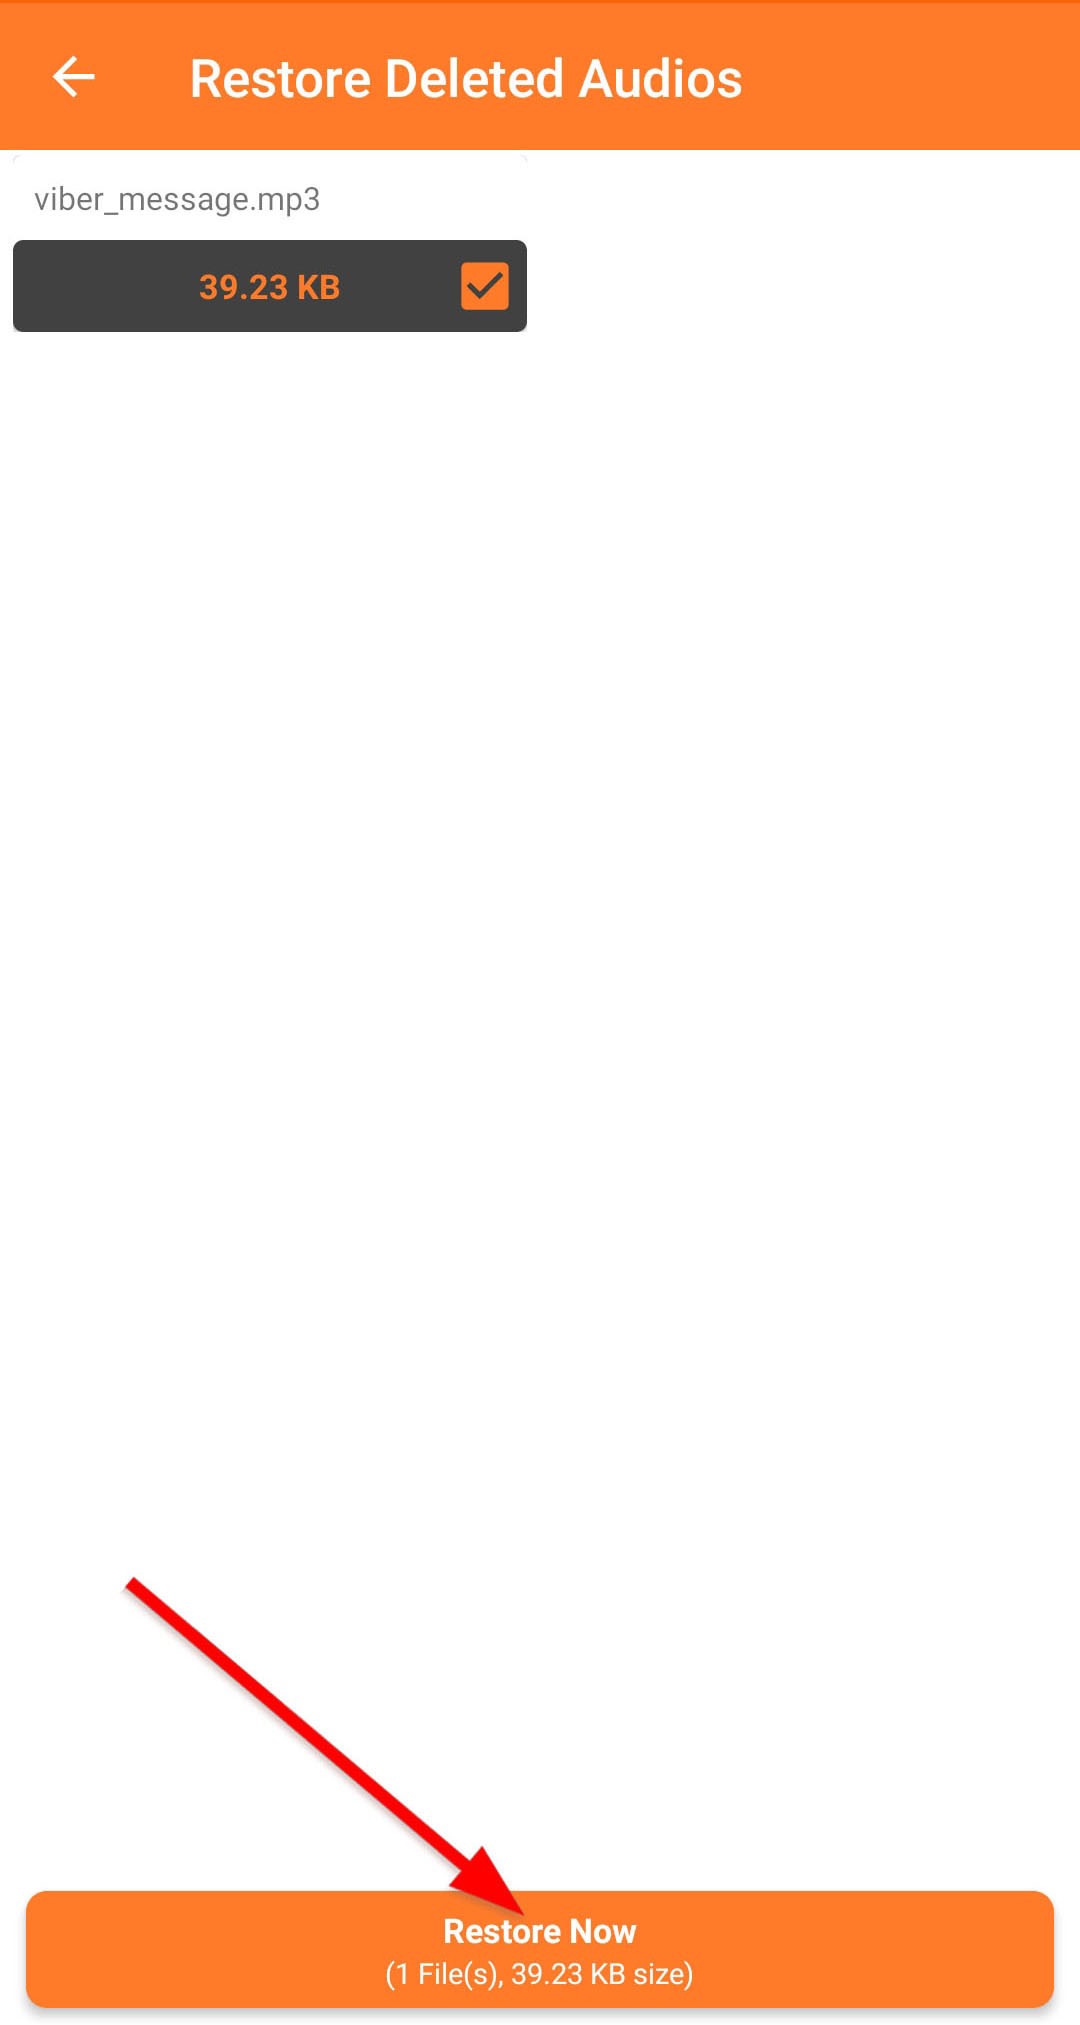
- Choose which audio to restore from the list shown. Then, tap Restore Now.
How to Recover Deleted Voice Recordings from an iPhone
iPhone devices also have their own version of a built-in voice recording app – Voice Memos. You can also find similar tools in the app store.
There are several methods you can use to recover deleted recordings from an iPhone, whether they are new or old voice memos. This works both for files recorded using the iPhone’s built-in app and other third-party apps. These techniques include the following:
Method 1: Recover Voice Recordings from Recently Deleted
Accidentally deleted voice recordings from the Voice Memos app will go to the Recently Deleted folder of the app. These recordings will be available in the folder for 30 days before being permanently deleted.
To restore your deleted recordings from the Recently Deleted folder on your iPhone, follow these steps:
- Launch Voice Memos on your mobile device.
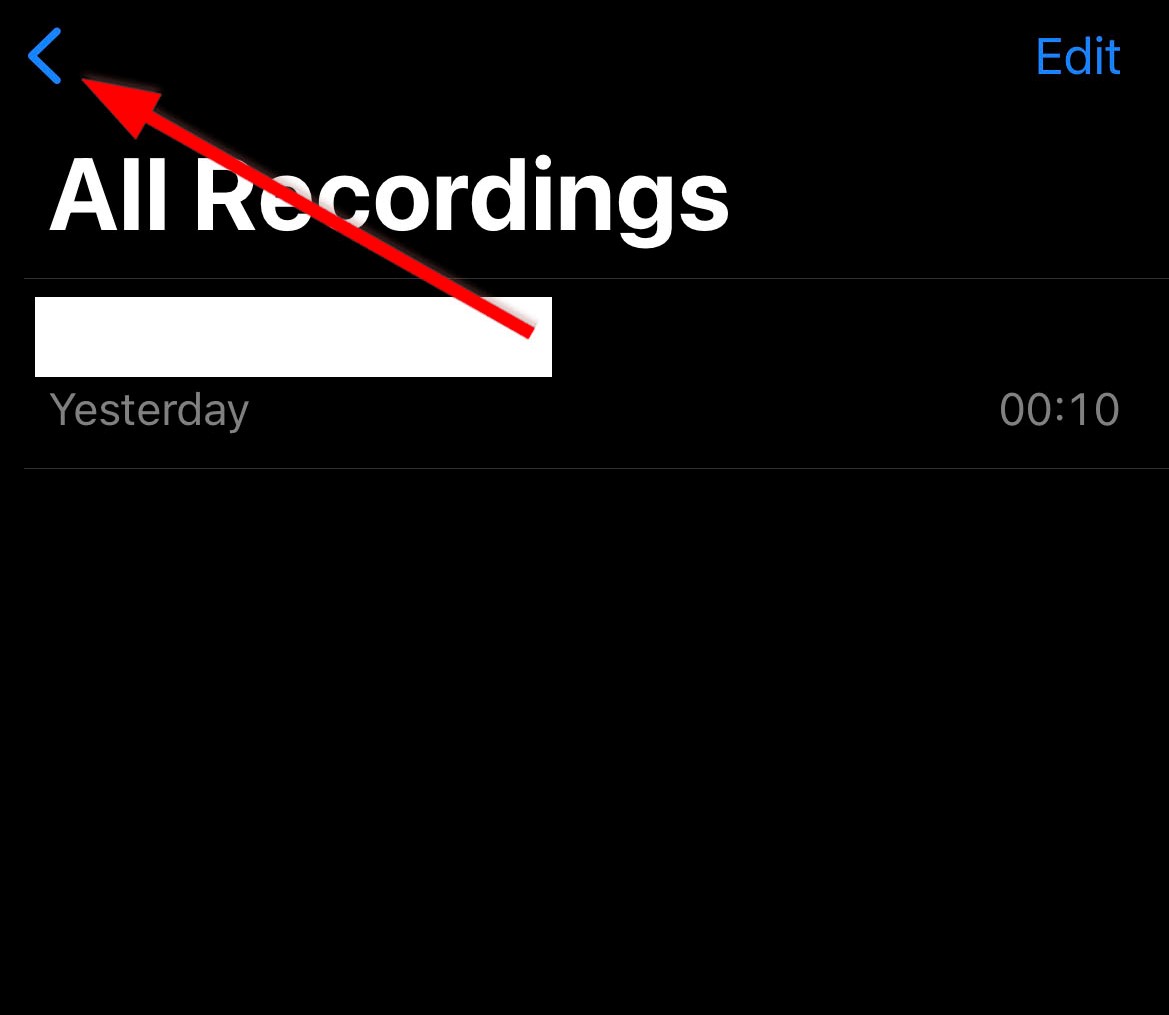
- From your list of voice memos, tap the back button.
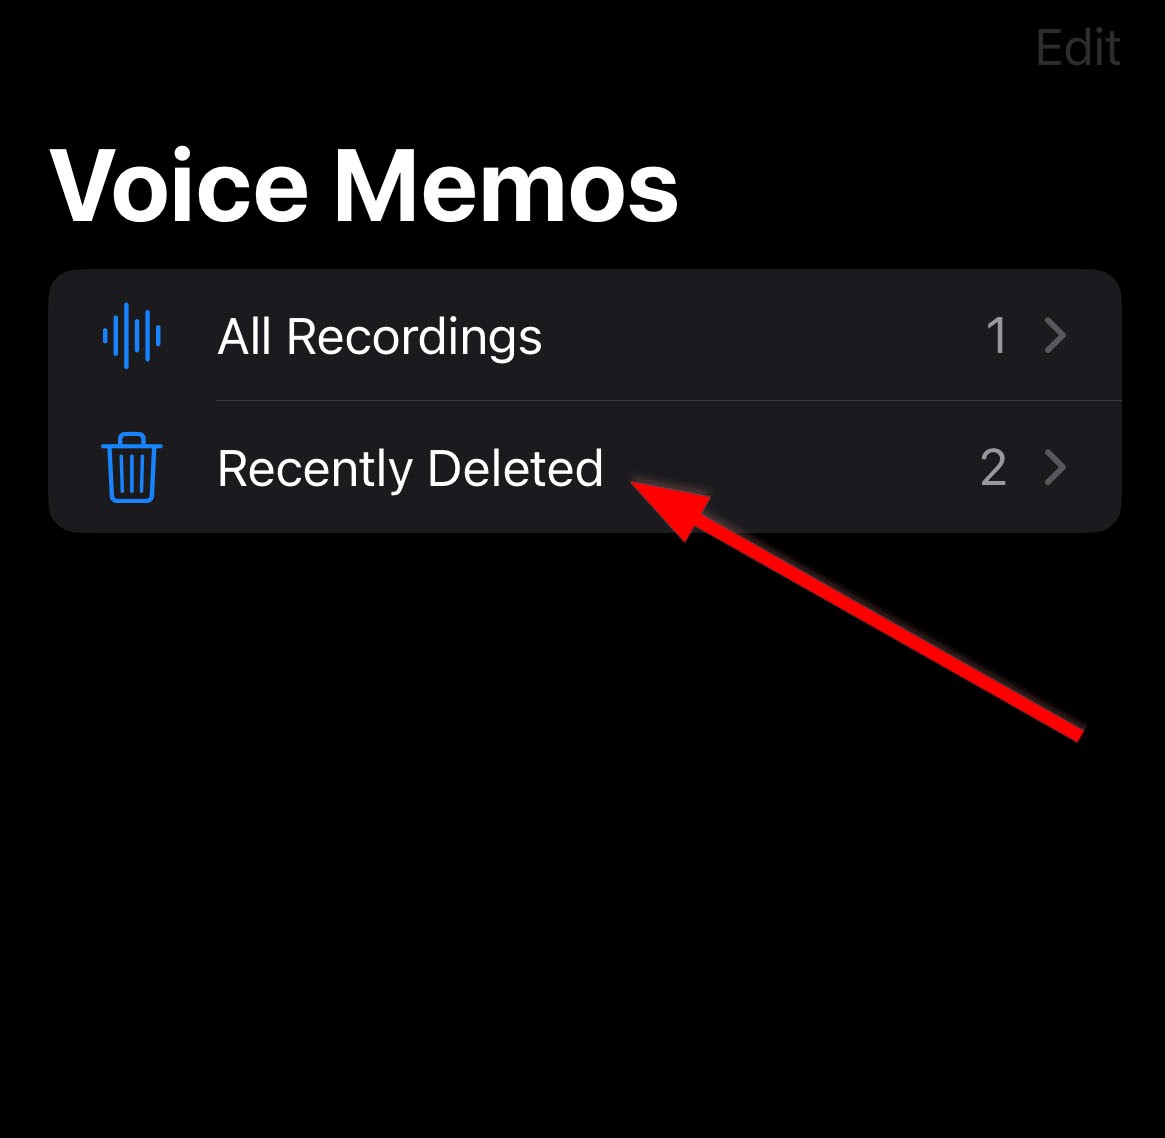
- Next, access the Recently Deleted folder.
- After that, tap the voice recording you want to recover. Then, select Recover.”

You can also recover deleted voice recordings by batch. To do so, simply access Voice Memos and head to the Recently Deleted folder. Afterward, tap the Edit option on the top-right corner of your screen. Then, select the voice file you want to recover and choose Recover All.
Method 2: Restore Deleted Voice Memos from an iCloud backup
If you have enabled iCloud backup for Voice Memos, you can recover voice memos from iCloud.
To check if the Voice Memos app uses iCloud for backup, go to your phone’s Settings > [Your Name] > iCloud > Show All > Check if Voice Memos is turned on. Once turned on, you can access your recordings across all your Apple devices that are using the same account.
When restoring your recently deleted voice memos through iCloud, you have to reset your device. Do this by going to Settings > General > Reset > Erase All Content and Settings.
Then, restore your files by doing the following:
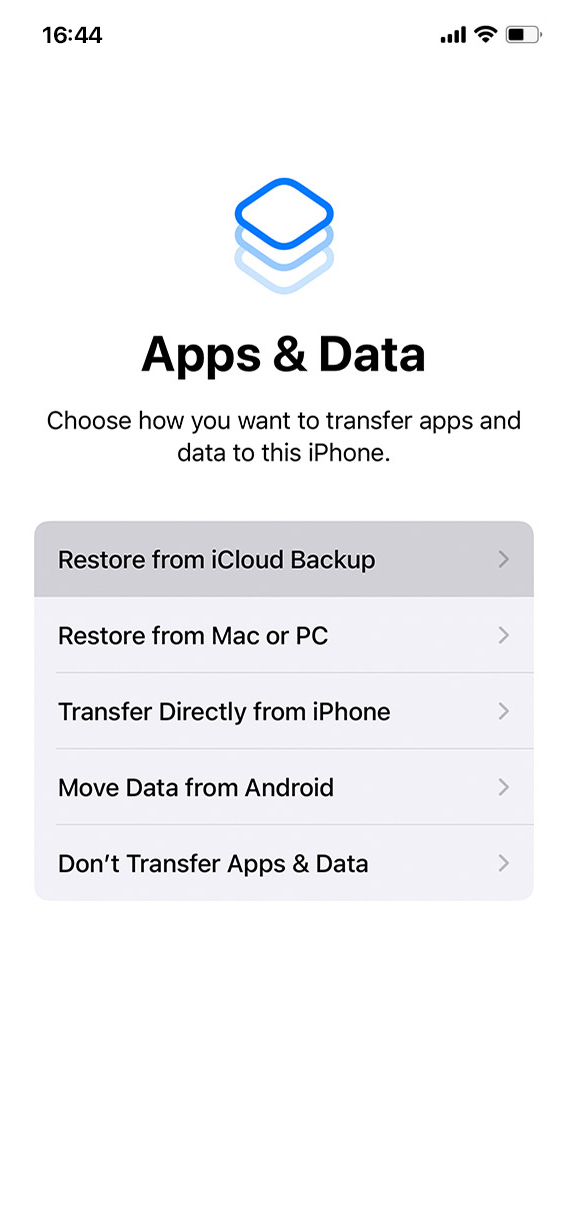
- On the Set up your iPhone screen, choose Restore from iCloud backup.
- Enter your credentials and tap Sign in with your iCloud Apple ID.
- Select the backup version you want to restore.
Method 3: Recover Deleted Voice Memos on iPhone without Backup
If you have no iCloud or other backups, you can try to use Disk Drill’s iPhone Data Recovery feature.
Here’s how you can easily recover deleted recordings using this data recovery software:
- Make sure you’ve installed Disk Drill on your Mac. Then connect your iPhone to your Mac.
- Next, find your iPhone on the list of devices available for scanning in iPhones & iPads tab. Then, click Search for lost data to start the scan.
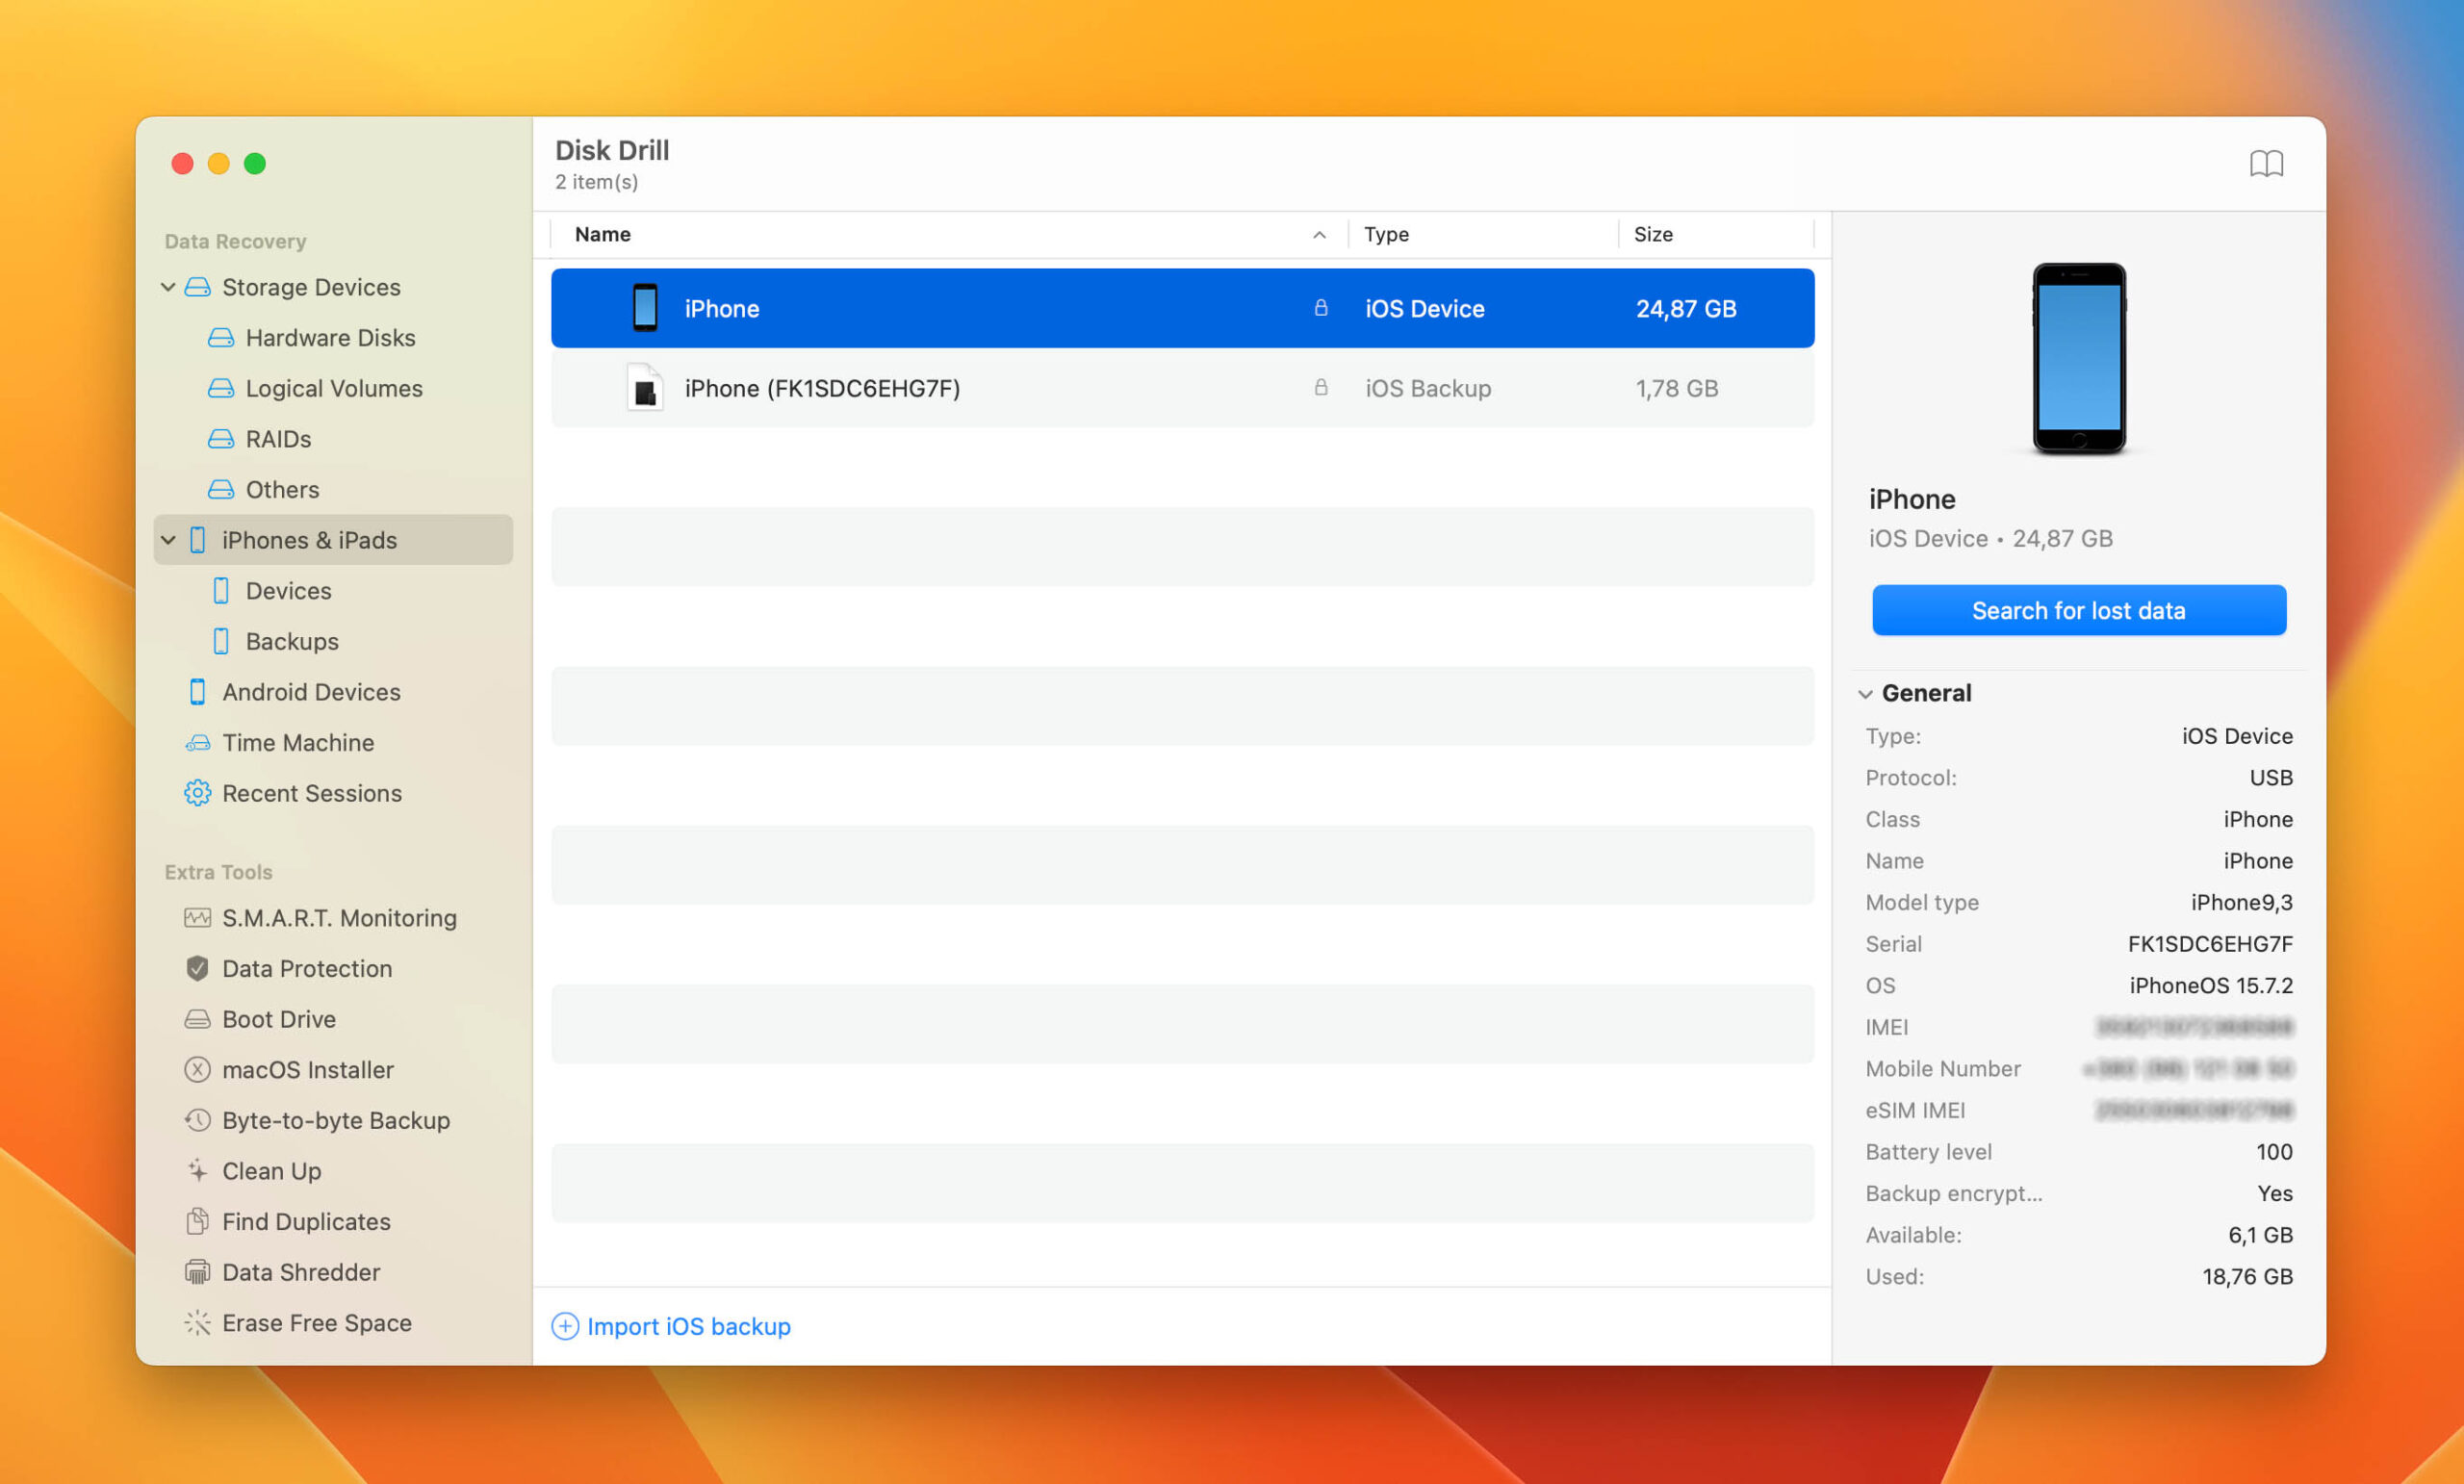
- Once the scan is complete, select which file types you want to recover and click Recover.


