
Disk Drill is a data recovery tool that’s reliable for retrieving lost data. Its developers are constantly upgrading the software and have released a new version. The latest update introduces the ability to recover your data from RAID arrays and virtual hard disks. Furthermore, additional recoverable file entities have been added and the user interface has received a new look, making it even more intuitive.
Disk Drill is very handy when you need to recover data from your computer or external storage devices. It can handle data recovery processes for all kinds of data storage and recover a myriad of different file types (400+). Additionally, Disk Drill provides tools that help protect your data.
Table of Contents
Brief Overview of Disk Drill
Disk Drill is a professional data recovery tool with licenses starting at $89. Users can try the software beforehand by scanning their drive to see what Disk Drill can find, with Windows users having the added benefit of being able to recover up to 500 MB worth of data for free
In addition to the ability to recover data from a vast range of storage devices and file systems (including RAID), you can also create byte-to-byte copies of your drives, preview files during scanning, monitor drive S.M.A.R.T. data, and opt for an extra layer of protection for selected data.
What’s New in Disk Drill?
Disk Drill is always being expanded on to ensure it’s meeting the needs of its users. Disk Drill 5.4 introduces a lot of exciting improvements that further improve the application, both in terms of general usability and recovery performance. With these new improvements, the developers have managed to make the tool even better without compromising its exceptional recovery abilities and ease of use.
- Even faster scan times with new caching algorithms.
- File recovery from Windows Storage Spaces.
- Support for Apple RAIDs (0/1/JBOD) created on macOS.
- More supported file formats, including MBS, NTF, ALS, FC, and more.
- New Clean Up module to help remove unnecessary junk files.
- Improved identification of GUID and MBR partition tables.
- HEX view operations are now much faster.
How to Get Started with Disk Drill
If you need a quick data recovery solution, setting up Disk Drill has two easy steps.
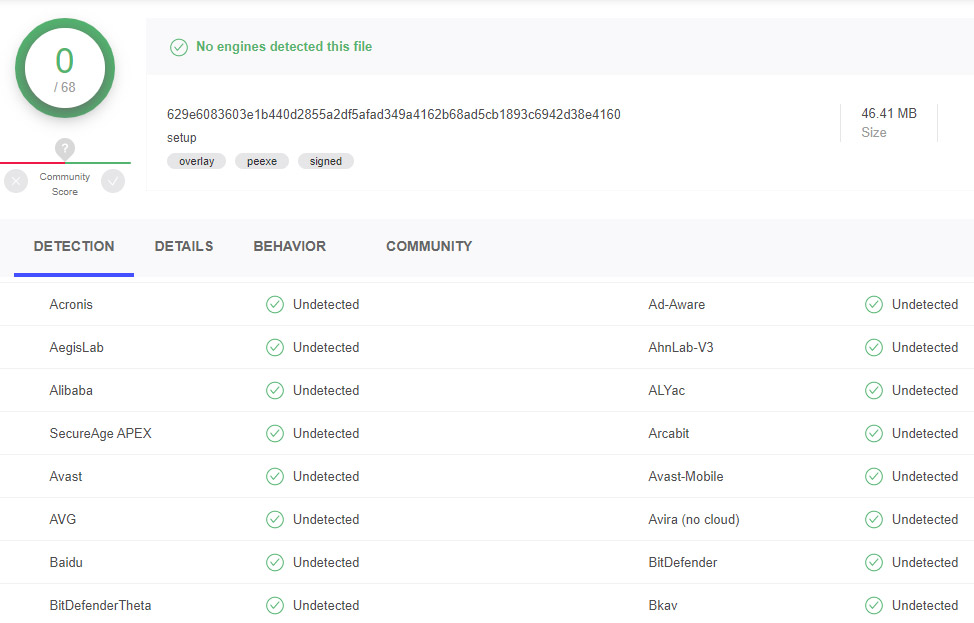
- Download Disk Drill from the official website.
- Open the setup and install Disk Drill. Grant Disk Drill administrator privileges, as this is necessary for the algorithms to run.
You are now ready to recover data from your desired location! Opening Disk Drill reveals the main menu, which is intuitive and easy to navigate.
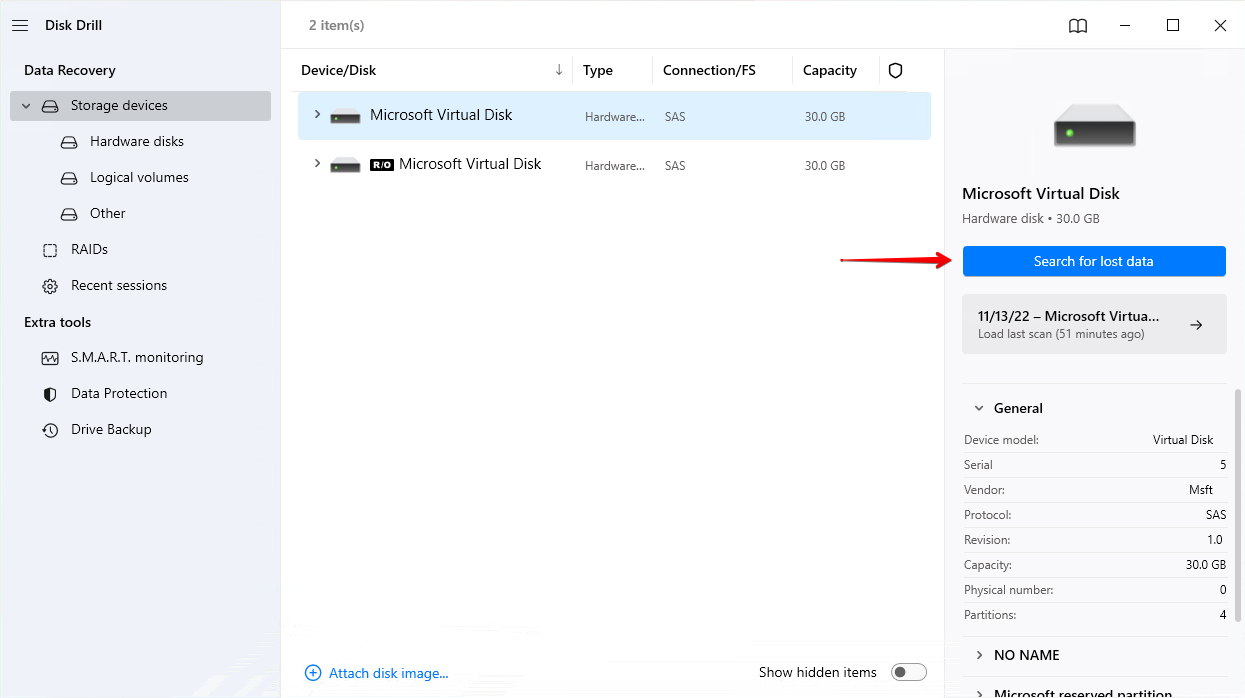
Once installed, you’re all set to recover data. Once you open Disk Drill, you’ll be greeted by the main interface where you can begin recovery by selecting the drive you want to scan and clicking Search for lost data.
On the left, you can also explore Disk Drill’s extra tools. The S.M.A.R.T. monitoring feature actively monitors the health of your drives and alerts you to any potential problems. Both the Data Protection and Drive Backup features work to keep your data safe going forward, addressing the root cause of data loss. Better yet, all these extra tools are completely free.
Taking Disk Drill for a Test Drive
It’s easy to boast about the recovery abilities of Disk Drill 5. Therefore, to show you what a typical recovery looks like with Disk Drill, we’re going to take you through a recovery scenario to showcase just how easy it is to use and what it’s capable of.
We formatted a partition that contains various photos and videos. We then used Disk Drill to recover these files to simulate how the software would perform in a similar, real-world situation. We’ve included a step-by-step rundown of how the recovery process went.
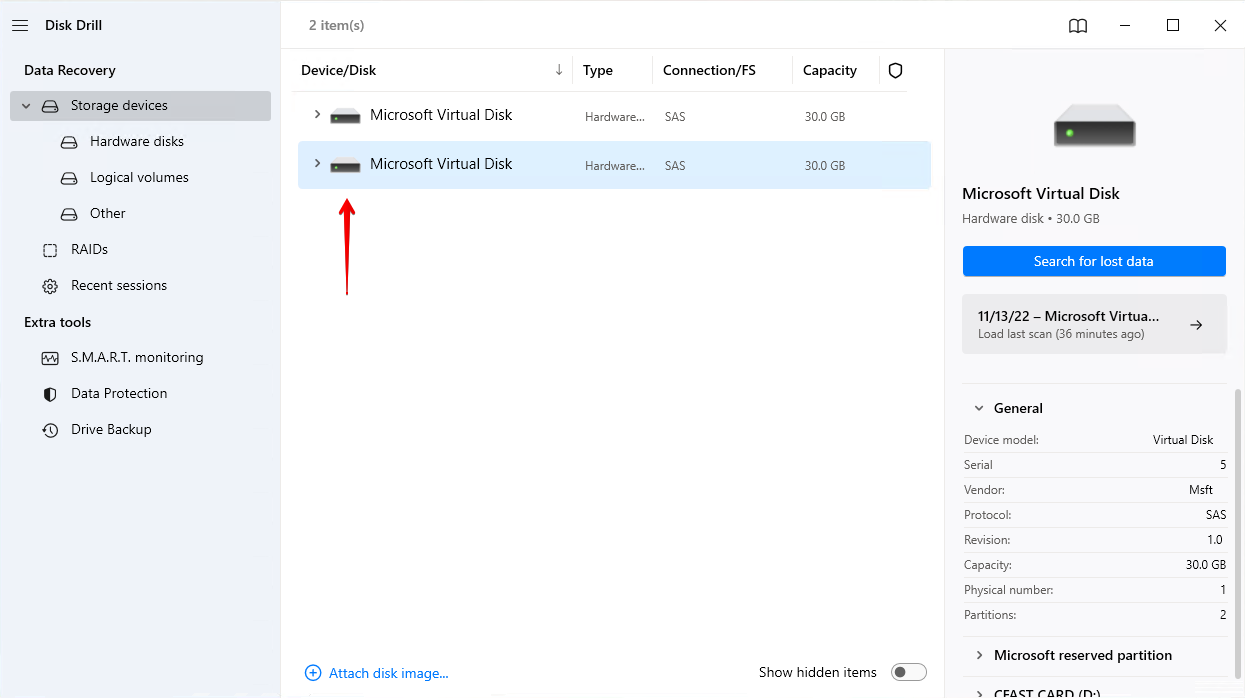
Step 1. We launched Disk Drill and selected the disk drive that contained our recently deleted files.
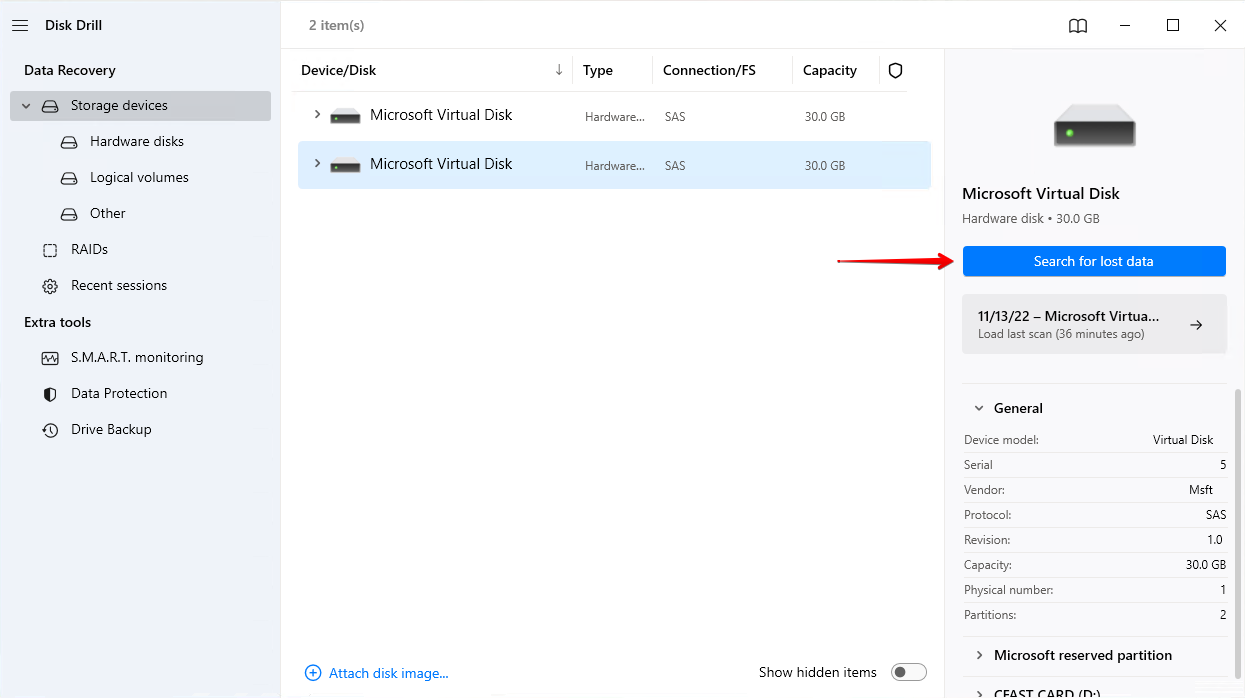
Step 2. Once the drive was selected, we began the scan by clicking Search for lost data. This scan incorporates multiple scan types to ensure you get the best results.
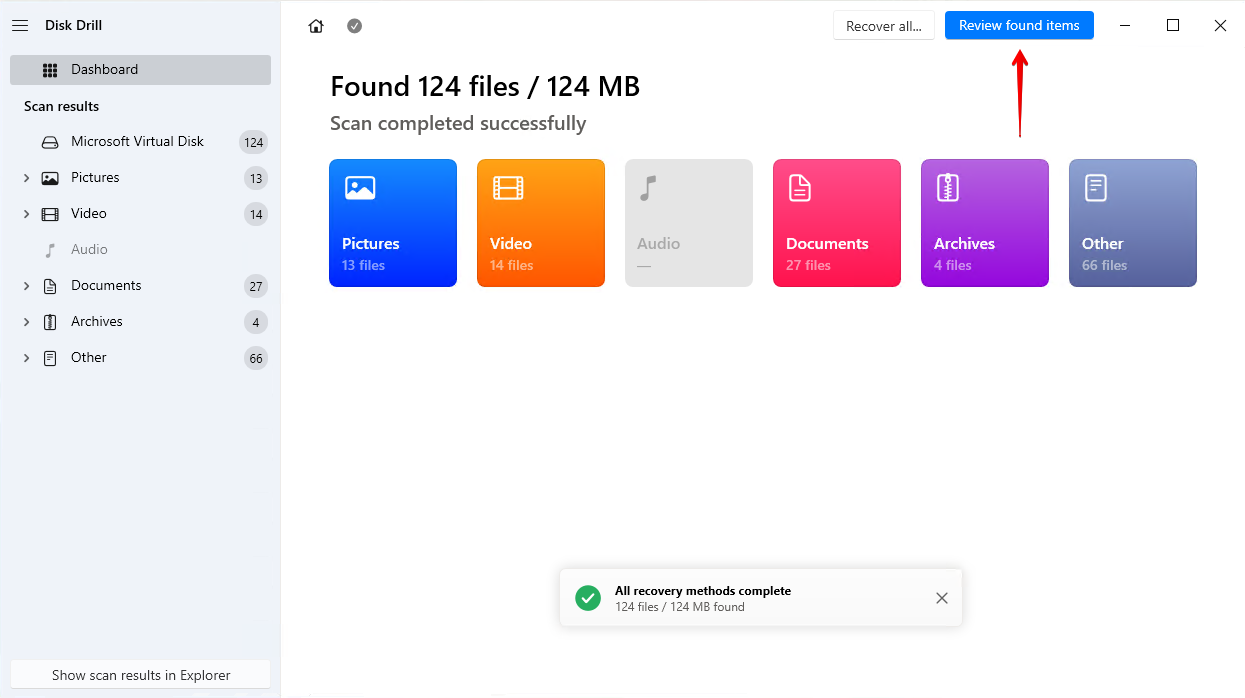
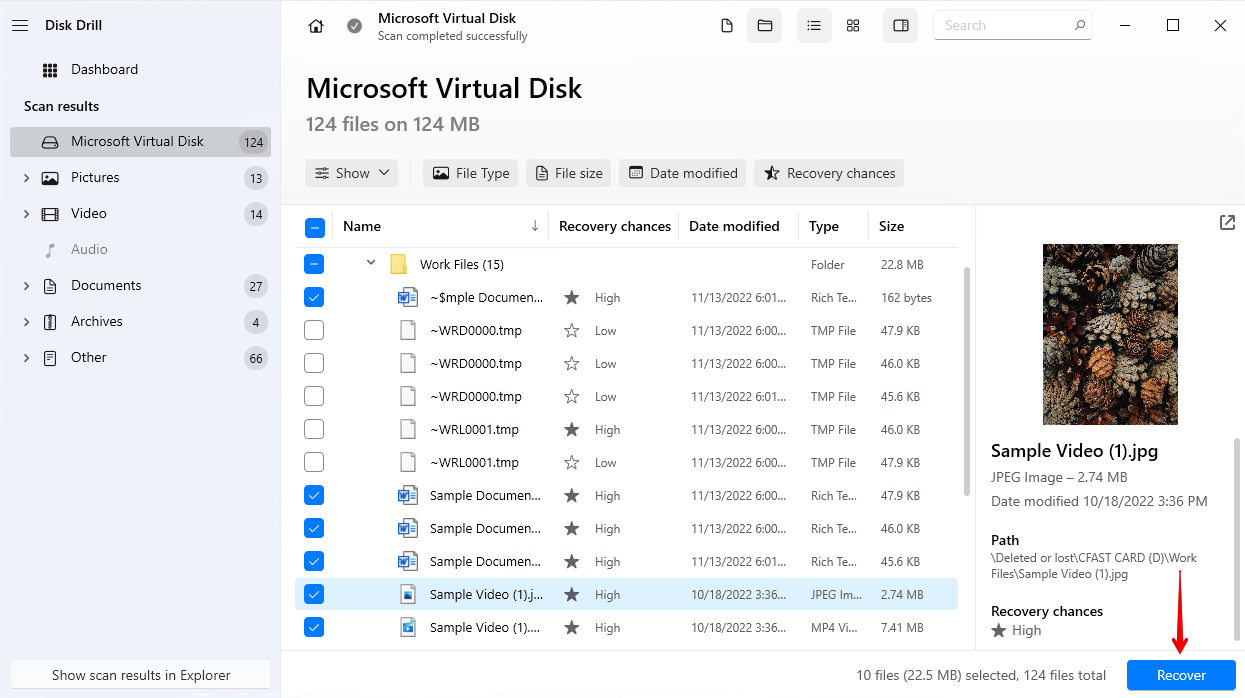
Step 3. Once the scan was complete, we were presented with a basic overview of what files (broken down by file type) Disk Drill was able to find. From here, we clicked Review found items to explore them all.
Step 4. We found our deleted files and marked them for recovery. Once they were all selected, we clicked Recover.
Step 5. We chose an appropriate recovery location and recovered all of the deleted files.

The Complete Disk Drill Review
Now that we have tested the newest version of Disk Drill let’s delve into its specific features.
System requirements
Disk Drill 5.4 is built for Windows 10 64-bit and Windows 11 64-bit. For servers, it will work on Windows Server 2016/2019/2022. Windows 7/8/8.1 users will need to download Disk Drill 4.5 instead. Any computers still running Windows XP or Vista will only be able to use Disk Drill 2.0.
Minimum hardware requirements:
- Disk space: Over 1 GB
- RAM: 4 GB
- Display resolution: 1280×720
- CPU: x64 compatible CPU 1.0 GHz processor or faster
Pricing Plans
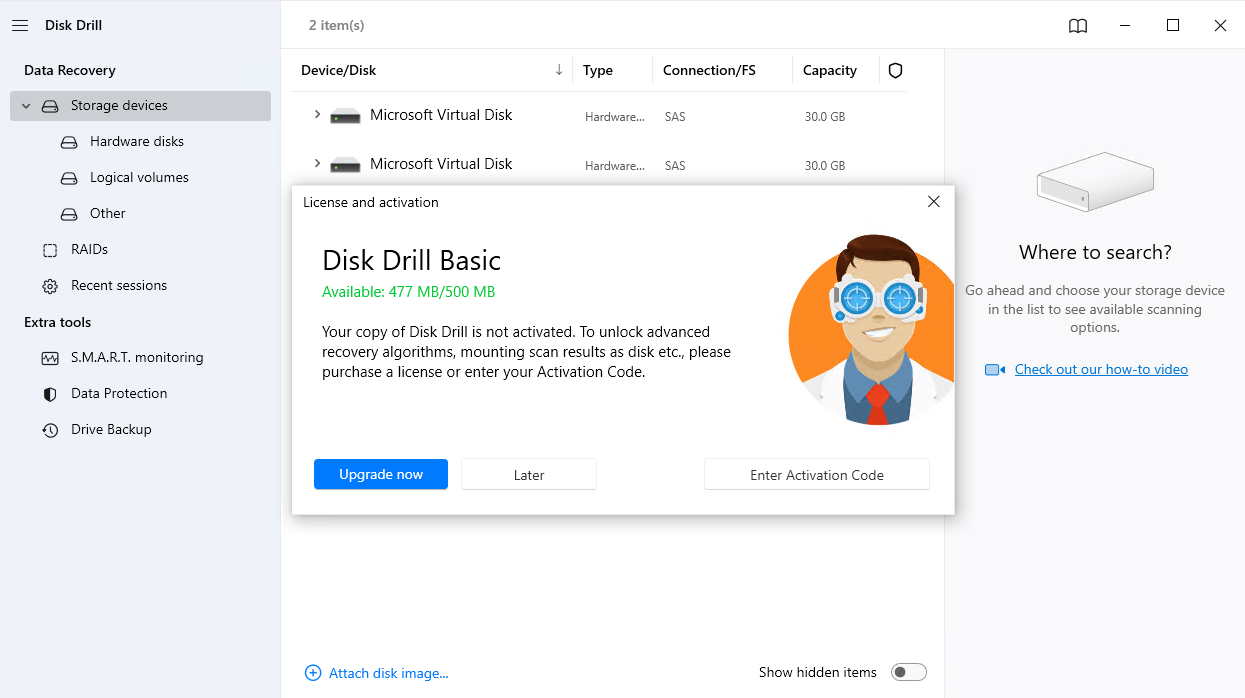
Disk Drill offers a free trial to their software which lets you test out all of the features and restore up to 500MB for free on Windows machines. However, if you want to recover more files, you should consider upgrading. The Pro version for one user and up to three activations will cost you $89, which includes priority support, smart one-click recovery, and the option to mount recoverable items as a disk.
However, it might be a good idea to also pay for lifetime upgrades (29$) as the software is constantly improving. Buying licenses for a business is more expensive, but you can have up to 10 users with unlimited activations (499$ plus lifetime upgrades at 99$).

Features
Disk Drill is primarily a data recovery tool. Its main features are:
- Powerful quick and deep scan algorithms
- Compatibility with several file systems including FAT32, exFAT, NTFS, APFS, and ext2/ext3/ext4
- Compatible with essential file types for documents, media, and other kinds of data
- Automatic scans
- Scanning lost partitions
- Scanning RAW devices
- Cross-platform scan session management
- Byte-to-byte image creation
- Comprehensive scan results organization
- Scanning RAID arrays
- Scanning virtual hard disk drives
User-interface
Disk Drill’s user interface was already optimized for a great user experience, but Disk Drill 5.4 takes it even further with a new modular user interface. Everything you need is just a click away so you don’t have to get lost in a series of endless menus to find what you’re looking for.
The new and improved user interface adheres to Microsoft’s design guidelines and the new Dark Mode feature ensures a comfortable user experience in any environment. The recovery results screen includes everything you need to organize the scan results without it feeling crowded.
Additional tools
The creators of Disk Drill noted the need for data protection. Often we run into situations where we need data recovery because we don’t back up our data regularly enough or empty Recycle Bins (like we did).
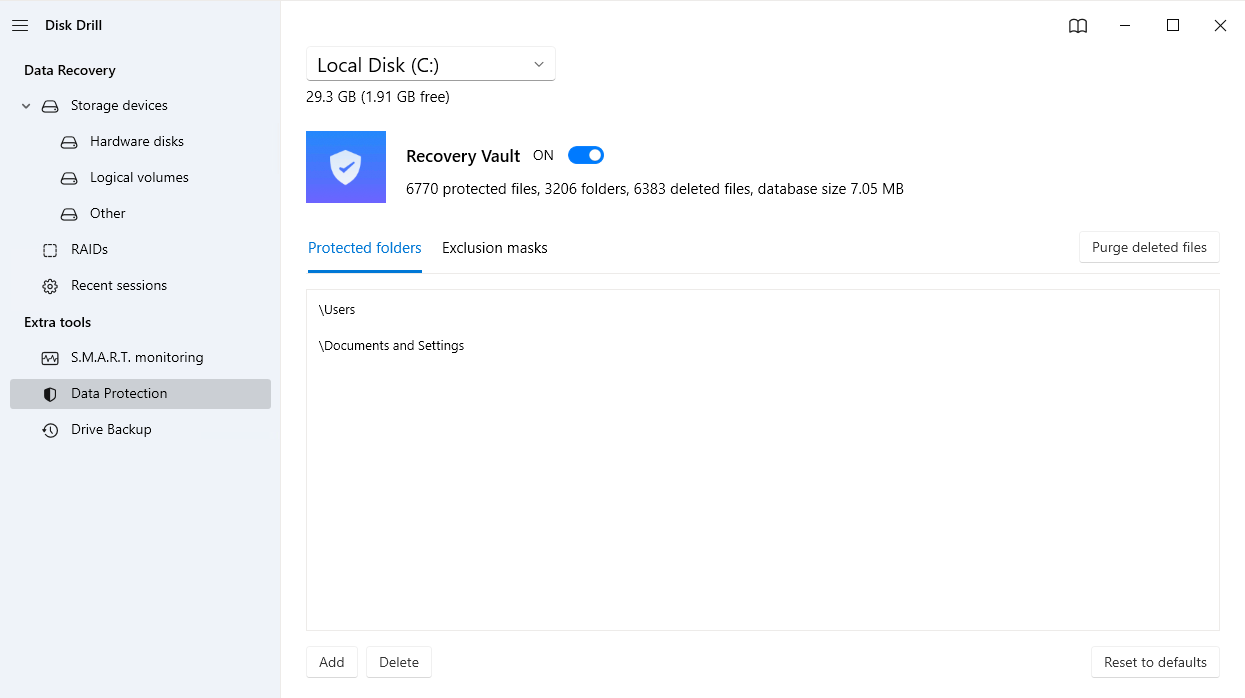
As a result, Disk Drill offers free, inbuilt data protection services. When you configure these settings, Disk Drill provides you with a Recovery Vault that facilitates quick recovery of deleted files.
The Recovery Vault intelligently “remembers” where your files were stored. As a result, since Disk Drill has this pointer information, file recovery becomes effortless. However, if the deleted file IDs get overwritten, recovery isn’t possible. Therefore, when you encounter deletion, it’s critical that you use your computer or disk as little as possible.
This rescue feature of Disk Drill is also prevalent among users, with many using it as their new backup tool.
One user commented, “Besides all the great disk utility functions, Disk Drill has already saved me from many problems with its amazing recovery function! I have lost count of how many times I’ve had files mistakenly deleted, only to be recovered by Disk Drill. It has become my backup utility.”
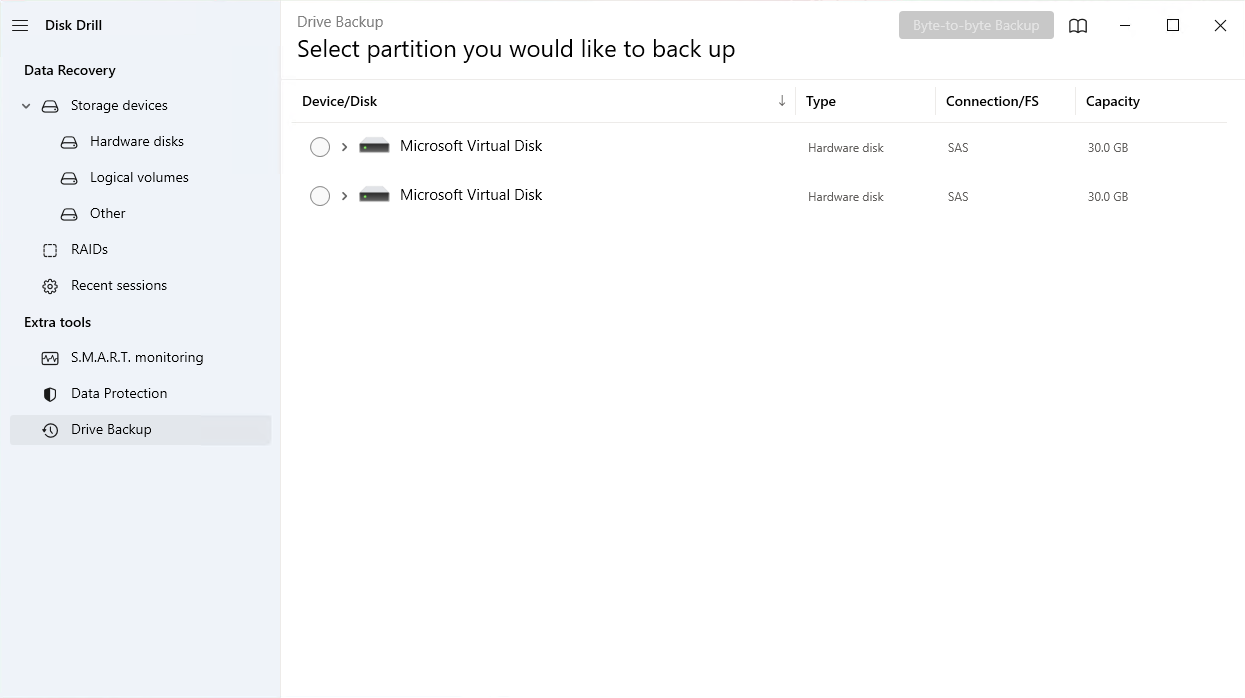
In the event that you do encounter data loss, Disk Drill also allows you to create byte-to-byte backups using its Drive Backup feature, which also works for backing up RAID array. These backups take a complete snapshot of your drive and store it in an image format. This image can be attached to Disk Drill and scanned. Scanning an image instead of your actual drive allows you to recover your data without the worry of something affecting the original data.
In addition to the Recovery Vault and Drive Backup features, Disk Drill has a S.M.A.R.T. monitoring tool. Every drive contains S.M.A.R.T. (Self-Monitoring Analysis and Reporting Technology) data that gives you an indication of its health. Disk Drill’s Disk Monitoring tool is able to alert you to any issues that arise with your disk drive, giving you the opportunity to take action before something happens to cause data loss. However, bear in mind that the measurement of these S.M.A.R.T. values is different from vendor to vendor. Therefore, it’s important to familiarize yourself with how your drive reads different S.M.A.R.T. parameters.
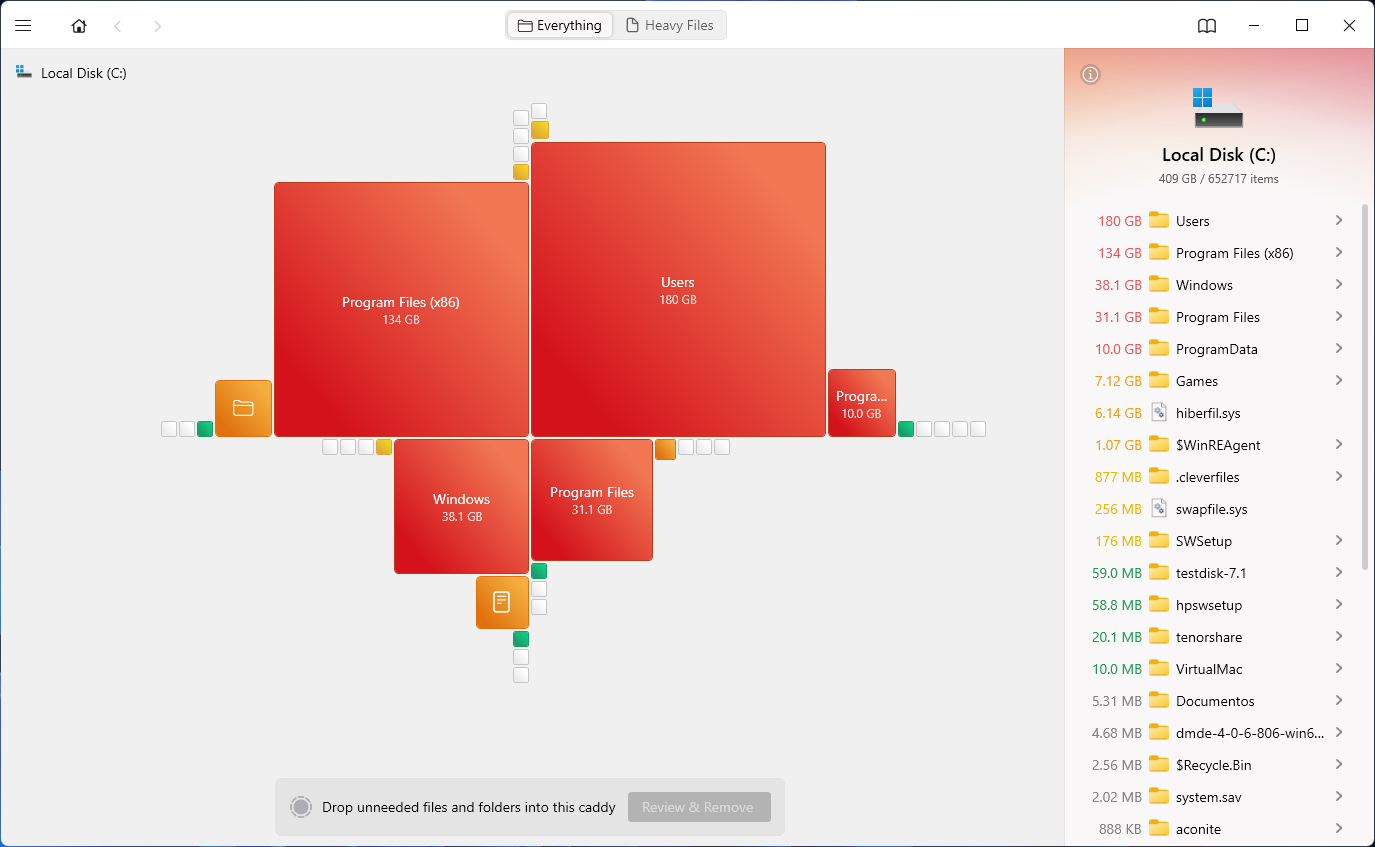
Following the most recent update, Disk Drill now includes a Clean Up module. This new feature can scan the layout of your drive and present you with a visual map of what’s taking up your storage space. You can then selectively remove any junk or unwanted files to free up some storage and reduce the clutter.
Pros and Cons of Disk Drill
While we love Disk Drill and are always amazed at the incredible work the creators put into it, we notice the good and the bad about all software we test.
Pros
- User-friendly UI
- Powerful scanning algorithms offering greater accuracy and versatility
- Compatibility across major versions of Windows
- Recovery for a wide range of file systems and file types
- Free inbuilt data protection and backup tools
- RAW photo recovery
- RAID data recovery
- Support for virtual disk drives
- Dark Mode available
- Limited customer support for the free version
- Disk Drill does not work on phones
- Deep scanning algorithms might take too long
Although there are apparent problems with Disk Drill that we would love to see fixed, they aren’t pressing. What we like most about Disk Drill is the constant evolution to resolve issues that users face. And that’s why we are sure that they will iron out these problems eventually.
Disk Drill VS Other Data Recovery Tools
There’s a seemingly endless number of options online in terms of data recovery tools, which can make it difficult to weed out the good from the bad. Let’s highlight some of the things that Disk Drill does well in comparison to some of its competitors:
- Updated regularly – The team behind Disk Drill is always working hard to fix bugs and make sure it’s up-to-date with the latest versions of your favorite operating systems.
- Simple, transparent pricing – Paying a monthly or yearly subscription for a data recovery tool isn’t always feasible or cost-effective. Instead, Disk Drill makes it simple by only offering lifetime licenses.
- Supports over 400 file formats – Disk Drill supports a wide range of different file formats with its deep scan, ensuring you can recover even rare file types by signature alone.
- Convenient session management – The last scan of each device you scan with Disk Drill is automatically saved, allowing you to return to it at a later time if you don’t want to recover data straight away.
- User-intuitive interface – Nowadays, data recovery doesn’t have to be done by professionals. Disk Drill’s intuitive interface makes it easy to recover your data in just a few clicks.
Of course, Disk Drill isn’t without its shortcomings (as we’ve covered in this review). However, it remains a very reliable recovery solution that has your back in a multitude of data loss situations.
Conclusion
Disk Drill remains one of the best options for recovering data from practically any data loss scenario. It uses advanced algorithms to scan your drive and pull as much recoverable data as possible. Furthermore, its intuitive and modern user interface makes it easy to use for anyone, whether you’re a new user just recovering a few files or a professional needing to recover thousands of files from a RAID array.
Of course, every data loss situation is unique. In some cases, you may need to recover an obscure file type that Disk Drill doesn’t support. Or, it may just be outside of your price range. However, outside of these special cases, Disk Drill has proven itself to be a top-performing data recovery tool that’s able to recover your files and prevent them from becoming lost again in the future.
FAQ
- Click here to download the setup for Disk Drill
- Install it with administrator privileges and open the program. You will see the main menu
- Briefly, the steps to follow next are selecting the location to recover data from, then choosing a scanning method, and starting the scan.
- Once the scan is complete, select the files you want to retrieve and restore them. Your files should now be ready to use
- Connect the device to your computer with a USB and mount it as a storage device
- Open Disk Drill and select the Android device as the target location
- Select a scanning algorithm of your choice and start the scan
- You will be able to see the progress of the scan in the window
- You may pause the scan at any moment to see whether your file has been found
- Select the files you want and click restore
- Open Control Panel.
- Go to “Programs and Features” or “Uninstall a program”, depending on the view selected.
- Locate Disk Drill, select it, and click Uninstall.


