 A Cyclic Redundancy Check (CRC) is a process used to detect digital data errors that often occur in storage devices and digital networks. Its purpose is to ensure that data remains intact and uncorrupted during access or transfer.
A cyclic redundancy error, commonly referred to as a CRC error, usually signals on your external hard drive. If left unresolved, this error can potentially compromise your data and lead to data loss.
Fortunately, there are various methods available that you can employ to fix the external hard drive cyclic redundancy error, regardless of whether you possess advanced technical knowledge or are an average user. In this article, we will explore these different methods and provide step-by-step instructions to help you resolve the issue.
Table of Contents
What Causes a Cyclic Redundancy Check (CRC) Error?
CRC errors on external hard drives can be caused by different factors. Understanding the underlying causes of the error is essential to effectively resolving the issue without risking data loss.
Here are some of the most common causes of a cyclic redundancy check error:
| Reason | Description |
| 🔨 Physical Damage | Any physical damage to your external hard drives can lead to CRC errors. This includes any chips or noticeable scratches on your disk or drive. Such damage can occur due to mishandling, dropping the hard drive, or overheating. |
| 💿 Bad Sectors | Bad sectors are areas on your physical drive that have become unreadable and can no longer reliably store data. This is often caused by physical damage or wear and tear. As a result, these bad sectors can generate Cyclic Redundancy Check errors whenever you attempt to read or write data to your drive. |
| ⛁ Data/Drive Corruption | Data corruption can occur due to software bugs or glitches, improper shutdowns due to power outages, issues during data transfer, and misconfigured files, among other reasons. |
| 🔗 Faulty or Loose Connections | Loose ports, damaged connectors, or any other poorly connected cables can also result in CRC errors. This is due to interrupted connections between your external hard drive and your computer, which may corrupt your files or device. |
| 🗂️ File System or Partition Issues | File system issues like improper formatting, corruption, or other errors can also result in CRC errors. |
| 🦠 Virus Infection | A virus infection can result in file alterations and leave out corrupted file systems or other errors, either on your partition or even on some of your files. Cyclic Redundancy Check then detects this as an error the next time you access your drive. |
How to Recover Lost Data From an External Hard Drive With a CRC Error
Data loss is one of the primary concerns when encountering a cyclic redundancy error on an external hard drive. To safely recover lost data from the external hard drive cyclic redundancy check error, reliable data recovery software is essential.
Before attempting data recovery, make sure that your external HDD is connected to your PC via a USB port and is detected by your computer. Then, perform external hard drive data recovery using Disk Drill.
Disk Drill is a data recovery app available for both Windows and Mac. It allows users to easily scan and recover data from external hard drives, including popular brands like Seagate and Toshiba. This powerful tool supports the recovery of various file types, such as documents, photos, videos, and audio, covering a wide range of existing file formats.
With Disk Drill’s free version, you can recover up to 500 MB of files (on Windows). On top of that, this data retrieval tool offers several useful features, such as:
- The ability to scan and recover files from different file systems, including NTFS, FAT32, ExFAT, and others.
- It also provides a byte-level backup option for both internal and external hard drives, ensuring comprehensive data protection.
- Disk Drill can report the recoverability of files and allows users to preview the scanned files in real-time.
Here’s how to use Disk Drill to recover data from an external hard drive with a cyclic redundancy error:
- Download Disk Drill from Cleverfiles’ official website. Then, follow the installation instructions to successfully install the app.
- Make sure that your hard drive is connected to your computer. Next, launch the app.
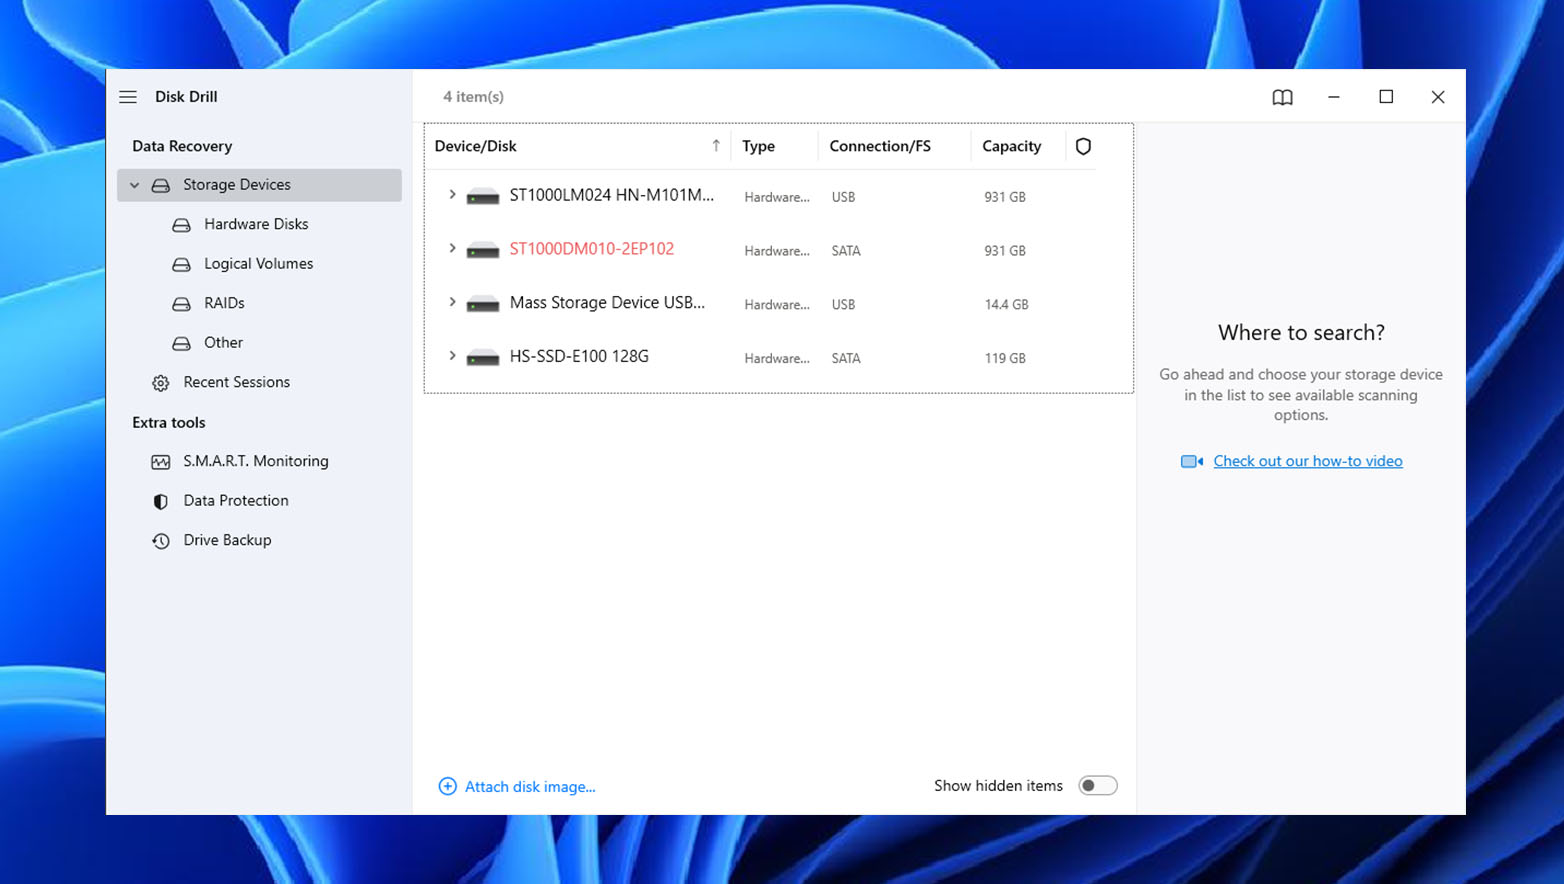
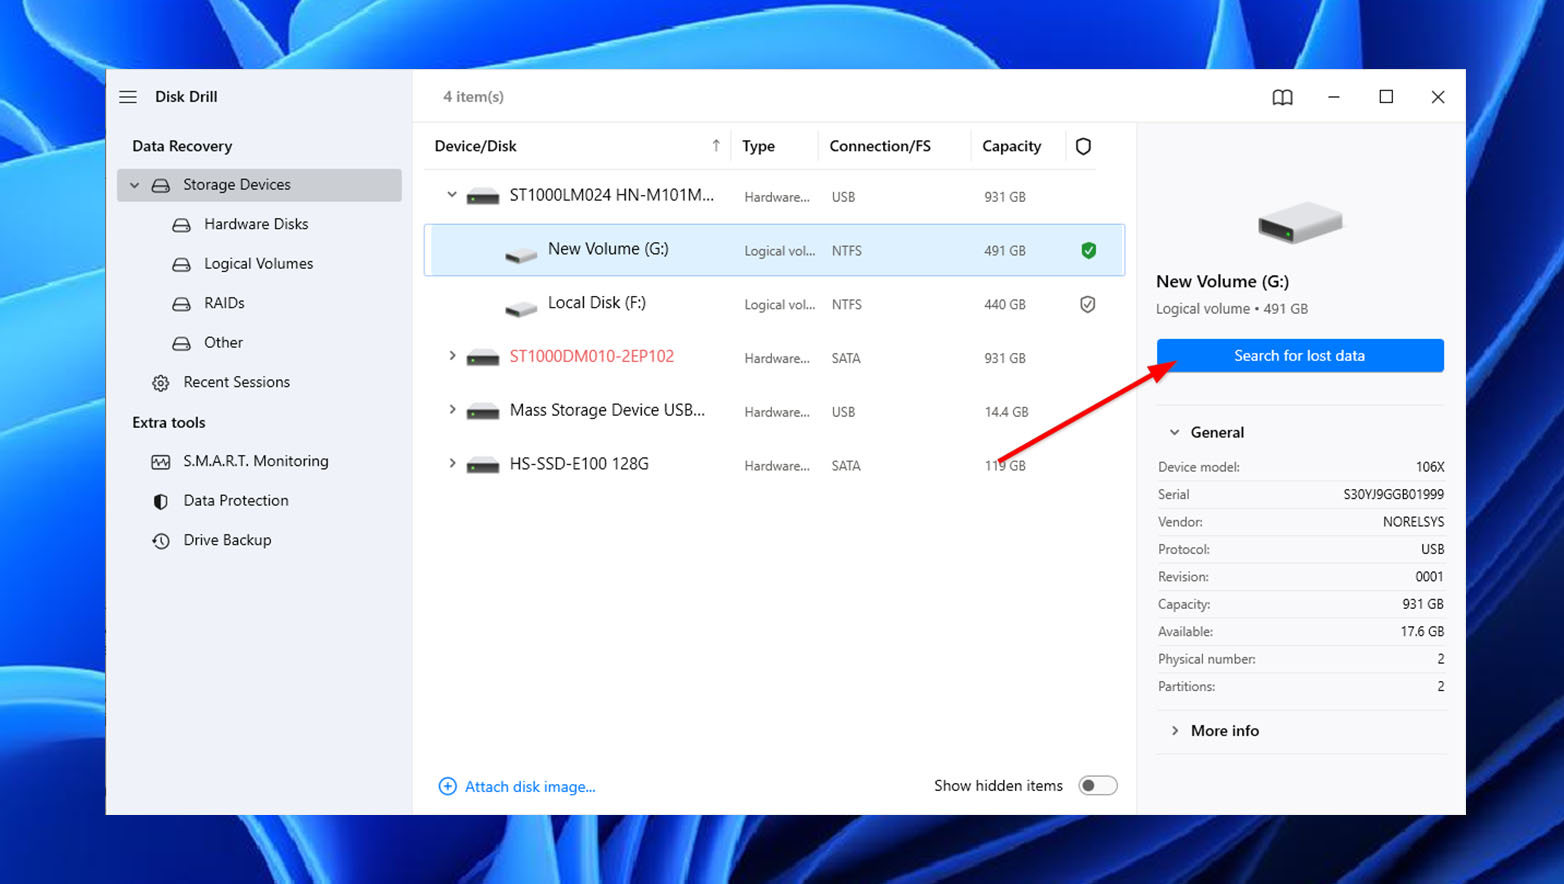
- You will see your external HDD with Cyclic Redundancy Check errors in the storage devices available for scanning. Select your device and click Search for lost data to start scanning for your files.
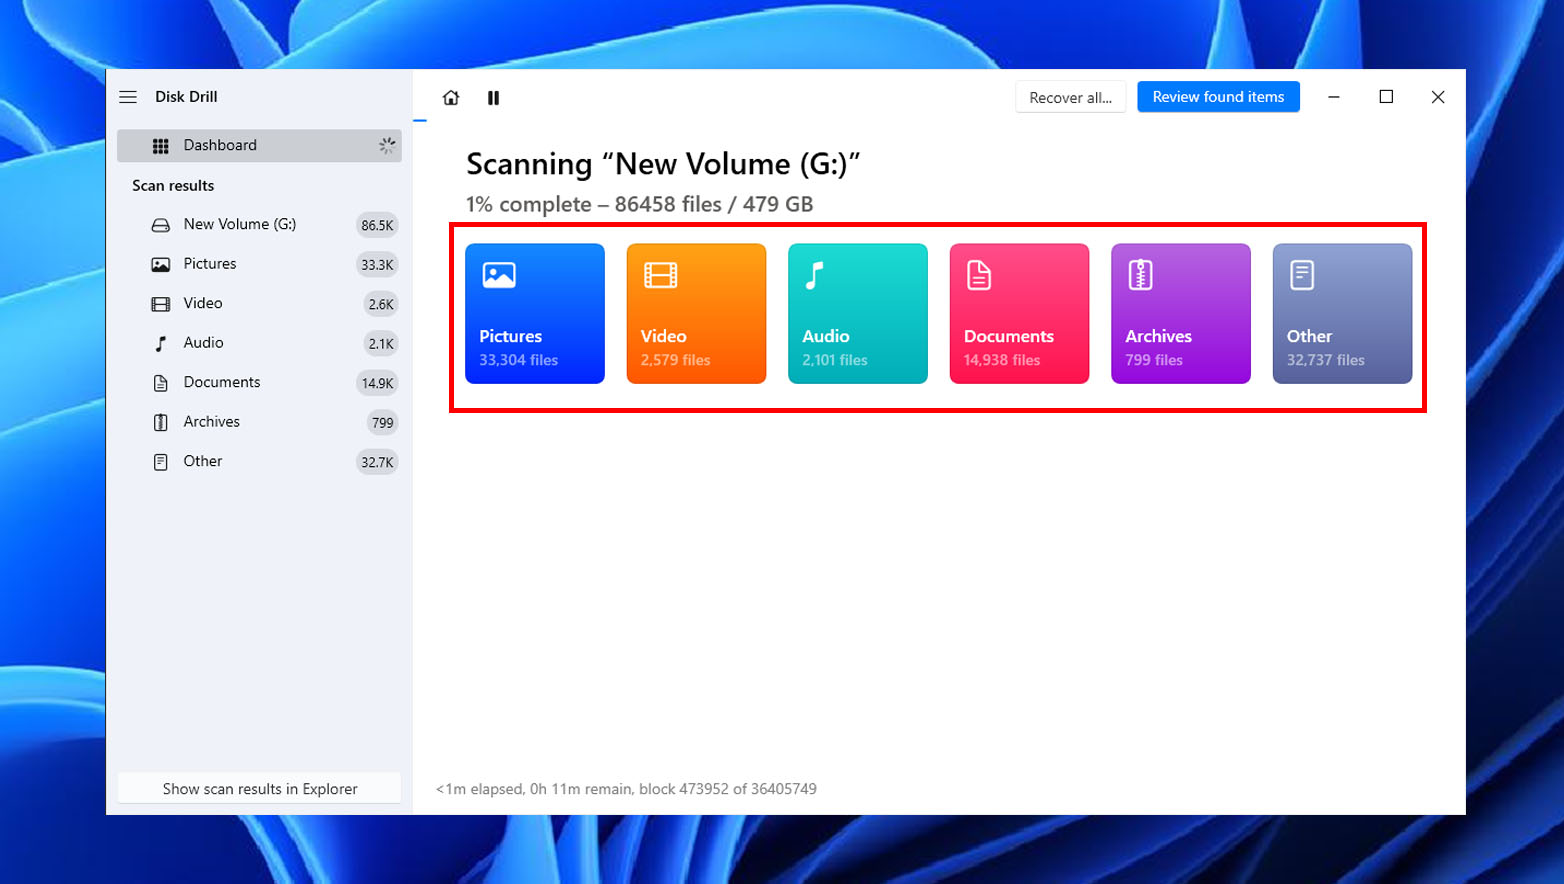
- Disk Drill allows you to check out the files it has scanned so far. Just click on the file category you want to view. If you want to finish the scan first, head to the next step.
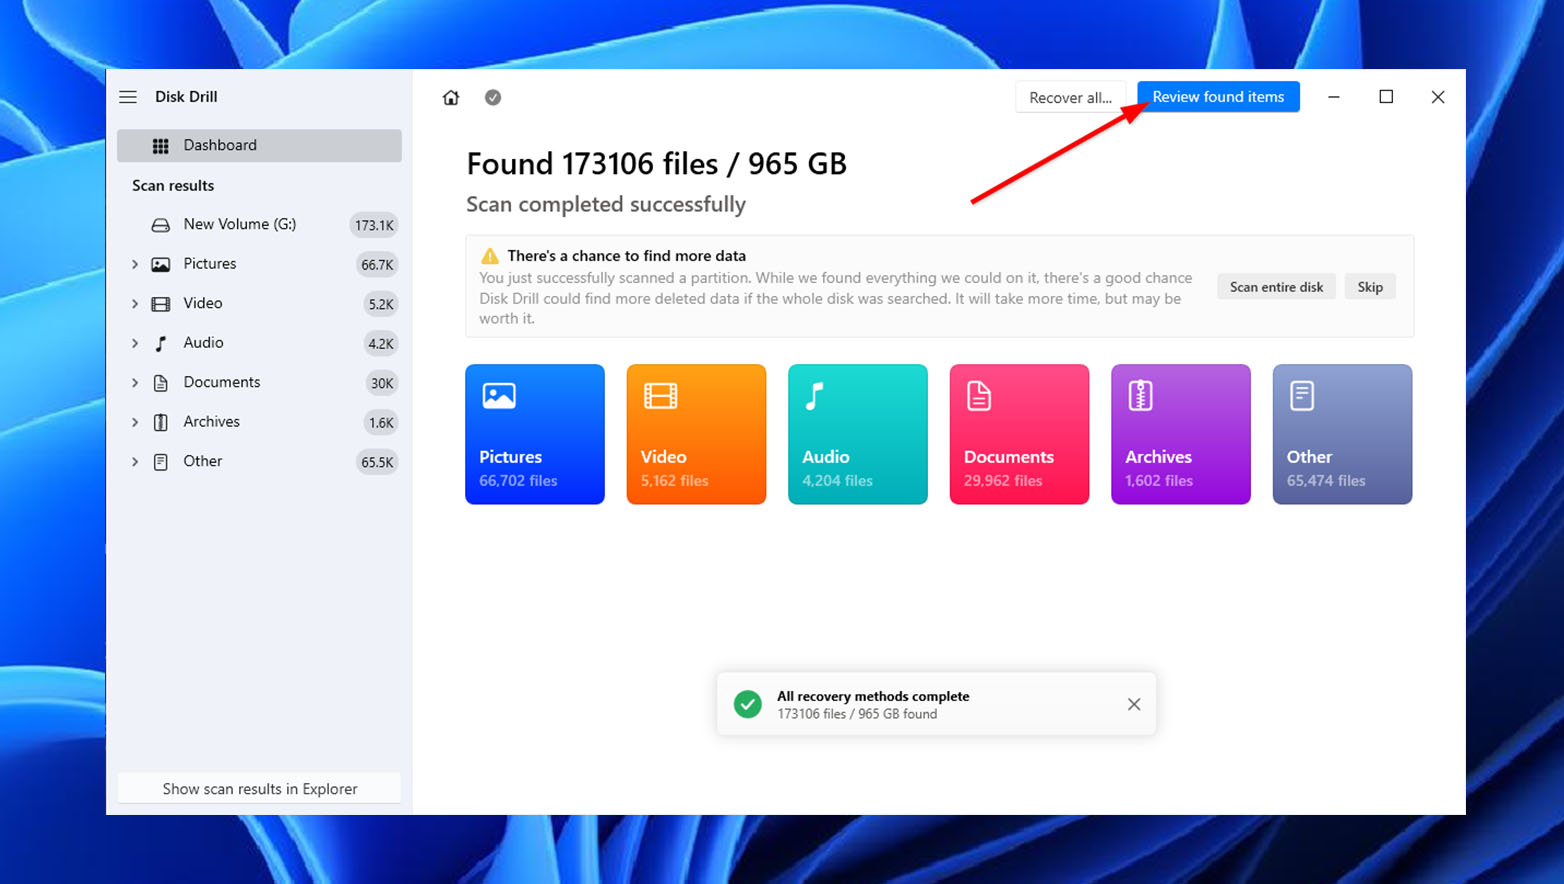
- When the scan finishes, click Review found items to check all the files that Disk Drill detected.
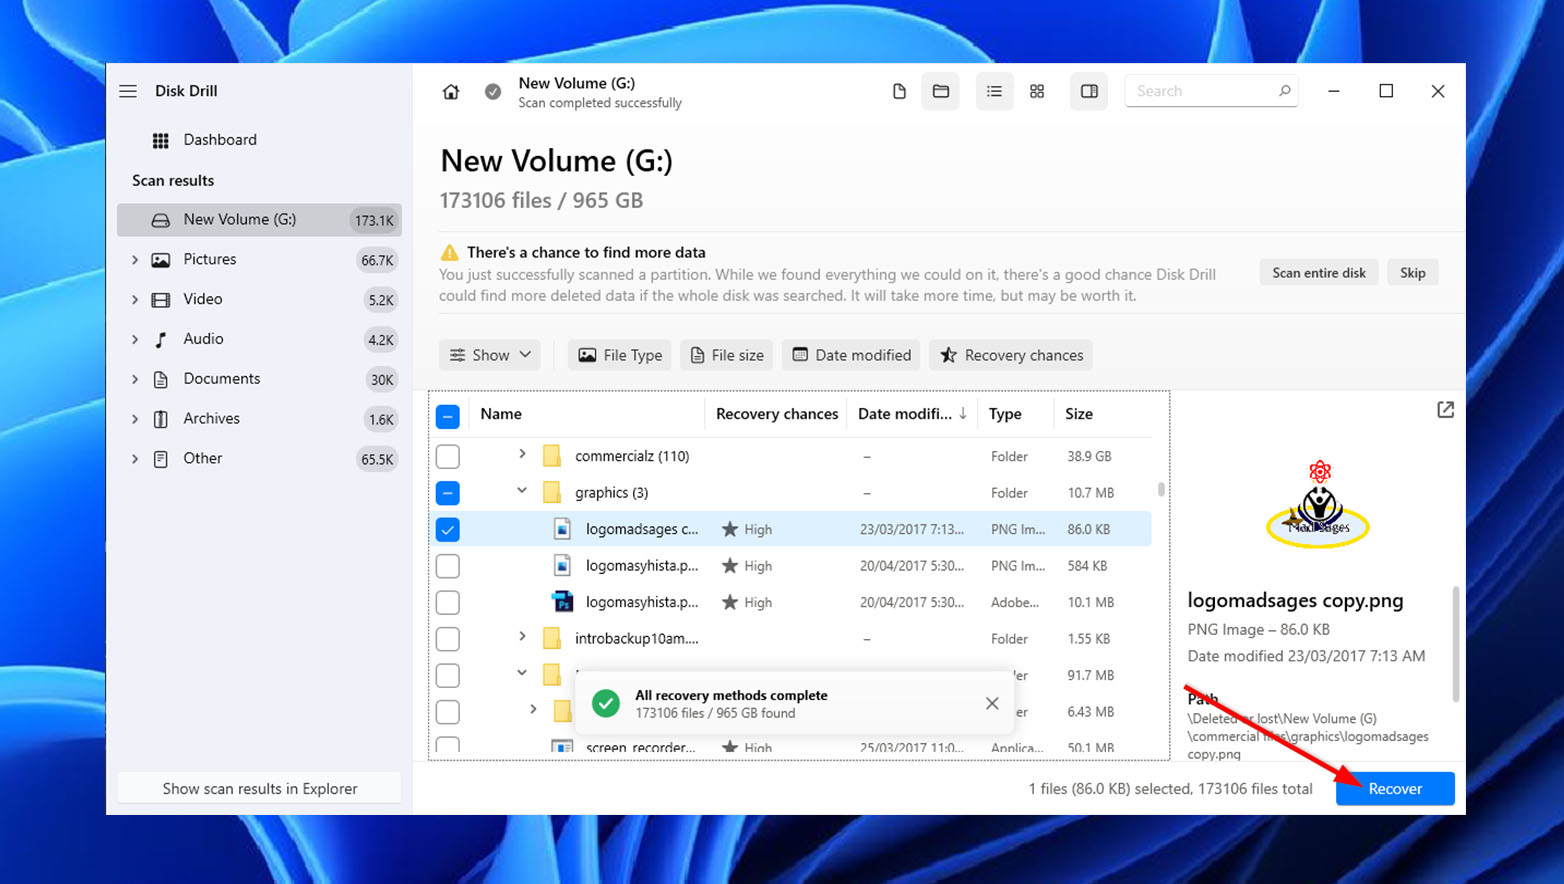
- You can preview your files by selecting them. You can also see the recoverability score of each file beside the file name. To retrieve your files, select all the files you want to recover from your hard drive. Then, click Recover.
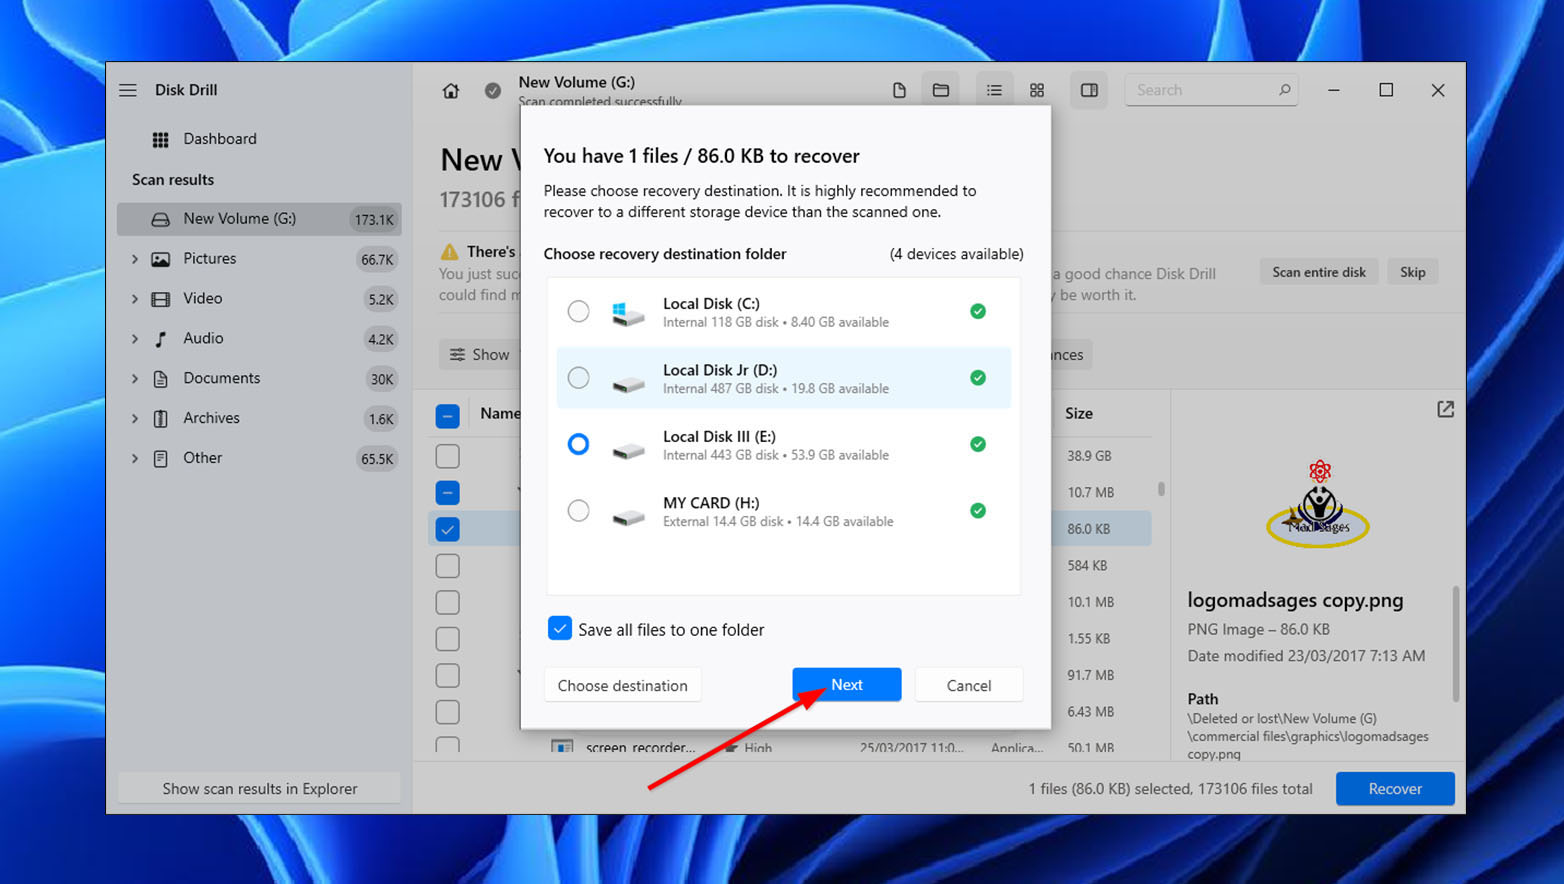
- Choose the folder destination for your recovered files. Make sure that you set the file destination on a different drive. Then, click Next.
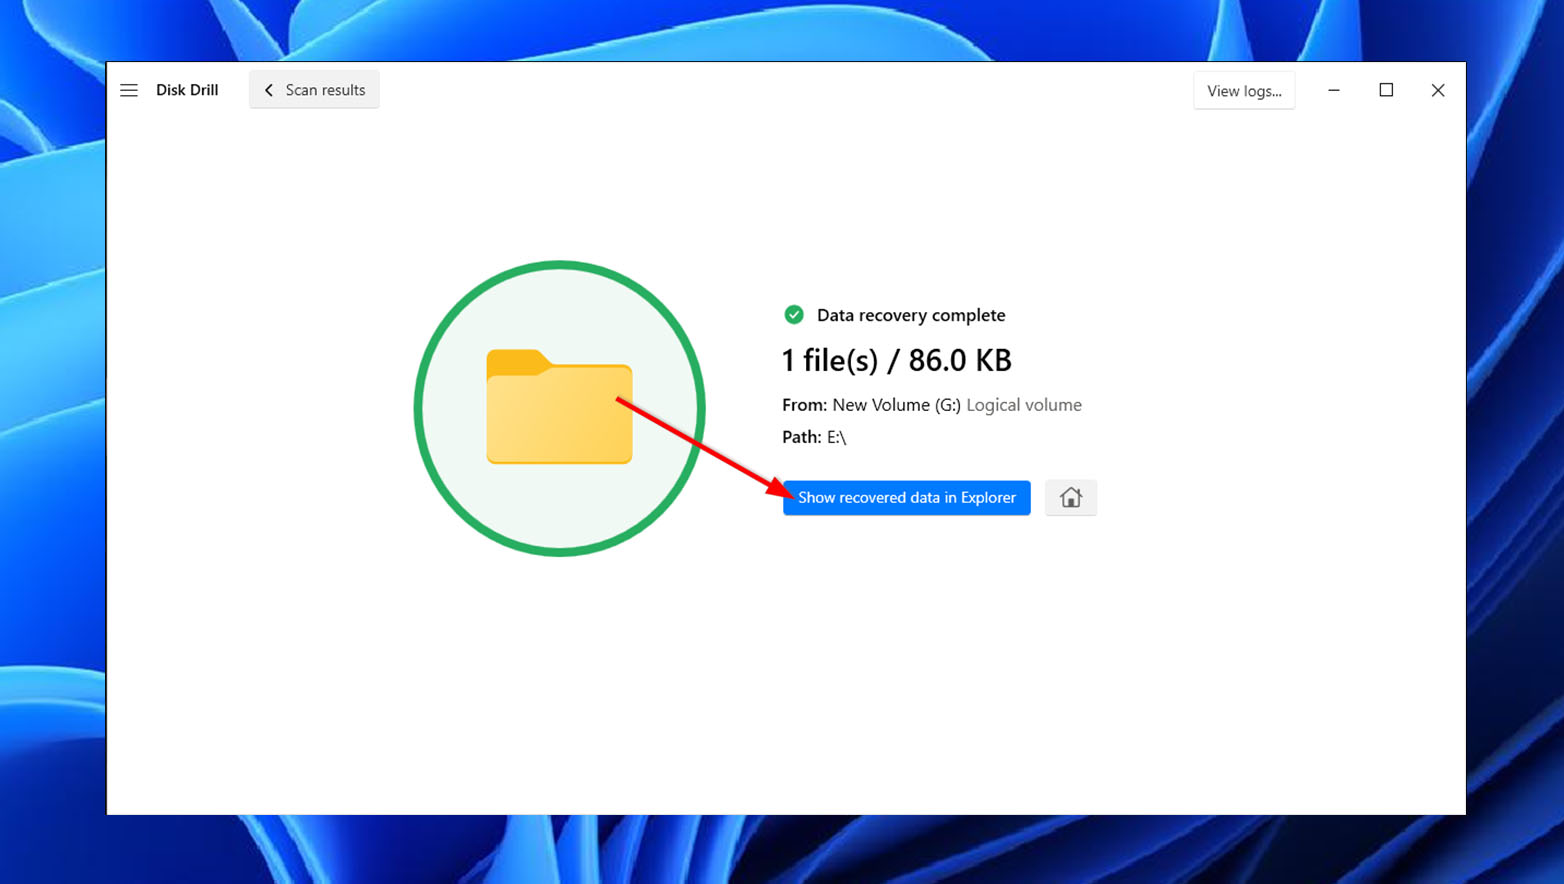
- After recovery, Disk Drill will notify you if your file recovery is successful. Select Show recovered data in Explorer to check your files.
How to Fix External Hard Drive with Cyclic Redundancy Error
After successfully recovering your files from your external HDD with CRC errors, you can now proceed with trying out simple methods on how to fix cyclic redundancy check errors. Here are some easy first-aid steps you can take:
- Reconnect your external drive. As cyclic redundancy check errors can be caused by a loose connection between your external HDD and your computer, reconnecting your device is sometimes all it takes to troubleshoot your issue. Simply disconnect your drive, wait for a few seconds, and reconnect it to see if this resolves the issue
- Restart the PC. Glitches or conflicts may trigger CRC errors on your external drive. Try restarting your computer to reset your system components and check if the error is resolved.
- Re-download the corrupted file. If your CRC check error appears after downloading a specific file, then it is likely to be corrupted. Data corruption can happen due to download interruptions or other errors. Try deleting your current file and downloading a fresh copy to see if this CRC error fix worked.
It’s important to note that these quick fixes may or may not resolve the cyclic redundancy errors on your external drive. If these methods prove unsuccessful, you can explore additional fixes.
Method 1: Scan Disk With Error Checking
Error Checking is a built-in tool on Windows that can quickly scan for drive errors. To scan your disk with Error Checking, simply follow the steps below:
- Connect your external HDD and go to File Explorer.
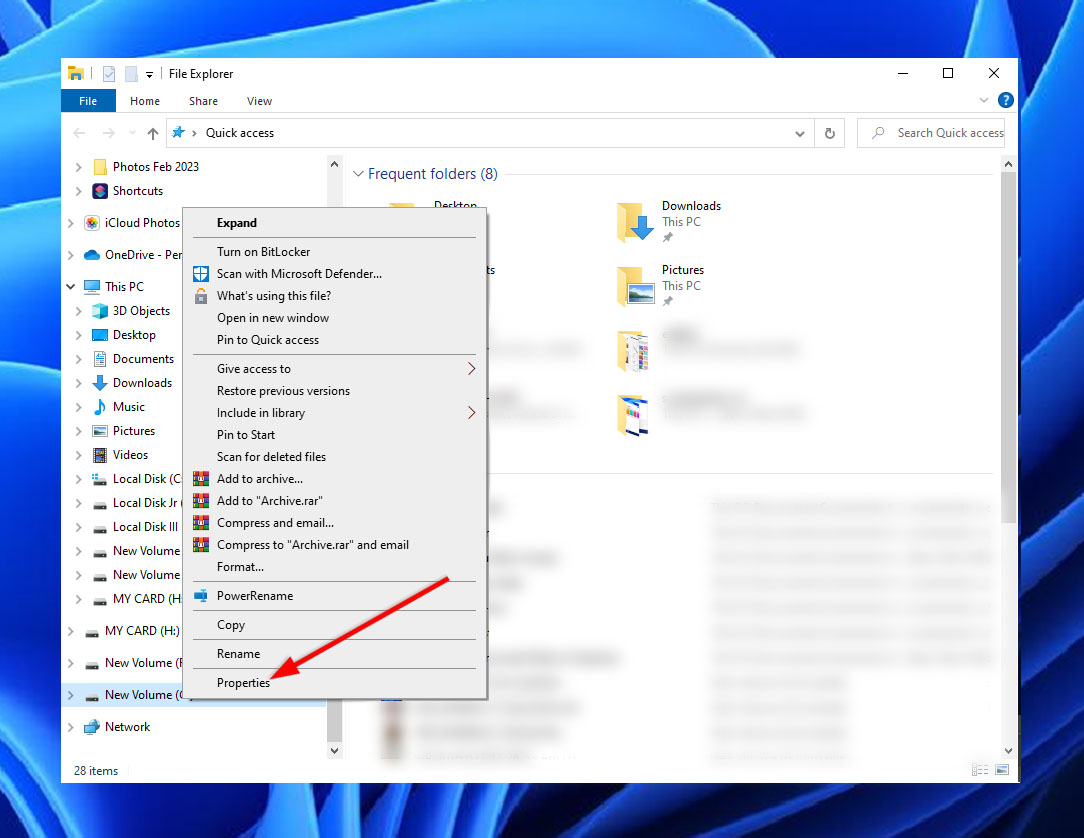
- Access your external drive’s Properties by right-clicking on your device and selecting Properties.
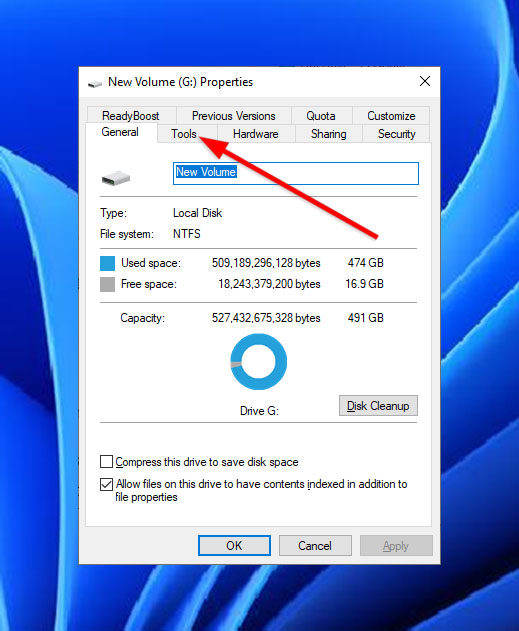
- On the Properties window, head to the Tools Tab.
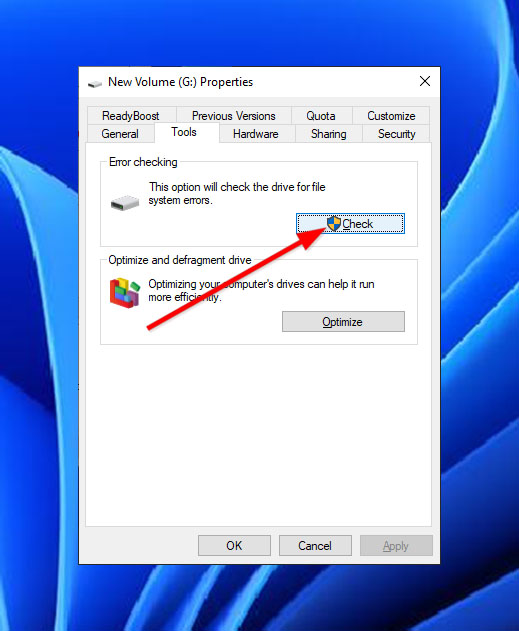
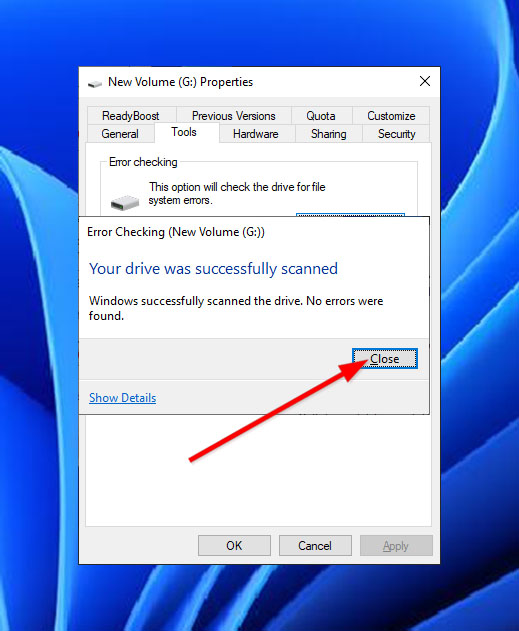
- On the Error checking section, click Check.
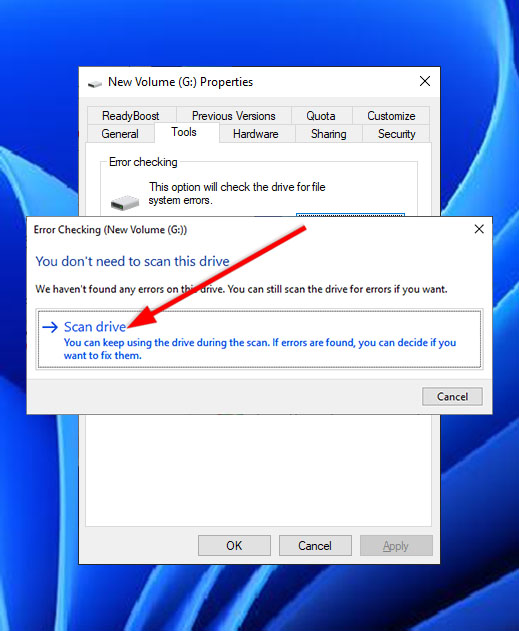
- Select Scan drive on the popup window.
- You will be notified if an error was found during the scan. Select Repair to proceed. If there are no errors scanned, just click Close.
Method 2: Fix CRC Error With System File Checker (SFC) Scan
The Windows command prompt hosts different commands that can help you check and repair system file errors that may be causing a CRC check error on your hard drive. One of these commands is the System File Checker (SFC) scan.
To perform an SFC scan, follow these steps:
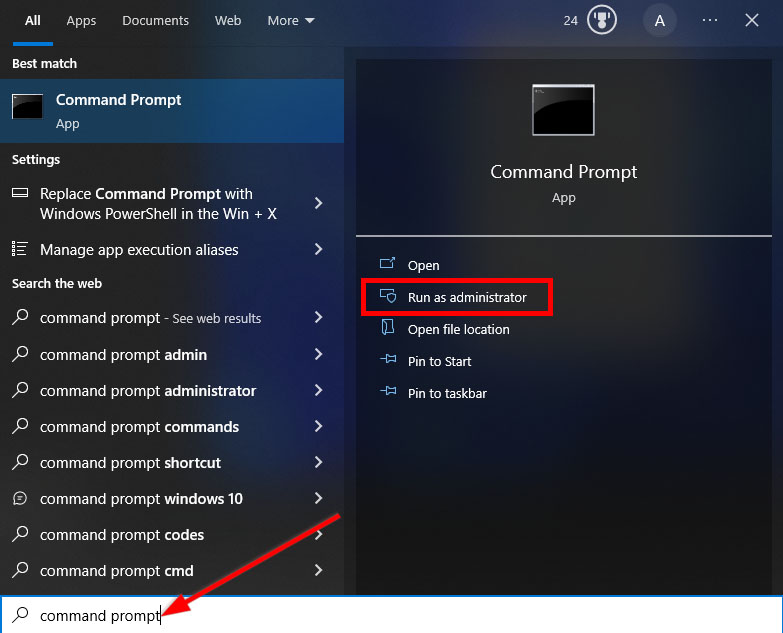
- Run Command Prompt as an Administrator by pressing Windows key + R and typing “cmd” in the text box. You can also access the program by typing and selecting “command prompt” in the Windows Start menu.
- Type sfc /scannow to begin the scan.

The SFC scan finds file corruptions and repairs them right away when possible. However, it’s important to note that you should not close the Command Prompt until the process is finished.
Method 3: Fix an Error With CHKDSK Command
CHKDSK is another command line tool that scans and fixes errors on storage devices, such as an external HDD. It can repair bad sector issues, corrupted files, and other file system errors.
To run CHKDSK, do the following:
- Run Command Prompt as an Administrator by pressing Windows key + R and typing “cmd” in the text box. You can also access the program by typing and selecting “command prompt” in the Windows Start menu.
- Enter chkdsk G: /r /x on the command line, where G is the letter of your disk.

CHKDSK will now scan your drive and notify you if there are errors found and fixed. After running the tool, you can try to access your drive to see if the Cyclic Redundancy Check error still exists. If the error is still encountered, try out the next method.
Method 4: Format the External Hard Drive
If none of the previously mentioned methods successfully resolved the Cyclic Redundancy Check error on your external hard drive, you may consider formatting your drive as a possible solution. However, it’s crucial to note that formatting your drive will erase all the files stored on it, so it is important to create a byte-to-byte backup beforehand to prevent data loss.
Powerful data recovery software like Disk Drill can create a byte-to-byte backup of internal and external drives. To back up your drive using Disk Drill, do the following:
- Open Disk Drill and head to Drive Backup under the Extra tools tab.
- Select your external HDD. Then, click Byte-to-byte Backup on the upper right corner of your window.
- Edit the name of your backup and its destination path. When done, click OK.
After successfully backing up your drive, you can now proceed to format it with these steps:
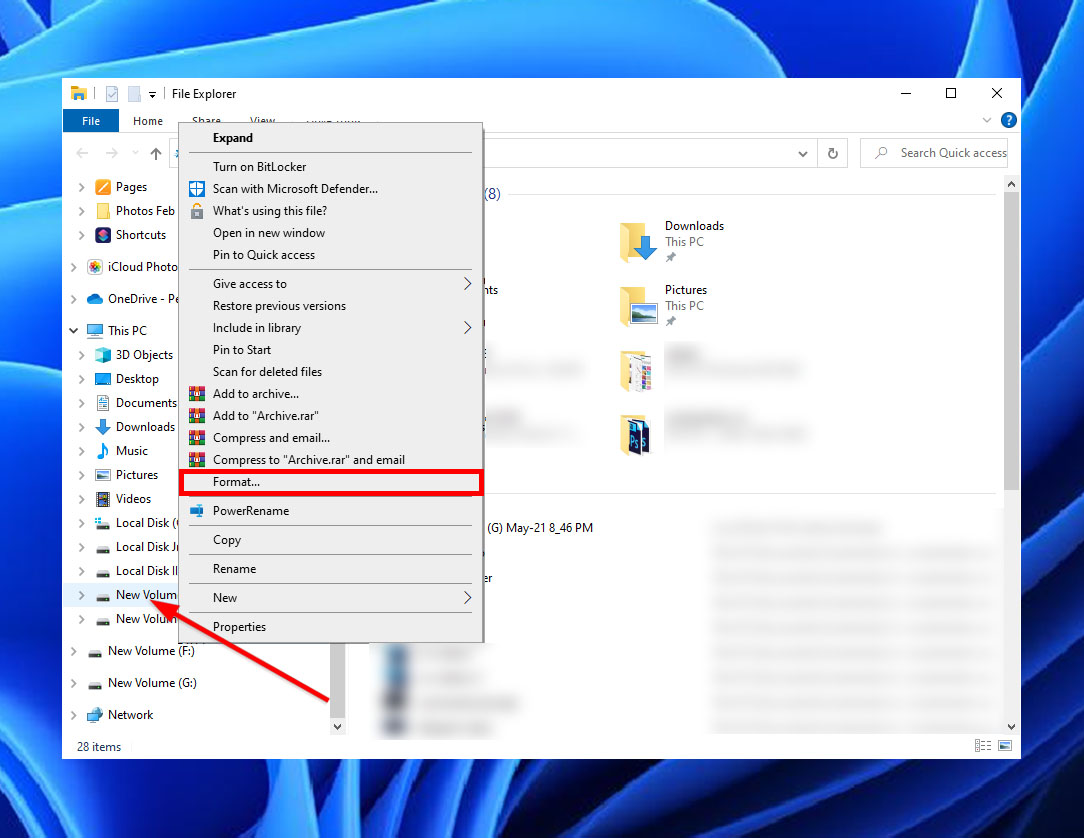
- Go to File Explorer. Scroll down the left menu until you see your hard drive. Right-click on your hard drive and select Format.
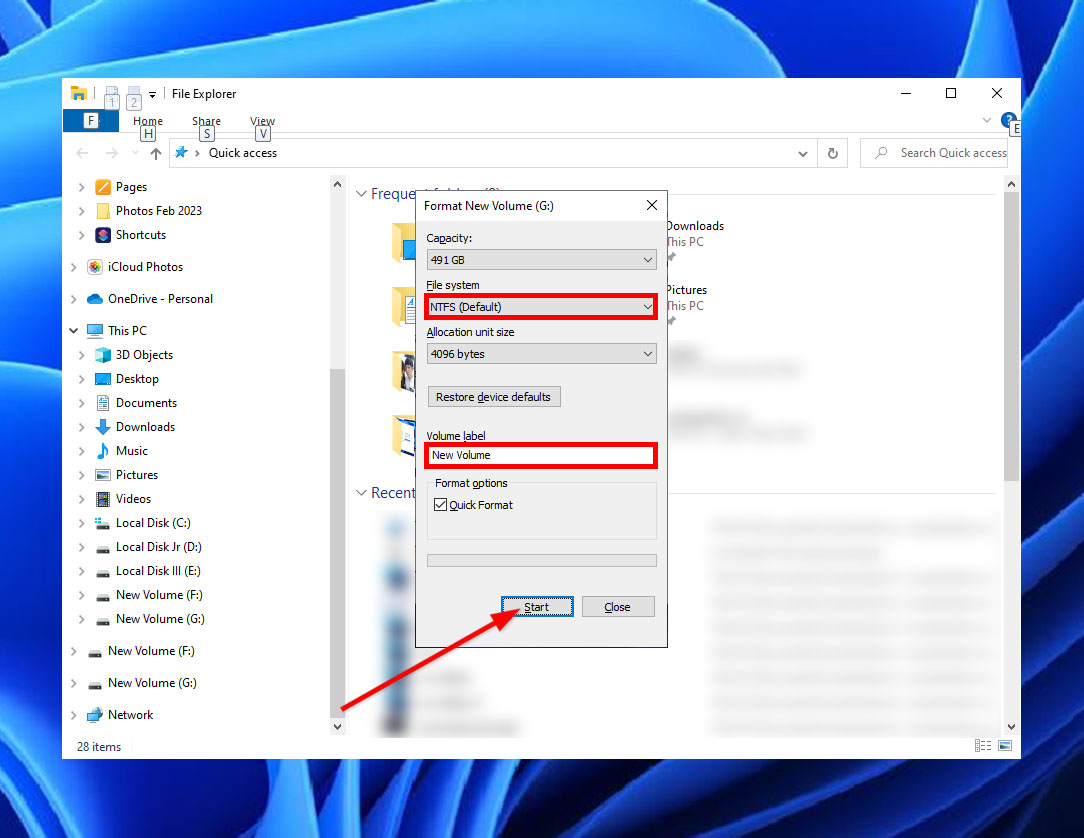
- Before formatting, rename your drive by editing the Volume label. Make sure that the File system is set to NTFS as well. After you’ve selected the proper configuration, click Start.
Method 5: Fix CRC Error with Diskpart
The “diskpart” command-line tool is useful for managing your computer’s drives, including internal and external storage devices. One of the commands available in diskpart is the “clean” command, which can reset your drive’s configurations and potentially resolve the cyclic redundancy error.
However, it’s important to note that using the “clean” command can make data inaccessible, but it can still be extracted with specialized software.
Once your external HDD is ready, use Diskpart to clean your disk with these steps:
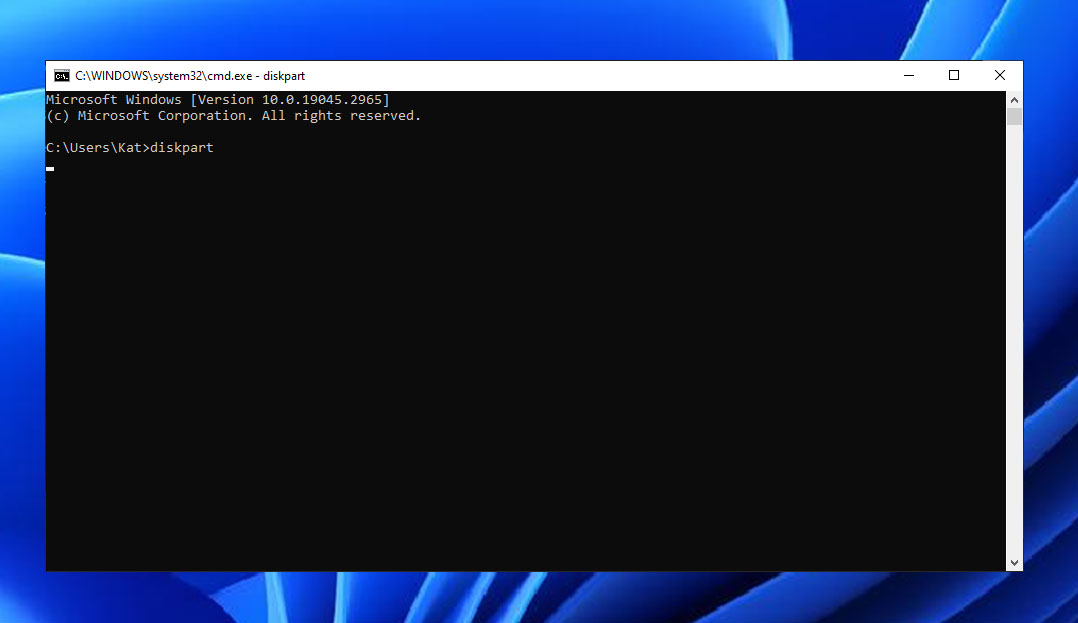
- Run Command Prompt as an Administrator by pressing Windows key + R and typing “cmd” in the text box. You can also access the program by typing and selecting “command prompt” in the Windows Start menu.

- Enter diskpart on the command line. This will open a new window.
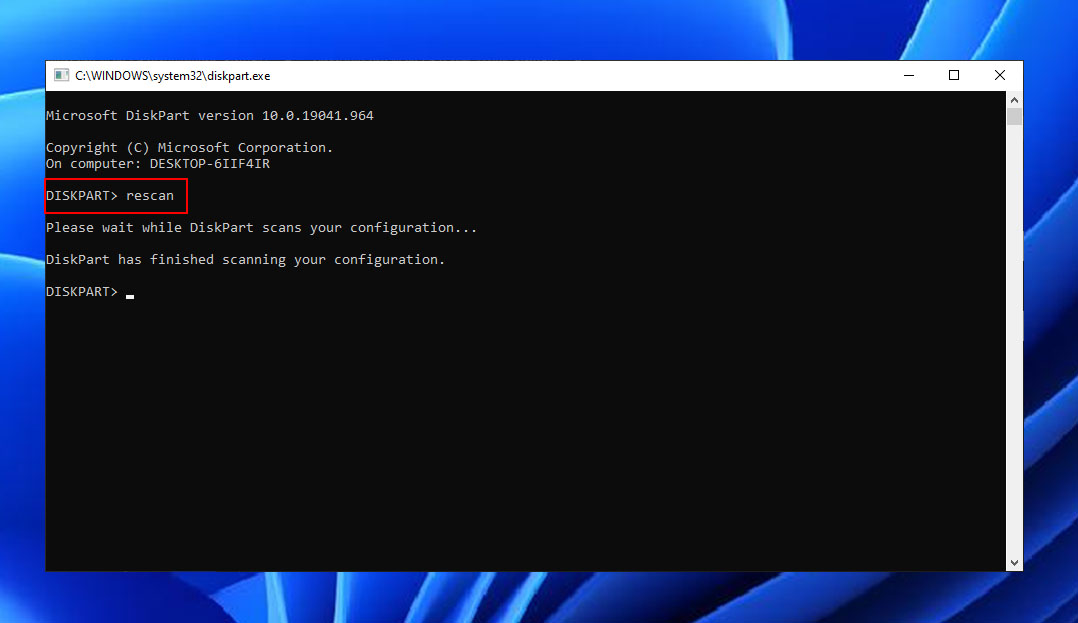
- Enter rescan on the command line to check for newly added disks.
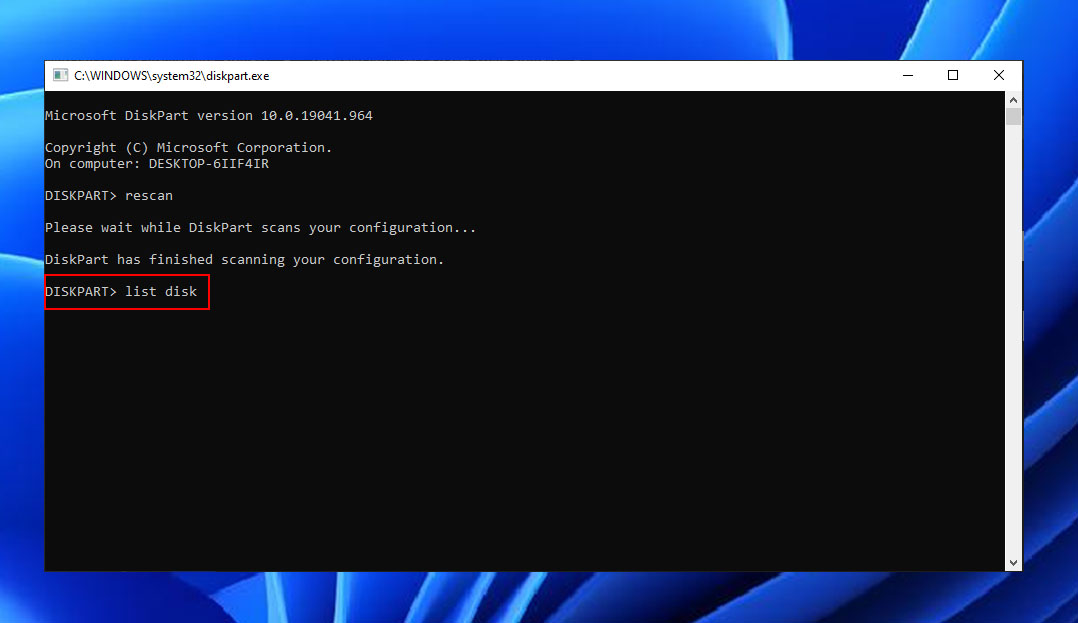
- List the disks available by entering list disk.
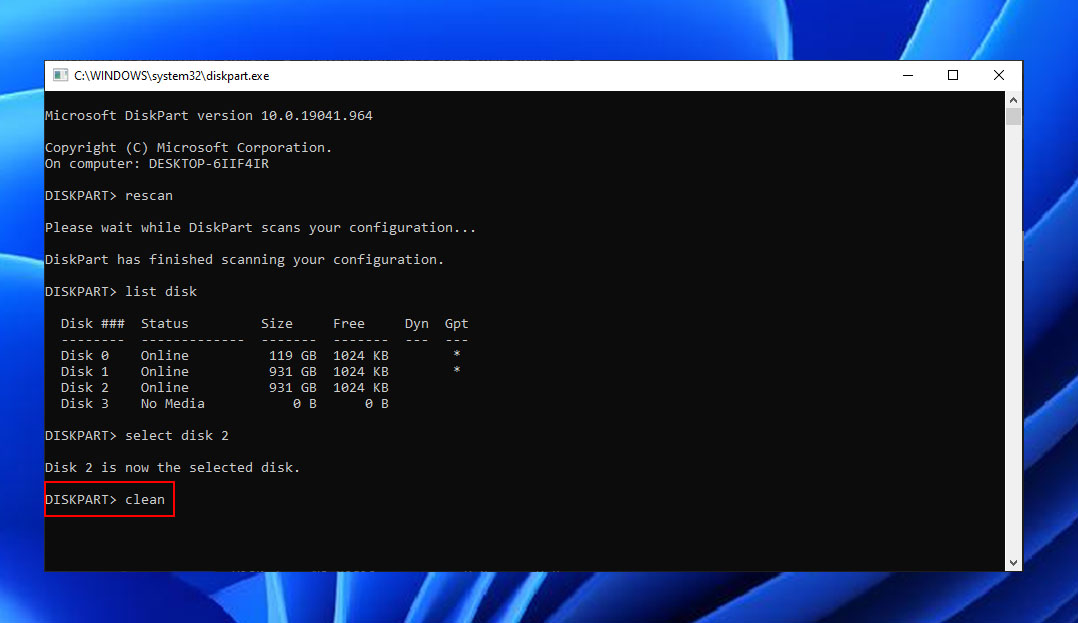
- Enter select disk x, where x is the disk number of your external HDD.

- Type and Enter the command clean. This erases the drive’s partition and data/files.
After the process, you should see “Diskpart succeeded in cleaning the disk”. You can now proceed with formatting and re-initializing your drive. Then, check if you’re still encountering CRC issues.
Conclusion
The Cyclic Redundancy Check (CRC) error is an unexpected error that can occur on storage devices for various reasons, such as physical or logical damage, leading to data corruption. By following the methods explained in this article, you can attempt data recovery and troubleshoot your external hard drive.
It is also highly recommended to regularly back up your files to prevent data loss in the event of a CRC error.
FAQ
- Reconnect your memory card. Ensure that your card is properly inserted and that neither the card nor the memory card reader is physically damaged.
- Run command prompt commands such as CHKDSK, Diskpart, and System File Checker to scan and repair your hard drive.
- Format your memory card. This resets the bad sectors of your storage device. However, the process will erase all your data.


