 Losing an unsaved PowerPoint file or mistakenly deleting it on your Mac can be extremely stressful. There are a lot of reasons why such an issue might occur, and no one is protected from it. But the good news is that if you act quickly, the PPT presentation can potentially be saved.
Read on to learn about the most effective data recovery solutions that can recover PowerPoint on Mac.
Table of Contents
How to Find a PowerPoint File on a Mac
Before you start the recovery process of a PPT file, it’s a great idea to double-check whether the presentation is actually gone from your computer or not. There is a possibility that the file is still present on your Mac, you just need to look for it more thoroughly.
There are two main ways you can look for a PowerPoint presentation on your Mac: either via Finder or Spotlight (to open it, press Command + Space). Then all you need to do is type in the name of the file in the search field, or if you don’t remember the name, simply type in PPT to view all of the files with such an extension.
Also, depending on how you saved your PPT presentations and whether you’ve been using OneDrive with your Microsoft applications, you might be able to find the file in your OneDrive account.
How to Recover PowerPoint Files on a Mac
Still no luck finding your PowerPoint presentation on your Mac? Then try these data recovery solutions to recover a lost PowerPoint on Mac or a deleted PPT file.
Method 1: Open Recent Files
If the PowerPoint application froze, crashed, or some other events happened that didn’t let you save the presentation that you were working on, you can use the Open Recent feature to recover the unsaved PPT on Mac.
Follow these steps to recover an unsaved PowerPoint on a Mac using the Open Recent feature:
- Launch the PowerPoint application on your Mac.
- Using the menu bar at the top of the screen, click File and choose Open Recent from the drop-down menu.

- Click the needed file to open it in PowerPoint.
- Click File > Save as and choose a preferred location for the file.
Method 2: Use PowerPoint Autosave Feature
Another way to recover a PowerPoint file is with the help of the AutoSave feature. But you should be able to restore a presentation with this feature only if you’ve saved the file at least once and if AutoSave was enabled for the specific file.
To enable AutoSave, you need to click the AutoSave toggle at the top-left of the PowerPoint screen. Once you do that, you’ll be asked to save your presentation, name it, and choose a preferred location. So if anything happens when you’re working on that presentation (for example, if PowerPoint unexpectedly quits), all you’ll need to do is go to the chosen folder to find that file there.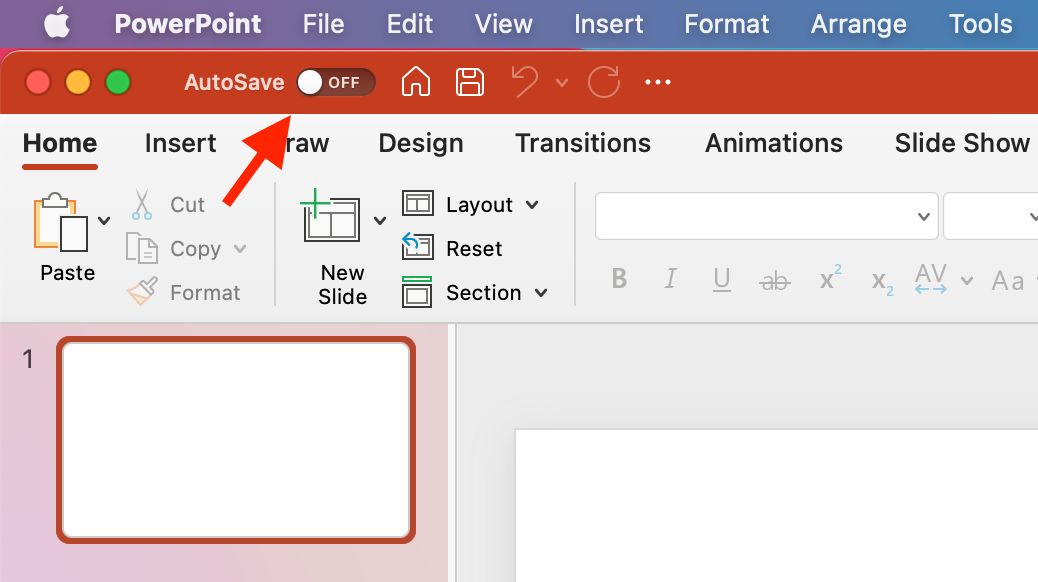
But where are PowerPoint AutoSave files stored? If you want to quickly navigate to the PowerPoint AutoSave location on your Mac, go to Finder and click Go > Go to Folder. Then copy and paste the following folder path in the search field and click Go (make sure to replace username with your own one):
/Users/username/Library/Containers/com.Microsoft.Powerpoint/Data/Library/Preferences/AutoRecovery

Then once you’ve found the needed file, either drag and drop it into a different folder or open the PPT presentation and click File > Save as.
Method 3: Recover From the Temporary Folder
Temporary Files folder is a hidden folder on your Mac that stores certain operating system and application files that get automatically deleted in some time. There is a tiny chance that the PowerPoint presentation file that you’re looking for ended up in the Temp folder.
Follow these steps to open the Temporary Folder and recover a PowerPoint file that was not saved on your Mac:
- Launch Terminal (go to Launchpad and type Terminal in the search field).
- Type the following command in the Terminal window and hit the Return key: echo $TMPDIR
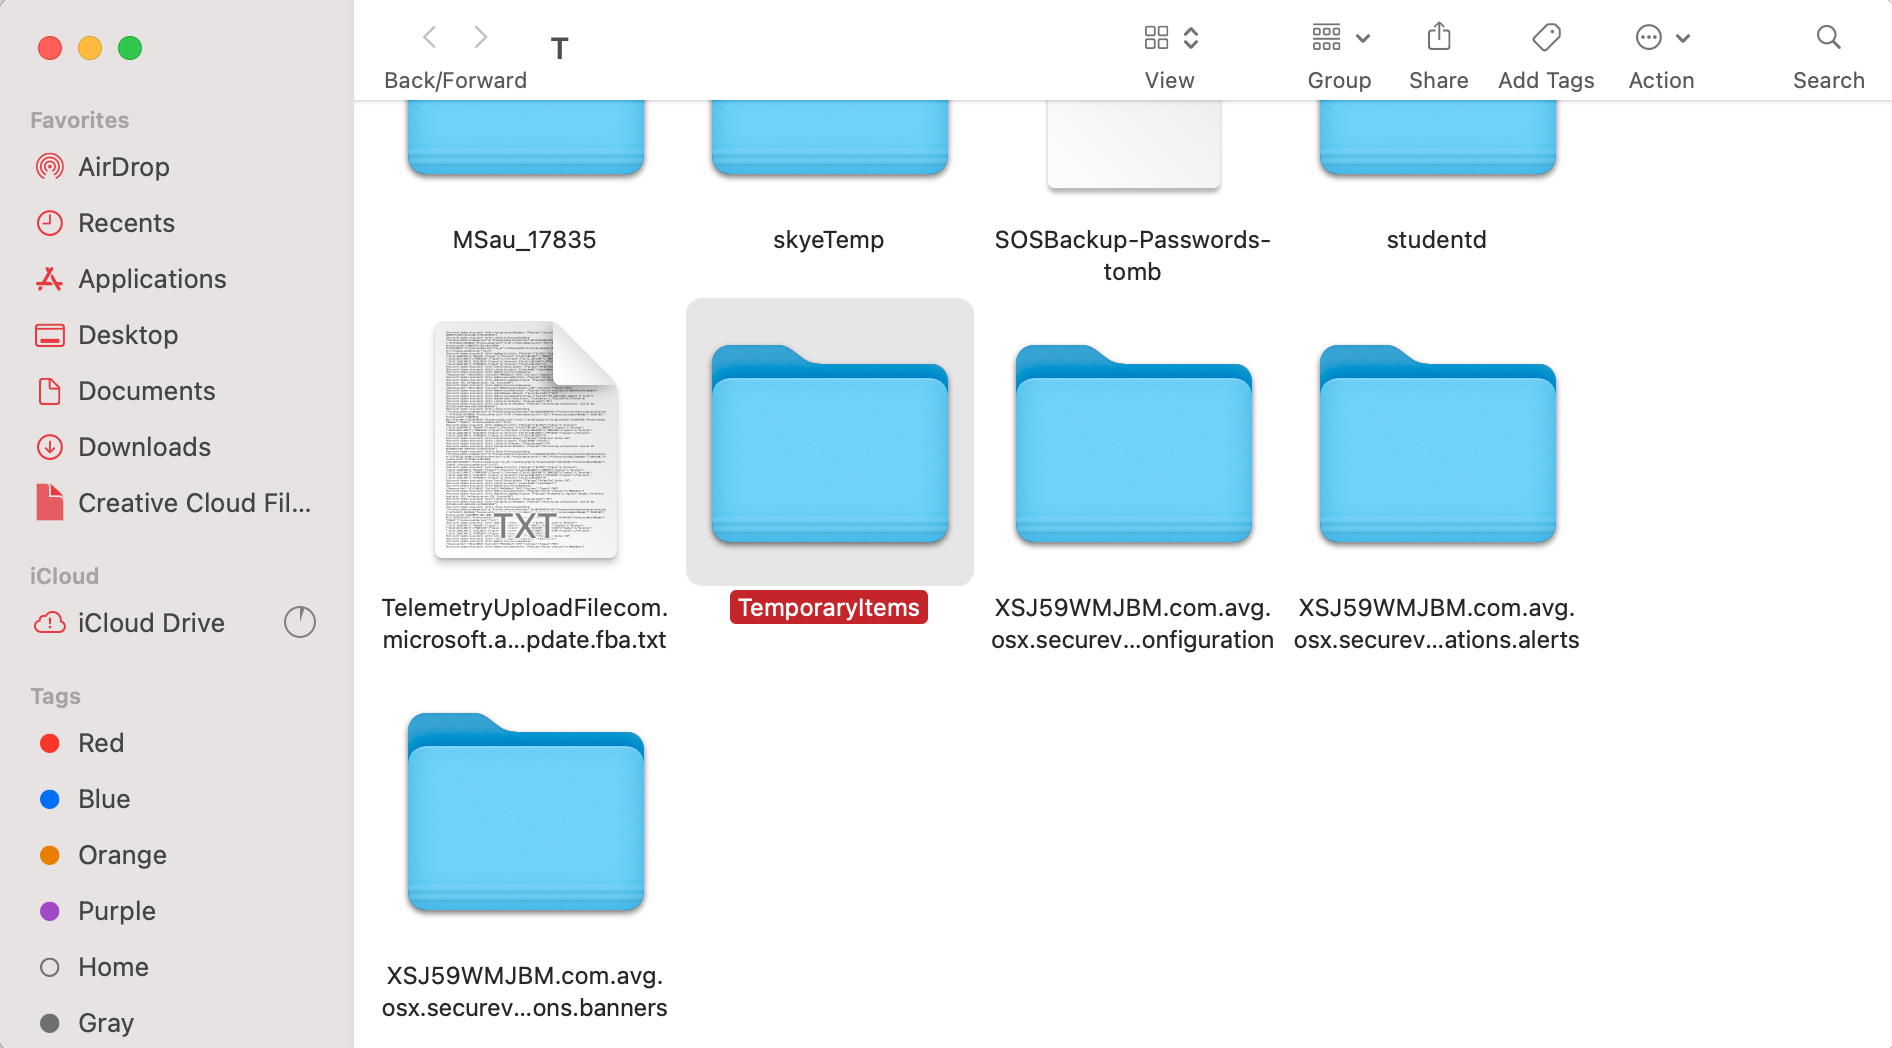
- Then type in this command and hit Return to open the Temp folder: open $TMPDIR

- Search for the file in the TemporaryItems folder and the com.microsoft.Powerpoint folder.
Method 4: Use Data Recovery Software
If you’re sure that the PPT file that you’re searching for has actually been deleted, your best option would be to use a data recovery application to recover the presentation. When it comes to choosing such a tool, we recommend Disk Drill since it’s intuitive, easy to navigate, and has proven to be quite effective in recovering deleted or lost files.
Disk Drill is compatible with all major file systems (HFS/HFS+, APFS, NTFS, FAT, etc.) and can recover over 400 different file types. Also, this software has a free trial version that lets you scan your drive and preview the found files.
Important: To prevent your Mac from overwriting the deleted PowerPoint file and increase your chances of successfully recovering the presentation, stop using your computer or the drive containing the file as soon as you’ve noticed the data loss.
Follow these steps to recover a deleted PowerPoint on your Mac:
- Download Disk Drill and follow the onscreen instructions to install the application.
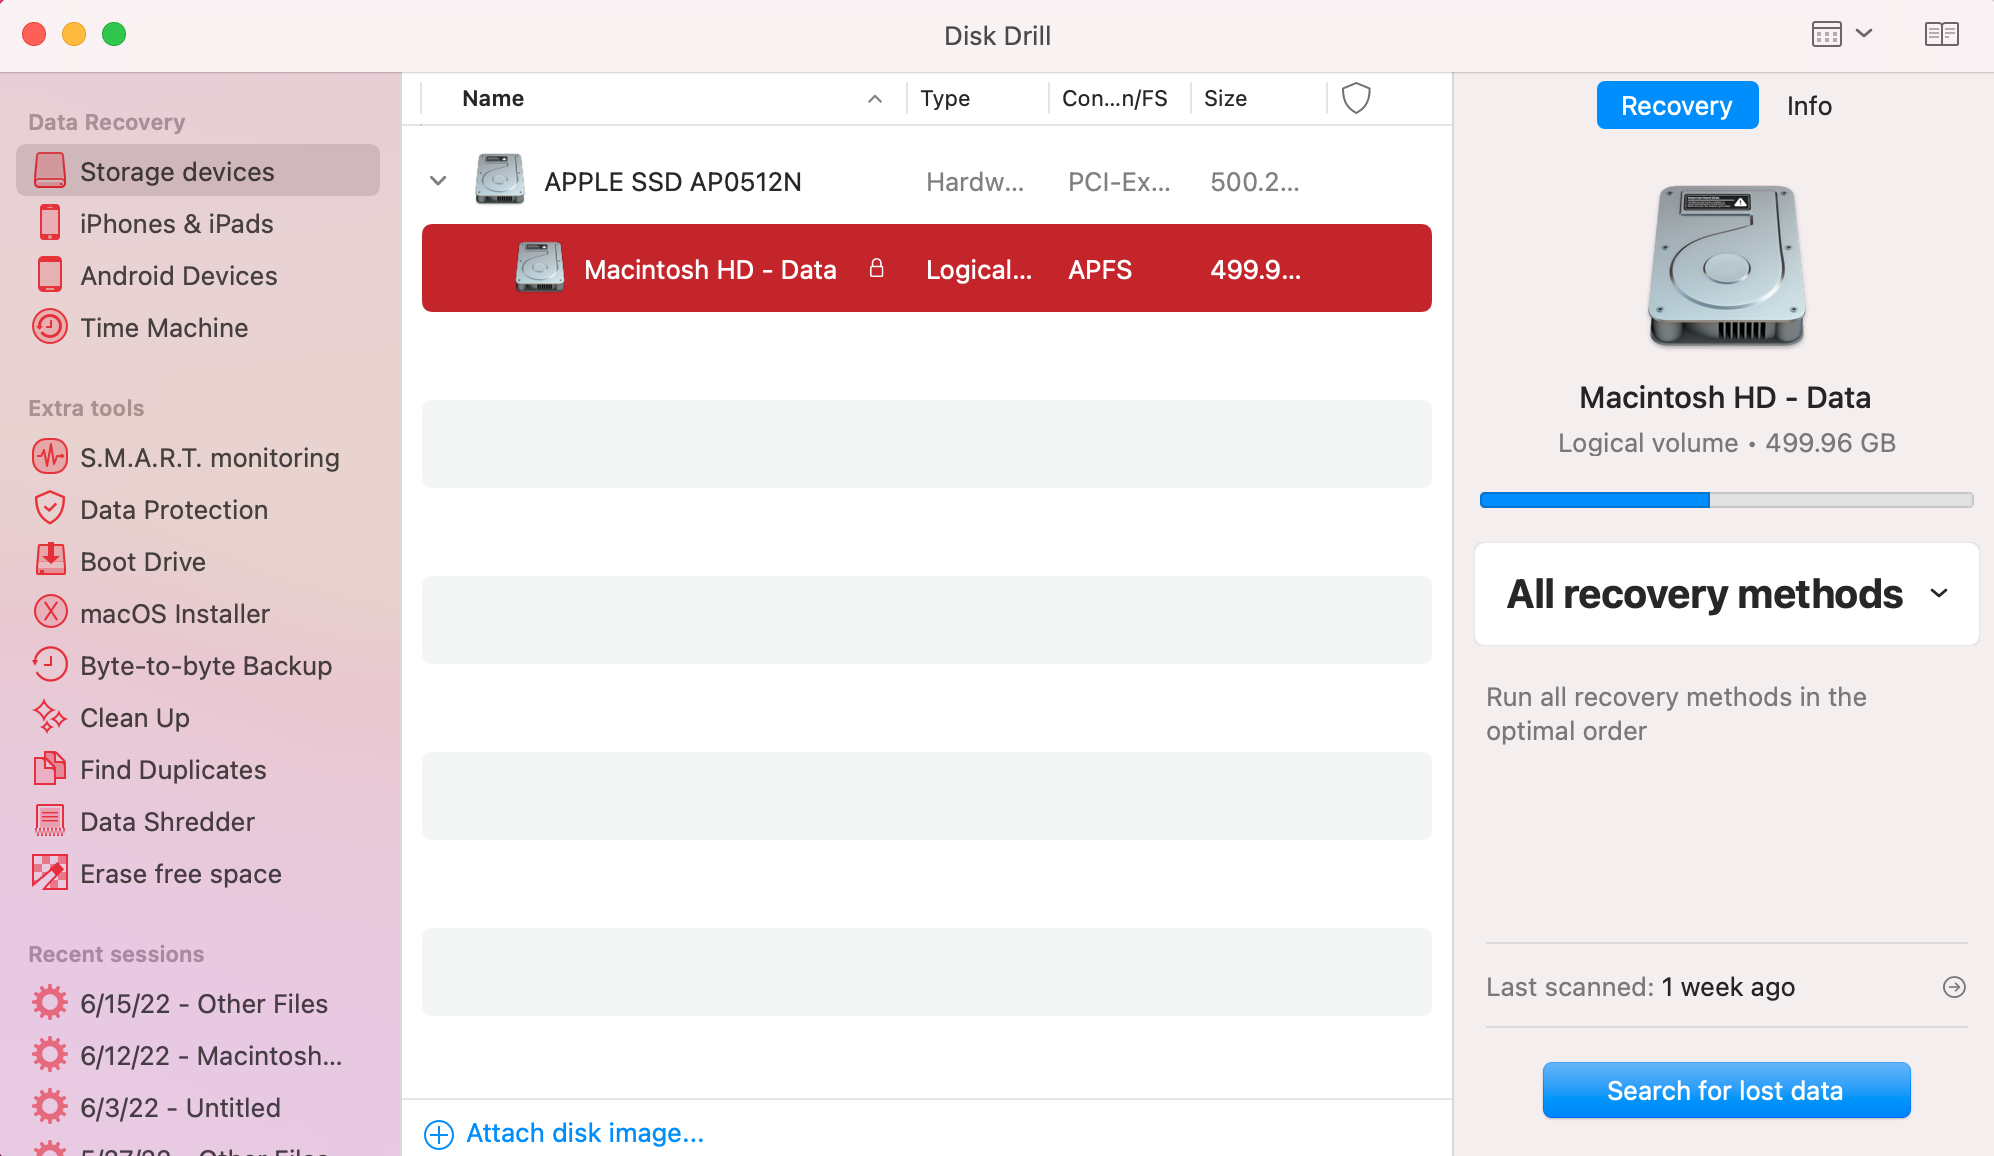
- Launch the app and select the drive where the PowerPoint file used to be located.
- Click the Search for lost data button to initiate the scan.
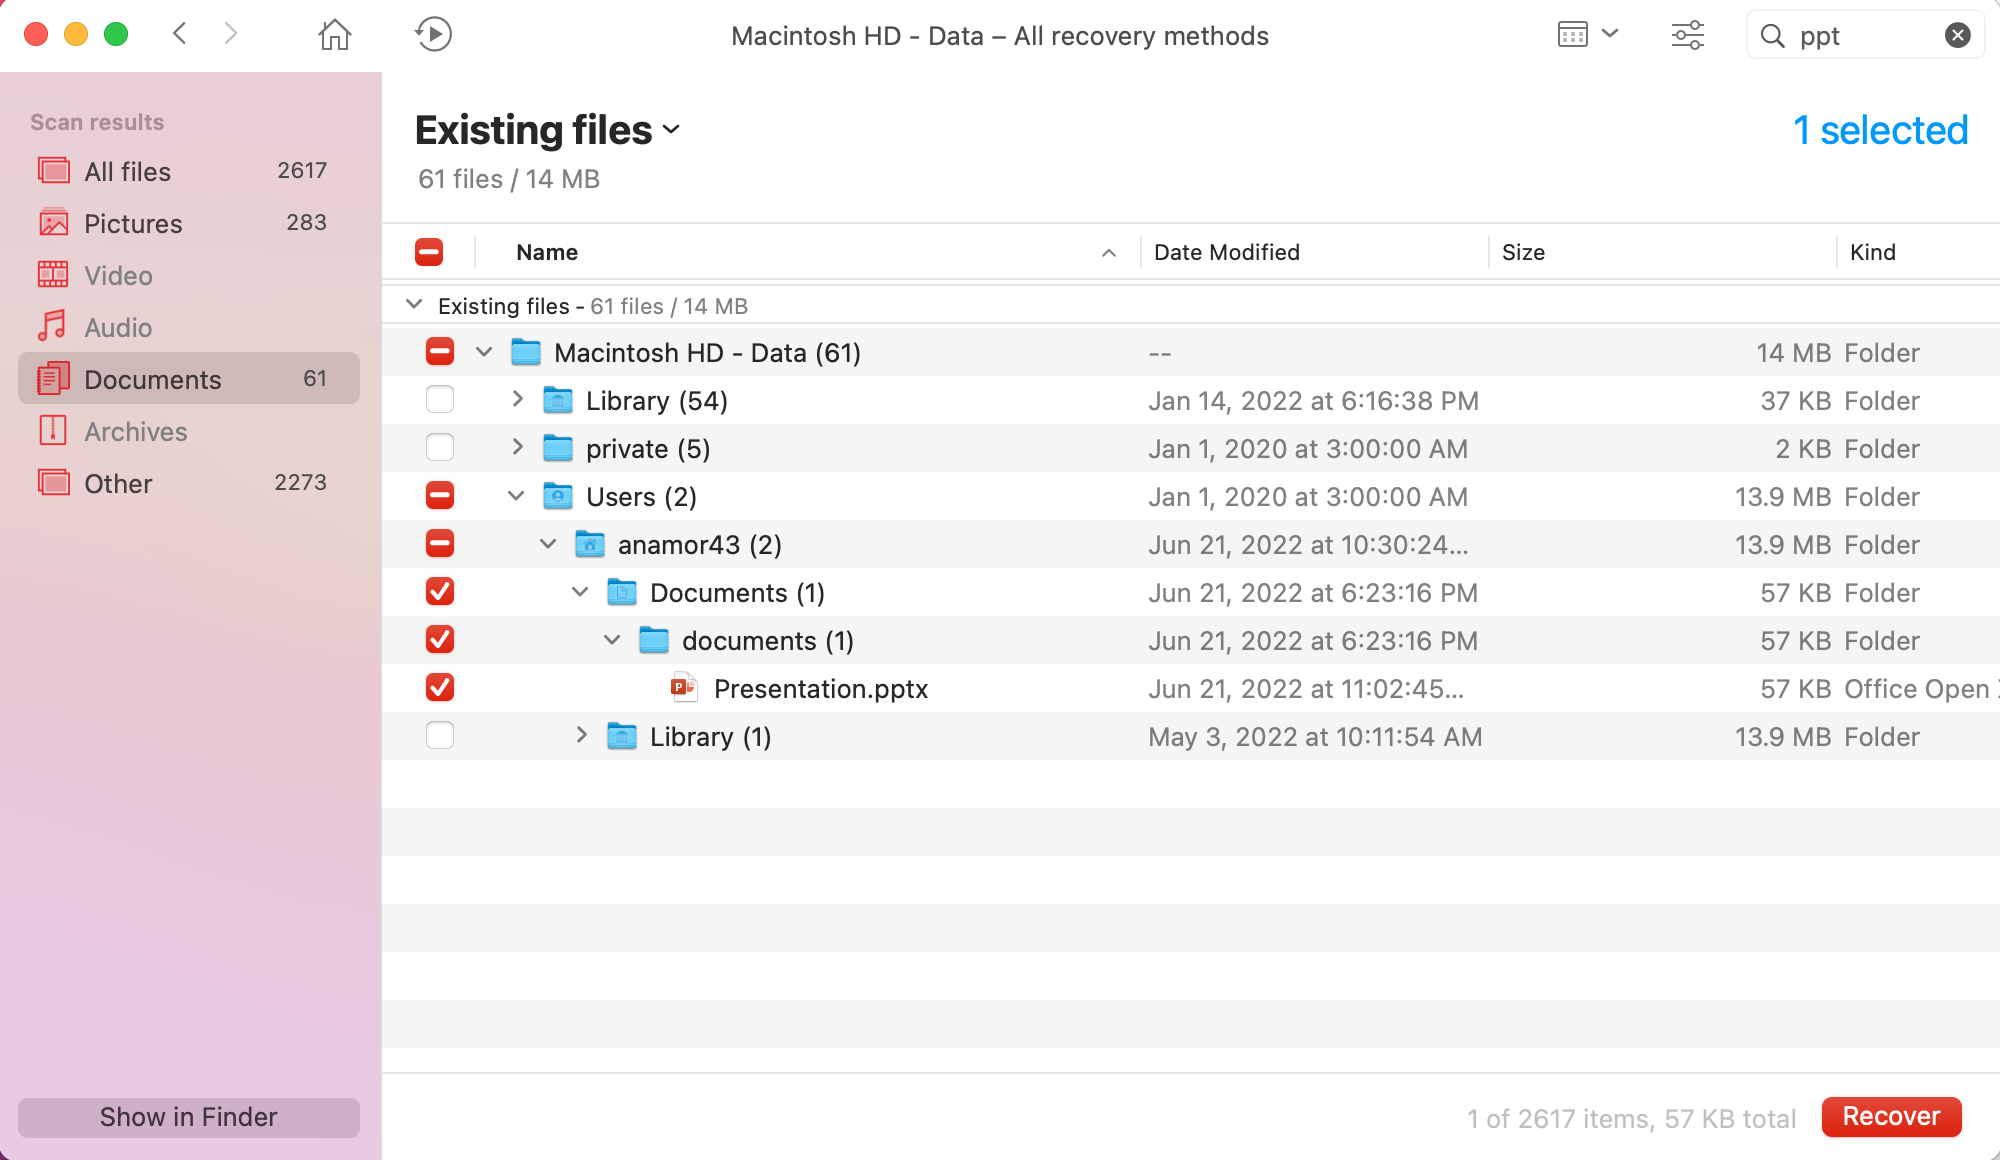
- Wait for the scan to finish and click Preview found items.
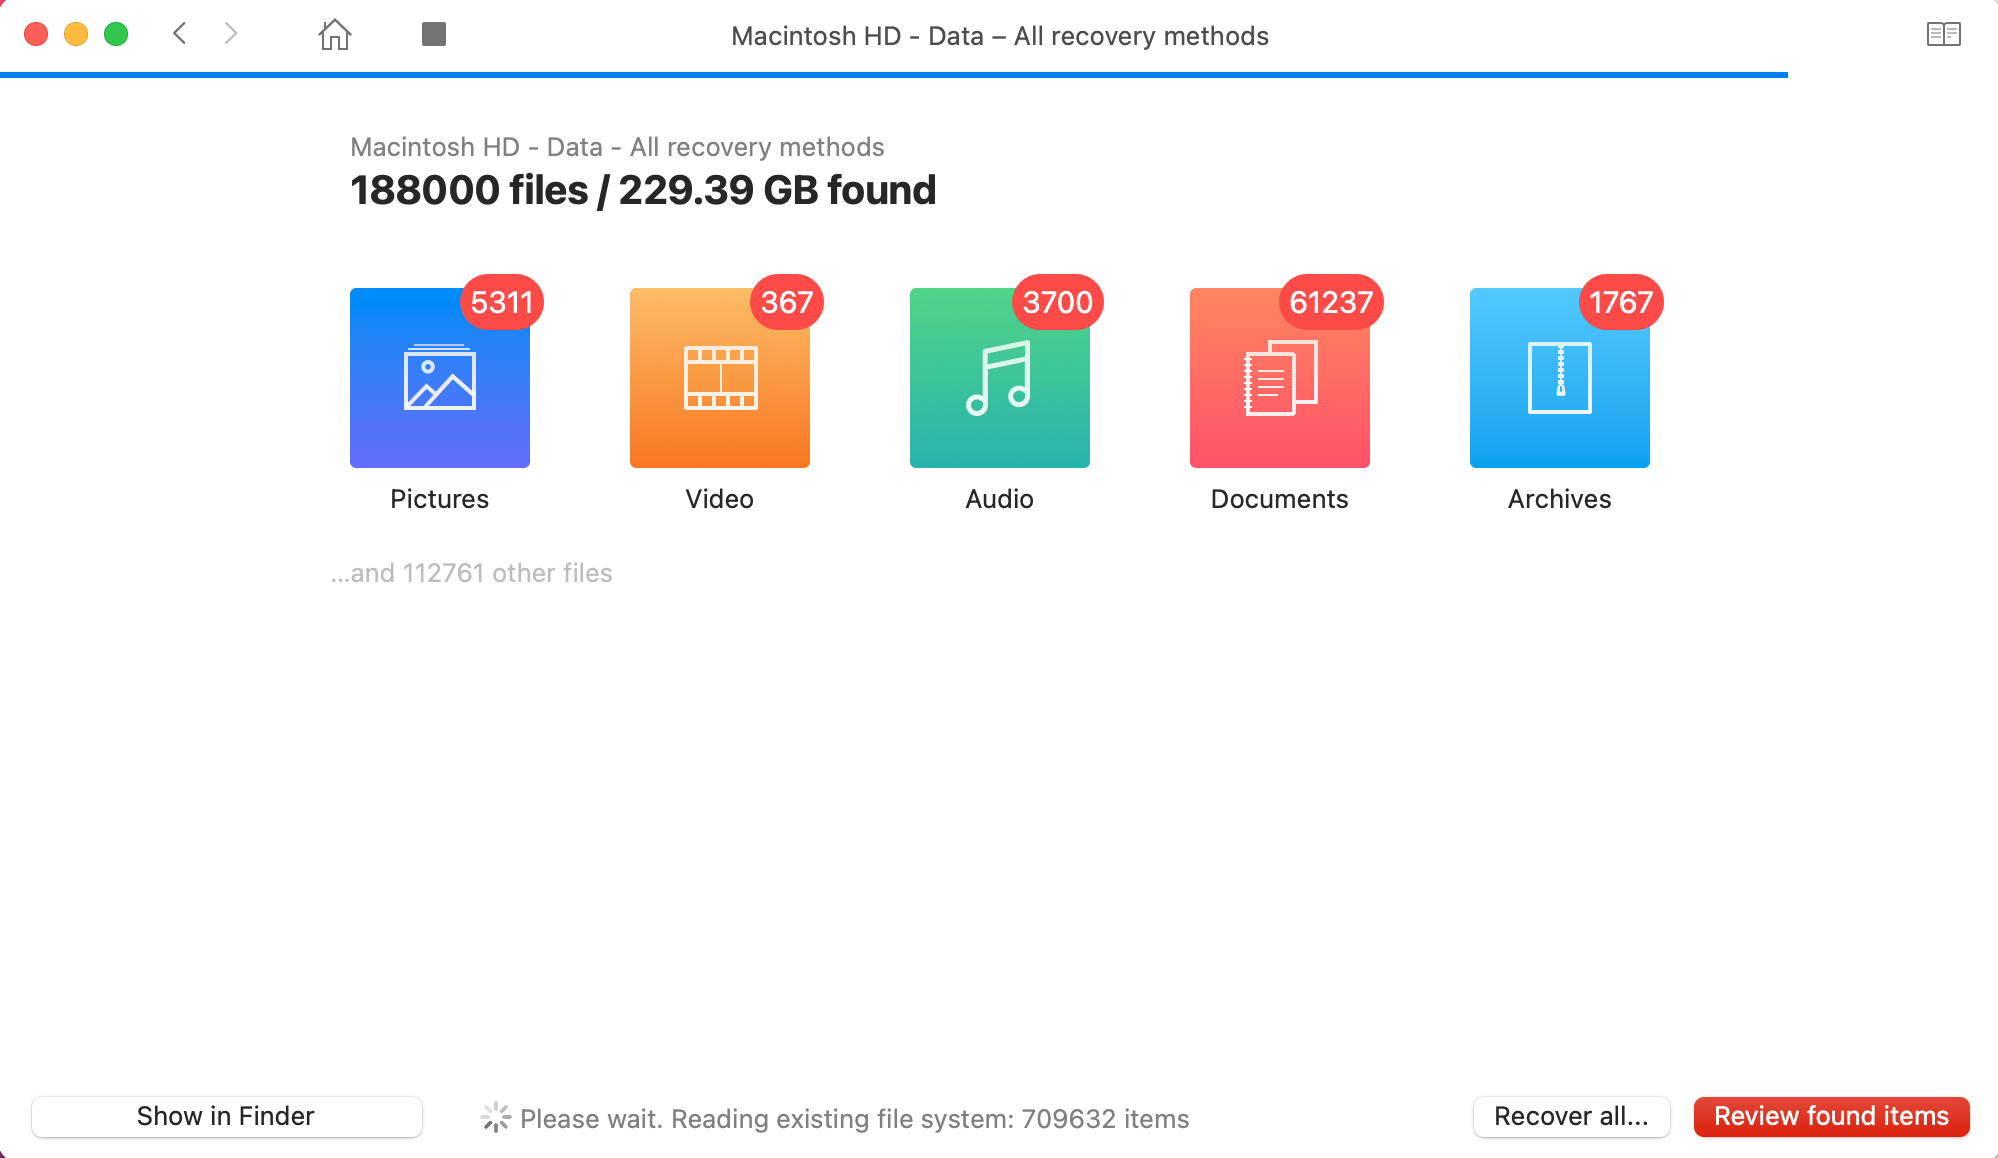
- Click Documents on the sidebar to narrow down your search or type in PPT in the search field on the top-right to view only PowerPoint presentations. Click the eye icon near a file to preview it.
- Choose the files you wish to restore and click the Recover button.
- Select a destination folder for the recovered files and click OK to confirm.
Method 5: Recover From a Time Machine Backup
Time Machine is a built-in backup tool found in all Macs. If you’ve been regularly using this application to back up your data, you should be able to use one of those backup versions to recover a deleted PowerPoint presentation.
Follow these steps to restore a PPT file on your Mac with Time Machine:
- Connect the drive containing your Time Machine backups to your Mac (if you used an internal drive for the backups, skip this step).
- Click the Time Machine icon on the menu bar at the top of your screen and choose Enter Time Machine.

- Navigate to the folder where the deleted PPT file used to be located.
- Use the arrows and timeline on the right to choose the needed backup version.

- To preview a file, click it and press the SpaceBar key.
- Choose the needed PPT file and click the Restore button.
The recovered PowerPoint presentation will be immediately placed back into the same folder where it used to be stored before deletion.
Method 6: Restore From OneDrive
OneDrive is a cloud storage solution available to all Microsoft 365 subscribers. If you’ve been using it to save your PowerPoint presentations, you should be able to use it to restore deleted ones.
Follow these steps to restore a deleted PPT file from OneDrive:
- Using any browser, go to onedrive.live.com and sign in to your OneDrive account.
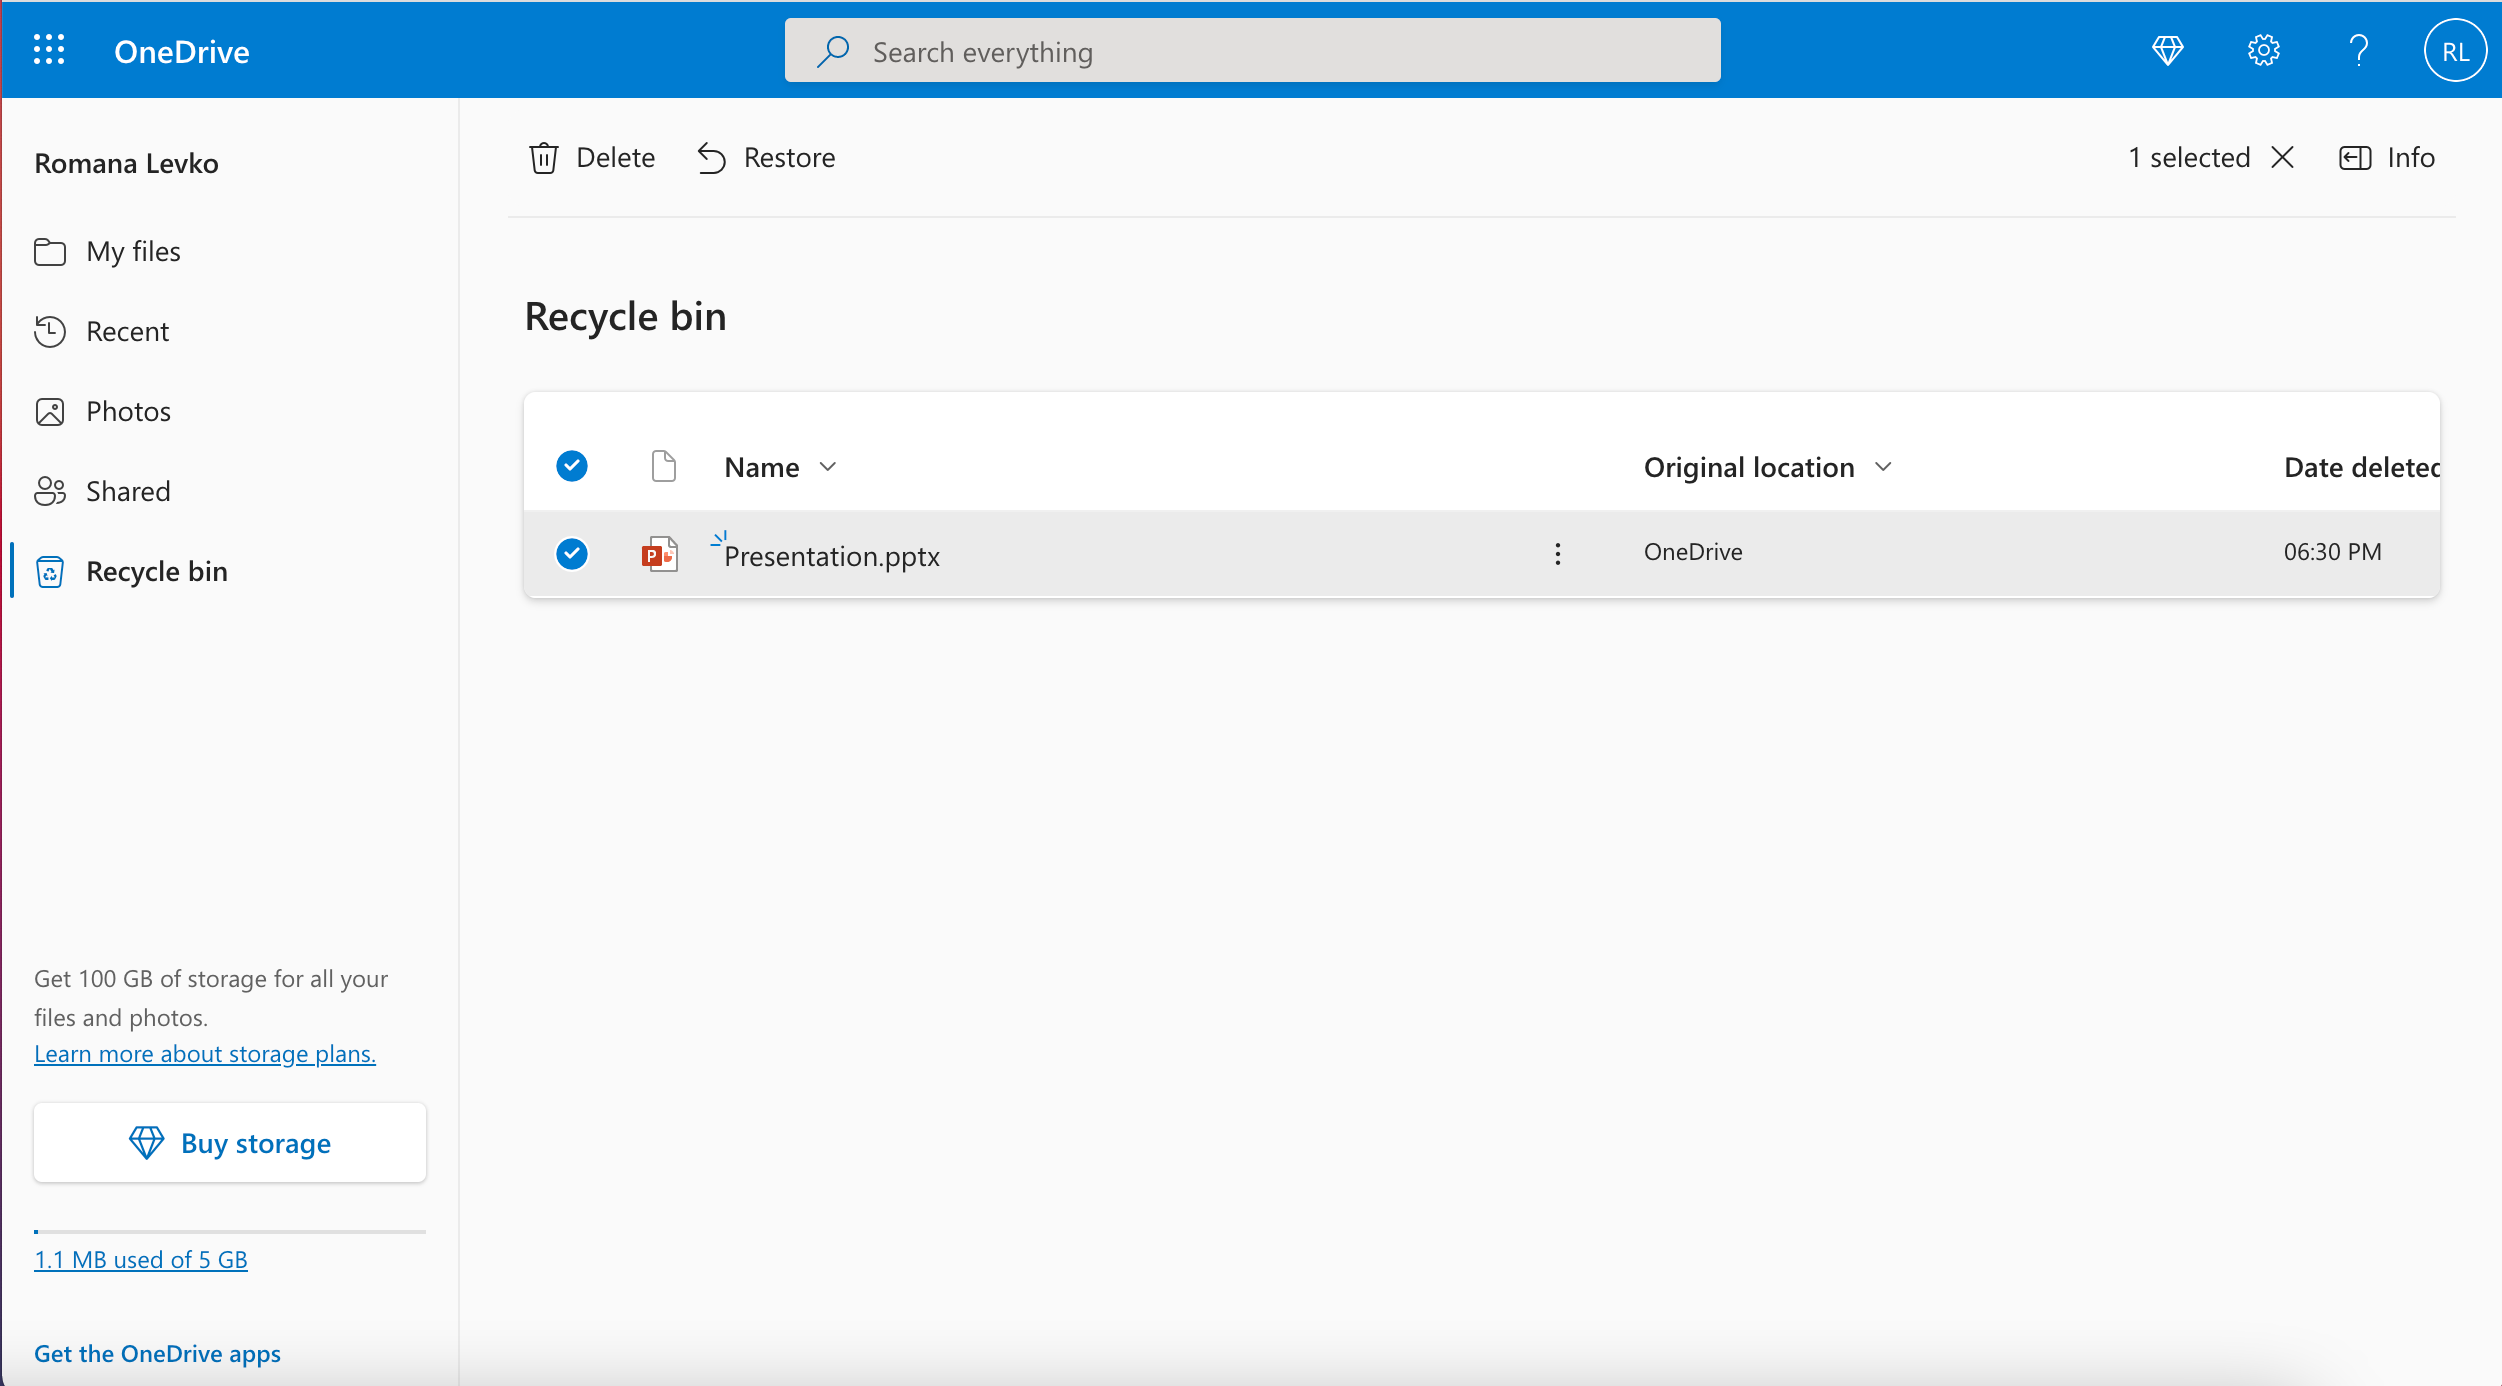
- Navigate to the Recycle bin folder.
- Look for the deleted PPT file.
- Click the file you wish to recover and then click the Restore button at the top.
FAQ:
- Click File on the menu at the top of the screen and choose Save as.
- Type in a preferred name for the presentation, select the folder which you want to use as the location for the file and choose a file format.
- Or click Online Locations to save the presentation to your OneDrive account.
- When ready, click Save.


